

Stencil Crete Removal needs the right method to avoid slab damage, excess dust and delays. Learn what works and when to call specialists.
Stencil Crete Removal sounds straightforward until the top coat starts flaking in patches, the pattern stays bonded in others, and the slab underneath shows every mistake. That is where plenty of renovation jobs slow down. If the goal is a clean surface ready for resurfacing, tiling, coating or a full redesign, the removal method matters just as much as the finish going back on.
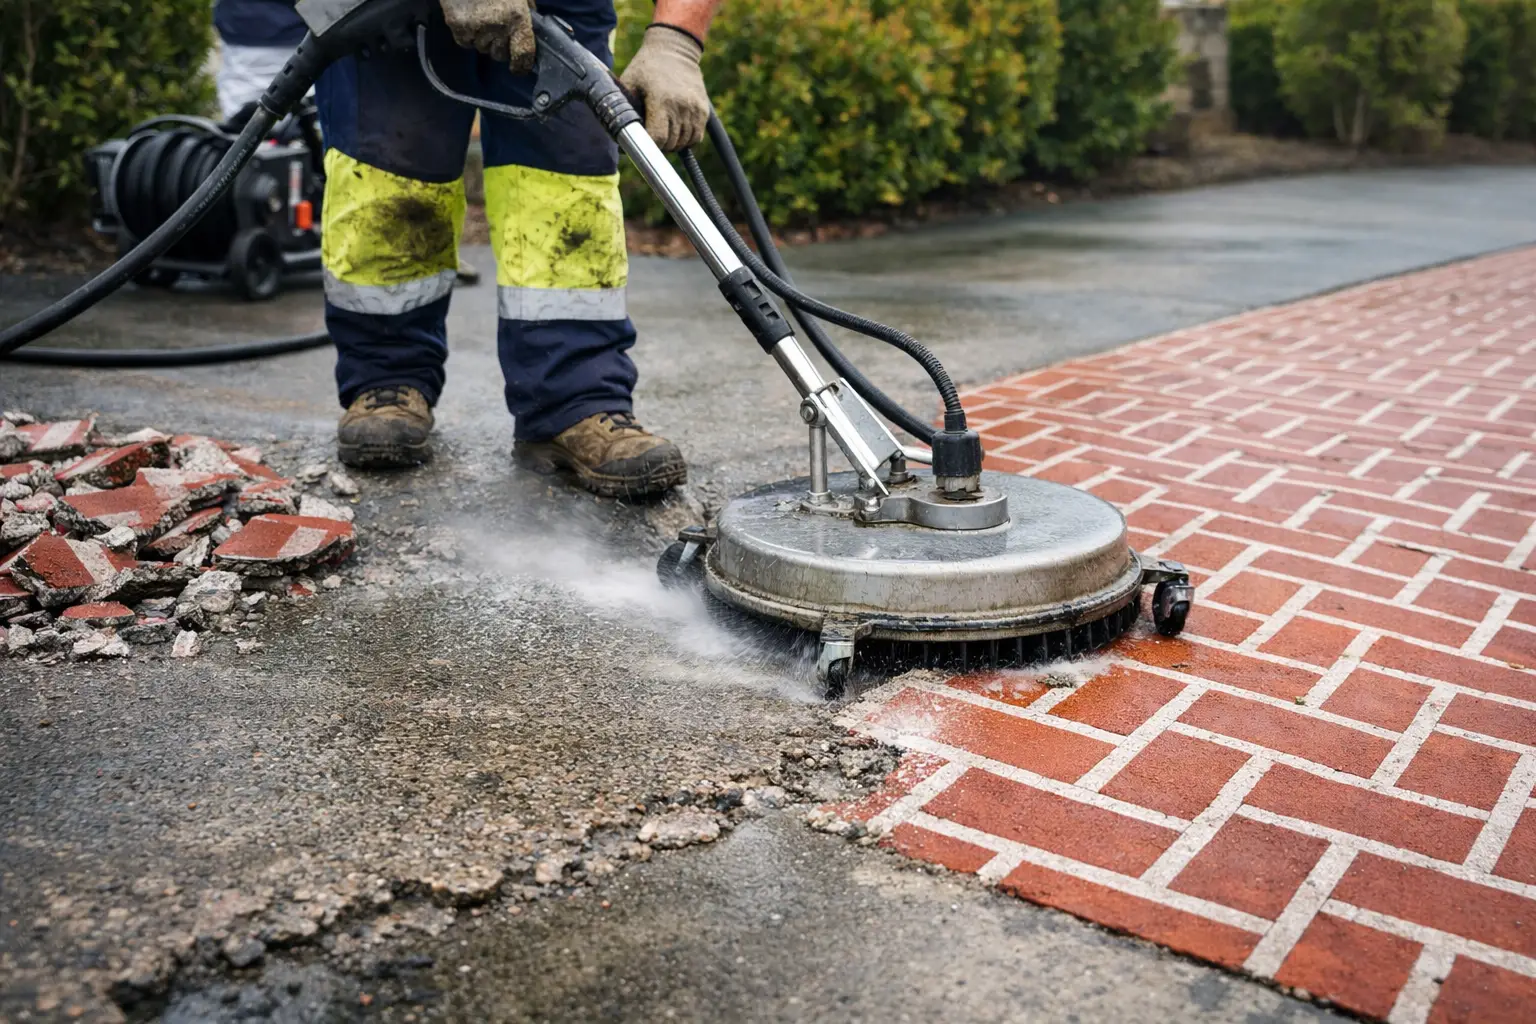
Stencil crete is designed to be tough. It is a decorative concrete coating system applied over a concrete base, usually with colour hardeners, patterned stencil work and a sealed top layer. It looks sharp when it is in good condition, but once it wears, cracks, peels or dates the property, it becomes one of those surfaces that is harder to strip than expected.
Why stencil crete is difficult to remove
The challenge is not just the coating itself. It is the combination of sealer, coloured surface layer and bond to the concrete below. Some areas may lift easily, while others stay tightly fused to the slab. That inconsistency is what catches people out.
On older jobs, there can also be multiple seal coats, patch repairs or previous touch-ups that change how the surface behaves under grinding or stripping. In outdoor areas, weather exposure often adds another layer of difficulty. UV damage, moisture movement and surface cracking can leave the finish looking loose, while still being firmly attached in key sections.
Stencil Crete Removal is not a one-size-fits-all job
There is no single removal method that suits every stencil crete surface. The right approach depends on the condition of the coating, the age of the slab, what is going over the top next, and how much surface preparation is required to get there.
If the slab is structurally sound and the aim is to create a clean profile for a new finish, mechanical grinding is often the most reliable option. It removes the coating while also addressing residue, uneven texture and contaminants that could affect adhesion later. If the slab has damage, the removal process may need to go deeper so repairs can be carried out properly.
This is where experience counts. Removing the decorative layer without leaving the surface rough, gouged or contaminated takes proper equipment and a controlled process.
What can go wrong with the wrong removal method
The biggest issue is slab damage. Aggressive removal can scar the concrete, expose weak spots or leave an uneven finish that creates more work for the next trade. That can be a serious problem if the area is being prepared for epoxy, new concrete coatings, tiles or polished concrete.
Dust is another major factor. Dry cutting or uncontrolled grinding quickly turns into a mess, especially in occupied homes, shops, offices or shared buildings. Good dust-control practices are not just about cleanliness. They help keep the site safer, protect nearby areas and reduce disruption.
Then there is the time blowout. DIY attempts and underpowered equipment usually turn a hard job into a longer one. What starts as surface removal often ends with extra patching, more grinding and delays to the rest of the renovation.
When professional stencil crete removal makes sense
If the area is large, heavily sealed, badly worn or needs to be ready for the next stage quickly, professional removal is usually the smarter move. The same applies where access is tight, dust control matters, or the finish underneath needs to meet a certain standard.
For builders, renovators and property owners, the real value is not just getting the old surface off. It is getting the site left in a condition that is ready for what comes next. That means proper removal, proper surface preparation and no guessing about whether the slab will hold the new finish.
A specialist team will assess the bond strength, coating thickness, substrate condition and final intended use of the slab before starting. That avoids using the wrong process and helps keep the job moving.
What a good result looks like
A proper stencil crete removal job leaves more than bare concrete. It leaves a surface that is consistent, clean and suitable for repair, resurfacing or reinstallation. Any remaining coatings, adhesive-type residue, sealer build-up or weak material should be dealt with during the same preparation stage, not left behind as someone else’s problem.
That is especially important on renovation sites where timing matters. In homes, it reduces downtime and helps keep the project on track. In commercial settings, it cuts disruption and makes coordination with follow-on trades much easier.
Is every stencil crete surface worth removing?
Not always. In some cases, the existing surface may be too compromised, or the slab below may already have defects that need broader remediation. In others, removal is absolutely the right move because the existing coating is failing and anything installed over it will only be as good as what sits underneath.
The key is proper assessment before work starts. A surface that looks like it just needs a quick strip can hide loose sections, moisture issues or previous failed coatings. Rushing that stage usually costs more time than it saves.
For property owners and project managers across Northern NSW, the Gold Coast, Brisbane and the Sunshine Coast, that is why specialist removal matters. Rapid Stripped handles difficult floor and surface removal work with the equipment, dust control and slab preparation standards needed to get the job done right the first time.
If stencil crete is standing in the way of your renovation, treat it like a preparation job, not just a demolition job. The better the removal, the better everything that follows.