
A new floor will only perform as well as the surface beneath it. The right subfloor repair options depend on what is actually causing the problem – not just what is visible after old tiles, carpet, vinyl or timber have been removed. A soft patch, cracked slab, adhesive build-up or uneven area can all hold up the next trade if they are not dealt with properly.
For renovators, builders and property managers, the objective is straightforward: remove the failed materials, identify the condition of the base, and leave a clean, sound surface ready for the next stage. That may mean local repairs, slab grinding, levelling work or more substantial timber repairs. The correct approach comes down to the substrate, the flooring going back over it, and whether moisture or movement is still active.
Start with the Cause, Not the Covering
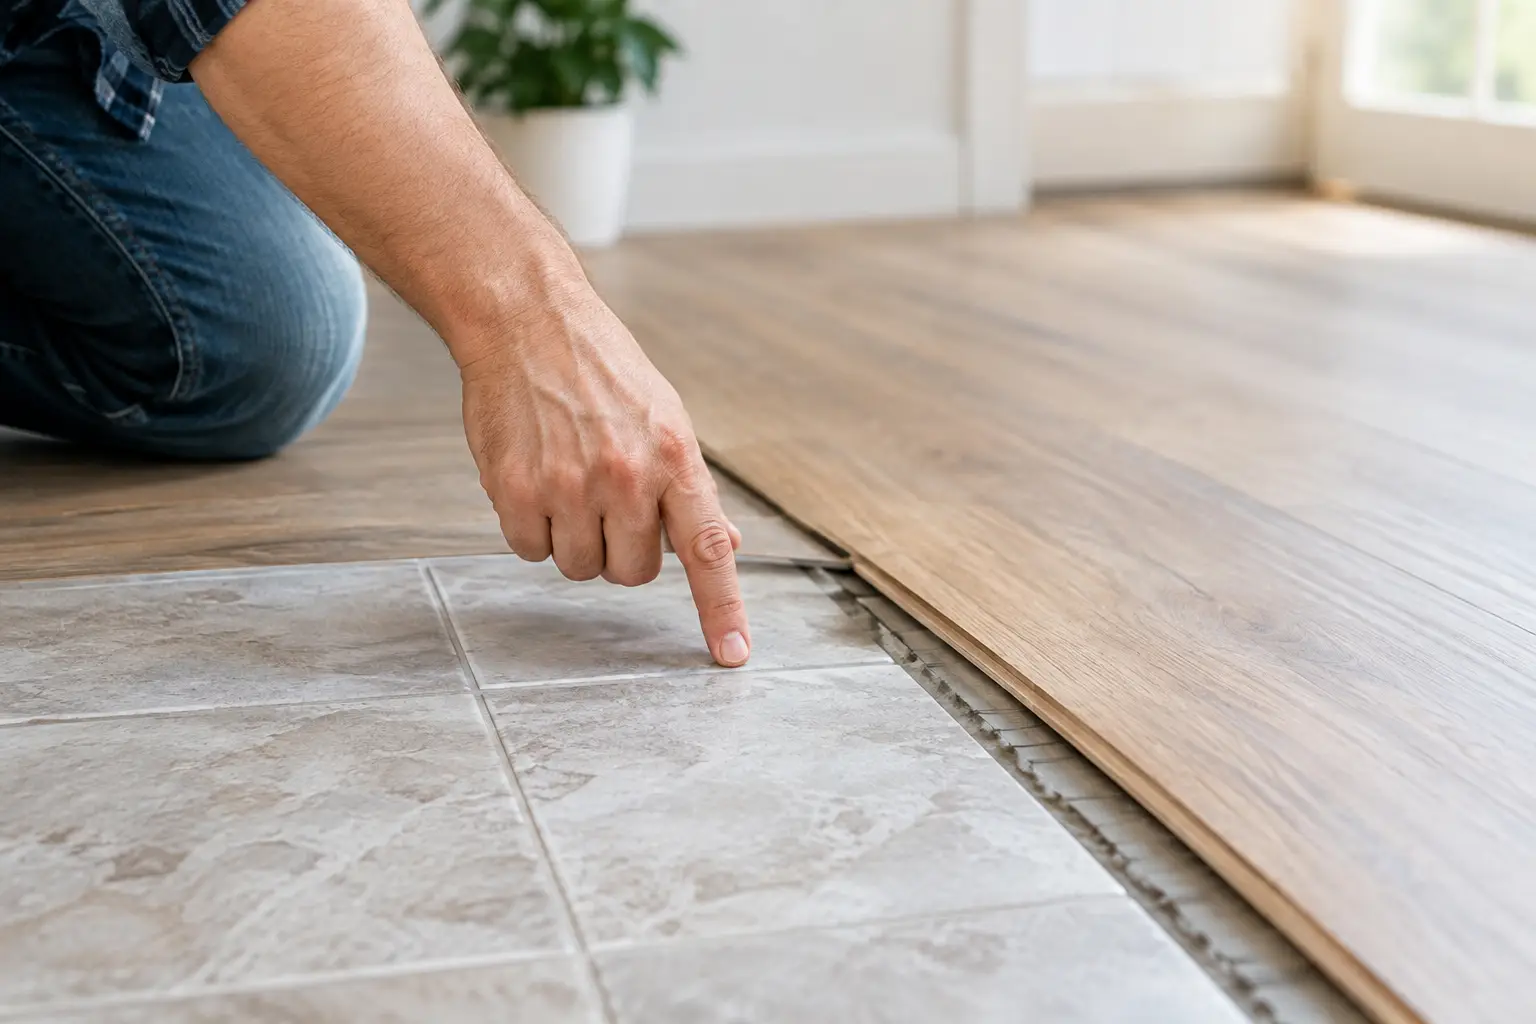
Subfloor issues often become obvious only once the existing floor has been stripped. Loose tiles may have been hiding a cracked screed. Timber boards that feel springy may point to moisture damage below. Vinyl that has lifted can indicate adhesive failure, moisture pressure or an uneven concrete slab.
Removing floor coverings without assessing what sits underneath is where renovation problems start. A surface can look acceptable from a distance yet still have high spots, low areas, hollow sections, old glue, laitance, damaged particleboard or deteriorated timber that will compromise the new installation.
A proper assessment should establish whether the issue is cosmetic, functional or structural. Adhesive residue and minor surface imperfections are generally preparation issues. Water-damaged sheet flooring, rotted bearers, significant slab movement or extensive cracking may require repair work coordinated with the appropriate building trades before a new floor goes down.
Subfloor Repair Options for Concrete Slabs
Concrete is tough, but it is not automatically ready for new flooring. Old floor coverings commonly leave behind tile bedding, epoxy, paint, glue and levelling compounds. These residues can stop adhesives from bonding and make a slab appear more uneven than it is.
Slab Grinding and Surface Preparation
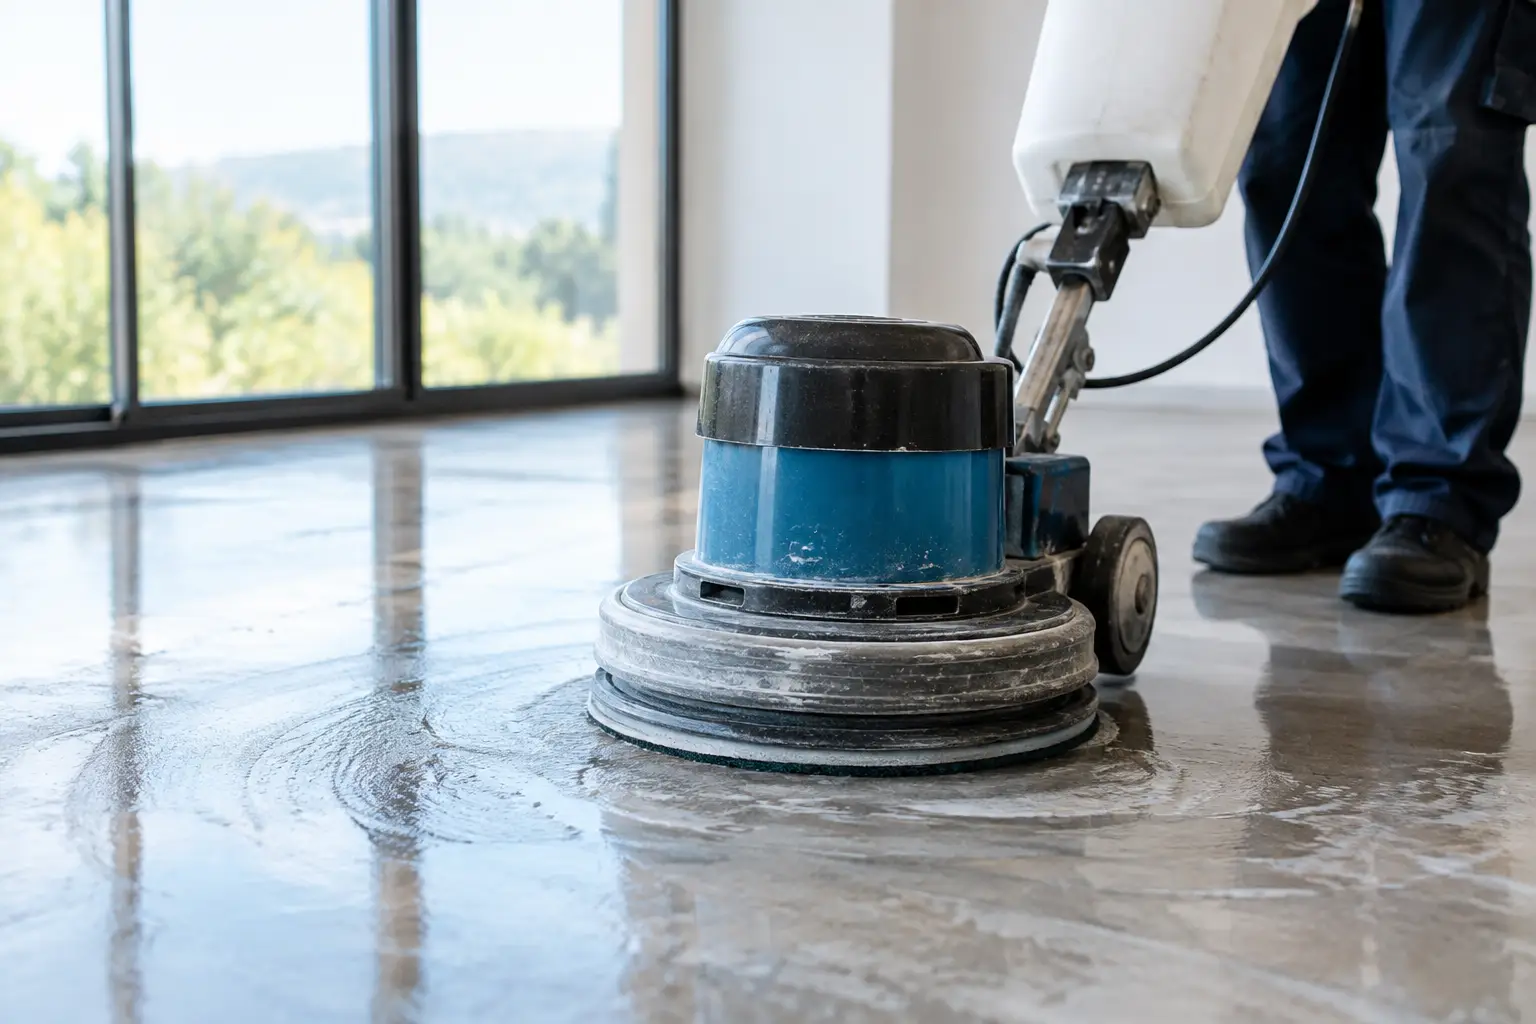
Grinding is one of the most effective options for concrete with stubborn adhesive, tile bedding, high spots, paint or damaged surface coatings. Specialist grinding equipment removes unwanted material while helping bring the slab back to a consistent profile.
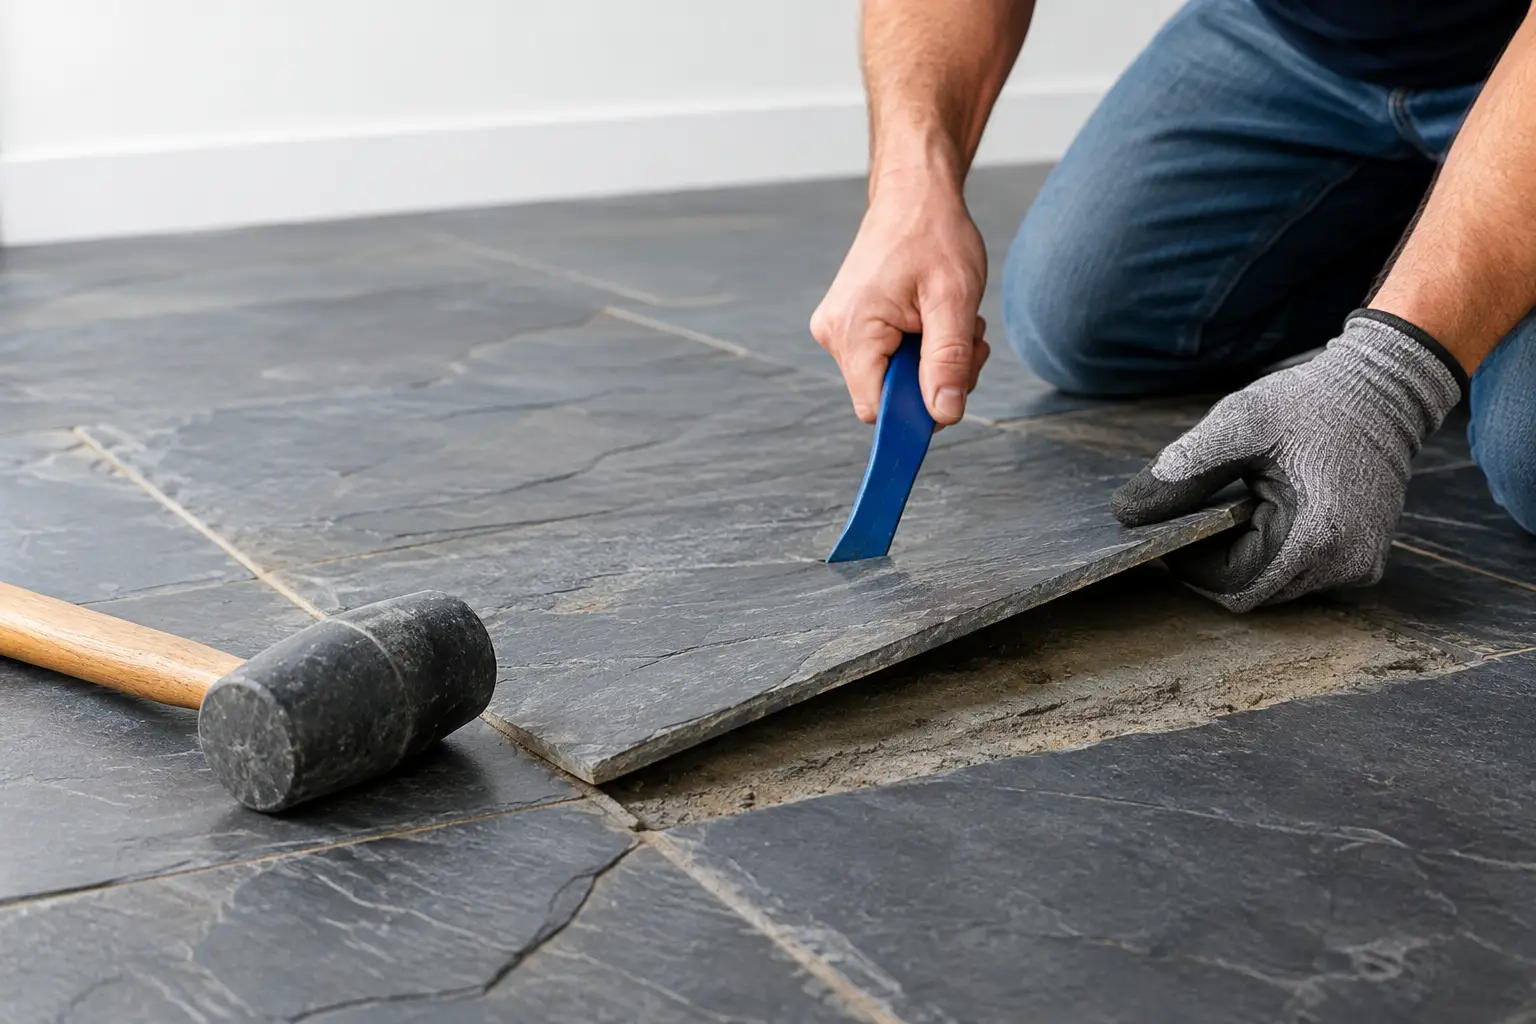
This is often the right first step after tile removal. Simply chipping tiles off can leave rough bedding, sharp ridges and scattered residue across the slab. Grinding produces a cleaner, more workable base for subsequent patching, levelling or flooring installation.
The aim is not to grind a slab unnecessarily. It is to remove failed material and create a suitable surface for the chosen finish. Polished concrete, hybrid flooring, vinyl, carpet tiles and glued timber all have different tolerance levels, so preparation needs to match the specification.
Patching Cracks, Chips and Local Damage
Small cracks, holes and chipped areas can often be repaired with a compatible patching compound once the concrete is clean and sound. Localised repairs work well where damage is isolated and there is no evidence of ongoing movement or moisture pressure.
Cracks need to be assessed carefully. A fine, stable shrinkage crack is different from a crack that has widened, stepped or shows signs of movement. Covering an active crack without addressing its cause can lead to the same issue appearing through the new finish later.
Levelling Compounds for Low Areas
Where a slab is generally sound but uneven, a levelling compound can correct dips and minor variation. This is particularly useful before installing vinyl, carpet, floating floors or large-format tiles, where an uneven base can create visible defects, movement or premature wear.
Levelling should only happen after the slab is properly prepared. Dust, glue residue, loose material and contaminants affect adhesion. High spots also need to be dealt with first. Adding compound over a dirty or unstable surface is not a repair – it is a temporary cover-up.
Moisture Management Before New Flooring
Moisture is one of the biggest reasons floor finishes fail. It can cause timber to cup, vinyl to bubble, adhesives to release and mould to develop beneath coverings. Ground-floor slabs, bathrooms, laundries, entry areas and properties with drainage issues deserve close attention.
If moisture is present, the source must be identified before any finish is installed. It may relate to plumbing leaks, poor drainage, a failed waterproofing system or moisture migrating through the slab. Depending on the findings, the solution may involve drying time, moisture barriers, waterproofing repairs or drainage rectification. New flooring should not be used to hide an unresolved water problem.
Repairing Timber Subfloors
Timber subfloors need a different approach because they are affected by moisture, ventilation, pests and movement. In older homes, the visible flooring may be attached to joists, bearers, particleboard or plywood sheets. Damage below the finished floor can be more extensive than the top surface suggests.
Replacing Damaged Sheets or Boards
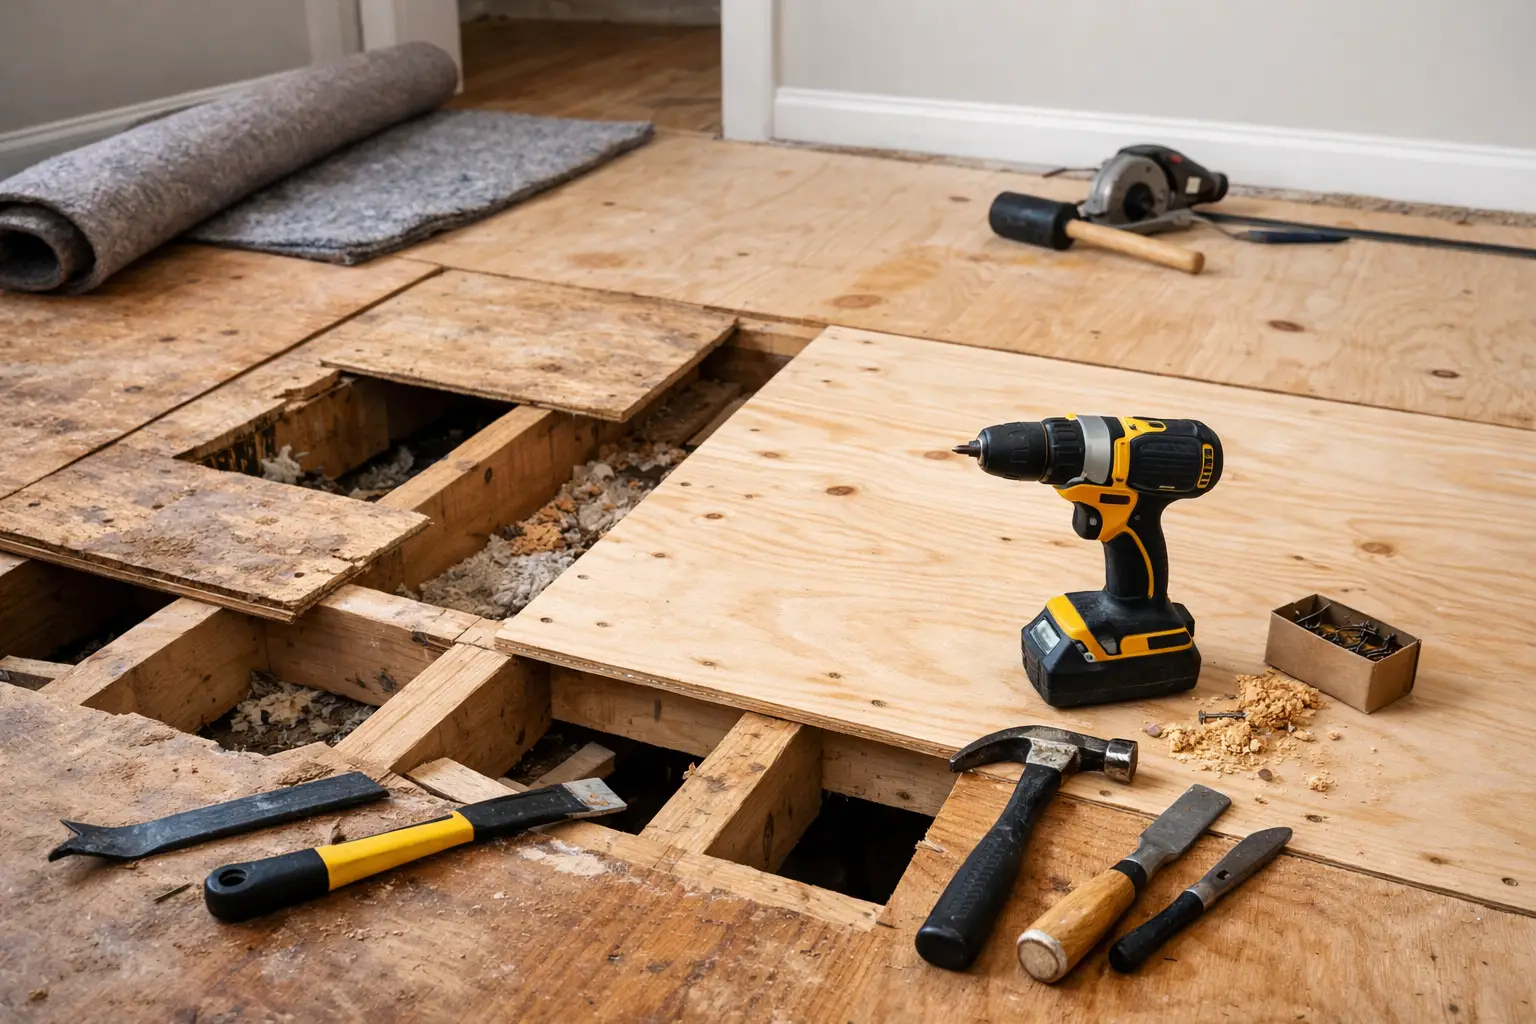
Particleboard and plywood can swell, soften and break down after water exposure. If the damage is limited to a defined area, replacing affected sheets may be practical. The replacement needs to be correctly supported, fixed and brought flush with surrounding areas so the finished floor has a stable base.
Minor swelling is not always a full replacement job, but soft, crumbling or delaminated material has lost its integrity. Laying a new floor over it will not restore strength.
Repairing Joists and Bearers
A bouncy or sagging floor may point to issues with joists, bearers, stumps or their connections. These are not surface-preparation problems. They need proper investigation, particularly where there is rot, termite damage, long-term leaks or obvious deflection.
The repair may involve replacing damaged timber, adding support, correcting inadequate fixing or addressing the moisture source that caused the deterioration. Structural work should be handled by suitably qualified trades where required. The floor removal stage is valuable here because it exposes the condition that needs attention rather than leaving it concealed.
Correcting Squeaks and Movement
Squeaks can come from loose fixings, rubbing timber, uneven supports or flooring sheets moving against one another. Some are straightforward to correct while the area is open. Others are symptoms of broader movement underneath.
If the floor is being renovated anyway, it makes sense to address loose sections before new flooring goes down. Once tiles, vinyl or engineered boards are installed, access becomes harder and repairs become more disruptive.
When Full Removal Is the Better Option
Spot repairs save time when the damage is genuinely localised. However, trying to preserve a failed base can create more work later. Full removal may be the sensible option where there is widespread water damage, extensive adhesive contamination, multiple uneven repairs from previous renovations or a large area of loose tile bedding.
This is common in bathrooms, kitchens, commercial tenancies and older properties that have had several floor finishes installed over time. Layers of vinyl, cork, carpet underlay, tile adhesive and levelling products can hide the true condition of the base. Removing everything back to a clean substrate gives the renovation team a clear starting point.
For commercial spaces, this also helps keep the programme moving. A prepared floor means installers are not arriving to discover hidden residue, uneven areas or loose material on the day they are meant to lay the new finish.
Do Not Ignore Adhesive and Contamination
Old adhesive is not just untidy. It can interfere with primers, levelling compounds and floor adhesives. Black adhesive, thick tile glue, epoxy coatings and paint usually need mechanical removal rather than a quick scrape.
The same applies to dust and friable material. A clean surface is essential for a reliable bond. Specialist floor removal and slab grinding can strip back failed layers with controlled dust management, leaving the area ready for repair or installation.
If older resilient flooring, backing materials or adhesives are suspected of containing hazardous material, stop work and arrange appropriate testing before disturbing them. Cutting corners on this stage can create a far bigger site problem than the original floor removal.
Match the Repair to the New Floor
The finish being installed should influence the repair method. Large tiles need a flat base to avoid lipping and hollow spots. Vinyl shows every imperfection beneath it. Floating floors need a stable, reasonably level surface, while glued timber depends on a clean substrate with suitable moisture conditions.
This is why a repair that is acceptable for carpet may not be good enough for polished concrete or vinyl planks. Confirm the new flooring requirements early, then prepare the subfloor to that standard rather than guessing.
A disciplined removal and preparation process saves headaches later. At Rapid Stripped, the focus is on getting failed coverings, adhesive and loose material out cleanly so the real condition of the floor can be assessed and the right repair can go ahead.
Before booking the next flooring trade, make sure the base is dry, stable, clean and suited to the finish being installed. That is the point where a renovation stops being a patch-up and becomes a floor built to last.