
Slate can look indestructible once it is down, and in many older homes it nearly is. Knowing how to lift slate flooring is less about getting the first tile to break free and more about controlling dust, protecting the concrete slab and dealing properly with the hard bedding material underneath.
A loose slate tile in a small entry may be manageable with hand tools. A fully bonded slate floor across a kitchen, living area or commercial space is a different job. It is noisy, physical and produces sharp fragments and fine silica dust. The removal method needs to suit the substrate, the room and what will be installed next.
Check what sits below the slate
Before any demolition begins, establish what the slate has been laid over. In many properties, slate is fixed directly to a concrete slab with cement-based mortar, tile adhesive or a thick sand-cement bed. In others, particularly on upper levels, it may be installed over compressed sheeting, plywood, fibre-cement underlay or a timber subfloor.
This matters because the goal is not simply to remove the slate. The goal is to leave a stable, clean surface that is suitable for the next trade. Aggressive breaking and levering on a timber floor can crack sheets, pull up fixings or damage joists. On concrete, poor technique can leave deep gouges, high adhesive ridges and fractured areas that need further repair.
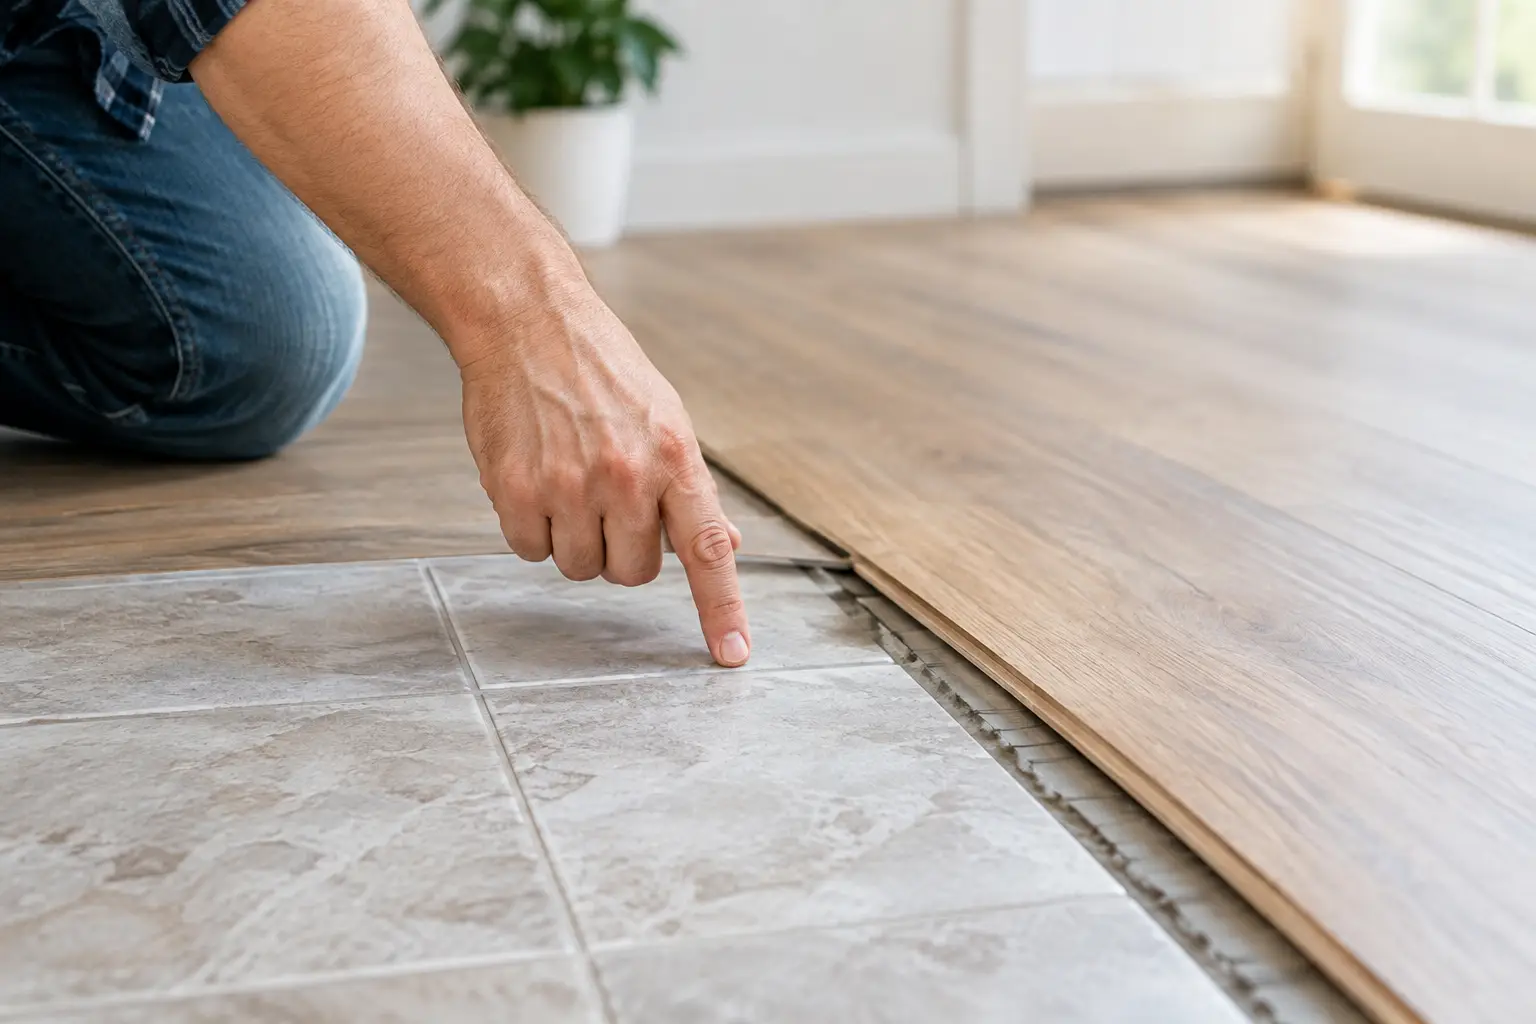
Also identify adjoining finishes. Skirtings, door jambs, cabinetry, plasterboard and thresholds can all be damaged when slate is forced upward without allowing for expansion gaps and bedding thickness. If the slate runs under kitchen kickboards or built-in furniture, removal may need to be staged carefully rather than attacked from the middle of the room.
If you are renovating an older property, treat unknown layers with caution. Stop work if you uncover suspect sheet material, old adhesive or any product you cannot confidently identify. Material assessment should happen before removal continues.
Tools and safety for lifting slate flooring
Slate removal creates two immediate risks: flying fragments and airborne silica. Slate itself can split into sharp, unpredictable pieces, while the mortar and concrete beneath can release respirable crystalline silica when chipped or ground.
For a very small repair, appropriate personal protective equipment includes safety glasses, hearing protection, gloves, enclosed work boots and a properly fitted P2 respirator. A pry bar, cold chisel, club hammer, floor scraper and heavy-duty buckets may be enough for a loose or isolated tile.
Larger bonded areas generally require purpose-built equipment. A tile stripper with a wide blade can shear tiles and bedding from the slab more efficiently than hand chiselling. Rotary hammers and demolition hammers may be needed around edges or stubborn patches. Industrial dust extraction, plastic containment and controlled waste handling are not optional extras when substantial floor removal is underway.
Avoid dry cutting or grinding without effective extraction. Sweeping dry dust around after the job simply puts it back into the air. Use a suitable vacuum system and remove rubble progressively so workers are not climbing over broken slate or carrying loads through a blocked access path.
How to lift slate flooring step by step
Start by clearing the room completely. Remove movable furniture, floor coverings and any doors that will restrict access. Protect nearby finished surfaces, isolate the work zone and plan a direct route for rubble removal. Slate is heavy, so a few overloaded buckets can quickly become an injury risk or damage stairs and footpaths.
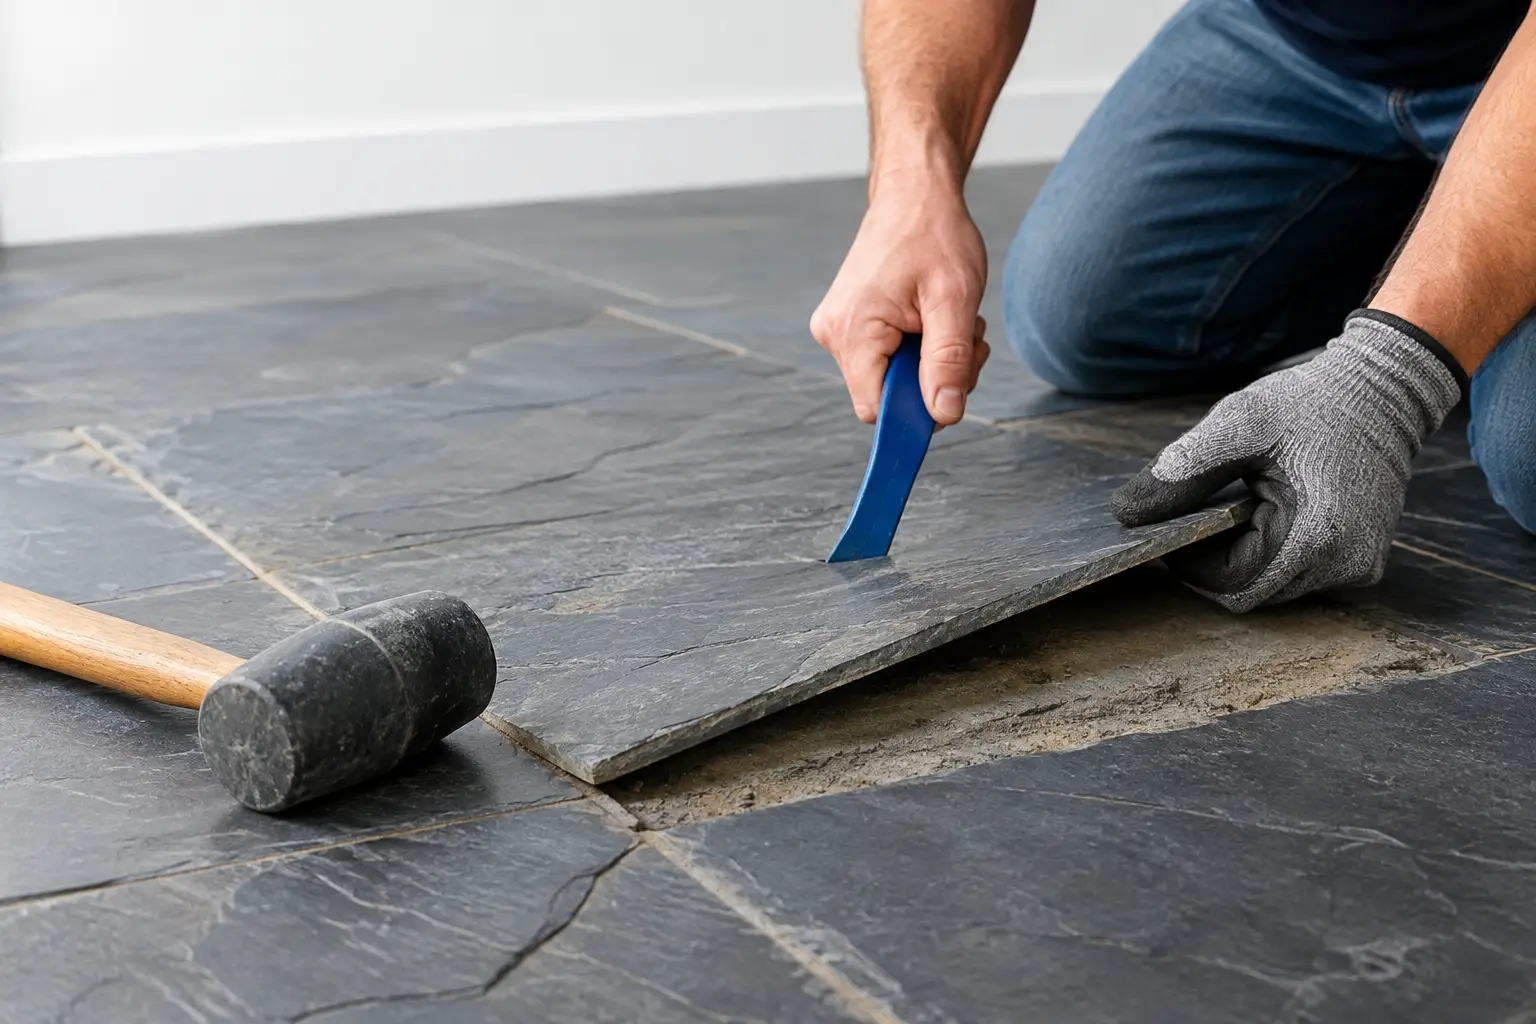
Find an exposed edge, damaged tile or transition strip where the first slate piece can be released. If no edge is available, a small section may need to be broken out to create a starting point. Work from that opening, keeping the tool angle as low as possible to the floor. The aim is to get under the slate or its bedding layer, not to drive force straight down into the slab.
With individual pieces, use a chisel near a grout joint to separate the tile from the surrounding material. Work gradually across the tile rather than trying to lift from one point. With a powered stripper, let the blade travel under the slate in short, controlled passes. Forcing the machine creates deeper slab damage and can make the next stage slower.
Expect the slate to come up in various sizes. Some tiles will release cleanly. Others will split into layers, while parts of the backing or mortar stay bonded to the concrete. That is normal. The first pass is about removing the bulk material safely and efficiently. A second pass deals with residual bedding and adhesive.
Keep the work area tidy as you go. Broken slate has sharp edges, and a clear floor gives better footing and makes it easier to see whether the slab is being damaged. Bag or bin waste in manageable loads rather than building a pile that becomes difficult to move.
Removing mortar and adhesive from the slab
Getting the slate off is only part of the work. New flooring needs a substrate within the tolerances required by its manufacturer. Vinyl, hybrid planks and polished concrete are particularly unforgiving of ridges, chipped patches and adhesive residue. Tile can tolerate more variation, but it still needs a sound base.
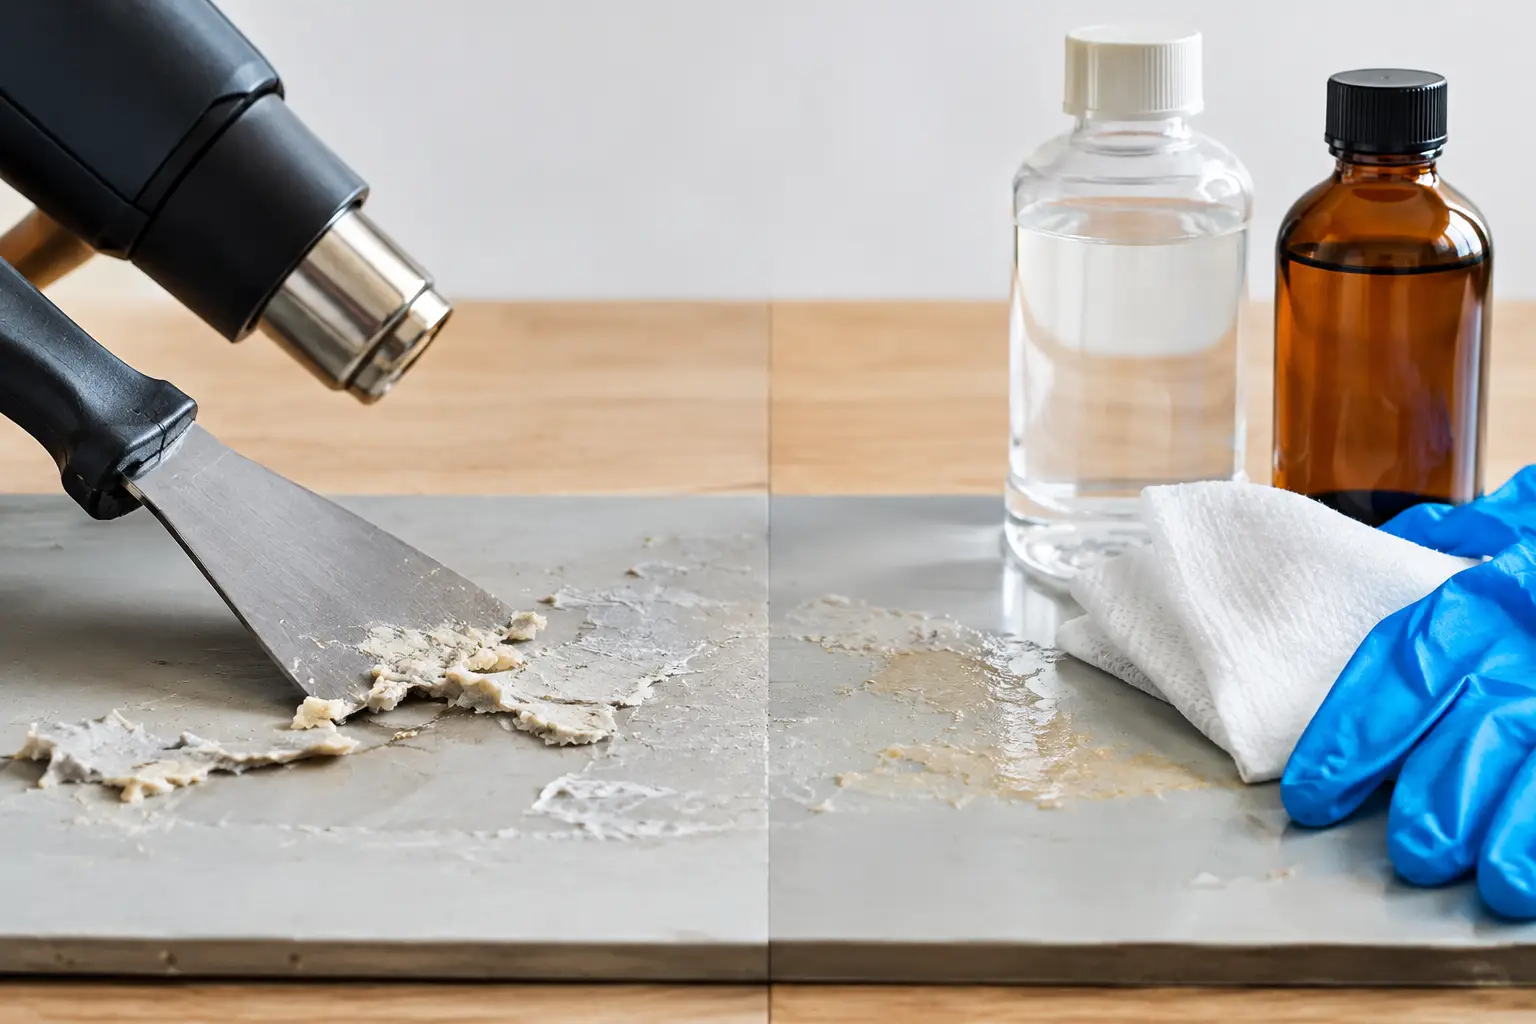
Thin patches of adhesive may come away with a floor scraper or mechanical stripper. Thick mortar beds commonly need controlled demolition followed by slab grinding. The correct approach depends on how hard the material is, how firmly it is bonded and how much of the existing slab can be removed without creating low spots.
Do not assume a slab that looks clear is ready for installation. Run a straightedge across it and check for raised areas, divots and loose material. Tap suspect sections and inspect cracks. Hollow or drummy patches, crumbling concrete and deep gouges need attention before a new floor covering goes down.
Grinding is often the finishing step, not the first response. It removes residual adhesive, evens out high spots and provides a cleaner surface for levelling compounds, waterproofing or new flooring. It must be done with suitable dust-control equipment. A smooth-looking floor achieved by spreading dust through an occupied house is not a clean result.
When DIY slate removal stops making sense
A homeowner can sometimes remove a few slate tiles where access is easy and the substrate is not critical. The risk changes when the area is large, the slate is heavily bedded, the property is occupied or a firm renovation schedule is already in place.
Professional removal is usually the practical option when there is a concrete slab to preserve, a timber subfloor beneath the slate, extensive adhesive or mortar, limited access, or other trades booked to follow. It is also worth considering where dust needs to be tightly managed, such as apartments, offices, retail spaces and homes undergoing a live renovation.
A specialist team brings the right stripping equipment, dust extraction, labour and waste process to the site. More importantly, they understand that the job is not complete when the rubble is gone. The surface needs to be assessed and prepared for what comes next. Rapid Stripped regularly handles difficult slate, tile and bedding removal with that end result in mind: a clean, workable floor ready for renovation.
Protect the next stage of the renovation
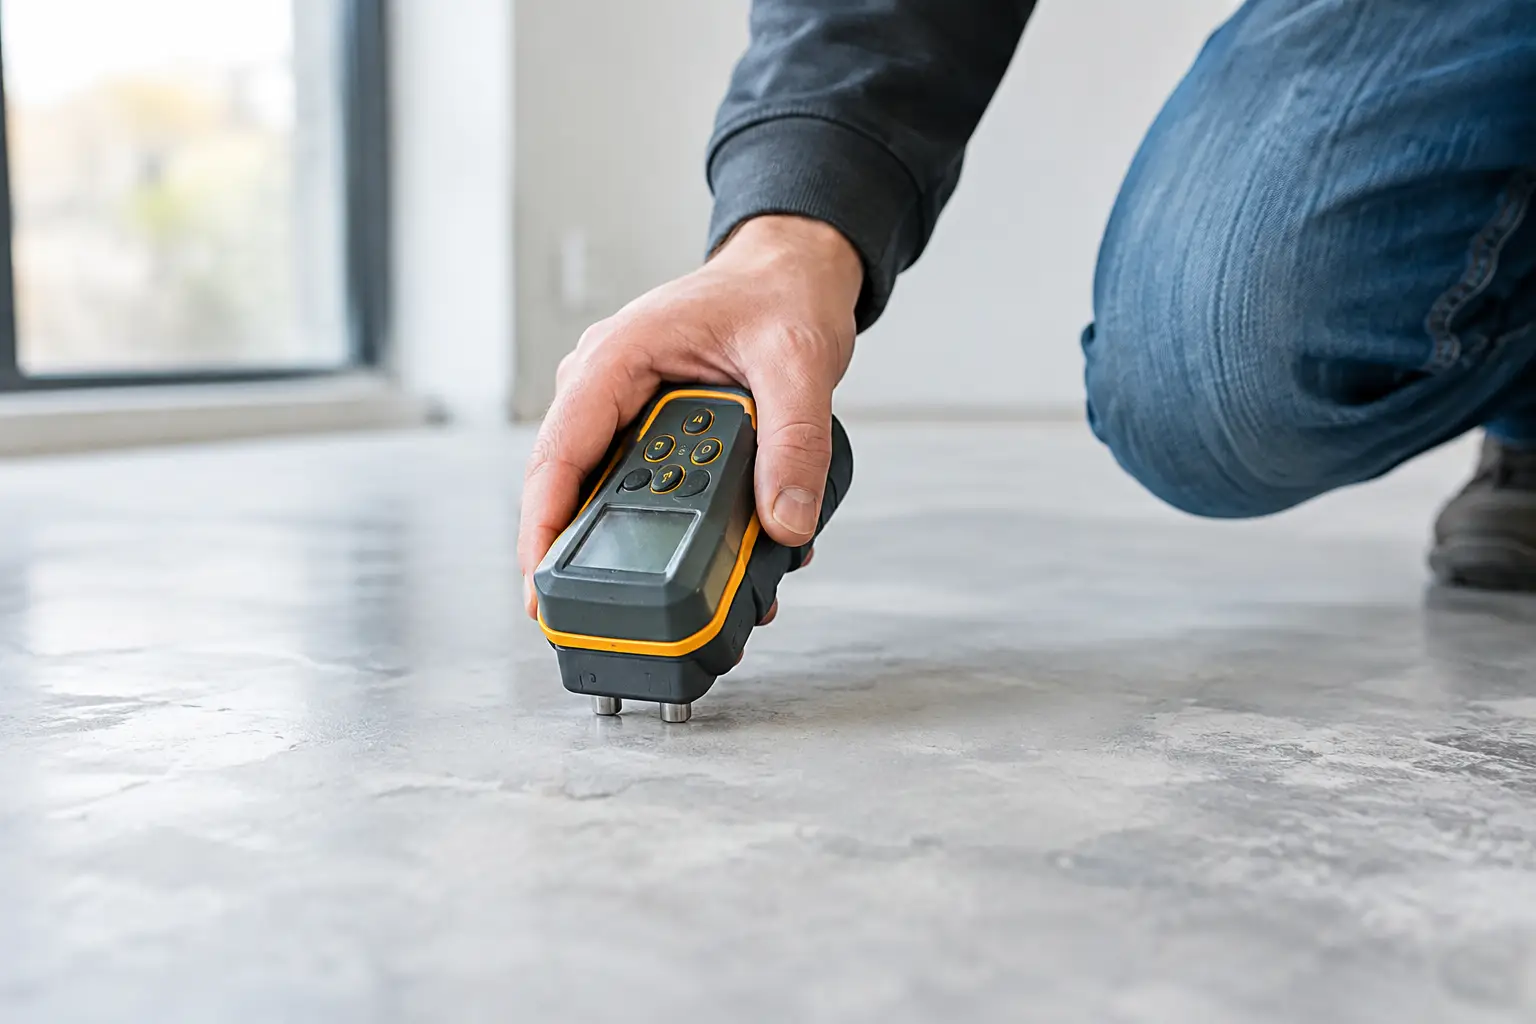
Once removal and surface preparation are complete, keep the slab clean and protected. Do not allow other trades to contaminate it with paint, plaster, oil or construction waste. If waterproofing, levelling or flooring installation is next, confirm the surface condition and moisture requirements with the relevant installer before work begins.
Lifting slate flooring can be a hard demolition task, but it should finish as a preparation job. Remove the slate with control, manage the dust and leave the substrate in a condition that helps the next trade start properly, not repair yesterday’s damage.