
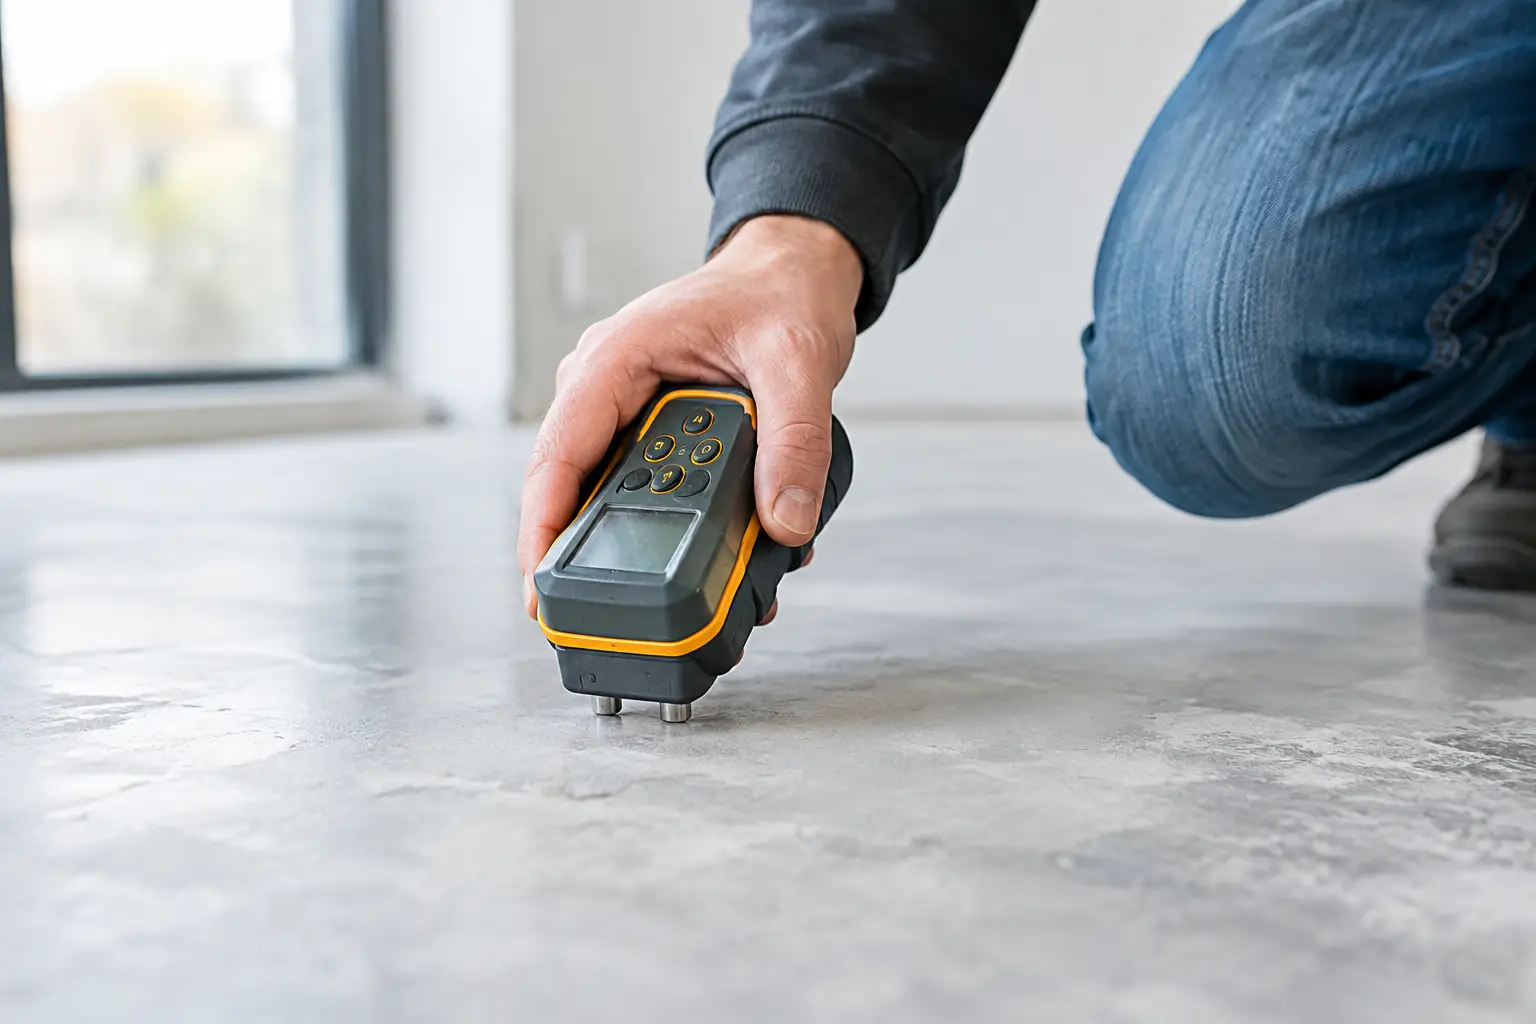
A new floor can look spot-on on installation day and still fail months later if moisture is moving through the concrete below. This guide to slab moisture testing explains what needs checking before tiles, timber, vinyl, carpet, epoxy or other finishes go down – and why testing belongs in the job before installation, not after problems appear.
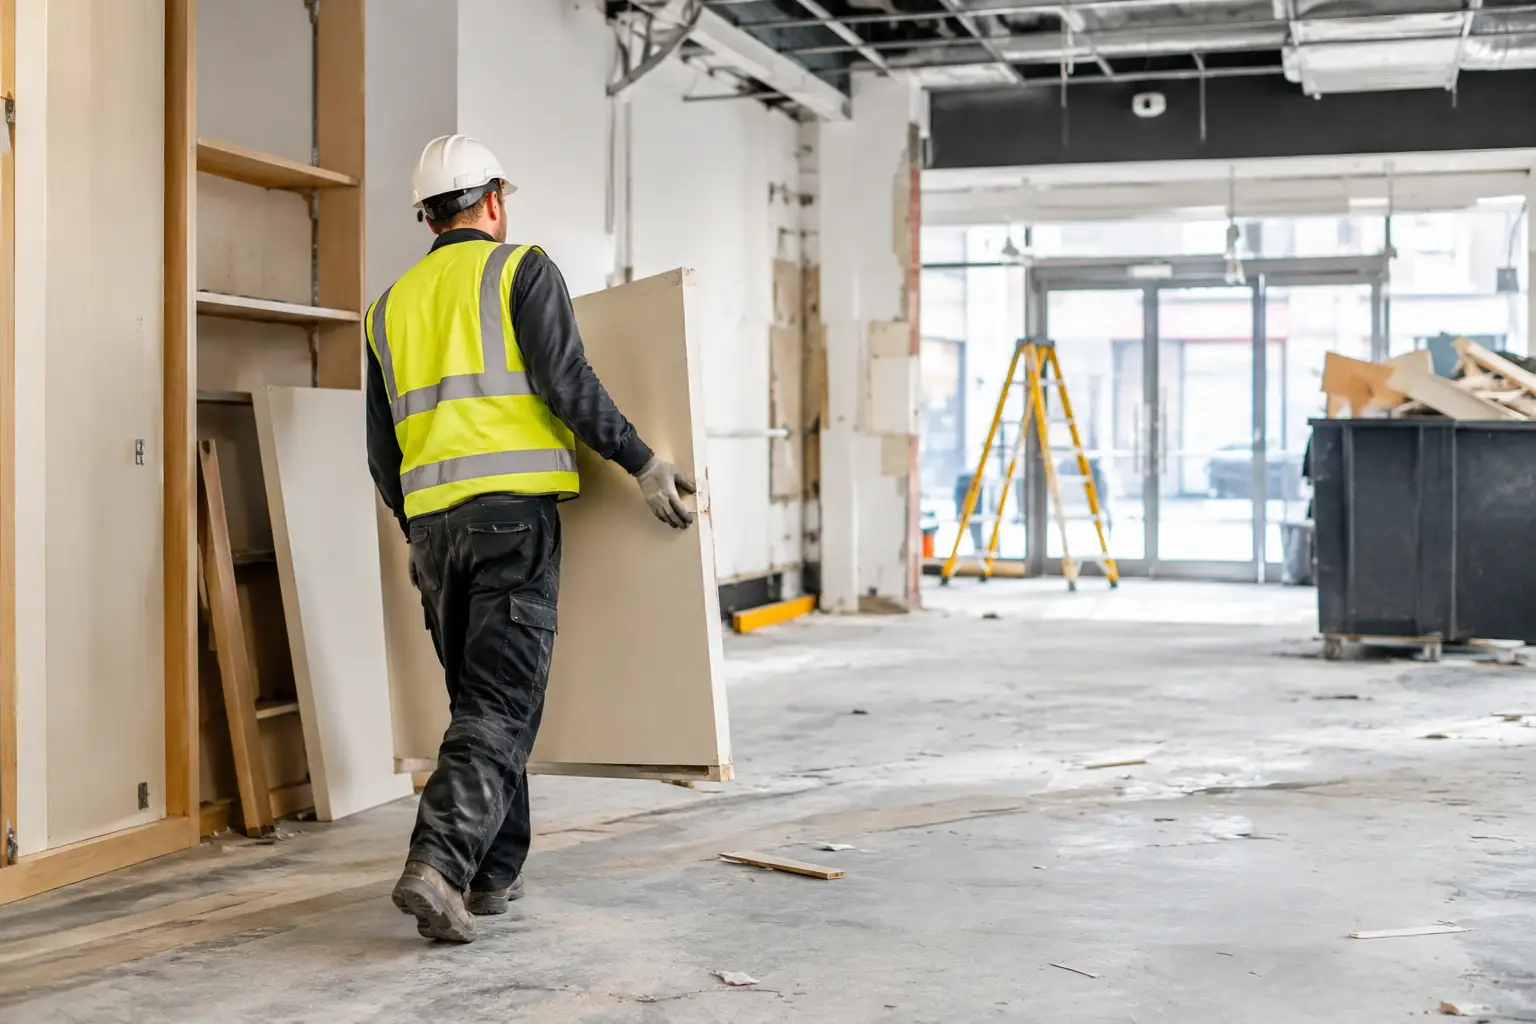
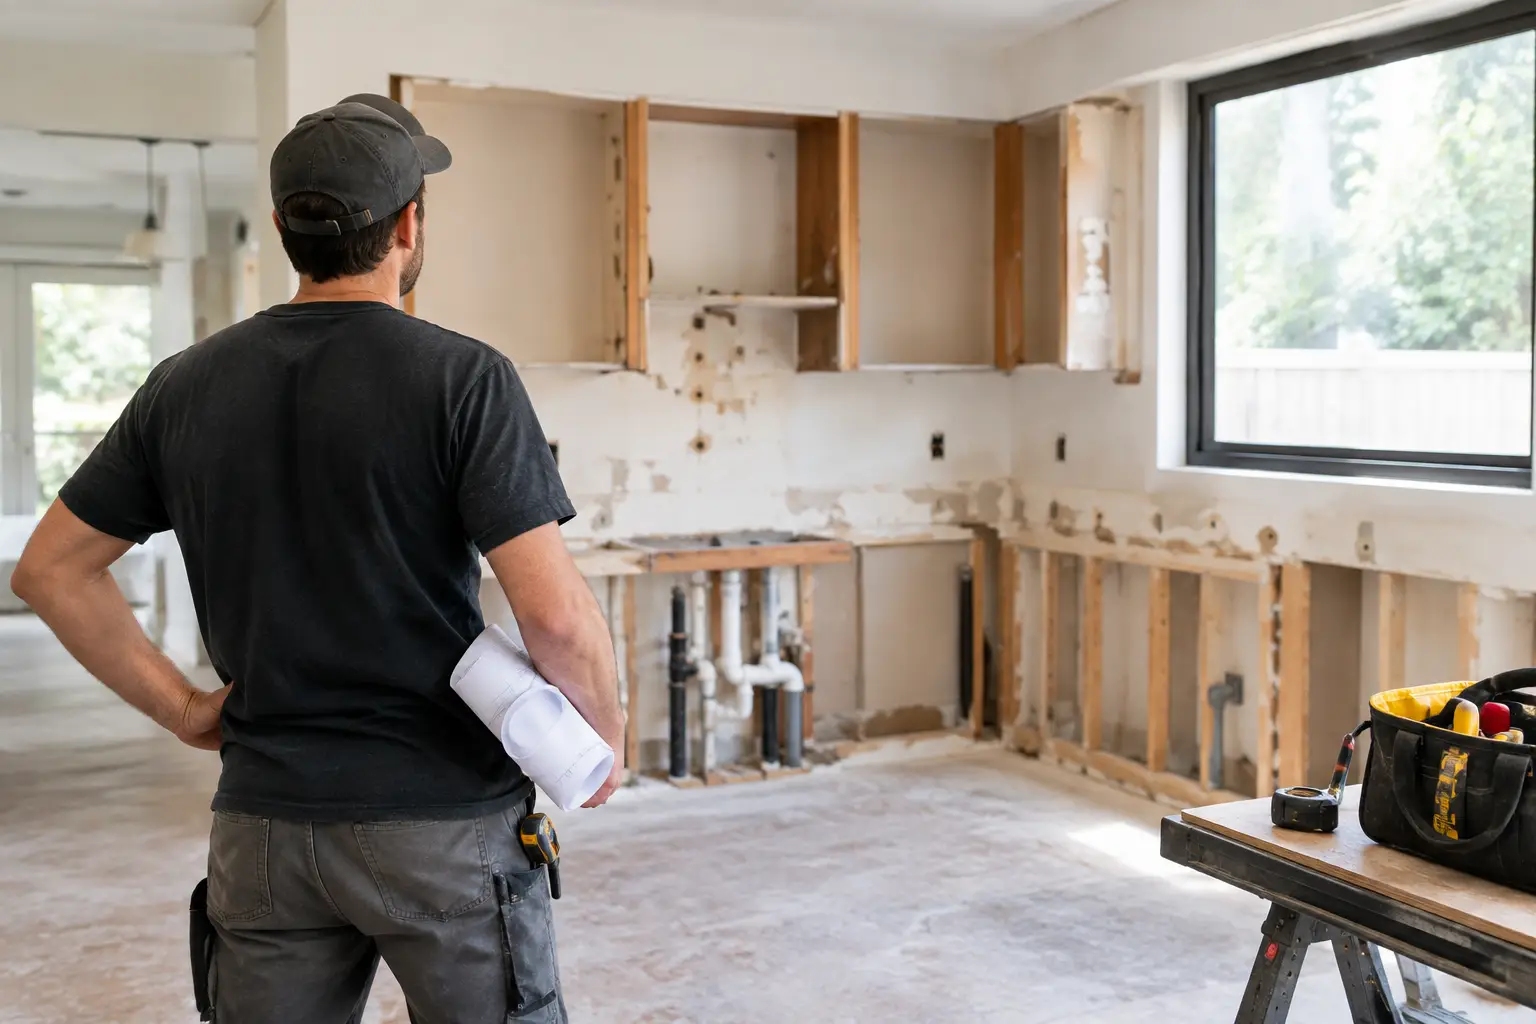
For renovators, builders and property managers, moisture testing is a simple point of control that can prevent adhesive failure, lifting finishes, mould, timber movement and expensive rework. It is particularly relevant after floor removal, slab grinding or a strip-out, when the concrete is exposed and its actual condition becomes clear.
Why slab moisture testing matters
Concrete is not waterproof. Even a slab that looks dry can hold moisture within its pores or receive moisture from below. New concrete needs time to dry. Older slabs can also retain moisture because of ground conditions, missing or damaged vapour barriers, water leaks, cleaning, rain exposure or changes to the building’s air flow.
The risk depends on the flooring system. Some ceramic tile systems are more tolerant of moisture than timber, vinyl planks, sheet vinyl, carpet tiles, epoxy coatings or moisture-sensitive adhesives. That does not mean tile installations should be guessed at. Adhesives, levelling compounds, membranes and the chosen finish all have their own limits and preparation requirements.
A floor covering is only as reliable as the slab beneath it. If moisture exceeds the limits set by the product manufacturer, the correct response may be more drying time, a compatible moisture-control system, repairs to the source of moisture, or a different flooring specification. Installing anyway simply shifts the problem to the next trade – or the owner.
Test after the slab is properly prepared
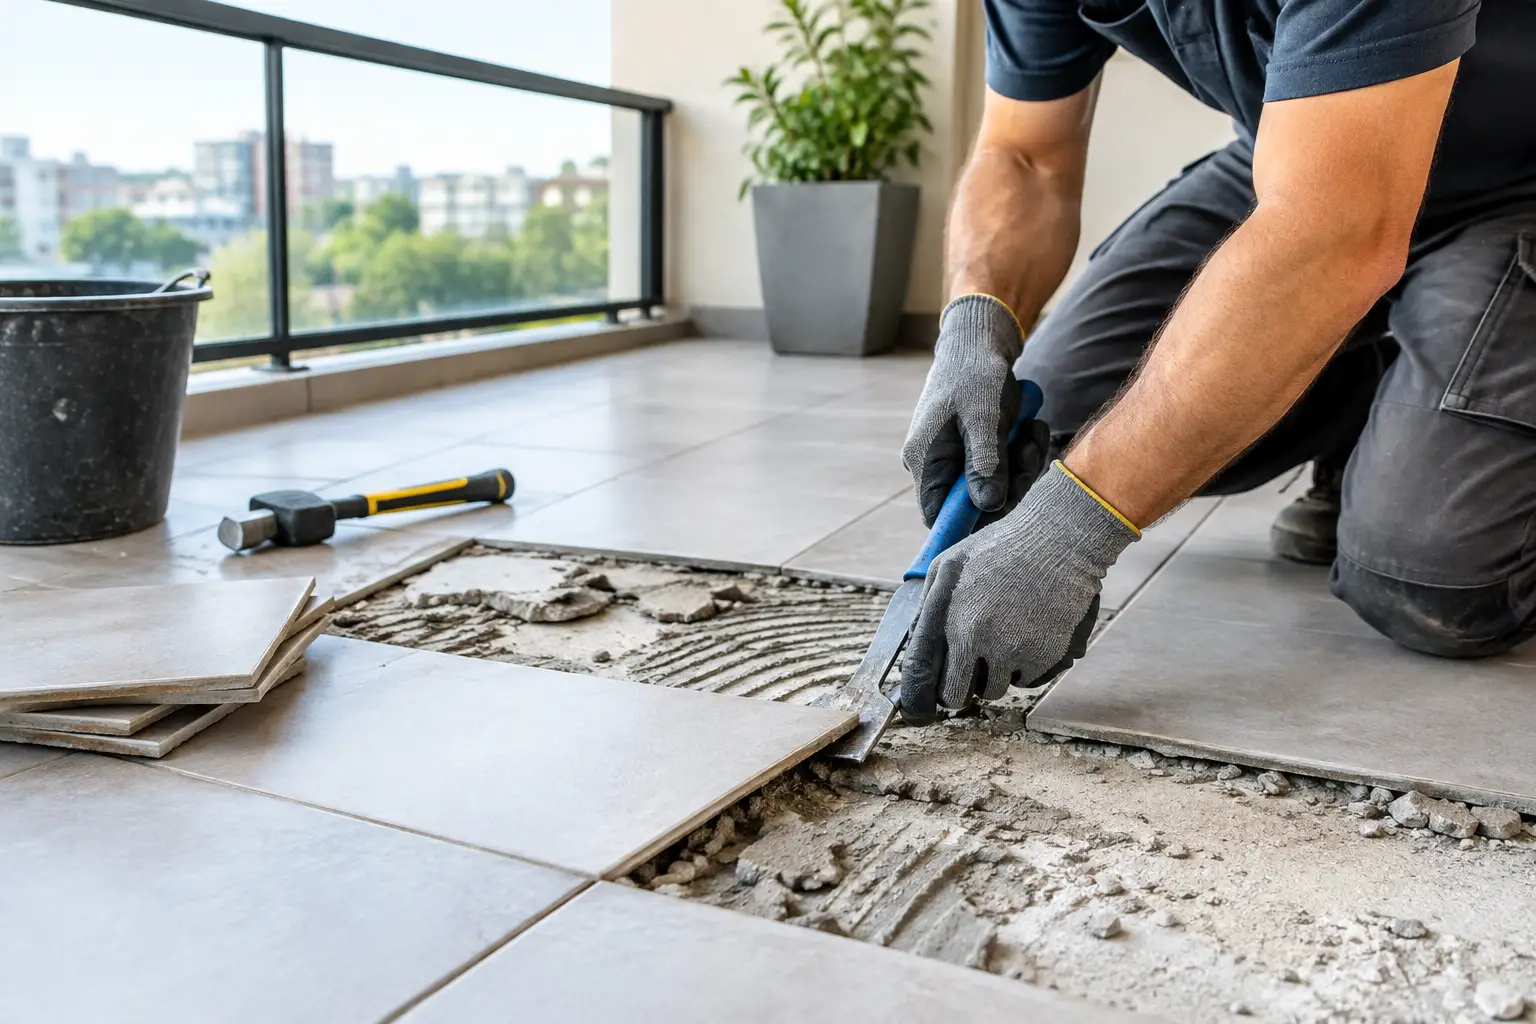
Testing a slab covered in old adhesive, paint, vinyl backing, carpet residue or patching compound will not give a useful result. Those materials can affect vapour movement and prevent a test from reflecting the concrete condition.
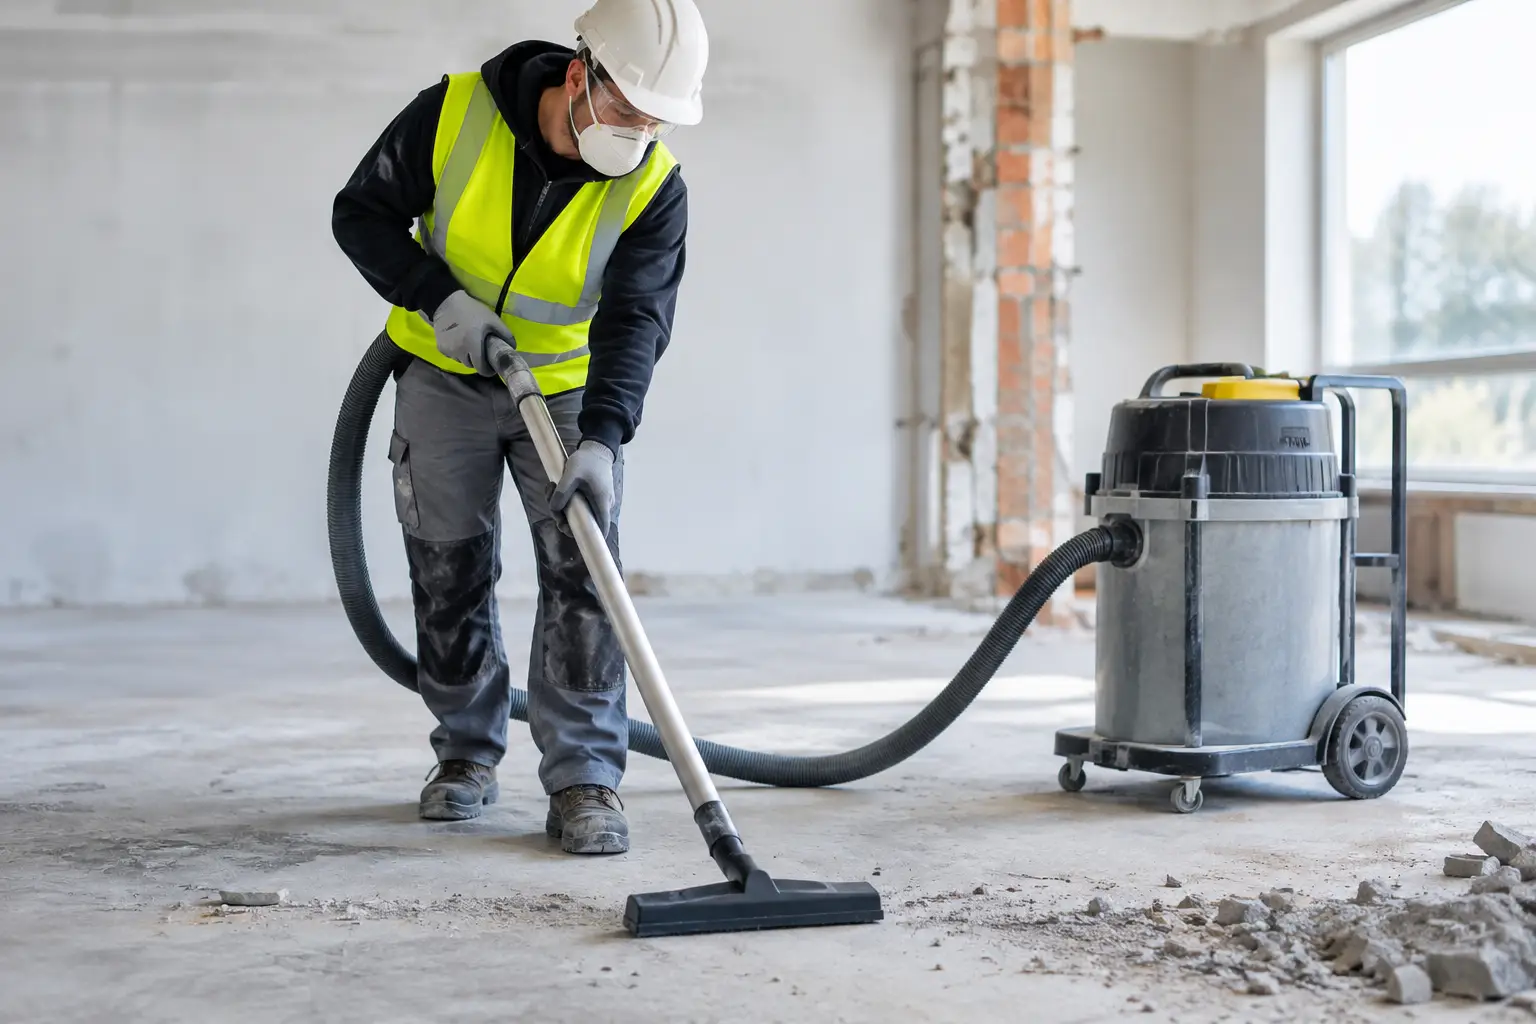
The surface should be stripped back and mechanically prepared where required. A clean, sound slab also makes it easier to identify defects that need attention, including cracks, soft areas, contamination, high spots and hollow patches. Dust needs to be controlled and removed, not pushed around the room. A clean slab is safer to assess and ready for the next stage.
Timing matters as well. Do not test immediately after rain has entered an open building, after wet trades have worked nearby, or while a leaking pipe is still being investigated. Get the building enclosed where practical, establish normal operating conditions, and give the slab a fair chance to stabilise. Testing too early can produce a result that does not represent the environment the finished floor will live in.
Guide to slab moisture testing methods
There is no single moisture test that suits every floor and every specification. The correct method comes from the flooring manufacturer, adhesive supplier and applicable project requirements. For many resilient flooring and coating systems, the test method is not optional – it is part of protecting the installation warranty.
In-situ relative humidity testing
In-situ relative humidity, often called RH testing, measures the humidity within the concrete at a specified depth using a probe placed in a drilled hole. Once the probe has had the required time to equilibrate, it provides a reading that reflects moisture inside the slab rather than just at the surface.
This is commonly considered the more useful method for assessing the moisture conditions a flooring system may face after it is installed. The top of a slab can dry quickly while moisture remains deeper down. Once a low-permeability finish such as vinyl or epoxy is applied, that moisture can redistribute towards the surface.
The test needs to be carried out carefully. Hole depth, probe placement, sealing, equilibration time and calibrated equipment all affect the reading. A quick check with an unverified meter is not a substitute for a documented RH test.
Calcium chloride testing
Calcium chloride testing measures moisture vapour emission from the surface over a set period. It can be specified for certain products and remains relevant where the flooring system calls for it. Because it assesses vapour leaving the surface during the test, it may not tell the full story of moisture held deeper in the slab.
That is not a reason to dismiss the method. It means the method should match the manufacturer’s instructions and the job conditions. On a commercial fit-out with a specified adhesive system, follow the specification rather than choosing the quickest test available.
Handheld moisture meters
Handheld meters are useful for locating areas that deserve closer investigation. They can help identify variation across a large slab, particularly around doorways, external walls, bathrooms, old plumbing routes and visibly discoloured areas.
They are best treated as a screening tool. Readings can be influenced by the slab mix, reinforcing, aggregate, salts and surface condition. Use them to direct further testing, not as the sole basis for approving a moisture-sensitive floor finish.
Where and how many tests are needed?
A single test in the middle of a room does not represent an entire home, office or retail tenancy. Moisture conditions can vary significantly across one slab. Ground-floor areas, additions, wet areas, sunken rooms and sections near external openings often need closer attention.
The number and placement of tests should follow the relevant test standard, product instructions and size of the installation area. In practical terms, test representative locations and include any area that looks different or has a known history of moisture. If one section returns a higher result, do not average it away. Investigate why it is different.
For multi-room renovations, record the room, test location, date, ambient conditions, method used and result. Photographs and a simple site sketch make the record clearer. This is useful for the flooring contractor, builder and owner, especially when several trades are working to a tight programme.
Reading results without making assumptions
There is no universal “safe” number for every slab. Acceptable limits vary between flooring products, adhesives, primers, levelling compounds and moisture barriers. A result that is acceptable for one system may be too high for another.
Start with the intended flooring system, not the test result. Confirm the manufacturer’s stated moisture limit and approved test method before testing. If the result is above that limit, the product data should guide the next move. Avoid mixing products from different systems unless their compatibility has been confirmed.
Also consider the cause. A newly poured slab that is still drying is different from an older slab showing ongoing moisture because of drainage, a plumbing leak or hydrostatic pressure. A moisture barrier may be suitable in one case and a poor fix in another. If water is actively entering the building, solve that issue first.
What happens when the slab is too wet?
When moisture results are high, the first step is not to rush into coating the slab. Check whether the building is weather-tight, whether wet trades are complete, whether ventilation and conditioning are operating normally, and whether there is any evidence of a leak or rising moisture.
If the slab is simply drying, more time may be the right answer. Where programme pressure is real, an approved moisture-control system may allow the installation to proceed, provided the slab has been prepared to the required profile and the system is compatible with the adhesive or flooring above it.
Preparation is critical here. Residual glue, weak concrete, paint, laitance and contaminants can compromise both moisture barriers and floor adhesives. Mechanical removal and slab grinding may be needed to achieve a sound, clean surface. This is where a proper strip-out and preparation crew saves time: the floor is not merely cleared, it is left ready for the next trade to work with confidence.
Keep moisture testing in the programme
Moisture testing should happen early enough to influence the build schedule. Waiting until flooring installers arrive can leave a project stalled, with trades booked, tenants ready to move in and a slab that needs further drying or treatment.
For renovations across Northern NSW, the Gold Coast, Brisbane and the Sunshine Coast, humid weather, open structures and fast-moving schedules can all affect drying conditions. Allow time after floor removal and slab preparation to assess the concrete properly, then make the flooring decision on evidence rather than appearance.
A clean, tested slab gives every finish above it a better chance of performing as intended. Get the test method right, document the result and address any issue before the new floor goes down.