
A balcony can look like a small tiling job, but removing its tiles is rarely simple. Knowing how to remove balcony tiles properly matters because the surface underneath may include a waterproofing membrane, screed bed, concrete slab, drainage falls and vulnerable door thresholds. Damage the wrong layer and a straightforward renovation can turn into water leaks, failed finishes and unnecessary rectification.
For loose tiles or a small repair area, careful removal may be manageable. For a full balcony strip-out, heavily bonded tiles or a surface being prepared for new waterproofing, specialist equipment and controlled removal are usually the safer option.
Check what is under the tiles first
Do not start swinging a hammer until you know what the tiles are fixed to. Balcony tiles may be installed over a cement-based screed, directly onto concrete, or over a waterproof membrane system. Older balconies can have multiple layers from previous renovations, including tile-on-tile installations and thick adhesive build-up.
Look at exposed edges near drains, sliding doors and balcony perimeters. A hollow sound when tapping tiles can indicate failed adhesion, but it does not tell you whether the membrane below is intact. Cracked grout, drummy tiles and efflorescence may point to moisture movement beneath the finish.
If you are renovating an apartment, check strata requirements before work starts. Tile removal creates noise, vibration, dust and rubbish, and common-property waterproofing arrangements can affect the scope of work. Builders and property managers should also confirm where waste can be loaded out without blocking accessways or creating hazards for residents.
Plan the balcony tile removal properly
A clean result starts with containment and access. Balconies have limited working space, often above ground level, so broken tile cannot simply be pushed aside while work continues. Protect glazing, door frames, rendered walls, drainage outlets and any areas below the balcony that could be affected by falling debris.
Remove outdoor furniture, planters, screens and loose fittings. Cover door openings to keep dust from travelling through the property, but maintain safe access and ventilation. If the balcony connects to occupied rooms, dust control is not optional. Tile adhesive, grout and concrete residue can produce fine silica-containing dust when broken or ground.
Workers should use appropriate respiratory protection, eye protection, hearing protection, gloves and sturdy footwear. A controlled removal setup generally includes dust extraction, collection methods for broken material and a clear path for carrying rubbish off site. This is particularly important in units, occupied homes, retail premises and commercial buildings where disruption needs to be kept to a minimum.
How to remove balcony tiles step by step
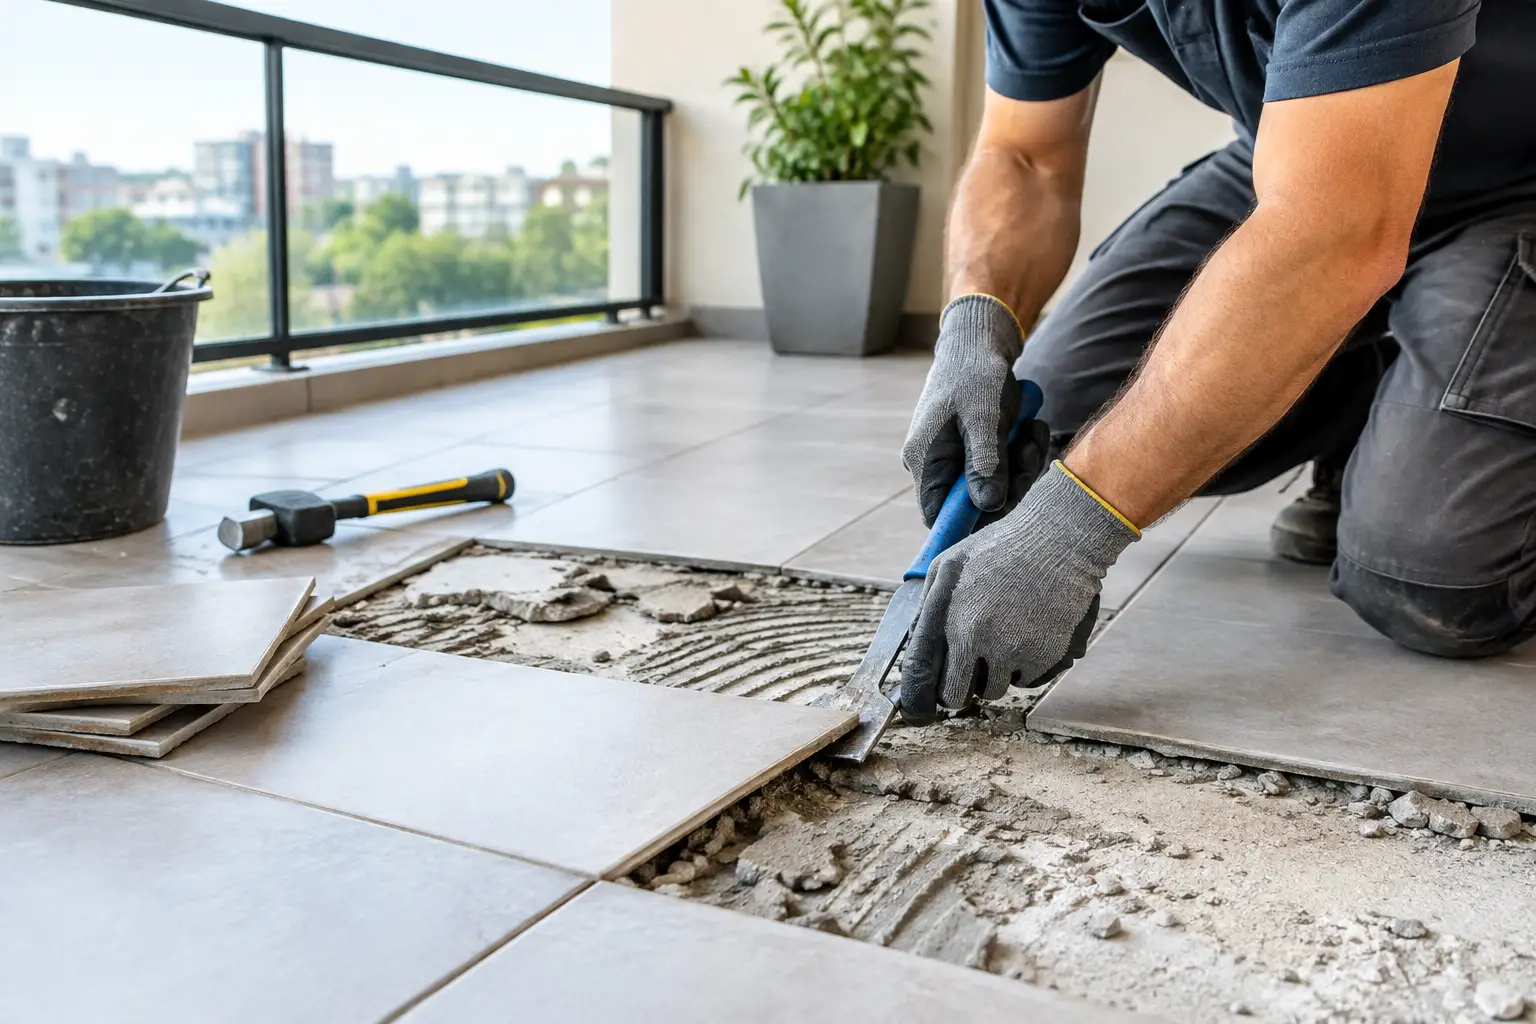
Start at an exposed tile edge, a cracked tile or a point where a tile has already lifted. Avoid beginning beside the sliding door, balcony edge or drain, where damage is harder to repair.
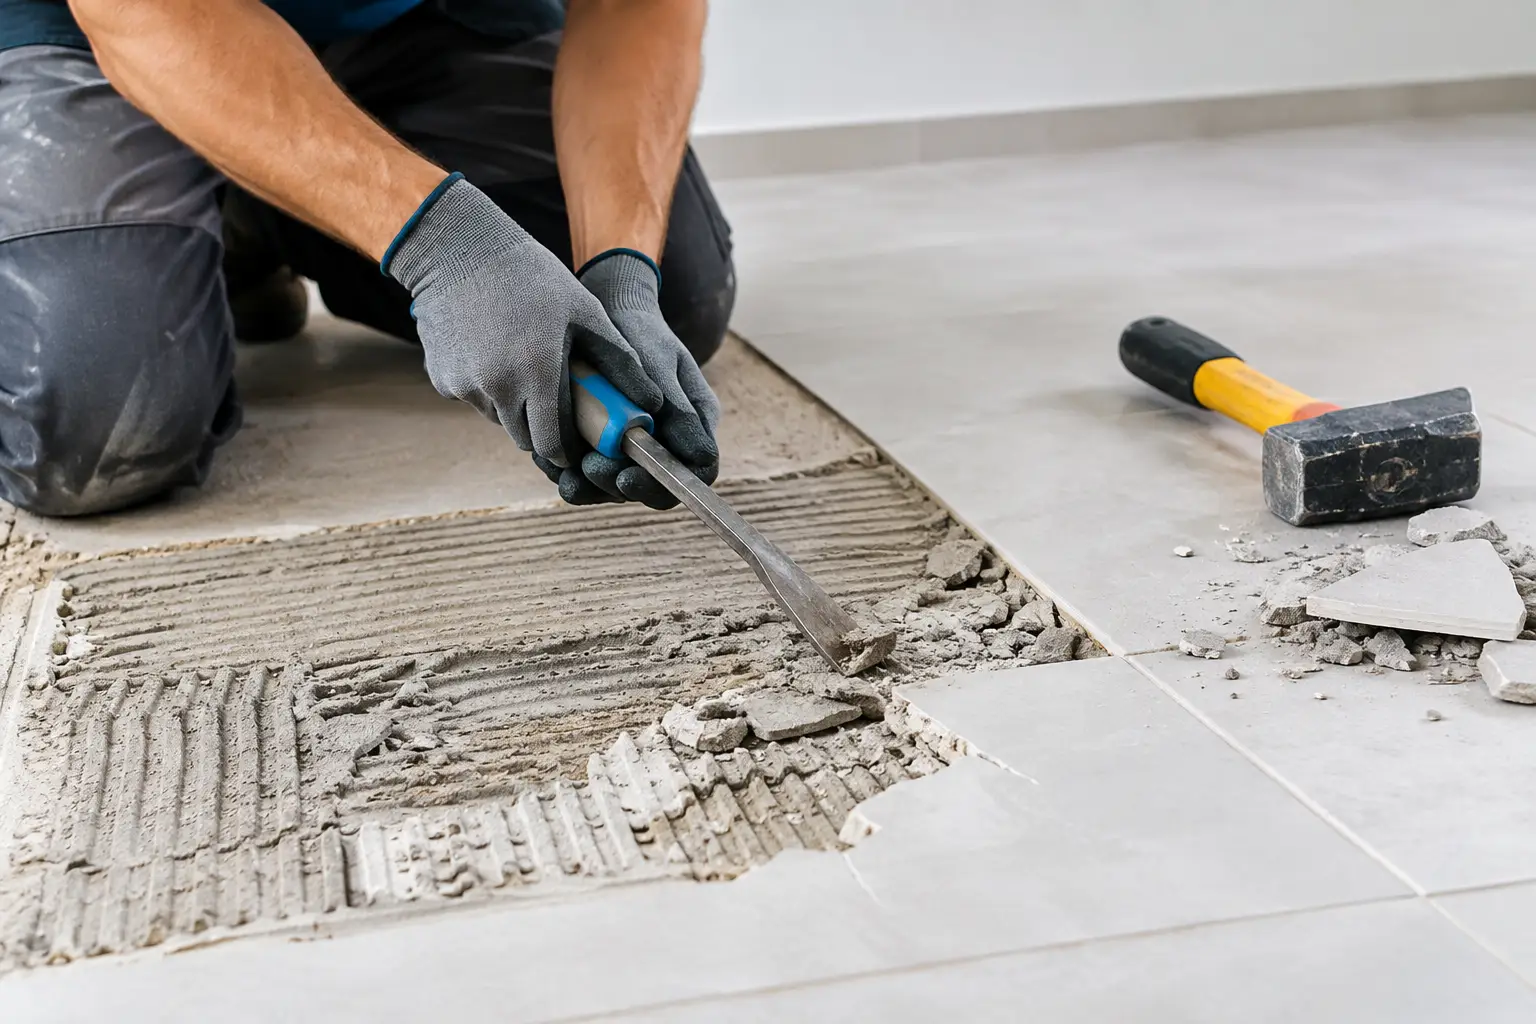
Use a cold chisel and hammer for small sections, keeping the chisel angle low and working beneath the tile rather than driving directly down into the substrate. For larger areas, an electric demolition hammer fitted with a wide tile-lifting chisel is faster, but only when used with control. The goal is to separate the tile and adhesive while preserving the layers beneath wherever possible.
Work in manageable sections and remove broken material as you go. Piles of sharp tile fragments create trip hazards and add unnecessary weight to a balcony. Keep drains protected from debris, but do not seal them in a way that allows water to pond if rain arrives during the job.
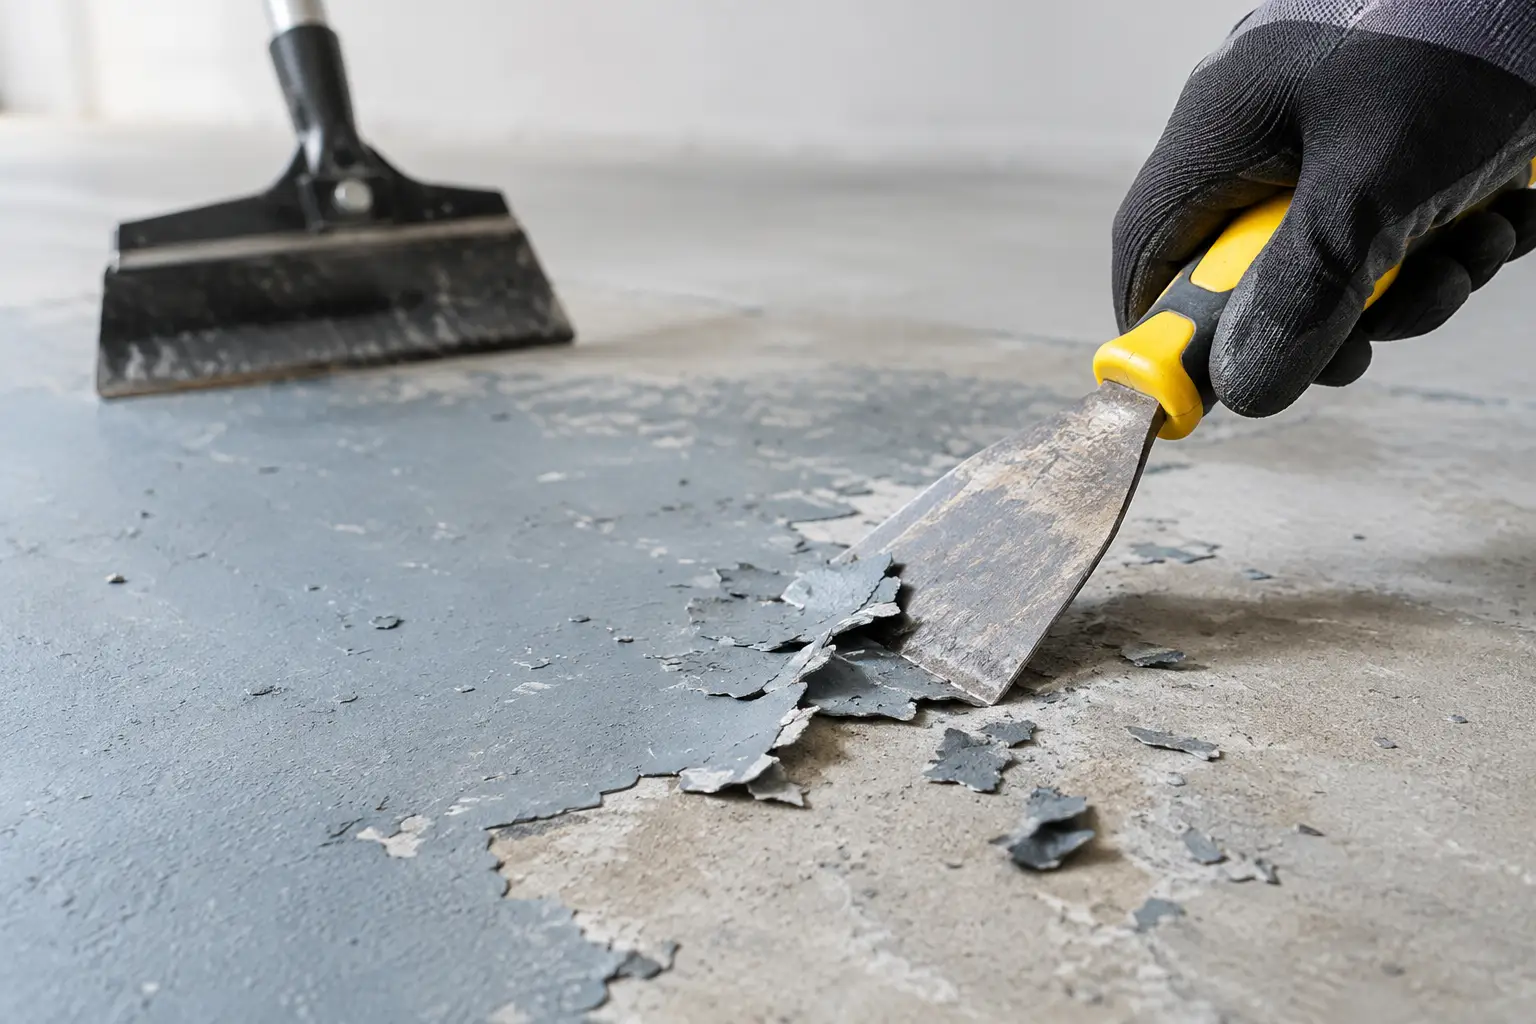
Once tiles are lifted, inspect the adhesive bed before deciding what comes next. Some adhesive can be removed with a floor scraper or grinder fitted with suitable dust extraction. Thick, hard bedding mortar may need mechanical stripping. The right approach depends on the planned finish and the condition of the substrate.
Do not assume the membrane has survived
This is the critical point in most balcony tile removal jobs. A waterproofing membrane is designed to stop water entering the structure, not to withstand aggressive chiselling or demolition hammer impacts. Even if it looks intact after tile removal, it may have punctures, tears or areas where its bond to the substrate has failed.
If the balcony is being fully retiled, the normal renovation sequence is often to remove the existing finish, assess and prepare the base, repair falls or concrete where required, then install a new compatible waterproofing system before tiling. The exact system should be determined by the waterproofing and tiling scope, not guessed after demolition has begun.
Trying to save an old membrane can make sense only in limited repair situations, and only where its condition and compatibility with the proposed repair are confirmed. It is not a shortcut worth taking when the balcony has signs of leaks, tile failure or poor drainage.
Preserve falls, drainage and slab edges
A balcony is not an indoor floor. It needs a fall that directs water to the drainage point and away from the building. During removal, avoid grinding or chiselling the surface unevenly, particularly around the drain and at the threshold.
Check whether the existing screed is sound, well bonded and correctly graded. A cracked or drummy screed can compromise the new finish even if the tiles above it were removed cleanly. Conversely, stripping a serviceable screed unnecessarily can add time and create more work around levels and drainage.
Concrete slab edges also deserve care. Overworking these areas can chip the edge, expose reinforcement or damage adjoining finishes. If concrete repairs are needed, they should be completed before waterproofing and retiling proceed.
When DIY balcony tile removal becomes a bad trade-off
A few loose tiles can often be lifted carefully. Full removal becomes a different job when tiles are strongly bonded, the area is above another dwelling, access is tight, or there is a known waterproofing issue. The physical removal is only one part of the work. Dust management, rubbish removal, substrate preparation and avoiding damage to the building are where time and risk build quickly.
Professional stripping is particularly worthwhile when you need the area ready for the next trade without a lengthy clean-up. Purpose-built tile removal equipment, slab grinding tools and dust-control systems can remove difficult coverings efficiently while leaving a cleaner, more usable base for waterproofers, tilers or builders.
Rapid Stripped handles difficult tile, adhesive and bedding removal for renovation projects across Northern NSW, the Gold Coast, Brisbane and the Sunshine Coast. For balcony work, the focus is on controlled stripping, safe debris handling and preparing the surface for the next stage – not simply breaking tiles and leaving a mess behind.
Inspect the surface before the next trade arrives
After removal, the balcony should be swept, vacuumed and inspected in good light. Check for loose adhesive, damaged screed, cracks, exposed concrete defects and blockages around drains. A clean slab or screed makes defects visible and gives the next contractor an honest starting point.
Do not cover problems with fresh adhesive. New tiles will not fix inadequate falls, failed waterproofing or a weak substrate. Address those issues while the balcony is open, when repairs can be completed properly and the finished surface has the best chance of lasting.
The best balcony tile removal leaves more than an empty space. It leaves a safe, clean and properly assessed surface that is ready for the work that follows.