
A kitchen renovation can stall before the new cabinetry is even ordered if the room is not properly cleared, isolated and prepared. This guide to kitchen strip out preparation explains what needs to happen before demolition starts, so the site is safe, controlled and ready for the next trade. The goal is not simply to pull out old cabinets. It is to remove the right materials, protect what stays, manage dust and leave a clean base for plumbing, electrical, plastering, flooring and installation.
Start with the finished kitchen, not the demolition
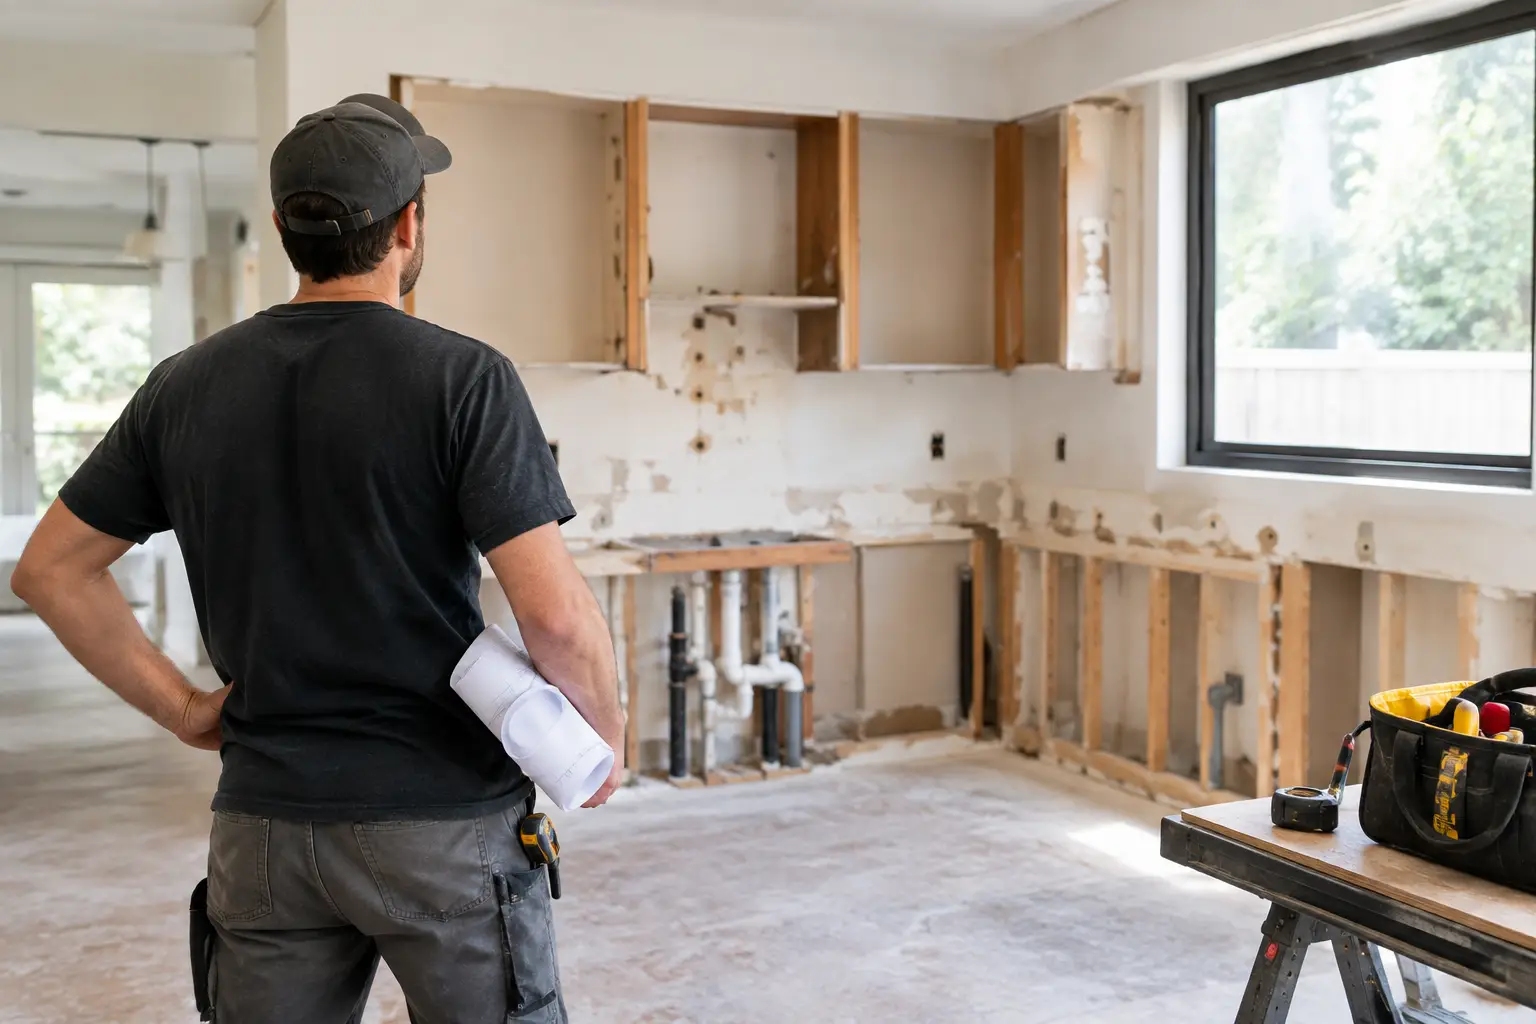
A clean strip-out starts with a clear scope. Decide exactly what is being removed and what remains in place. That includes cabinets, benchtops, splashbacks, appliances, flooring, wall linings, bulkheads, cornices, light fittings and old adhesive. A kitchen that looks straightforward can hide several layers of renovation work, particularly in older homes and investment properties.
Your new kitchen plan should drive these decisions. If the new layout moves the sink, cooktop or fridge, the strip-out needs to expose the relevant services without damaging the surrounding structure. If new flooring will run beneath the cabinets, remove the existing floor covering and adhesive across the full footprint. If the existing floor is staying, it needs proper protection from dropped materials, sharp tools and traffic.
It also pays to confirm what the installer, builder or cabinetmaker expects at handover. Some projects need bare slab. Others require walls stripped back for new linings, or only the cabinets and splashback removed. Assumptions create rework, so get the required finish confirmed before a tool touches the room.
Check for hidden risks before the kitchen strip out
Kitchens contain more services than most rooms, and those services must be identified before removal begins. Power, water, gas, drainage, data cables and ducting may run through cabinets, walls, floors and ceilings. An appliance can be disconnected from the wall but still leave live wiring, a capped pipe or an isolated connection behind it.
Arrange for the appropriate licensed trade to disconnect electrical and gas services. Do not treat isolation switches, unplugged appliances or turned-off taps as a substitute for proper disconnection. Water lines also need to be capped securely, especially where demolition will disturb old valves or brittle pipework.
Older properties need an extra level of caution. Vinyl flooring, backing materials, old adhesives, fibre cement sheeting, eaves-related linings and some textured products can contain hazardous materials. If there is any doubt, stop and arrange testing or assessment before disturbing the material. Breaking suspect sheet products into pieces or dry-grinding old adhesive is not a shortcut. It can turn a contained problem into a site-wide clean-up issue.
Structural elements also need checking. A bulkhead may only conceal ductwork, but it may also be tied into framing. A wall may look like a simple partition yet carry services or form part of the building structure. Where the plans are unclear, inspect first and remove in stages rather than forcing through the job.
Empty the room and create a clear work zone
Before demolition day, remove everything that is not fixed. Clear cupboards, drawers, pantry shelves and appliance cavities. Take down loose window furnishings, artwork and removable shelving. Emptying cabinets properly matters because hidden glassware, cleaning chemicals and small appliances can become hazards once the units are moved or dismantled.
Set aside anything being retained, such as a usable appliance, tapware, handles or cabinetry earmarked for reuse. Store it well away from the work area, not in the adjacent hallway where it can be damaged by dust, traffic or rubbish removal.
Access is part of preparation too. Identify the path from the kitchen to the skip, ute or collection point. Remove obstacles from hallways, protect vulnerable flooring and make sure doors can open fully. In units, offices, retail sites and other shared buildings, confirm lift access, loading zones, work hours and rubbish removal requirements before work starts. These details can decide whether a strip-out runs smoothly or loses half a day to access issues.
Protect the parts of the property that stay
Kitchen strip-outs are dusty and physical. Dust barriers should separate the work zone from occupied rooms, while floor protection should cover any finished surfaces along the removal path. Where practical, isolate air-conditioning returns and vents near the work area to reduce dust migration.
Protection needs to suit the job. Cardboard alone is not enough over polished timber or tiled floors where heavy cabinets, tile rubble and sharp fragments are being moved. Door jambs, benchtops in adjoining areas and nearby glazing also deserve attention. Good protection is faster than repairing avoidable damage after the fact.
Plan dust control and waste removal properly
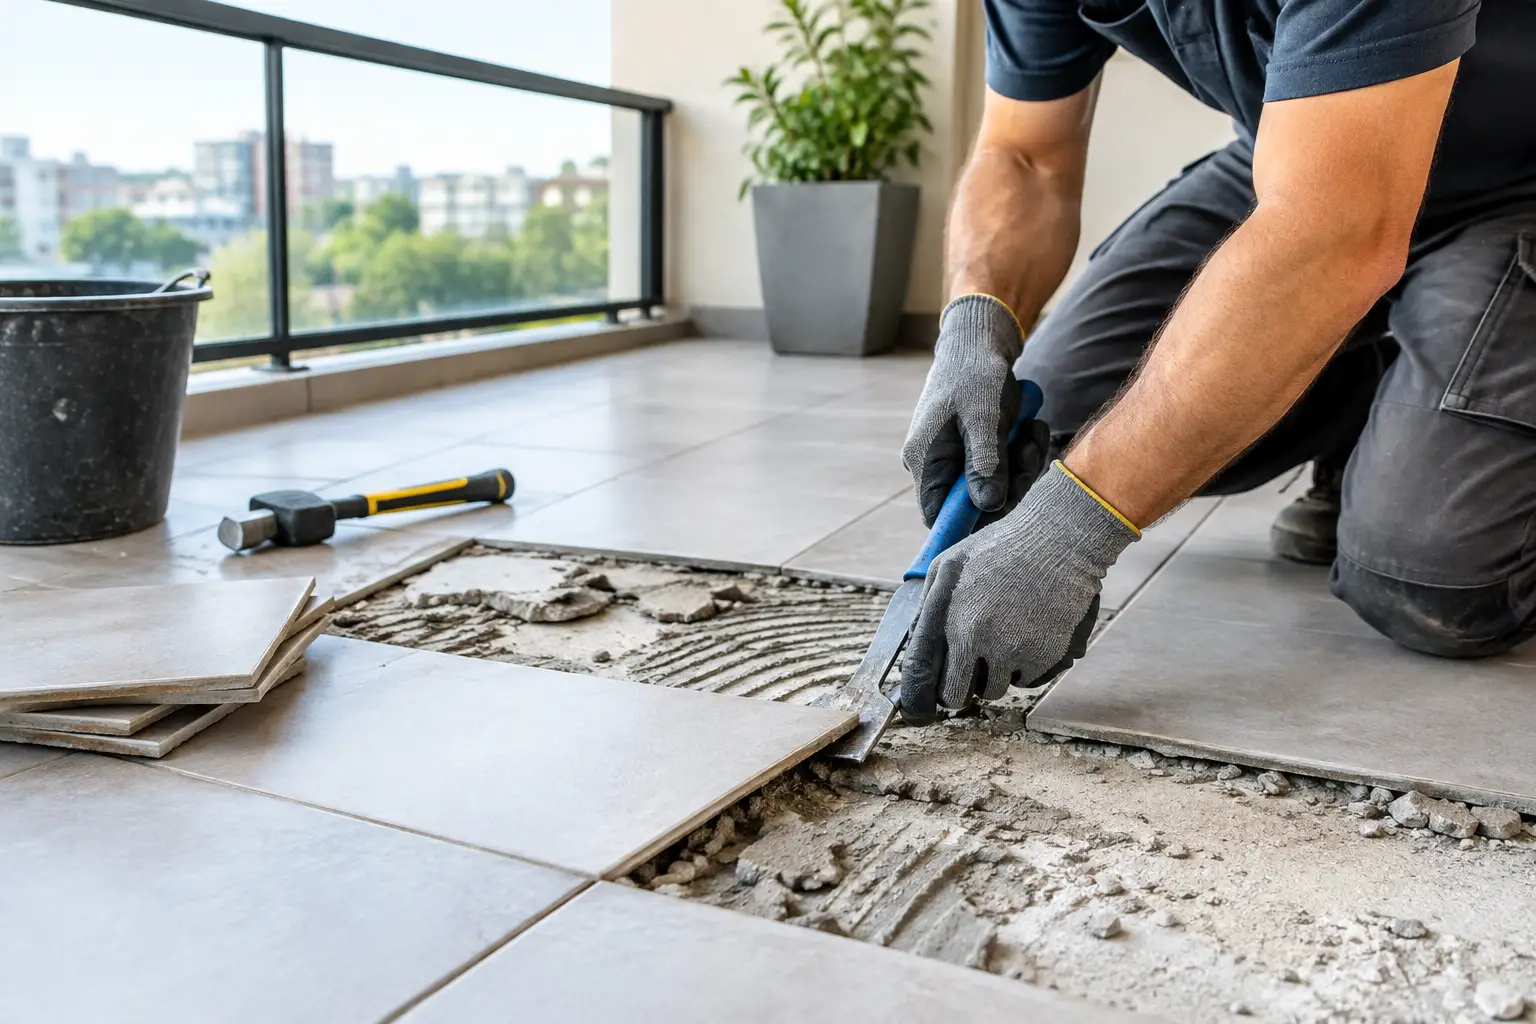
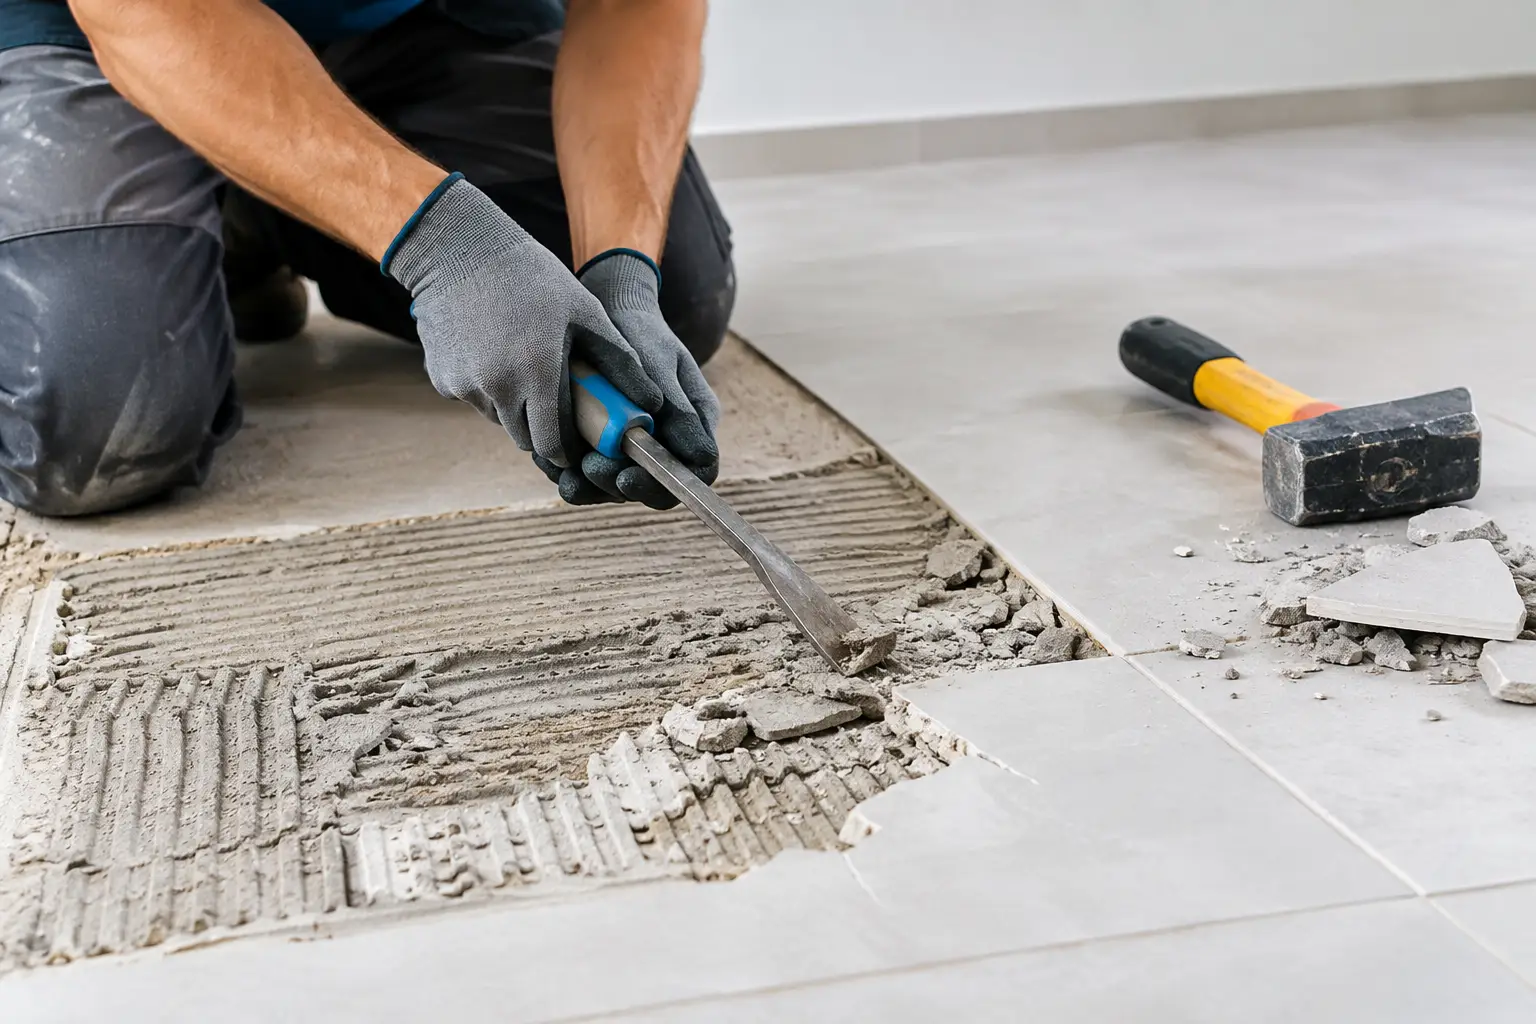
Tile removal, splashback demolition, slab grinding and adhesive removal generate fine dust. This is where preparation separates a controlled strip-out from a messy one. The right approach depends on the material and substrate, but it usually involves containment, suitable extraction, regular clean-downs and methods that limit airborne dust at the source.
Dry sweeping rubble through an occupied home spreads fine particles into places nobody intended to renovate. Likewise, smashing out tiles without considering the substrate can leave gouges, loose bedding or adhesive that holds up the flooring contractor. The kitchen may look empty, but it is not ready if the slab is uneven, contaminated or covered in residue.
Waste should be separated where practical. Timber, metal, cabinetry, appliances, general demolition rubbish and regulated materials may require different handling. Appliances are often heavier than expected, and stone benchtops can be particularly difficult to manoeuvre safely. Plan the lifting route and removal method before the benchtop is cut free.
For larger renovations, coordinate waste removal with the demolition sequence. You do not want piles of cabinetry blocking access when flooring still needs to come out. Keeping the site progressively cleared makes the work safer, faster and easier to inspect.
Remove in the right sequence
There is no single sequence for every kitchen, but a disciplined order prevents damage and makes service checks easier. Once services are professionally isolated, removable appliances and loose components generally come out first. Benchtops, cabinets, splashbacks, wall finishes and flooring can then be addressed according to the renovation plan.
The key trade-off is between speed and preserving reusable elements. If cabinets, appliances or fittings are being retained, removal takes more care and usually more time. If everything is going, controlled demolition is often the most efficient route, provided services and structural constraints have been dealt with first.
Flooring deserves its own plan. Tiles and thick bedding may need mechanical removal, followed by slab grinding to remove adhesive and high spots. Timber, vinyl, cork and carpet can leave behind staples, nails, levelling compounds or stubborn glue. A new floor covering is only as good as the surface below it, so do not leave substrate preparation as an afterthought.
Know what a renovation-ready handover looks like
A proper kitchen strip-out should leave the next trade with a site they can work from, not another layer of demolition. That usually means the specified materials are removed, services are safely capped or terminated by the right trade, rubbish is cleared, and the floor or slab is prepared to the agreed condition.
Before signing off, walk through the room with the scope in hand. Check corners, behind old cabinet runs, under appliance spaces and around plumbing penetrations. These are common places for adhesive, loose tile bedding, nails, damaged sheeting and forgotten rubbish to remain. Photograph exposed services and wall or floor conditions before new work covers them up. It can save confusion later if a pipe location or substrate issue needs to be confirmed.
If the next stage is cabinetry, make sure walls are sound enough for fixing and that any required patching is booked. If flooring comes next, confirm moisture, flatness and residue requirements with the installer. Different products have different tolerances, and a slab that is acceptable for one floor may need more preparation for another.
A practical pre-strip-out checklist
Before work begins, make sure these four areas are locked in:
- The final renovation scope confirms what is removed, retained and protected.
- Electrical, gas and plumbing disconnections are arranged with licensed trades.
- Hazardous-material risks, access conditions, dust containment and rubbish removal are planned.
- The required handover condition is agreed with the builder, installer or following trade.
For homeowners and project managers across Northern NSW, the Gold Coast, Brisbane and the Sunshine Coast, a specialist team such as Rapid Stripped can take the hard removal work off the critical path. Difficult tiles, old adhesives, flooring layers and kitchen demolition are best handled with the equipment, dust control and site discipline the job requires.
A well-prepared kitchen gives every trade after it a better start. Get the strip-out right, and the new kitchen can move forward on a clean, safe and properly prepared base.