
A medical clinic strip out is not a standard office demolition job. This medical clinic strip out example shows why: the work may involve active neighbouring tenancies, sensitive services, strict dust control, difficult floor coverings and a firm handover date for the incoming fit-out team.
The goal is not simply to pull out walls and rip up flooring. It is to leave a clean, safe, properly prepared space that lets builders, electricians, plumbers and floor installers start without inheriting hidden problems. That takes planning, the right equipment and a crew that knows when to remove aggressively and when to work with care.
Medical clinic strip out example: an empty tenancy ready for refit
Consider a former suburban GP clinic being converted into a larger allied health practice. The tenancy includes reception, consult rooms, treatment areas, staff amenities, a small pathology room and storage. The clinic has closed, but businesses on both sides remain open. The landlord requires the premises returned to a bare, workable condition before the new fit-out begins.
On inspection, the site has ceramic tiles through reception and corridors, sheet vinyl in consult rooms, commercial carpet tiles in offices and old epoxy coating in a treatment space. There are multiple layers of adhesive beneath the floor finishes. Some internal partitions are to go, while perimeter walls, existing services and parts of the ceiling grid are to remain.
That scope immediately changes the approach. A quick demolition without clear separation can damage slab edges, cut into live services or send dust into adjoining businesses. It can also leave adhesive, tile bedding and uneven substrate behind, creating delays for the next trade.
A professional strip out starts by confirming exactly what stays, what goes and what the site must look like at handover.
Start with the site, not the tools
Before removal begins, the project needs a proper walk-through with the client, builder or property manager. Existing drawings are useful, but the site tells the real story. Rooms may have been altered over time, services may have been rerouted and floor finishes can conceal patch repairs, levelling compounds or unexpected substrate issues.
The team identifies access points, lift or stair use, loading arrangements, rubbish removal routes and working-hour restrictions. In a medical or commercial complex, this is often the difference between an efficient job and a disruptive one. A clear path from the work area to the skip or truck reduces traffic through common areas and keeps dust and debris contained.
Services must be identified and isolated by the appropriate qualified trades before demolition starts. This can include electrical circuits, data cabling, plumbing, gas, air-conditioning controls, fire services and security systems. Nothing should be assumed dead because a room appears vacant.
Where the age or history of the building raises concerns, potentially hazardous materials must be assessed before work proceeds. Older vinyl, adhesives, backing materials and building linings require particular care. The correct process depends on what is found, and stopping to assess is always better than creating a safety issue or contaminating the site.
Containment matters in a clinical setting
Even when a clinic is vacant, dust control is not optional. Fine dust travels through door gaps, ceiling voids and air-conditioning paths. It can affect neighbouring tenants, common areas and equipment left in adjacent suites.
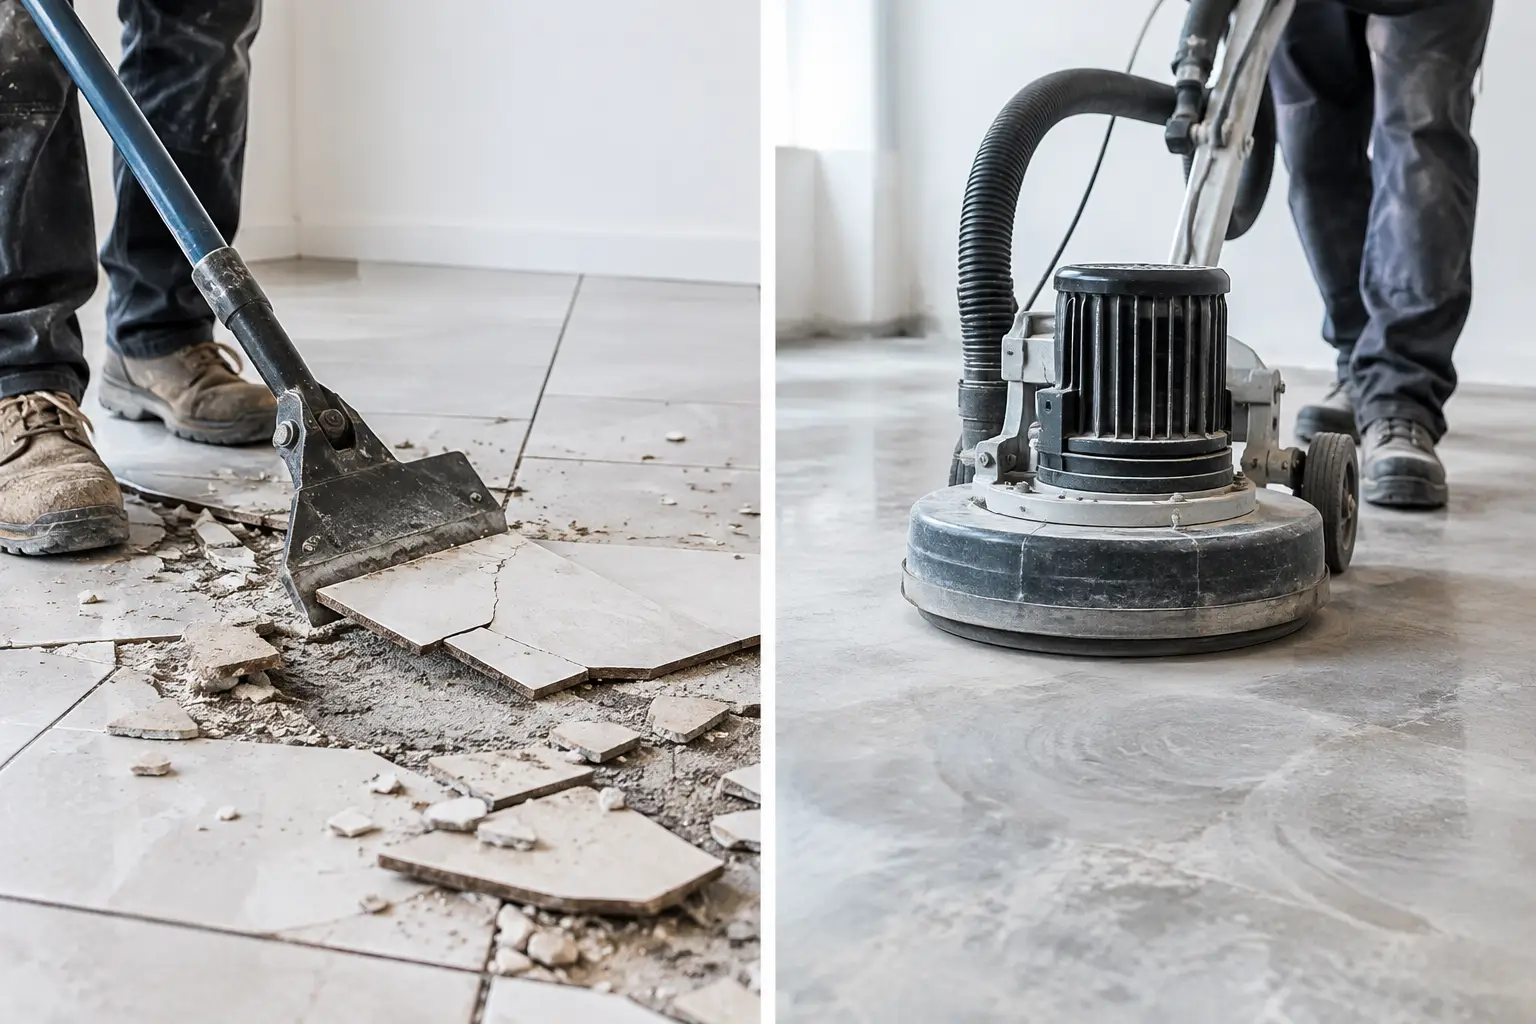
For this example, the work zone is separated using temporary containment, with access managed through a designated entry point. Floor protection is installed where removal crews need to cross shared corridors. Dust extraction and vacuum-assisted equipment are used during tile removal, grinding and adhesive preparation, rather than relying on a final clean to solve the problem.
This is also where sequencing matters. Removing carpet and loose furnishings first clears the way for heavier floor removal. Partitions are taken down in planned sections so material can be removed progressively, not piled up in a corridor. Wet areas and treatment rooms are handled carefully because plumbing penetrations, waterproofing transitions and slab set-downs can be easily damaged.
A clean work zone is safer, quicker to inspect and easier to hand over. It also makes it far more likely that the rest of the building can keep operating without complaints.
Removing each floor correctly
The floor is often the hardest part of a clinic strip out. Different rooms may contain different materials, and each one responds differently to removal equipment.
In the reception and corridor, ceramic tiles are lifted along with the bedding where required. The job is not complete when the visible tile is gone. Thick adhesive or mortar ridges can prevent the next floor finish from bonding correctly, so the slab must be assessed after removal. Mechanical grinding may be needed to bring the surface back to a sound, even condition.
Sheet vinyl in consult rooms can look straightforward until it tears into strips or leaves a stubborn adhesive layer. Removing the vinyl is only the first stage. The adhesive must be removed or mechanically prepared to suit the new flooring system. If the new fit-out calls for vinyl, hybrid planks, carpet tiles or polished concrete, the substrate requirements will differ.
Commercial carpet tiles can often be lifted quickly, but the backing adhesive can be the real issue. Old pressure-sensitive glue may remain tacky, while harder adhesives can need grinding. In either case, a floor installer should not be expected to work over loose residue, contamination or rough patches left behind by a rushed strip out.
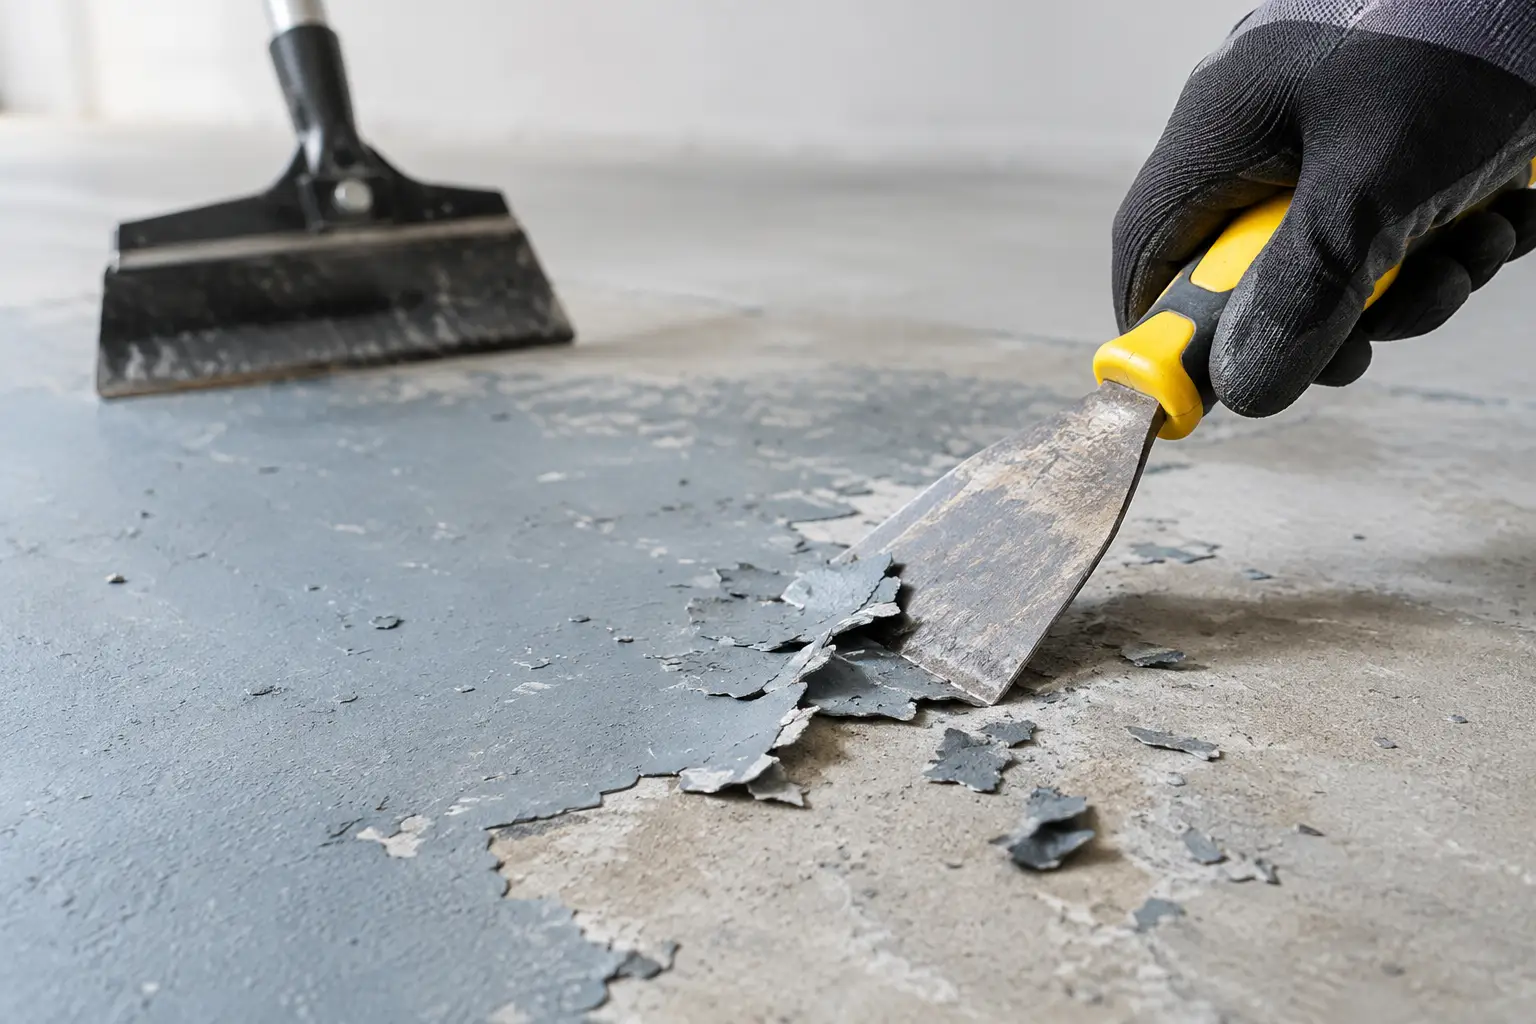
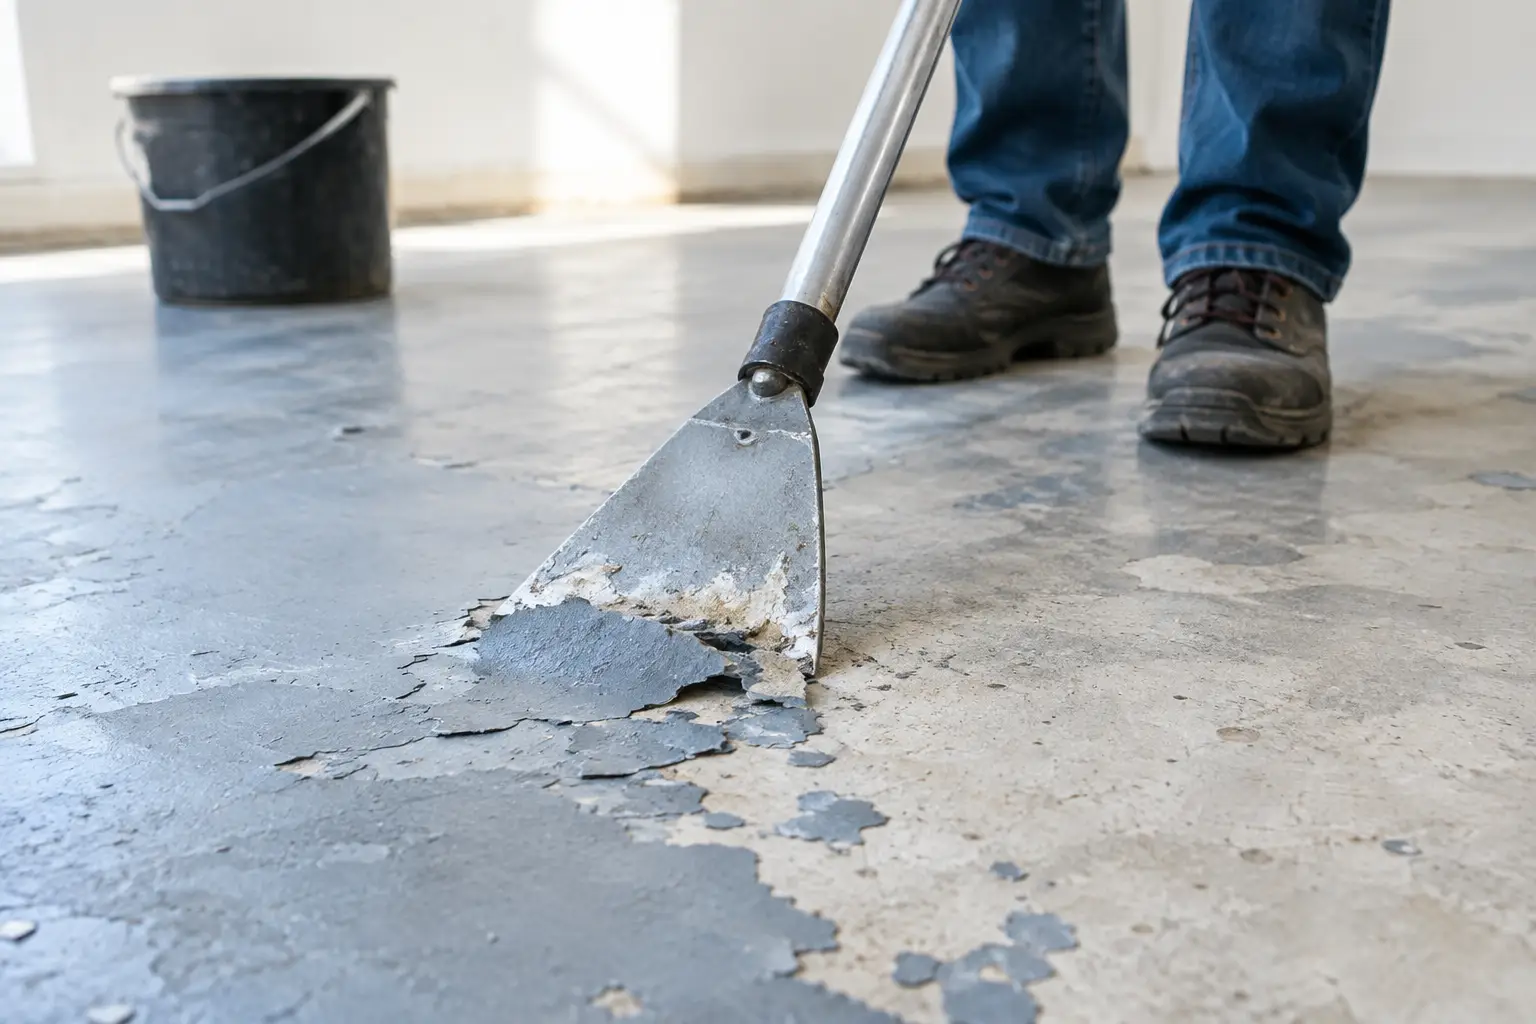
The old epoxy coating in the treatment room requires a different method again. Coatings may be well bonded in some areas and failing in others. Grinding equipment with suitable tooling is used to remove the failed coating and profile the slab. The aim is a consistent surface, not random patches of exposed concrete surrounded by coating residue.
What gets removed, and what should stay
A quality strip out is controlled demolition. Removing more than required can blow out the following trades. Removing too little can leave the client paying twice for site preparation.
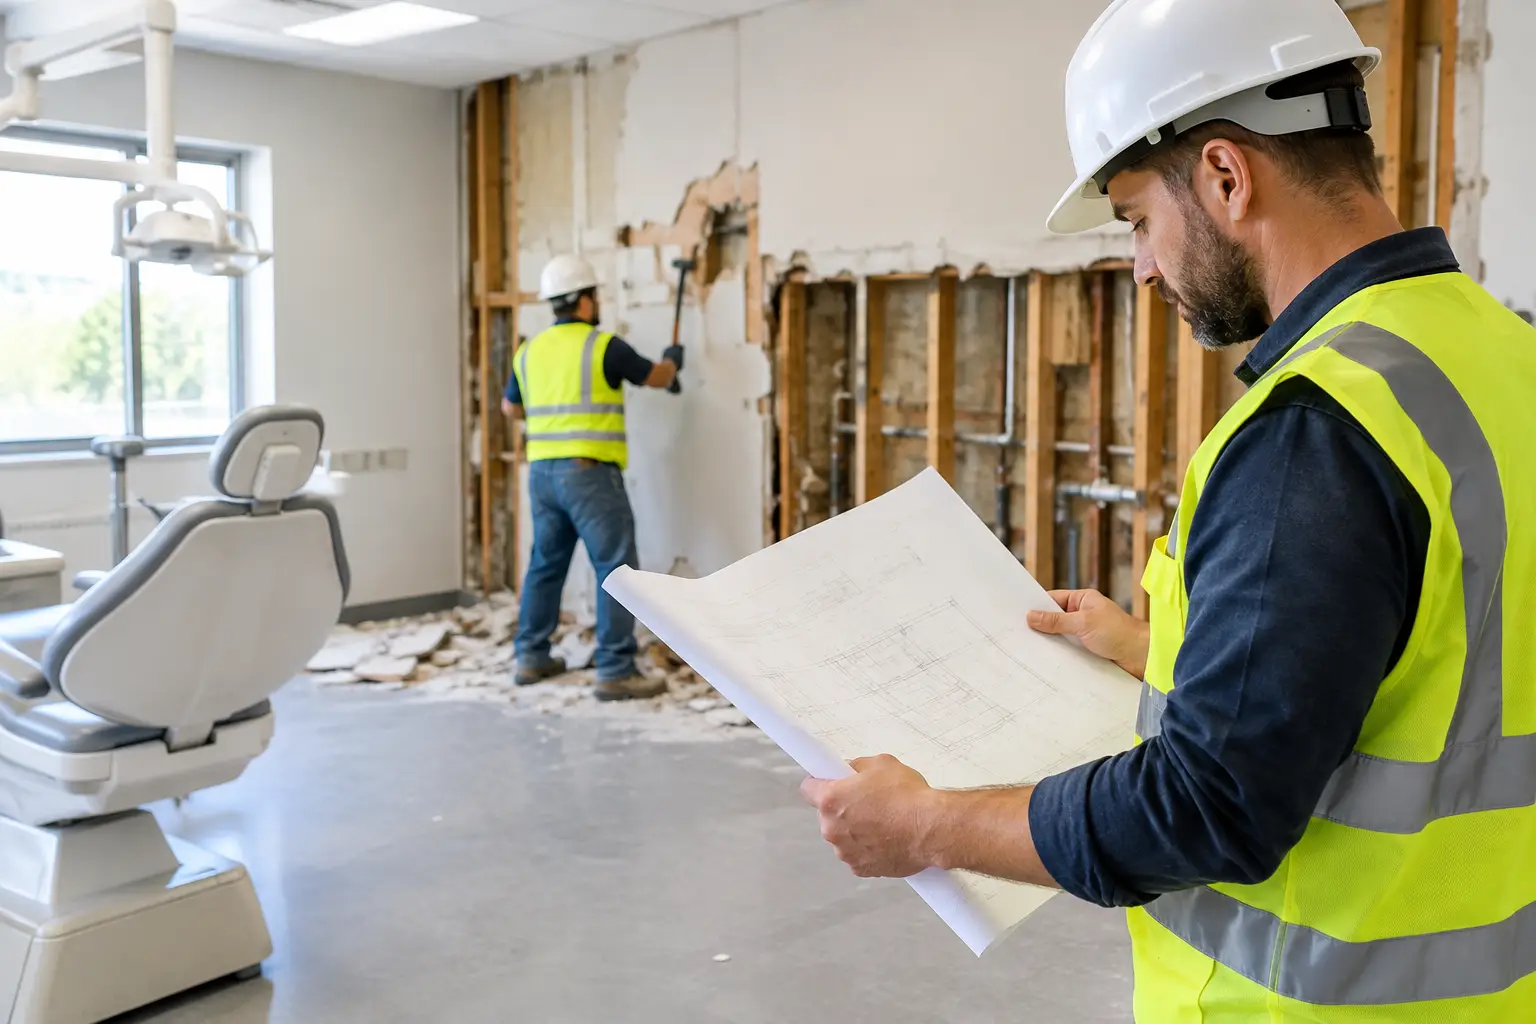
For the example clinic, the internal non-loadbearing partitions, old joinery, reception desk, damaged floor finishes and redundant fixtures are removed. The team keeps clear of nominated ceiling components, external walls, retained plumbing points and fire-service infrastructure. Any uncertainty is raised before the demolition crew proceeds.
There are trade-offs here. If a partition is being removed but the ceiling grid will stay, the crew needs to separate the wall cleanly at the ceiling line. If cabinetry is fixed over tile flooring, the cabinetry may need to come out first to allow full floor removal. If a wall is staying but its skirting is damaged or contaminated by adhesive, the client must decide whether it is to be protected, removed or replaced during the fit-out.
These decisions are best made early. A simple marked-up plan, site meeting and written scope save time once tools are on the floor.
The handover standard is where the job is won
The best medical clinic strip outs do not create problems for the next contractor. At handover, the premises should be free of demolition debris, with rubbish removed progressively rather than left as a final obstacle. Floors should be stripped to the agreed level, with adhesives, tile bedding and coatings dealt with as specified.
The slab should be checked for high spots, loose material, cracks, penetrations and moisture-related concerns that may affect the new floor system. Not every imperfection must be repaired by the strip-out team, but obvious conditions should be identified clearly. A builder can then organise patching, levelling or waterproofing without discovering the issue after new materials arrive.
It is also worth checking that wall and floor junctions are clean, openings are safe and retained services are protected. A bare tenancy can look simple, but the quality of preparation is visible to every trade that follows.
Timing a clinic strip out around the refit
Many clinic projects work to tight lease dates, contractor bookings and opening targets. The strip-out stage has to move quickly, but speed only helps when it is backed by discipline. A crew arriving with the right machines, dust-control setup and removal plan can complete a substantial amount of work within a day, depending on site size, access and materials.
The variables are real. A ground-floor tenancy with direct vehicle access is different from a first-floor clinic reached through a shared lift. Light carpet removal is different from bonded tile and epoxy grinding. A site with retained services and occupied neighbours requires more protection than an empty standalone building.
For commercial sites across the Gold Coast, Brisbane, Northern NSW and the Sunshine Coast, Rapid Stripped approaches these jobs with the practical focus they demand: remove the unwanted materials, protect what stays, control the mess and leave the floor ready for the next stage.
A clinic refit runs better when the strip-out crew gives the project a clean starting point. Get the scope clear, deal with the difficult flooring properly and make the handover useful to the people who have to build what comes next.