
A worn floor can make a renovation look harder than it is. The real question is what sits underneath it. Floor stripping versus sanding is not simply a choice between two ways to clean up a surface. They are different processes, used on different materials, and choosing the wrong one can waste time, damage the substrate, and hold up the next trade.
For homeowners, builders and commercial property managers, the goal is straightforward: remove what needs to go, protect what needs to stay, and leave a clean, sound surface ready for the next stage. That might mean new tiles, hybrid flooring, carpet, epoxy, polished concrete or a timber floor restoration.
Floor stripping versus sanding: the key difference
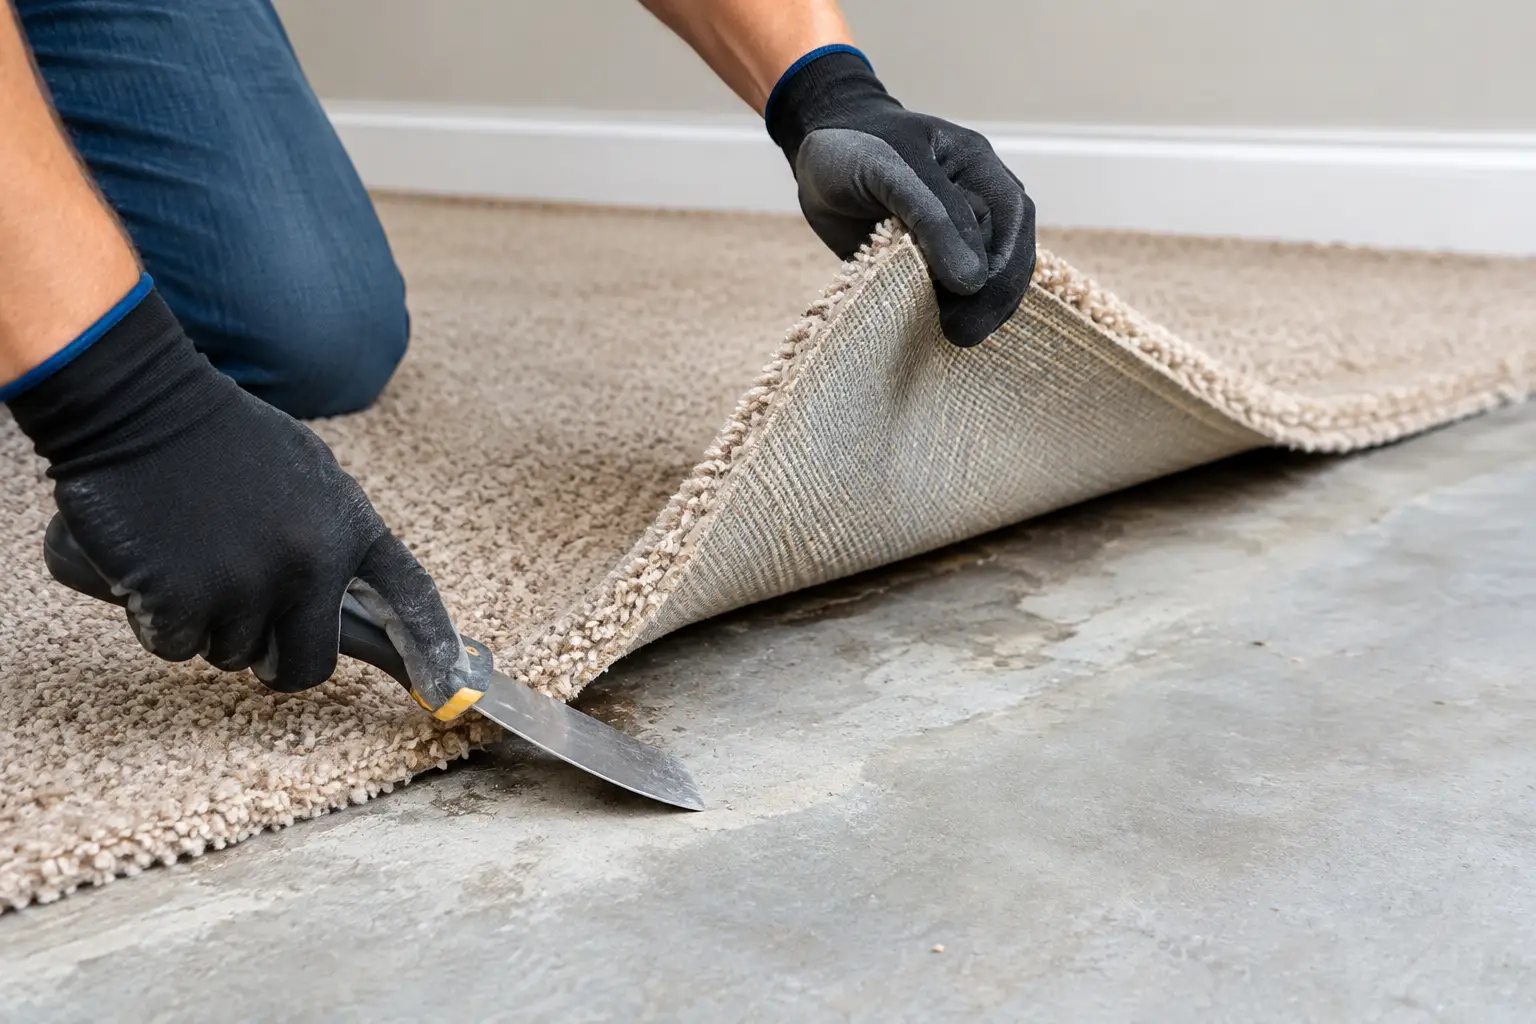
Floor stripping removes an existing floor covering and, where required, the adhesive, bedding, levelling compound or residue holding it down. It is demolition and surface preparation work. Depending on the job, this can involve lifting tiles, pulling up carpet, removing vinyl, breaking out timber flooring, scraping adhesive or grinding back a concrete slab.
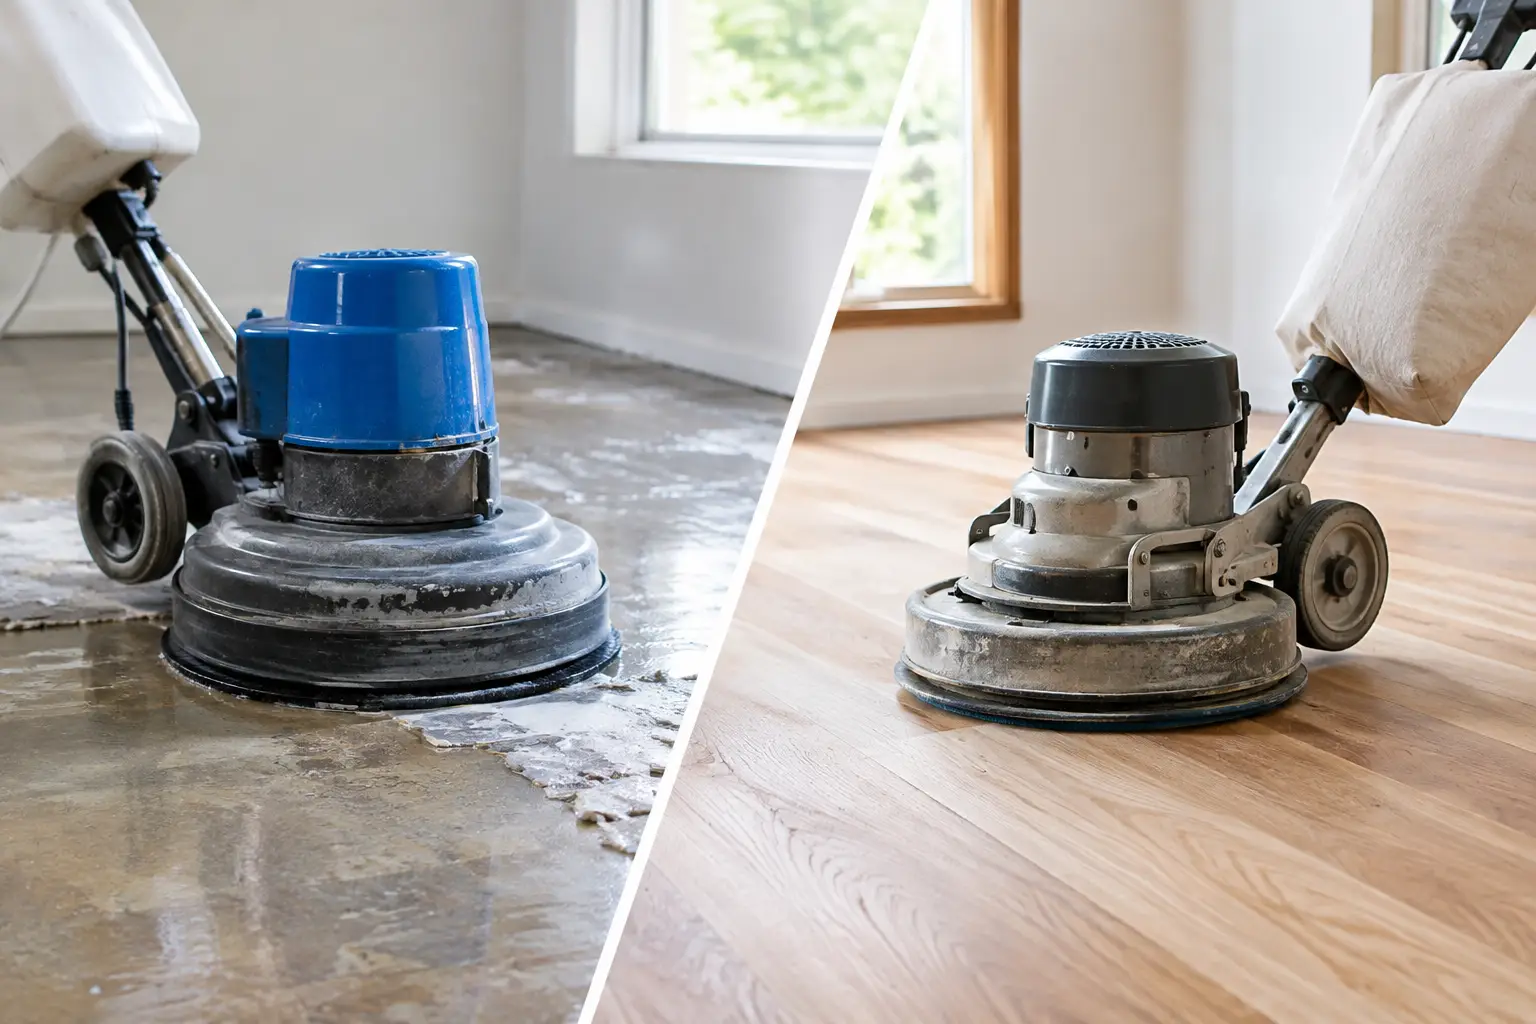
Sanding is a refining process. It removes a controlled layer from a timber floor to level boards, remove old coatings, reduce scratches and prepare the timber for a new finish. It is not designed to lift ceramic tiles, remove glued vinyl, break up tile bedding or strip thick adhesive from concrete.
That distinction matters. A sanding machine on a floor covered in stubborn glue or uneven residue is likely to clog, drag and deliver an inconsistent result. Equally, aggressive stripping equipment used on a hardwood floor intended for restoration can cause avoidable damage. The right method depends on the material, the substrate and the finish planned for the room.
When floor stripping is the right job
Floor stripping is generally the first step where an old covering needs to be completely removed. It is the practical solution for renovations where the existing material is beyond repair, unsuitable for the new finish, or sitting over a substrate that needs attention.
Tiles, stone and thick bedding
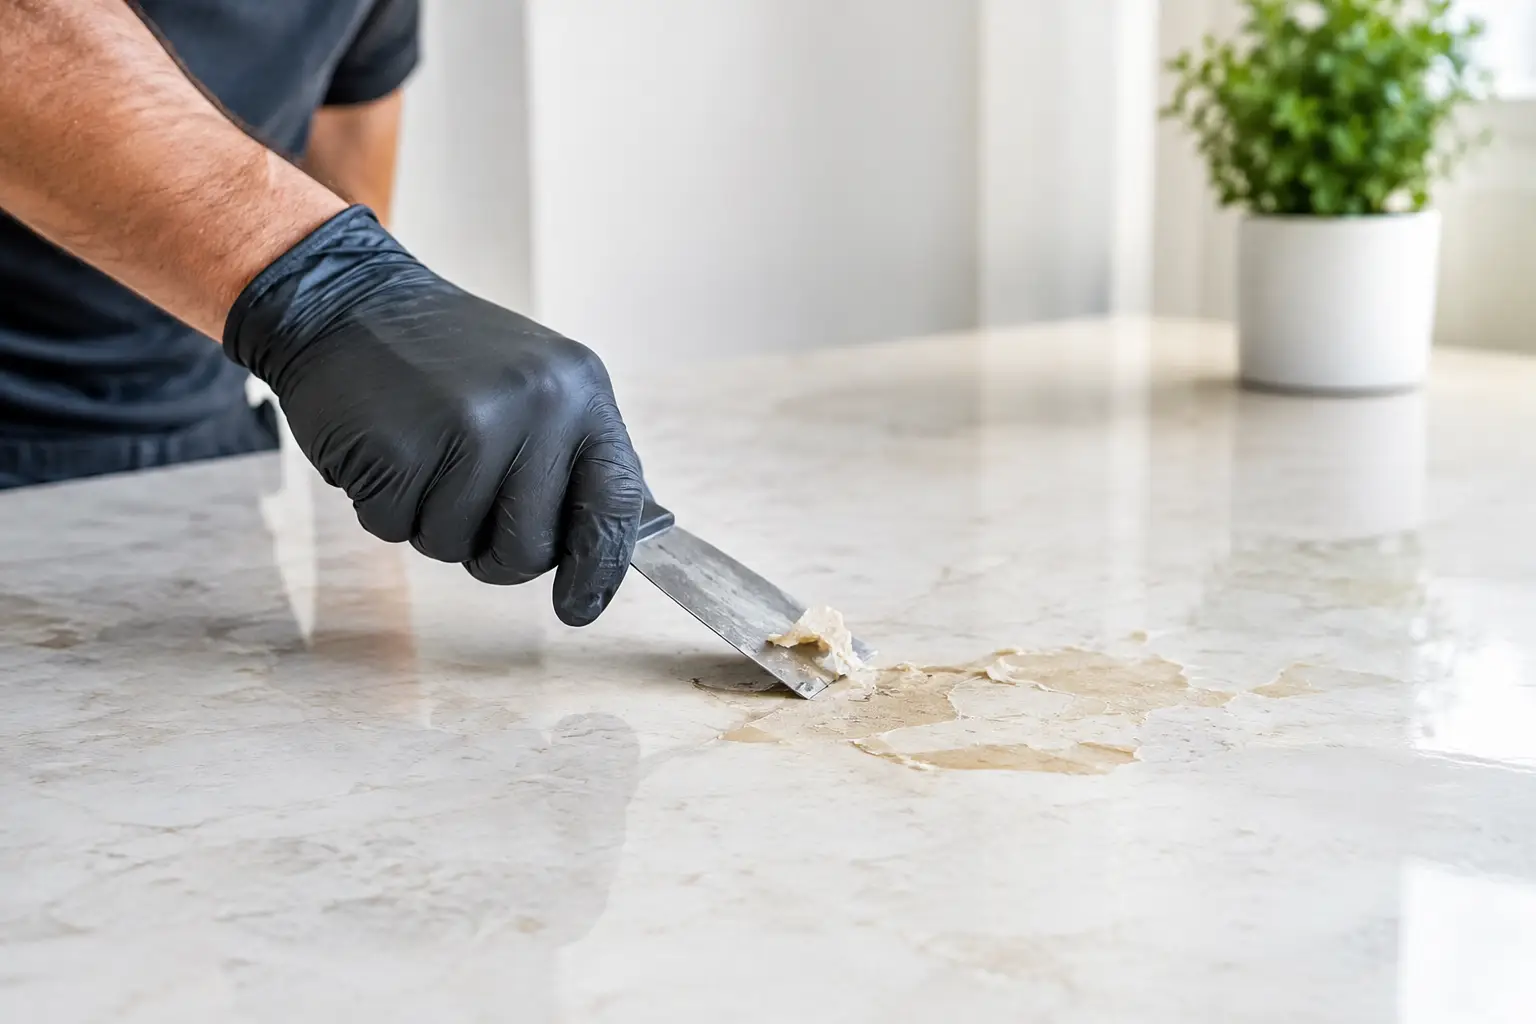
Ceramic, porcelain, terracotta, slate, marble and pool tiles need to be lifted before the floor can be rebuilt. The challenge is often not the tile itself but the adhesive or cement-based bedding left behind. If that material is not removed properly, a new covering may sit unevenly or fail to bond as intended.
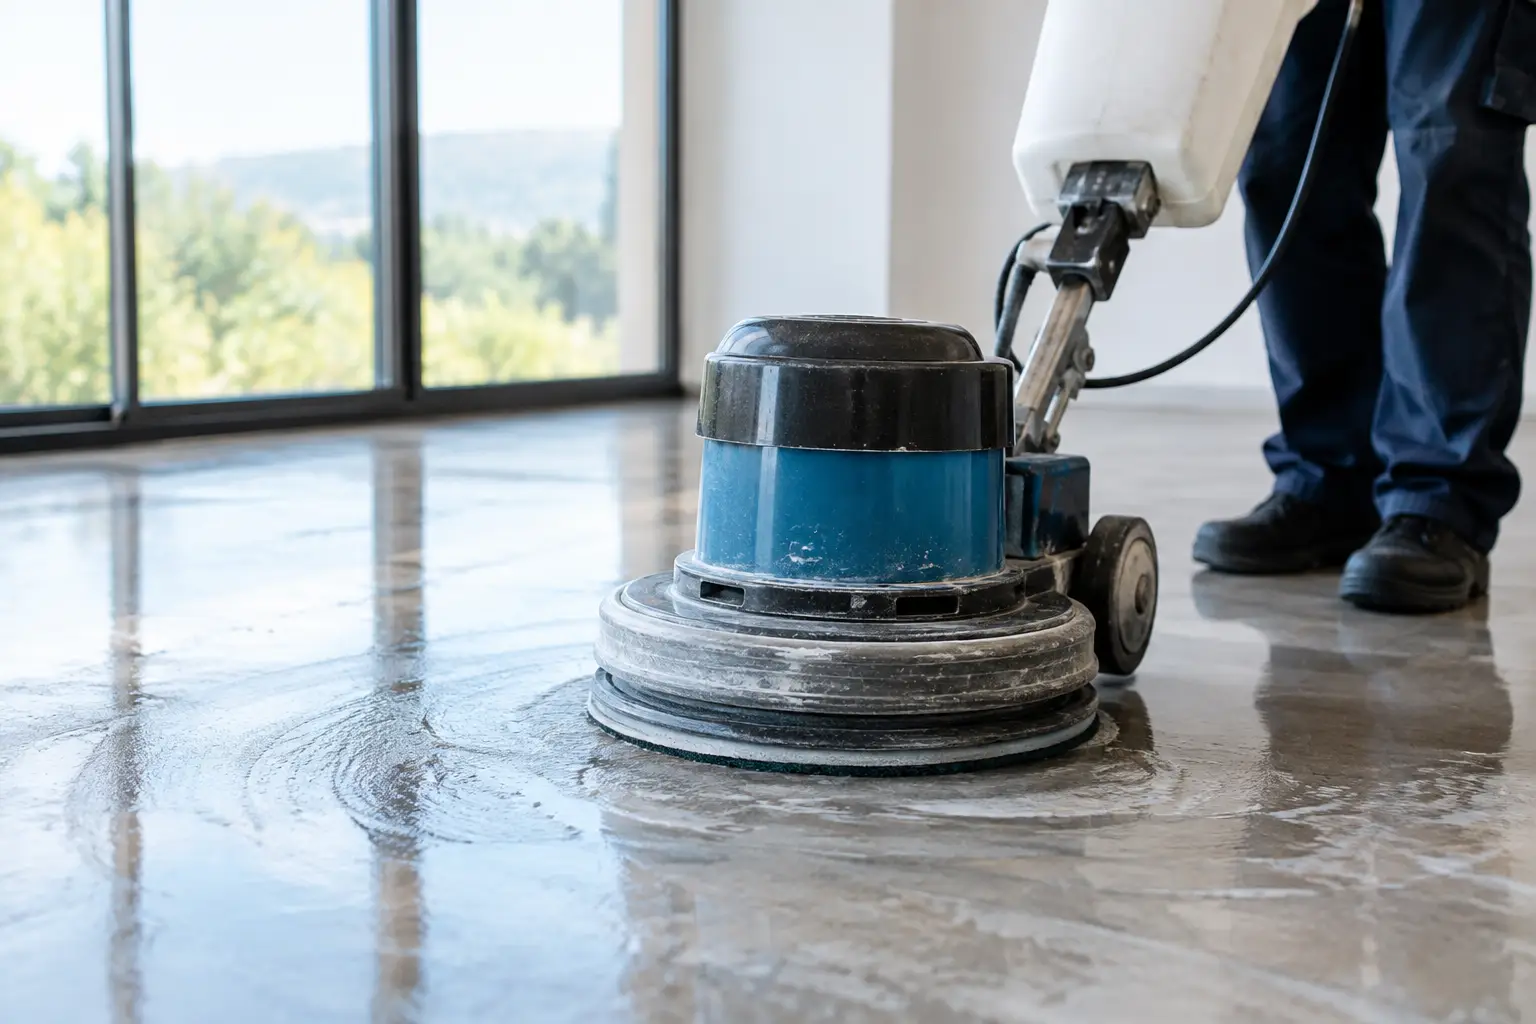
Mechanical tile removal followed by slab grinding can bring the surface back to a usable condition. The level of preparation required depends on what comes next. Large-format tiles, vinyl planks and epoxy systems all demand a flatter, cleaner base than some other finishes.
Vinyl, cork, carpet and glued coverings
Old vinyl and cork can appear simple to remove until the backing tears apart or the adhesive stays firmly attached to the slab. Carpet may also leave tack strips, staples, underlay residue and glue around the perimeter. These materials call for controlled removal, not sanding.
The same applies to engineered timber, parquet and laminate that has been glued down. Once the boards are lifted, the remaining adhesive must be assessed. Some residues can be mechanically removed; others need grinding to achieve the profile required for the new installation.
Concrete floors being prepared for a new finish
If a concrete slab is receiving epoxy, a coating, new tiles or a glued floor finish, surface preparation is critical. Paint, old coatings, adhesive and contaminants can interfere with adhesion. Stripping and grinding remove the failed or unwanted layer so the installer is working with a stable base rather than a patchwork of old materials.
This is where a clean job site makes a real difference. Effective dust control, rubbish removal and a disciplined process keep the renovation moving and reduce the mess carried into adjoining areas.
When sanding is the better option
Sanding makes sense when the existing floor is genuine timber and the boards are worth keeping. Solid hardwood floors are the clearest example. If the floor has surface scratches, worn polyurethane, minor staining or slight unevenness, sanding can restore the timber without removing it.
A proper assessment comes first. Loose boards, deep water damage, severe cupping, termite damage and extensive patch repairs may change the recommendation. Sanding can improve a sound timber floor, but it cannot fix structural problems below it.
Engineered timber needs extra care. Some products have only a thin timber veneer, which may allow for a light sand at most, while others are not suitable for sanding at all. Laminate flooring is different again. It has a printed wear layer rather than solid timber, so sanding will ruin the finish instead of restoring it.
Sanding is also sometimes used after removal work, but only in the right setting. For example, old carpet and underlay may be lifted from hardwood boards, then the exposed timber can be sanded and refinished. The removal stage clears the way; sanding restores the retained floor.
The order of work matters
A common renovation mistake is treating floor preparation as one task. In reality, it is a sequence. First, identify the existing floor covering and the substrate below. Next, remove the material that is no longer part of the plan. Then inspect the exposed surface for damage, adhesive, high spots, cracks and moisture concerns.
From there, the preparation method should match the new finish. A slab that will receive tiles may need remaining bedding ground down and local repairs completed. A slab for epoxy needs a clean, properly profiled surface. A hardwood floor being retained needs repair work completed before sanding begins.
Trying to skip the removal or preparation stage usually shifts the problem forward. New flooring laid over unstable tiles, soft vinyl, loose adhesive or an uneven slab can lead to movement, hollow spots, failed bonds and a finish that looks poor from day one.
Avoid the shortcuts that create bigger repairs
Covering an old floor rather than removing it can occasionally be appropriate, but it is not automatically the faster option. Extra floor height can affect doors, skirting, cabinetry, transitions and drainage points. In bathrooms, laundries and commercial entries, those details are especially important.
Another shortcut is leaving adhesive because it appears flat. Adhesive can react with levelling products or prevent a new coating from bonding correctly. What looks acceptable to the eye may not meet the requirements of the flooring system being installed.
There are also safety considerations. Older vinyl products, backing materials, mastics and building products may require testing before disturbance. If there is any doubt about hazardous materials, stop work and have the material assessed before cutting, grinding or scraping. Fast work should never mean careless work.
What a job-ready floor should look like
A job-ready floor is not simply one with the old covering removed. It should be cleared of loose material, adhesive and debris that could affect the next trade. It should be checked for damage and prepared to the level required by the new finish.
For many projects, that means tile removal followed by concrete grinding, with rubbish taken away and the work area left clean. On timber restoration projects, it may mean careful uplift of old coverings, repairs to boards and a clear surface ready for a flooring specialist to sand and coat.
Rapid Stripped handles the hard removal and surface preparation work that sits between an outdated floor and a successful renovation. For homes, units, offices, retail spaces and larger commercial sites, the focus is on controlled removal, dust management and a substrate ready for the next crew.
Before deciding between stripping and sanding, look below the visible surface and work backwards from the floor you want installed. A sound, properly prepared base gives every finish above it a better chance to perform well for years.