
A proper adhesive removal example is not someone attacking old glue with a scraper until their back gives out. It is a controlled process that identifies the adhesive, protects the slab, manages dust and leaves the surface ready for the next trade. That difference matters when you are installing new flooring, waterproofing a bathroom, laying tiles or handing a commercial space back for fit-out.
Old flooring adhesive can look harmless until it starts holding up a renovation. It may be thick and rubbery beneath vinyl, hard as rock beneath carpet, spread unevenly across a concrete slab or mixed with old levelling compounds. The right removal method depends on what is on the floor and what needs to go back over it.
Adhesive removal example: old vinyl glue on concrete
Consider a common renovation job: old sheet vinyl has been lifted from a kitchen or commercial tenancy, but the concrete beneath is covered in brown or yellow adhesive. In patches, the glue is soft. In high-traffic areas, it has become hard, thin and stubborn. There may also be fragments of vinyl backing still bonded to the slab.
The goal is not simply to make the floor look cleaner. The goal is to create a sound, even substrate that will accept the next finish. New vinyl, hybrid flooring, carpet, tiles, epoxy coatings and levelling products all rely on proper adhesion. If residue remains where it should not, the new material can fail, lift, telegraph imperfections or create an uneven finish.
Step 1: Inspect the adhesive and substrate
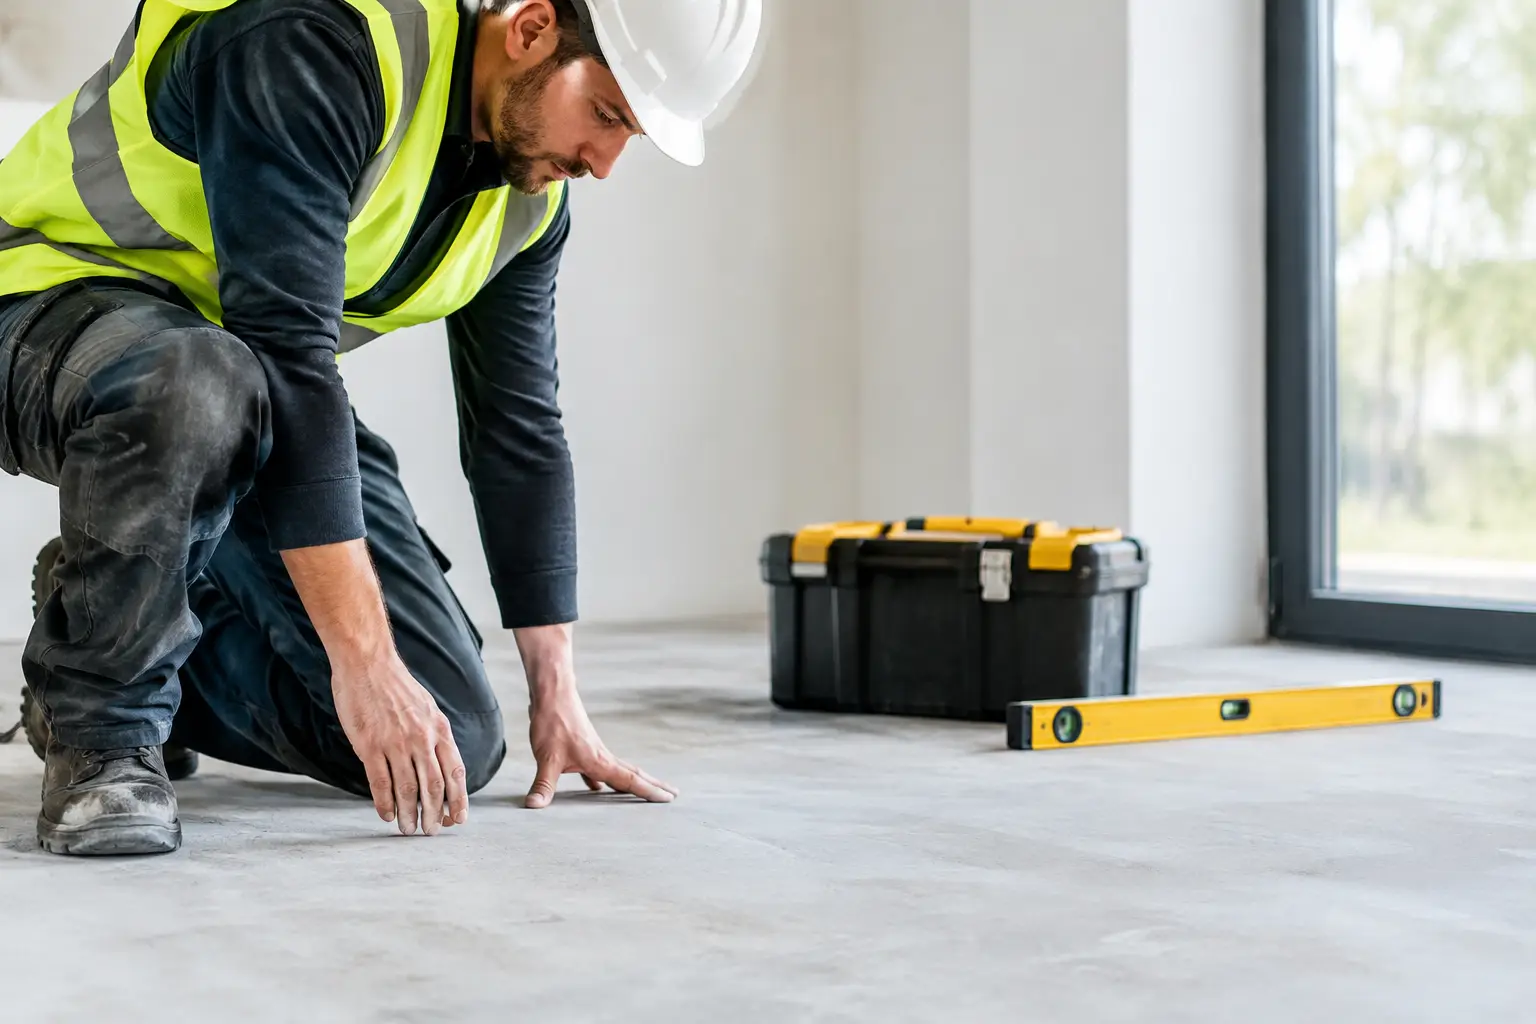
Before machinery comes out, the floor needs to be assessed. We check the type and thickness of the residue, the condition of the concrete, access to the work area and the finish planned for the space. A glue layer that can be softened and mechanically lifted requires a different approach to brittle adhesive that needs grinding.
This inspection also identifies problem areas, such as cracked slabs, moisture issues, old patch repairs and adhesive that has been applied over an existing coating. These details affect the preparation method. Removing too aggressively can scar or weaken the surface. Removing too lightly can leave contaminants that compromise the new installation.
Older black adhesive or unknown coatings require extra caution. Some legacy materials may need testing before disturbance. Grinding unknown material without checking it first is not a shortcut. It is a risk that can create a bigger problem for everyone on site.
Step 2: Lift bulk residue efficiently
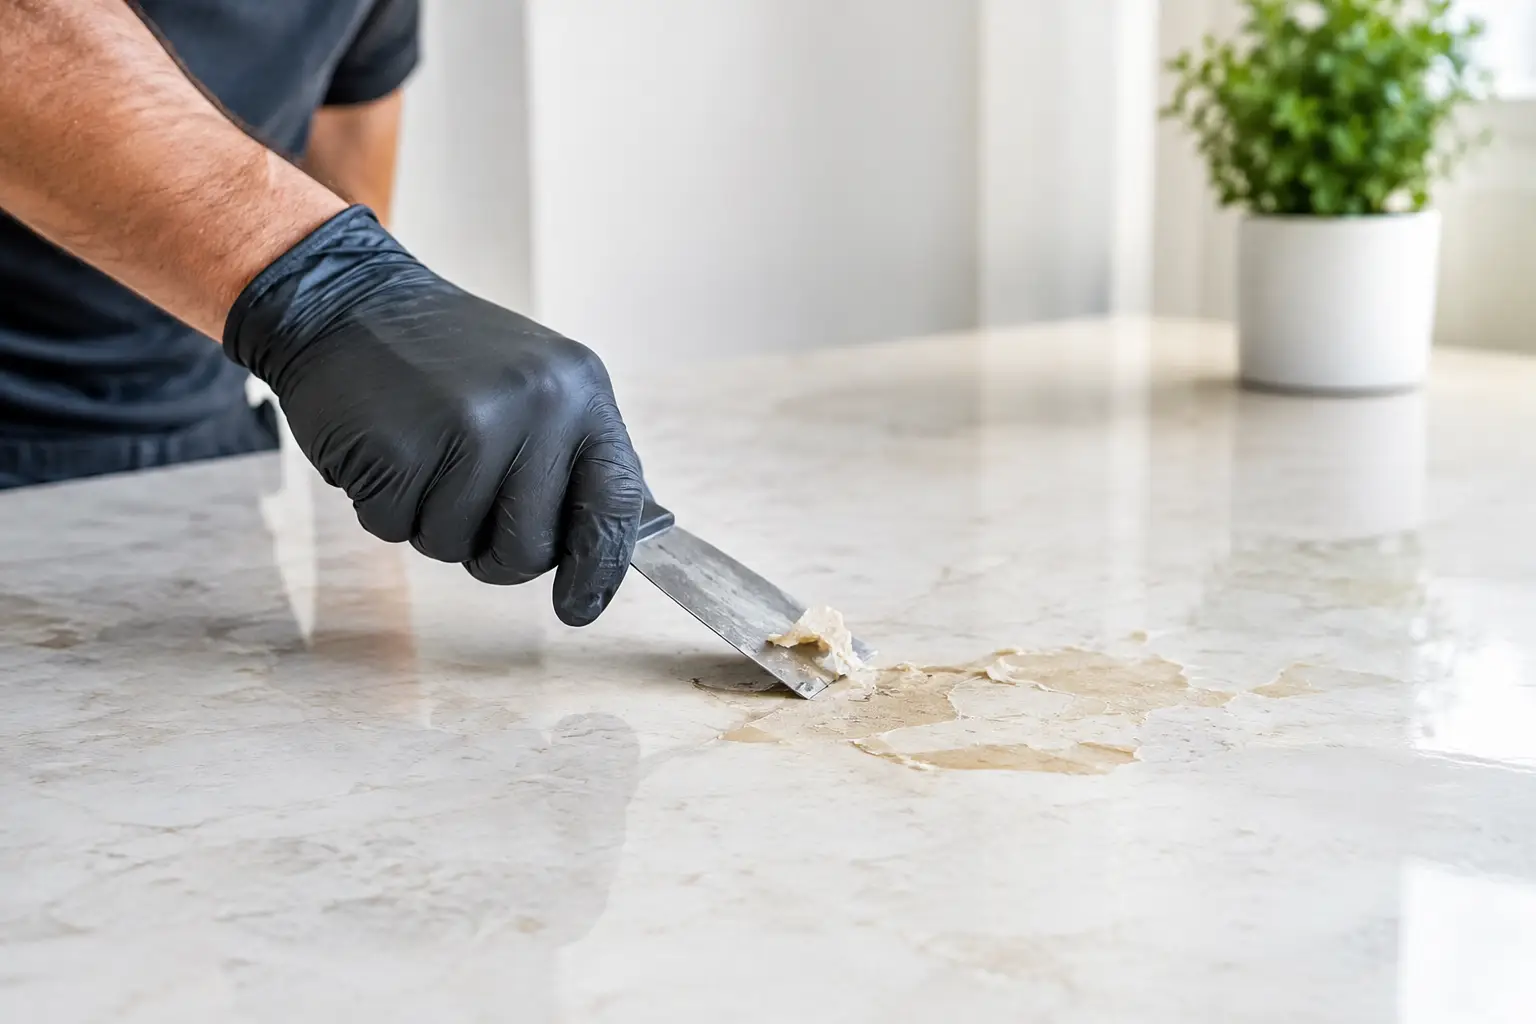
Where adhesive is thick, the first pass often involves specialist floor stripping equipment with the right blade angle and pressure. This removes the bulk material without needlessly digging into the slab. Hand tools may still be needed around door jambs, walls, cabinetry, floor penetrations and tight corners, but they should not be the main plan for a large open area.
On a small residential room, a scraper may shift loose material. On a commercial floor, it is rarely enough. Large areas demand equipment that maintains consistent pressure and gets through the work without turning a one-day preparation job into a drawn-out mess.
The removed adhesive and backing are contained and cleared as work progresses. Keeping the site organised is not just about presentation. It makes hazards easier to see, prevents residue being tracked into clean areas and allows the next stage to move without delay.
Step 3: Grind the remaining film
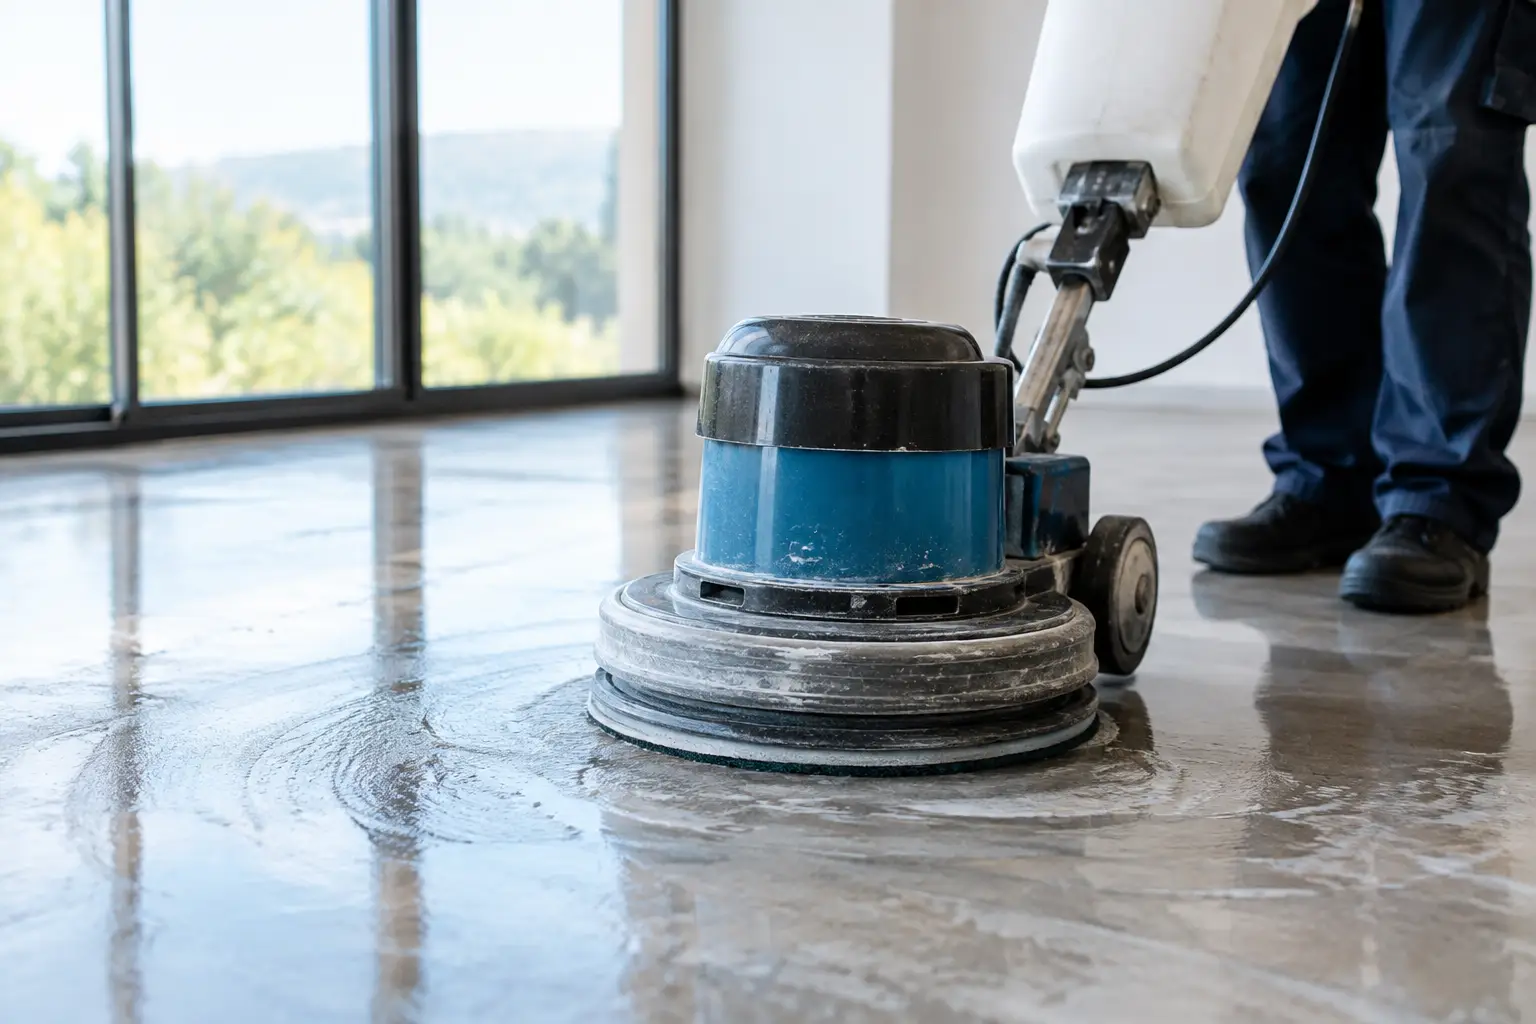
After bulk removal, a thin adhesive film usually remains. This is where slab grinding becomes critical. A professional grinder fitted with the appropriate tooling removes the residue and opens the concrete surface to the level required for the new floor system.
The finish required depends on the next trade. A tiled floor may need a clean, stable surface with no loose adhesive. A coating system or polished concrete finish can require more exact preparation. If a levelling compound is planned, the slab must be free of contaminants that could stop it bonding properly.
Grinding is not about chasing a perfectly polished appearance unless that is the specification. It is about achieving a consistent, workable substrate without overworking the concrete. The right operator reads the floor as the job progresses, adjusting technique where adhesives are thicker, the slab is softer or previous repairs are exposed.
Step 4: Control dust from start to finish
Adhesive removal creates fine dust when grinding is required. In an occupied home, office, retail site or unit complex, poor dust control can quickly become the biggest frustration of the job. It spreads into adjoining rooms, settles on fixtures and slows down every contractor who follows.
Professional dust extraction should be connected directly to the grinding equipment, with the work area isolated where practical. That does not mean a dust-free job is always possible, especially during demolition or edge work. It does mean dust is actively managed rather than accepted as part of the process.
For renovations on the Gold Coast, in Brisbane, Northern NSW or the Sunshine Coast, access and occupancy often shape the work plan. Apartment lifts, active businesses, narrow hallways and nearby residents all need consideration. A disciplined crew plans for these constraints before removal begins, not after the mess has spread.
What a finished adhesive removal job should look like
A completed floor does not always look visually perfect, because concrete varies and old buildings reveal plenty of history once coverings come up. What matters is that the adhesive has been removed to the standard needed for the new installation.
The slab should be clean, stable and free from loose material. There should be no thick glue ridges, soft residue, unsupported patching or hidden sections that will interfere with the next flooring system. Edges and tight areas should be addressed, not ignored because a large machine could not reach them.
The site should also be left ready for the next decision. That may mean a tiler can begin setting out, a flooring installer can assess moisture and flatness, or a builder can arrange patch repairs and levelling. Good removal work saves time because it does not hand the problem to someone else.
When adhesive removal becomes more complex
Not every adhesive removal example follows the same sequence. Timber flooring adhesive can be much tougher than vinyl glue, particularly when it has been applied in thick beads or trowel patterns. Carpet adhesive may be widespread but thin, requiring a different combination of scraping and grinding. Epoxy residues and industrial coatings can call for more aggressive tooling and careful assessment of the existing slab.
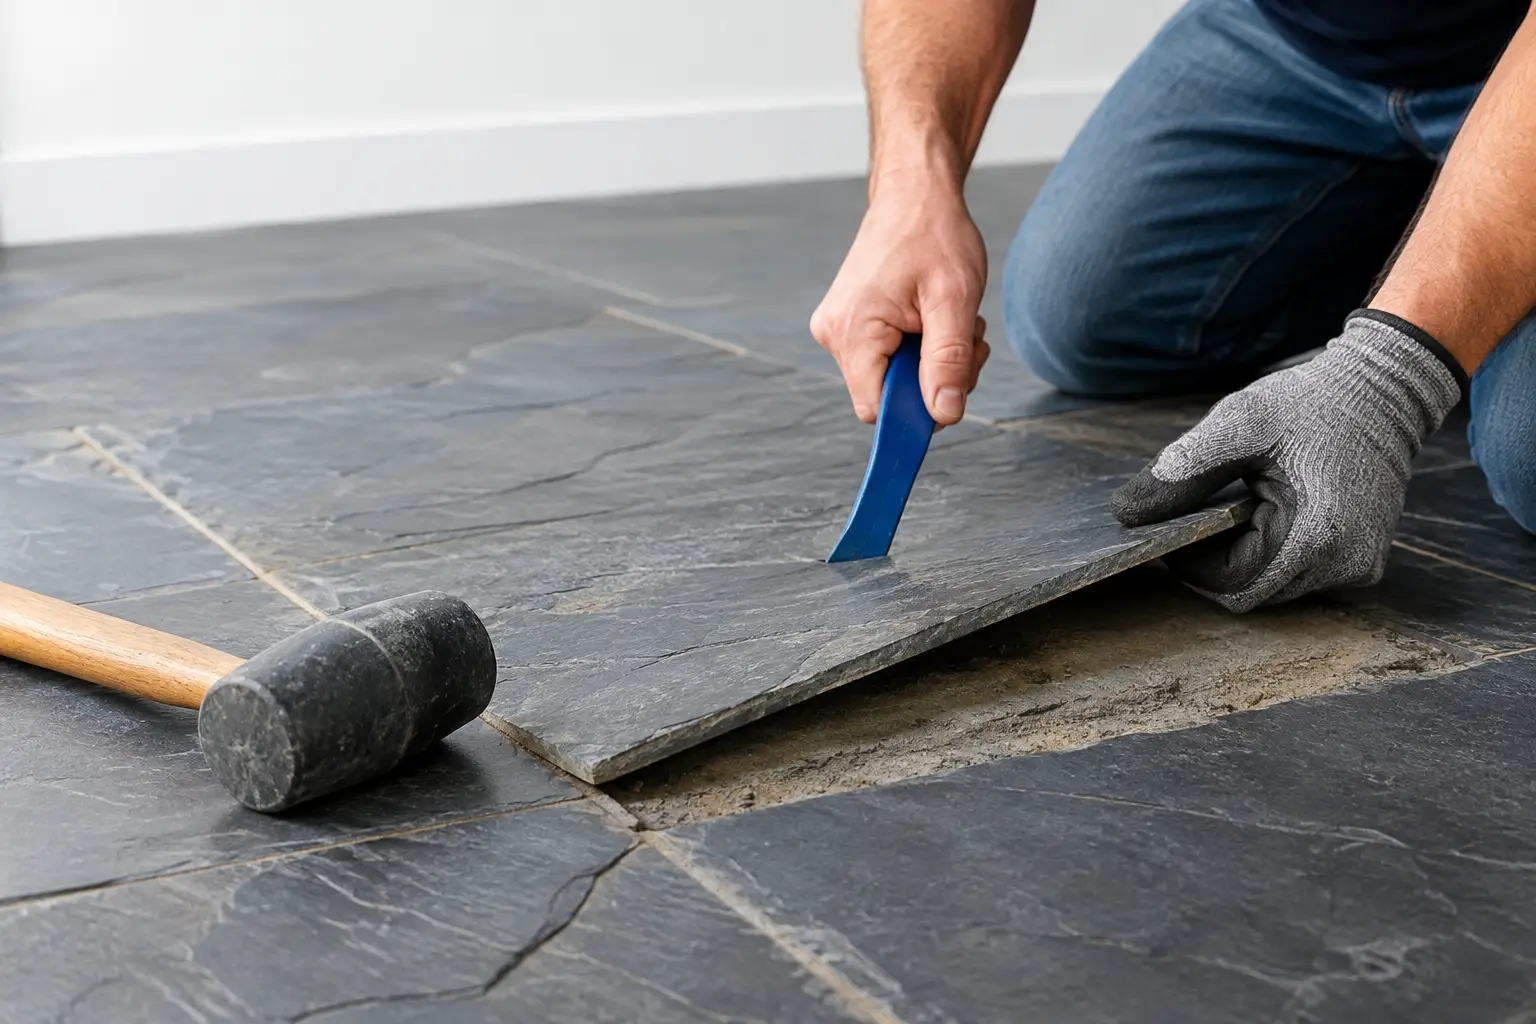
Bathrooms and kitchens add another variable: waterproofing. Adhesive removal around wet areas must be planned around what is being retained and what is being removed. If old tiles are coming up as part of a full strip-out, the bedding, adhesive and waterproofing layers may all need attention before the area is ready for new work.
There is also a difference between making a floor suitable for a temporary use and preparing it for a high-quality finish. A warehouse tenancy may only need a safe, clean slab. A residential renovation receiving large-format tiles or glued-down timber needs tighter surface preparation. The end use sets the standard.
Why DIY adhesive removal often stalls
Most DIY attempts run into trouble because the glue is tougher than expected and the tools are not suited to the substrate. Chemical removers can leave residues of their own, create fumes and turn adhesive into a sticky slurry that is difficult to contain. Small grinders without proper extraction can fill a home with fine dust while barely making progress.
There is also the risk of damaging the slab. Deep gouges, uneven grinding and missed areas can create more preparation work for the installer. What looked like a way to save a weekend can delay the flooring schedule and add unnecessary repair work.
For small, loose patches in a non-critical area, hand removal may be reasonable. For bonded adhesives across a room, an entire home or a commercial tenancy, specialist equipment and experienced operators are usually the faster and cleaner option.
Rapid Stripped approaches adhesive removal with the next stage in mind. Whether the job follows tile removal, vinyl lifting, carpet stripping or a complete renovation strip-out, the focus is on a clean handover, controlled dust and a slab that is ready to move forward.
Before booking your new flooring or tiling installation, inspect what is actually left on the slab. If the answer is old glue, backing or uneven residue, deal with it properly first. A clean substrate gives every finish above it a better chance of lasting.