
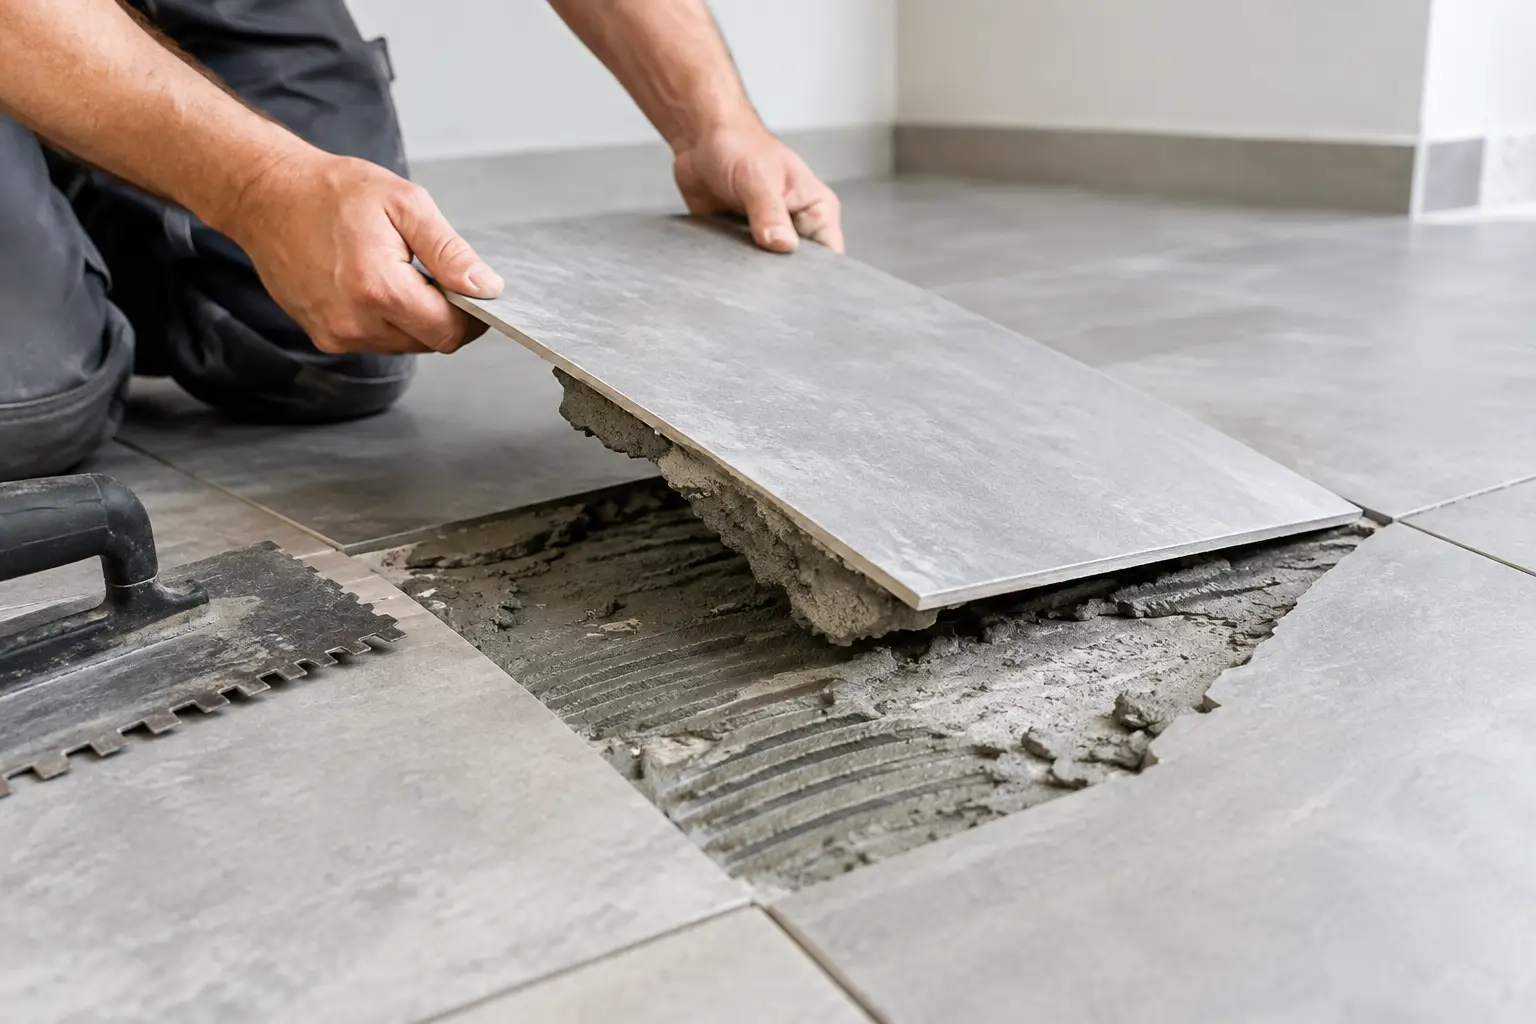
A tiled floor can look sound for years, then start drumming underfoot, cracking at grout lines or lifting altogether. When that happens, the visible tile is only part of the problem. The real issue is usually below it. Why does tile adhesive fail? In most cases, the bond was compromised by poor surface preparation, moisture, movement, the wrong adhesive or installation errors long before the tile came loose.
For homeowners, renovators and builders, identifying the cause matters. Replacing a few loose tiles without dealing with the slab, screed or old adhesive underneath can lead to the same failure again. A proper repair or renovation starts with a clean, stable surface that is ready for the next trade.
Why Does Tile Adhesive Fail Under Floors and Walls?
Tile adhesive is designed to bond tiles to a prepared substrate. It needs the right surface, suitable conditions and full contact behind the tile. If one of those requirements is missing, the adhesive may not achieve a lasting bond.
Failure does not always look dramatic at first. You may notice hollow-sounding tiles, fine cracks in grout, tiles that sit proud of surrounding areas, or loose sections near doorways and wet areas. On commercial floors, high foot traffic can expose a weak installation quickly. In bathrooms, kitchens and laundries, moisture often accelerates the problem.
The cause can be one issue or a combination of several. That is why experienced removal and preparation work begins with assessing what is under the tiles, not just what is on top.
The substrate was not properly prepared
This is one of the most common reasons tile adhesive fails. Adhesive cannot reliably bond to a dusty, oily, painted, sealed or unstable surface. Concrete slabs can hold construction dust, curing compounds, old glue, patching materials and contaminants that are not always obvious to the eye.
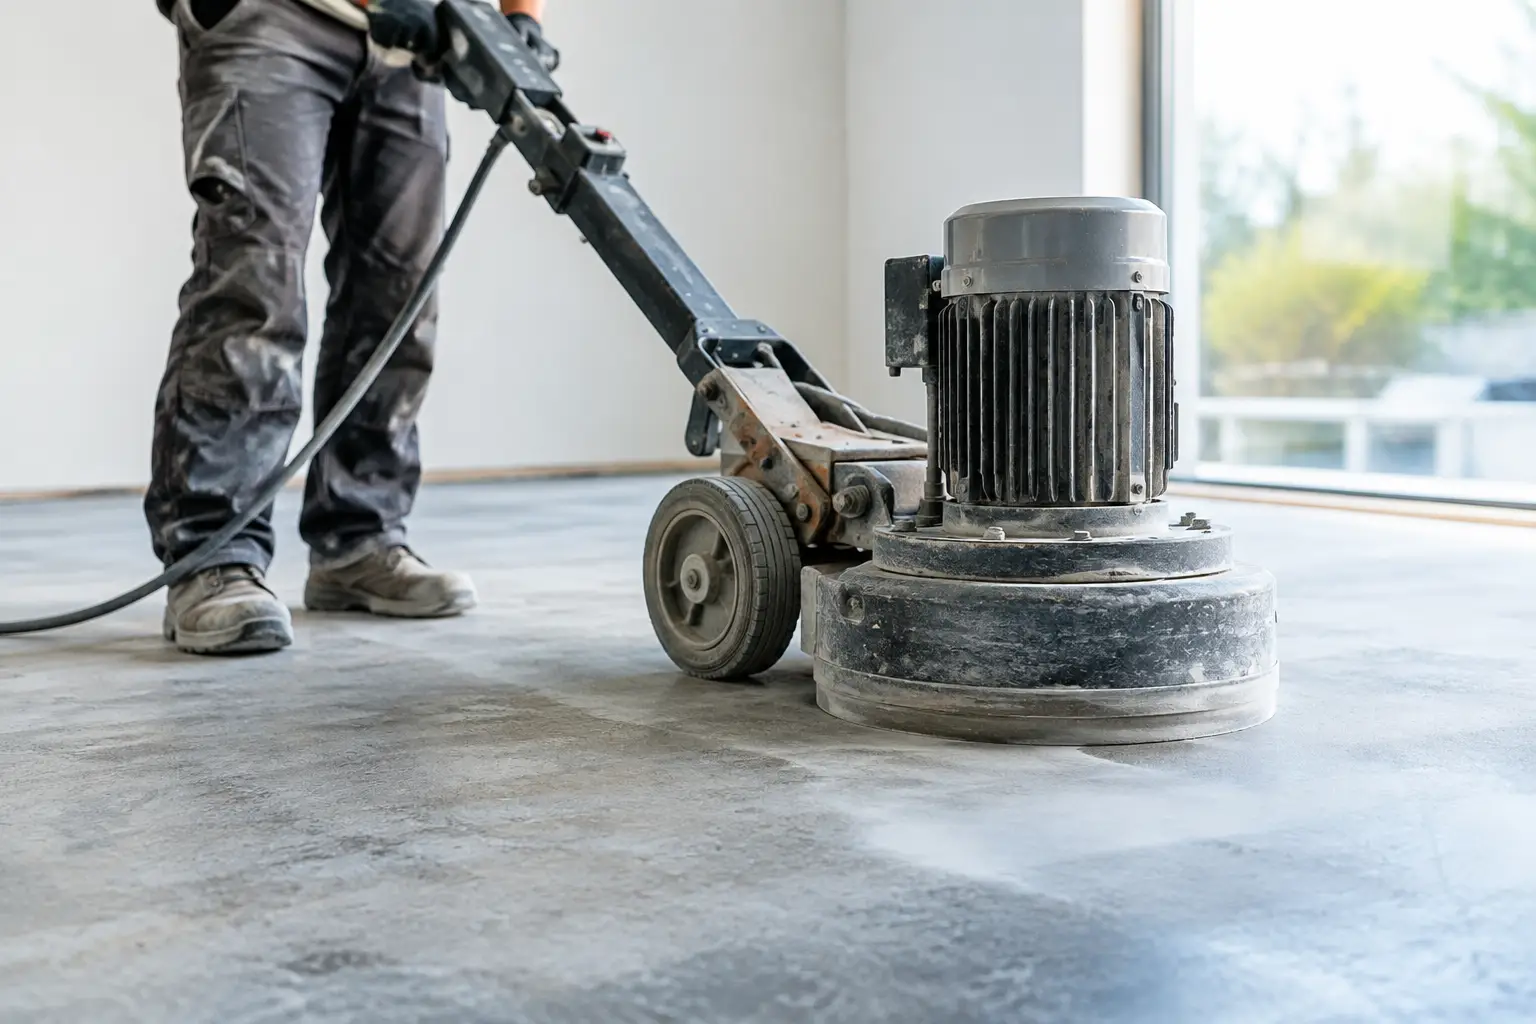
A slab may also be too smooth for the adhesive system being used. In these cases, mechanical surface preparation, such as grinding, may be needed to create a clean, sound profile. Simply sweeping a floor or applying adhesive over old residue is rarely enough.
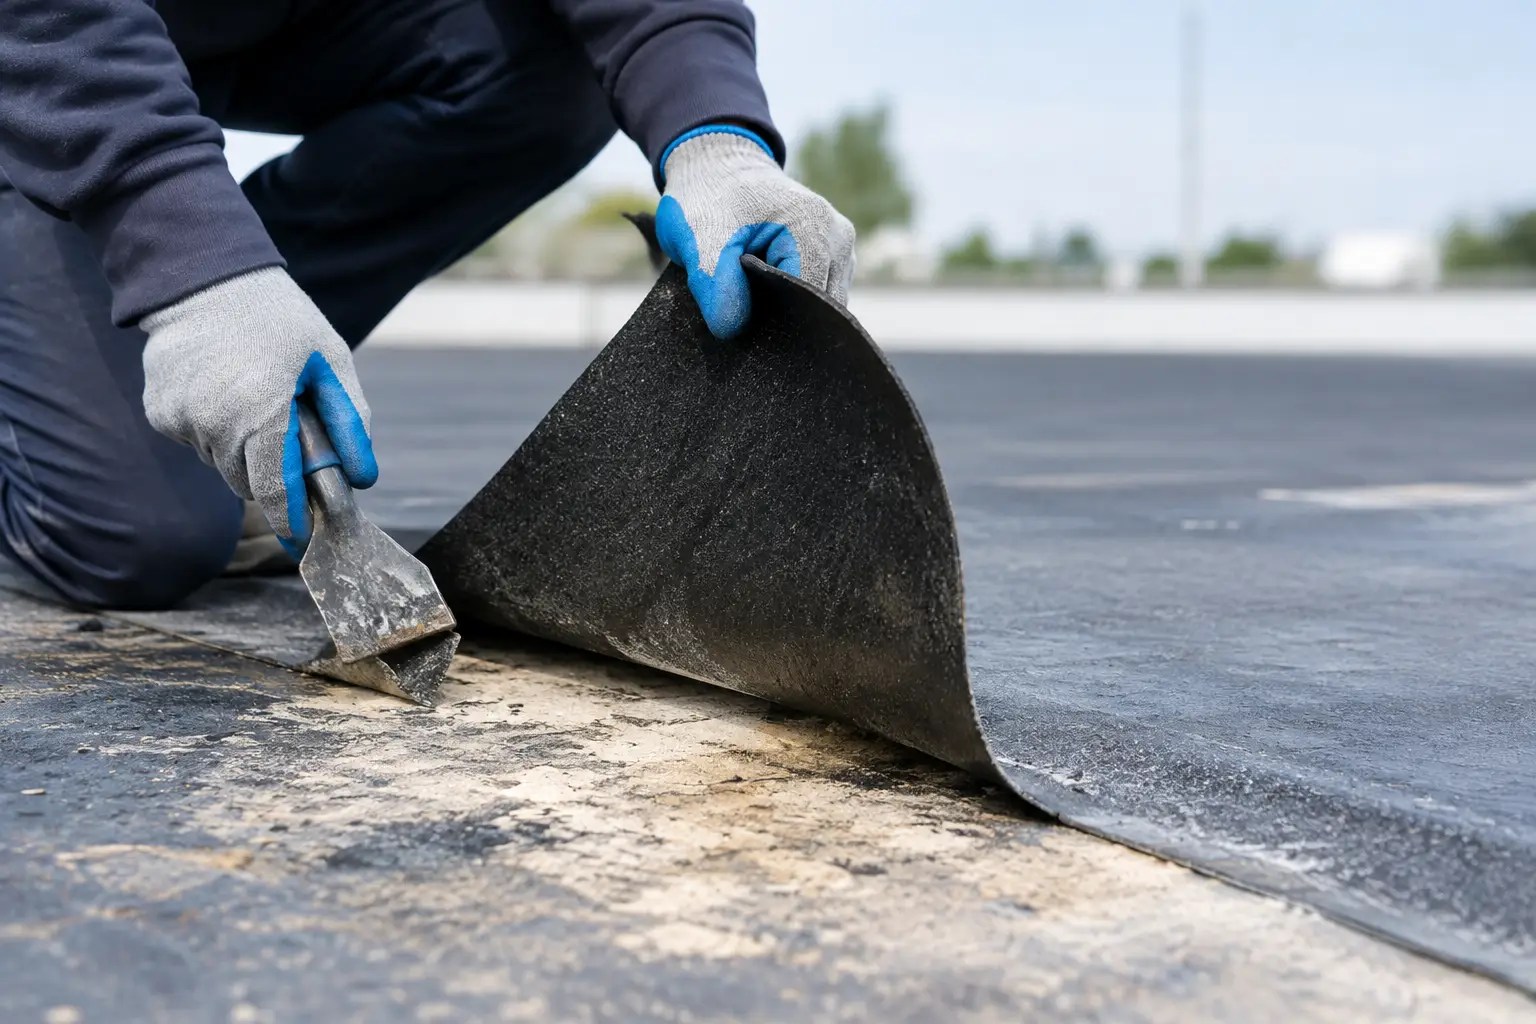
Old tile adhesive is a frequent problem during renovation work. Some residues are hard and well bonded, while others are brittle, water-sensitive or only attached in patches. Tiling over an inconsistent adhesive bed creates an inconsistent base. The new adhesive is only as reliable as the material beneath it.
Moisture has weakened the bond
Moisture is particularly damaging where waterproofing has failed, drainage is poor or a slab has not dried sufficiently before tiling. Water can travel through cracked grout, failed sealant joints and gaps around fixtures. Once it gets behind tiles, it may soften certain adhesive products, break down the bond or lead to efflorescence and deterioration in the substrate.
Bathrooms and balconies are obvious risk areas, but moisture problems also occur in ground-level rooms, laundries, commercial kitchens and areas affected by leaks. A tile that lifts near a shower recess may be a tile adhesive issue, but it can also be a warning that the waterproofing system needs attention.
Before retiling, the moisture source must be dealt with. Covering it with new tiles only hides the problem until the next failure.
The wrong adhesive was used
Not every adhesive suits every job. Tile type, tile size, substrate, location and exposure to water or heat all affect product selection. A standard adhesive that performs well on an internal wall may not suit a large-format porcelain floor tile, a timber substrate, a wet area or an external location.
Porcelain tiles, for example, are dense and absorb very little water. They require an adhesive that is designed to bond effectively to a low-porosity surface. Natural stone may need products that will not stain or react with the material. Large-format tiles need adequate coverage and an adhesive system that accommodates their weight and movement.
Using the wrong product can cause delayed failure. The tiles may initially appear secure, then loosen as temperature changes, moisture exposure or foot traffic places the installation under load.
Adhesive coverage was inadequate
Tiles need proper adhesive coverage across their backs, particularly on floors and in wet areas. If adhesive is spread unevenly, allowed to skin over before tiles are laid, or applied with the wrong trowel notch, voids are left beneath the tiles.
Those voids matter. They reduce bond strength, allow tiles to flex under load and make cracking more likely. A hollow tile is not always loose, but it can indicate incomplete coverage. In a high-traffic area, repeated loading can eventually break the adhesive bond or crack the tile itself.
Large tiles require particular care. Back-buttering may be necessary to achieve adequate contact, and the floor must be flat enough to support the tile without excessive build-up in isolated spots. Trying to correct an uneven slab with adhesive alone often creates weak points.
Movement in the building or substrate
Concrete shrinks as it cures, buildings settle, timber floors flex and temperature changes cause materials to expand and contract. Tile installations need to allow for this movement. If they do not, stress can transfer straight through the adhesive and grout until tiles crack, tent or release from the substrate.
Movement joints are not optional details in larger tiled areas or where tiles meet walls, columns, thresholds and different floor finishes. They give the installation room to move without forcing tiles upward. When movement joints are missing, filled with rigid grout or bridged by tile, failure can occur well away from the actual source of movement.
This is also why a cracked slab should never be ignored before new flooring goes down. Some cracks are stable, while others are active. The right treatment depends on the condition of the slab and the flooring system planned for the area.
The installation conditions were poor
Adhesive has a working time and a curing time. Hot weather, direct sun, wind, a very absorbent substrate or poor mixing can shorten the working window. If adhesive skins over before the tile is placed, it may look bedded but have very little real bond.
Adding extra water to extend the life of adhesive, mixing inconsistent batches or applying it outside the manufacturer’s stated conditions can also reduce performance. Rushing the cure is another avoidable issue. Newly tiled floors should not be exposed to traffic, moisture or heavy loads before the adhesive has cured properly.
On renovation sites with tight programmes, this is where planning makes a difference. Fast work is valuable, but the substrate still needs to be properly prepared and the new installation needs the correct curing time.
Signs the Tile System Needs More Than a Patch Repair
A single damaged tile can sometimes be replaced successfully. However, widespread hollow sounds, lifting tiles, recurring cracked grout or extensive adhesive residue usually point to a larger preparation problem.
Pay close attention if tiles are lifting in multiple rooms, if the failure follows a line through the floor, or if moisture staining and mould are present around wet areas. These signs may indicate slab movement, water ingress or a broader bond failure rather than isolated damage.
Removing only the loose tiles can leave weak adhesive, failed waterproofing or contaminated substrate in place. It may save time in the short term, but it can make the next stage of the renovation harder and less reliable.
The Right Way to Prepare a Floor for Retiling
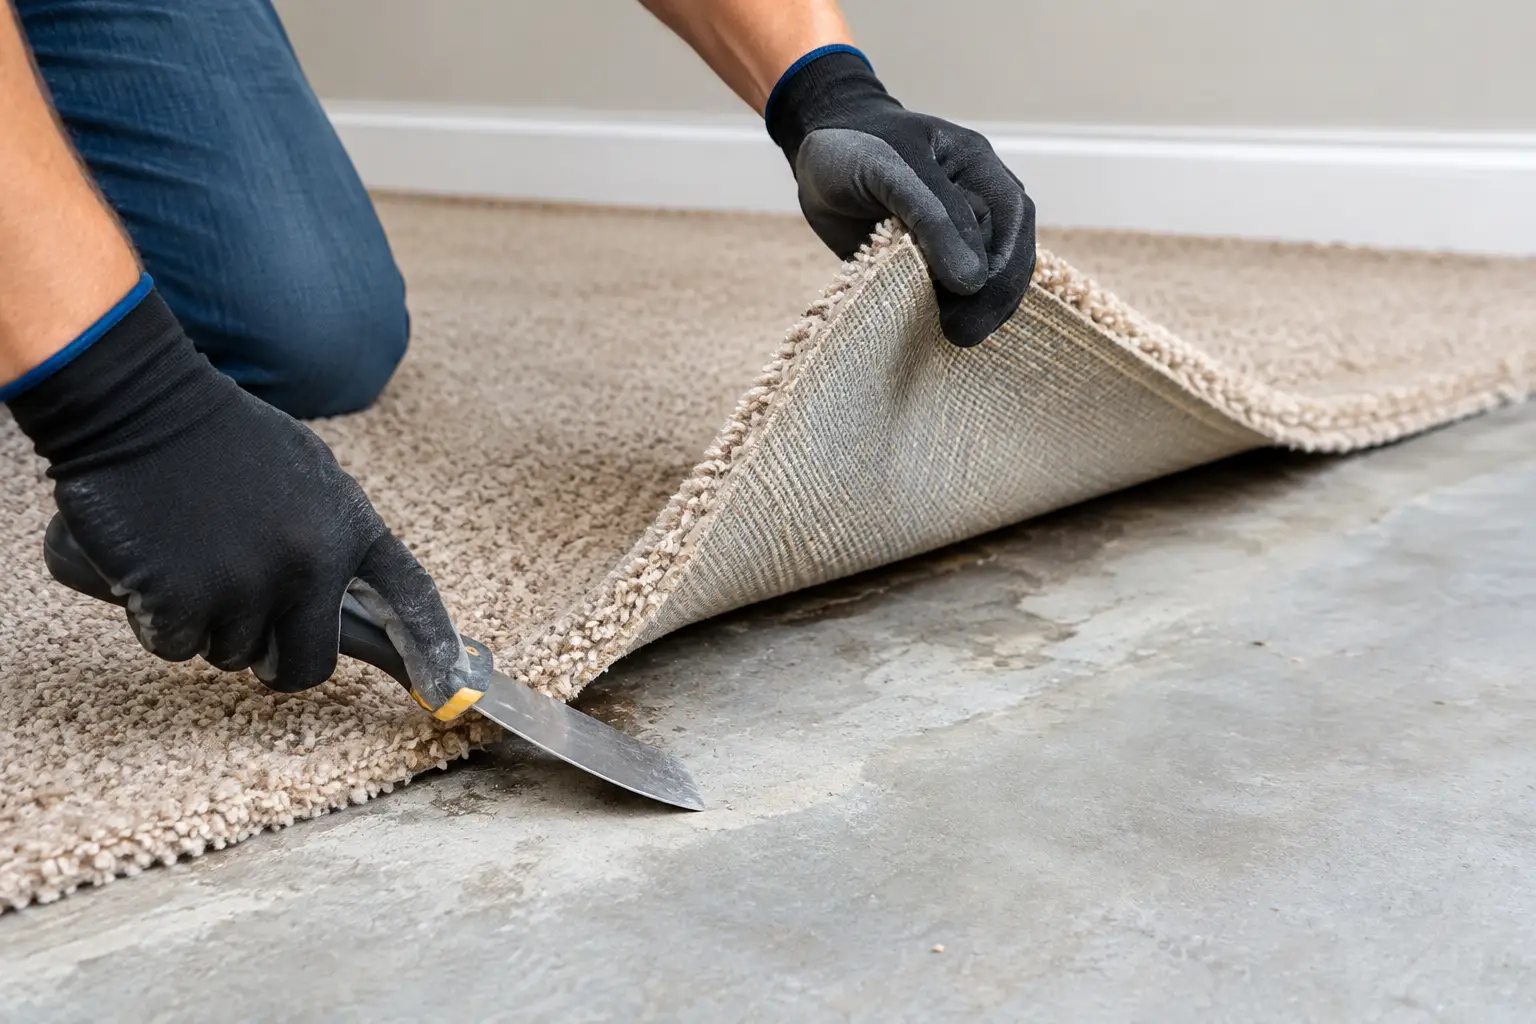
A sound retiling job starts by removing failed tiles, bedding and adhesive to expose the actual condition of the substrate. The slab or screed can then be inspected for cracks, soft areas, moisture damage, unevenness and contamination.
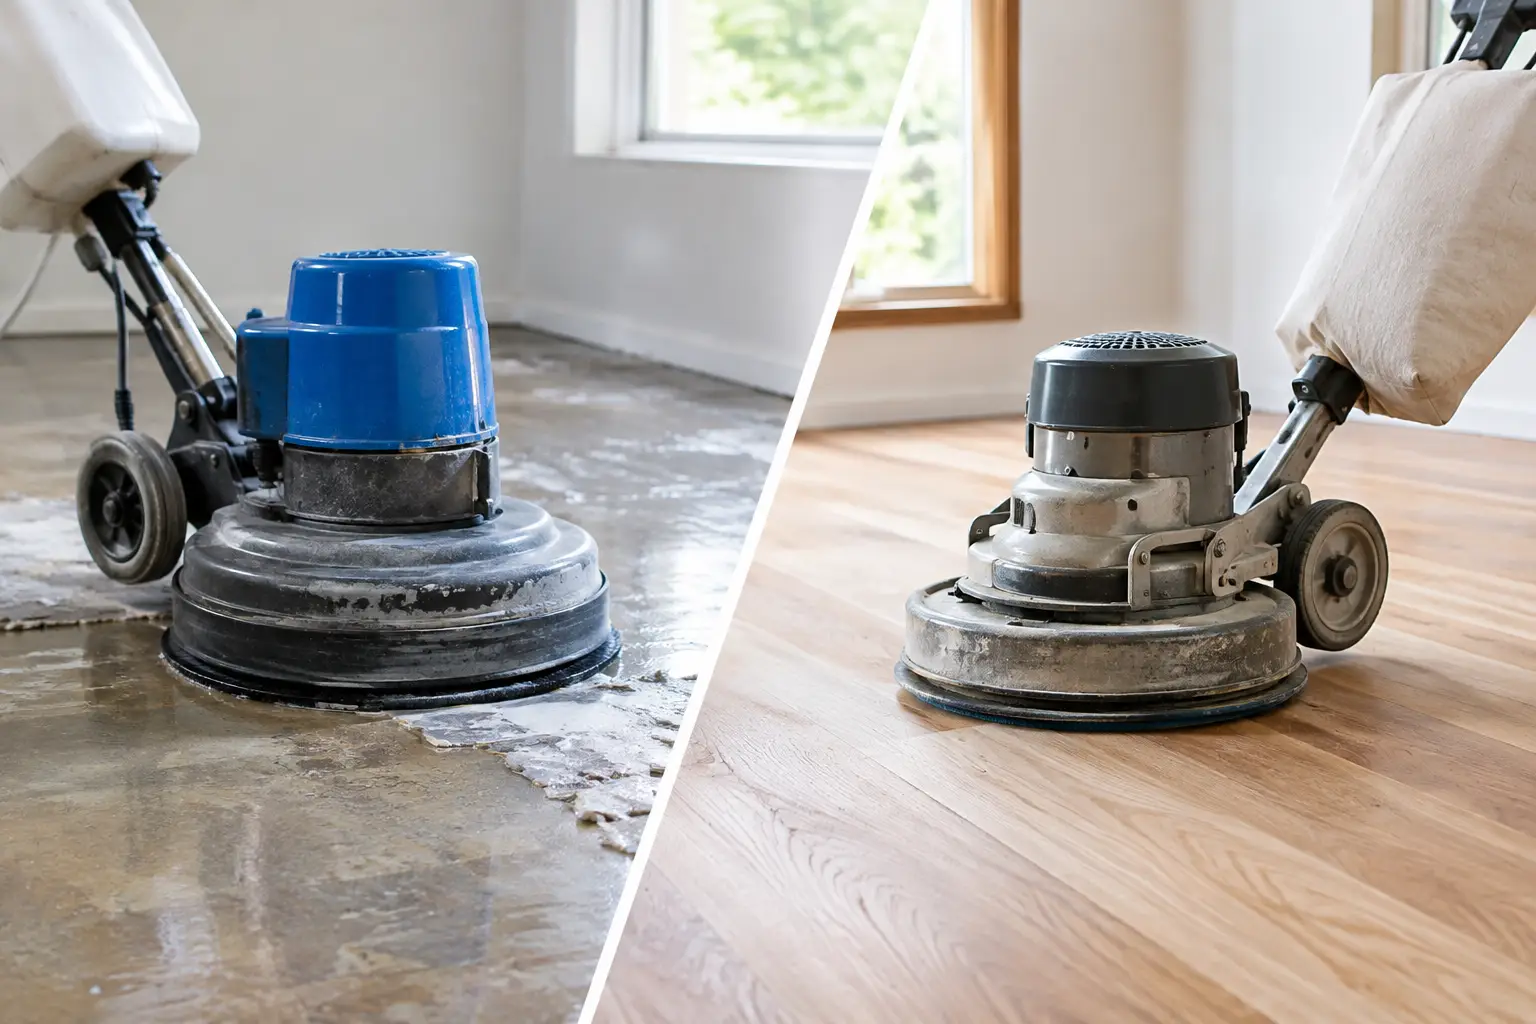
Mechanical removal and slab grinding are often the cleanest way to get back to a stable base. The goal is not simply to make the floor look tidy. It is to remove loose material and residue that could interfere with the new adhesive system. Dust control also matters. Fine dust can travel through a property and create extra clean-up work if removal is not managed properly.
Once the surface is clean and sound, the next installer can assess flatness, moisture levels, waterproofing requirements and the appropriate primer, levelling compound or adhesive. This is the point where a renovation either gets set up properly or inherits the same problem all over again.
For difficult tile, bedding and adhesive removal, Rapid Stripped prepares residential and commercial sites across Northern NSW, the Gold Coast, Brisbane and the Sunshine Coast for the next stage of work. Fast removal is useful, but a clean, properly prepared substrate is what gives the new floor the best chance of lasting.
If tiles are loose, hollow or cracking, treat it as a substrate question before treating it as a cosmetic one. Getting the old system removed properly gives your renovation a solid starting point rather than another problem waiting under the surface.