
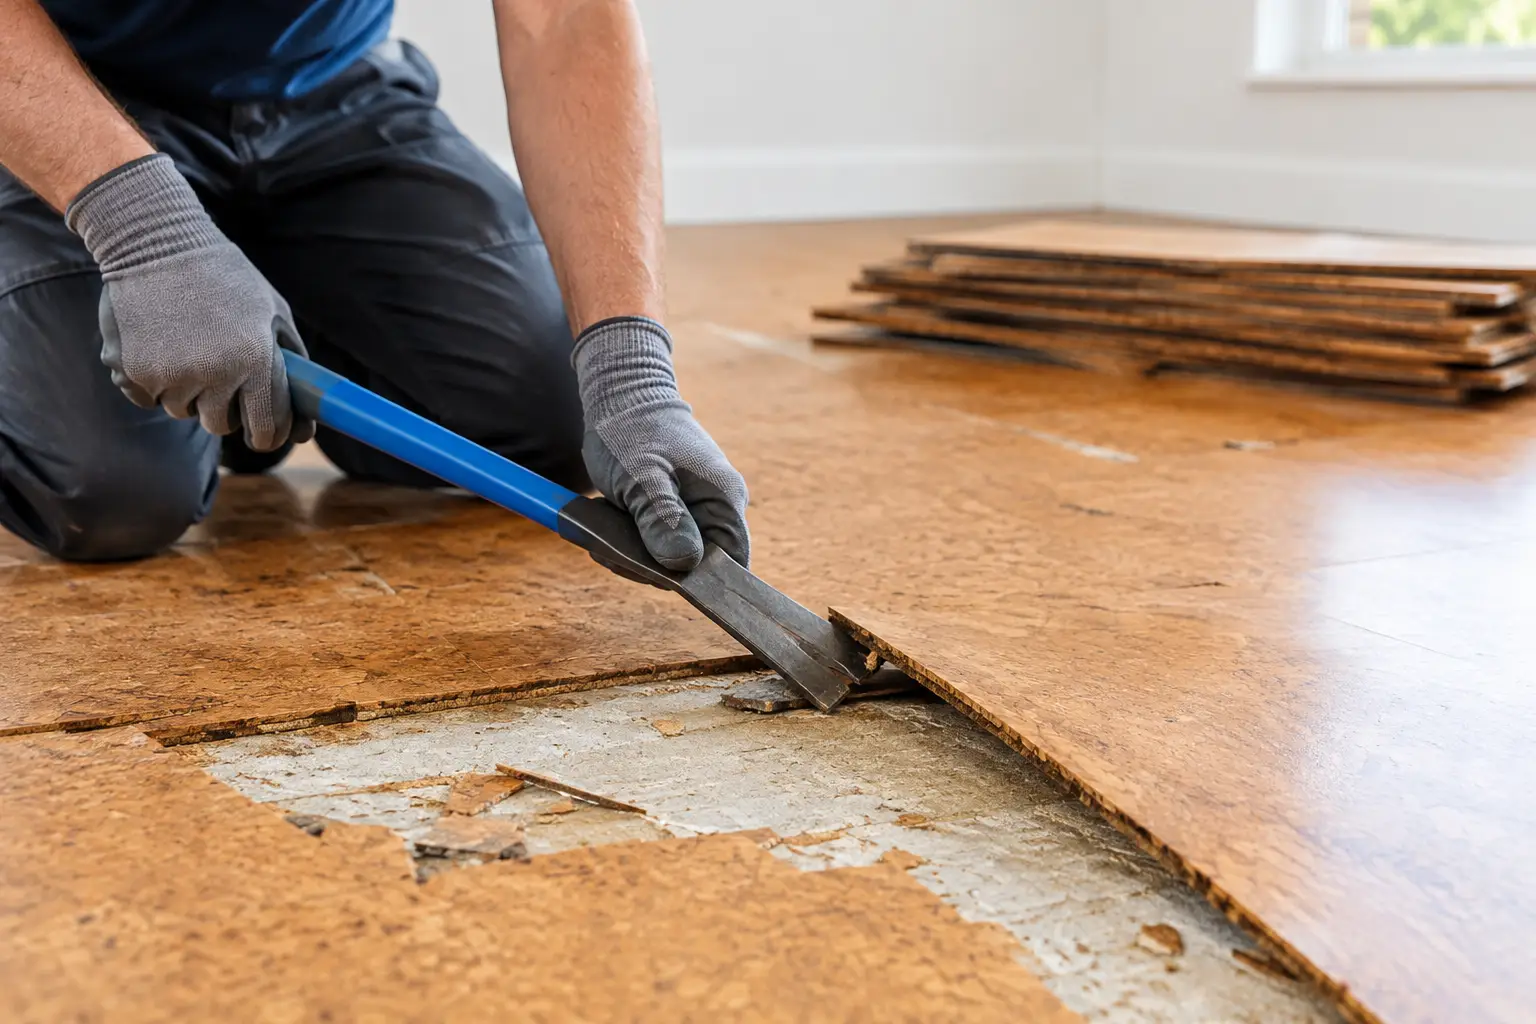
Cork can look soft and simple, but old cork flooring is often one of the more stubborn coverings to remove. The best way to remove cork flooring depends on what sits underneath it, how heavily it was glued down and whether the next trade needs a clean concrete slab or an intact timber subfloor. Get the method wrong and a straightforward renovation can turn into gouged concrete, damaged sheeting, adhesive smears and lost time.
For most renovation jobs, the aim is not just to get the cork out. It is to leave a sound, level surface that is ready for the next floor covering, waterproofing system or fit-out. That requires controlled removal, the right equipment and a proper plan for the adhesive underneath.
Why Cork Flooring Needs a Proper Removal Method
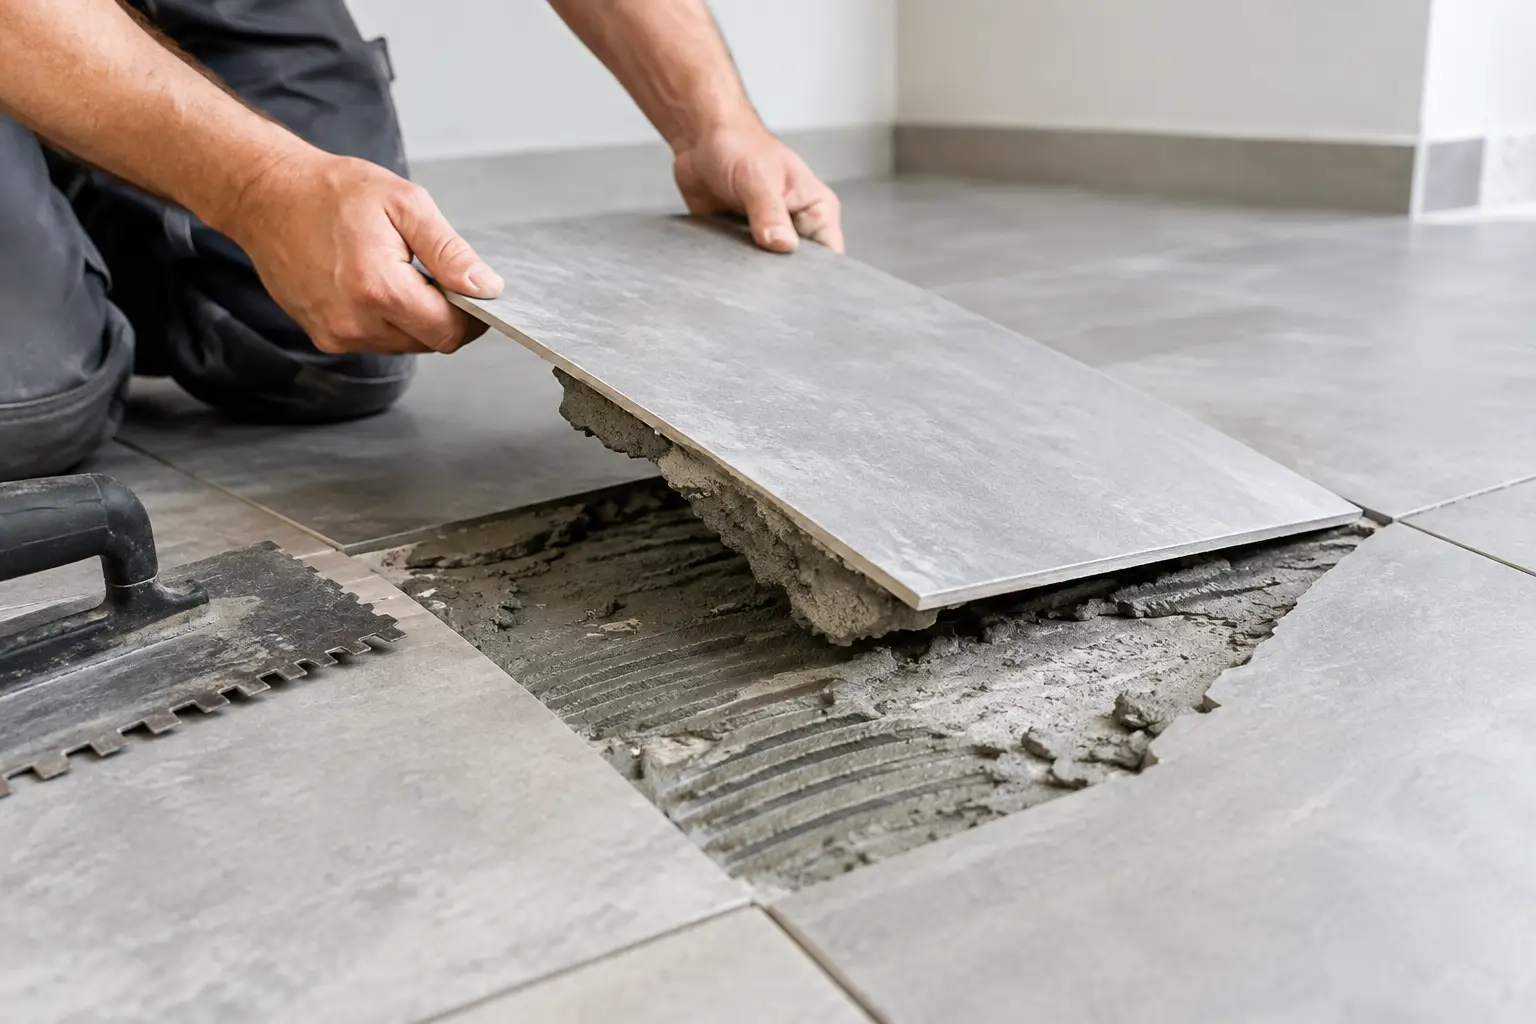
Cork flooring usually comes in either tiles or sheet form. Older installations are commonly bonded with a strong contact adhesive, bitumen-based adhesive or construction glue. Over years of foot traffic, heat and moisture, that adhesive can become brittle, rock-hard or patchy across the floor.
The cork itself may lift in pieces, but the backing and glue often stay behind. This is where many DIY attempts stall. A hand scraper might remove a small section, then suddenly hit an area where the adhesive is fused to the slab. Pushing harder is rarely the answer. It can scar the concrete, tear up particleboard or create an uneven surface that must be repaired before new flooring goes down.
There is also the question of what is below the cork. Concrete slabs can usually tolerate mechanical removal and controlled grinding. Timber, particleboard and older floor sheeting need a more careful approach. Removing cork aggressively from a timber substrate can pull fibres from the sheet, expose fasteners or leave damage that affects the finished floor height and stability.
Best Way to Remove Cork Flooring Step by Step
The most reliable method is to separate the job into two stages: lift the cork covering first, then remove the adhesive to the required finish. Treating both as one task usually makes the work slower and messier.
Check the floor before starting
Start by checking whether the cork is tile, sheet or floating flooring. Look at doorways, vents, lifted edges and service penetrations to identify the thickness of the material and the substrate below. If there is a spare piece or a loose corner, carefully lift it to inspect the adhesive.
For older properties, do not assume every layer is safe to disturb. Cork itself is not typically the concern, but old backing materials, vinyl layers beneath it, mastics and other building products may require assessment. If the material is unknown or suspicious, stop work and arrange appropriate testing before sanding, grinding or creating dust.
Clear the room completely, including skirting where required for the renovation scope. Protect adjacent finished surfaces, seal off openings where dust could travel and make sure there is a clear path for carrying rubbish out. Good preparation keeps the removal moving and reduces clean-up at the end.
Cut the cork into manageable sections
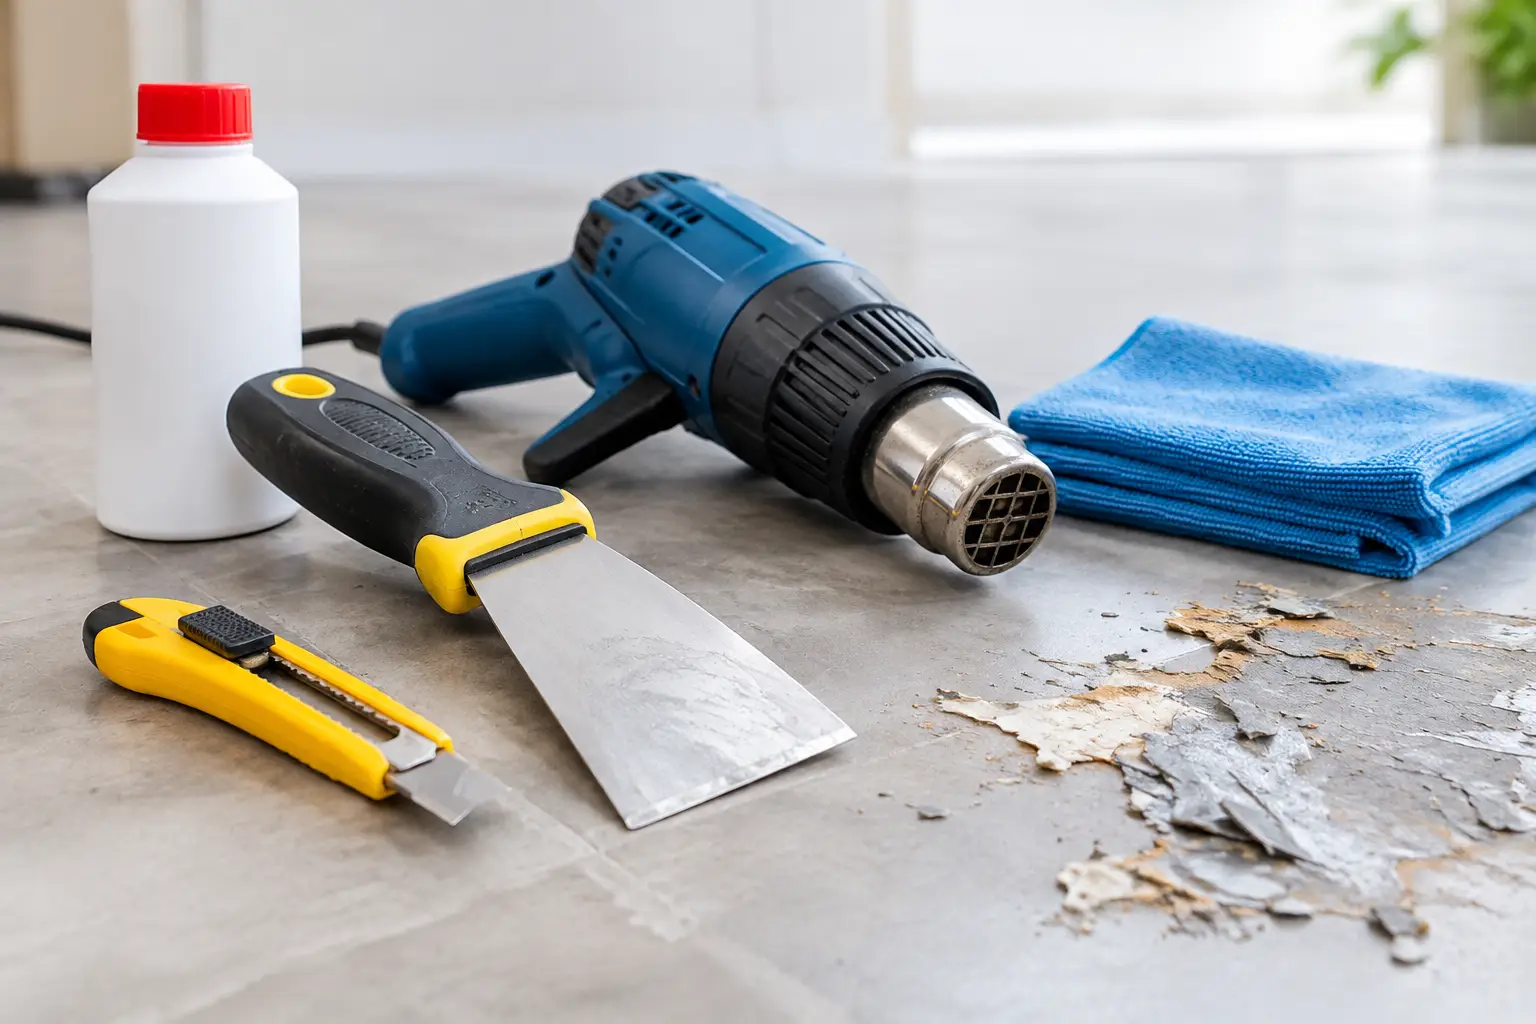
For glued cork sheet or large tiles, use a sharp utility knife to score the material into strips or squares. Smaller sections are easier to lift and put less strain on the substrate. Cutting the cork into manageable pieces also helps prevent the material from tearing unpredictably across the room.
Avoid cutting too deeply. On a concrete slab, shallow scoring is generally enough to separate the cork. On particleboard, plywood or timber, deep cuts can damage the surface below and create extra repair work.
Lift the cork with controlled force
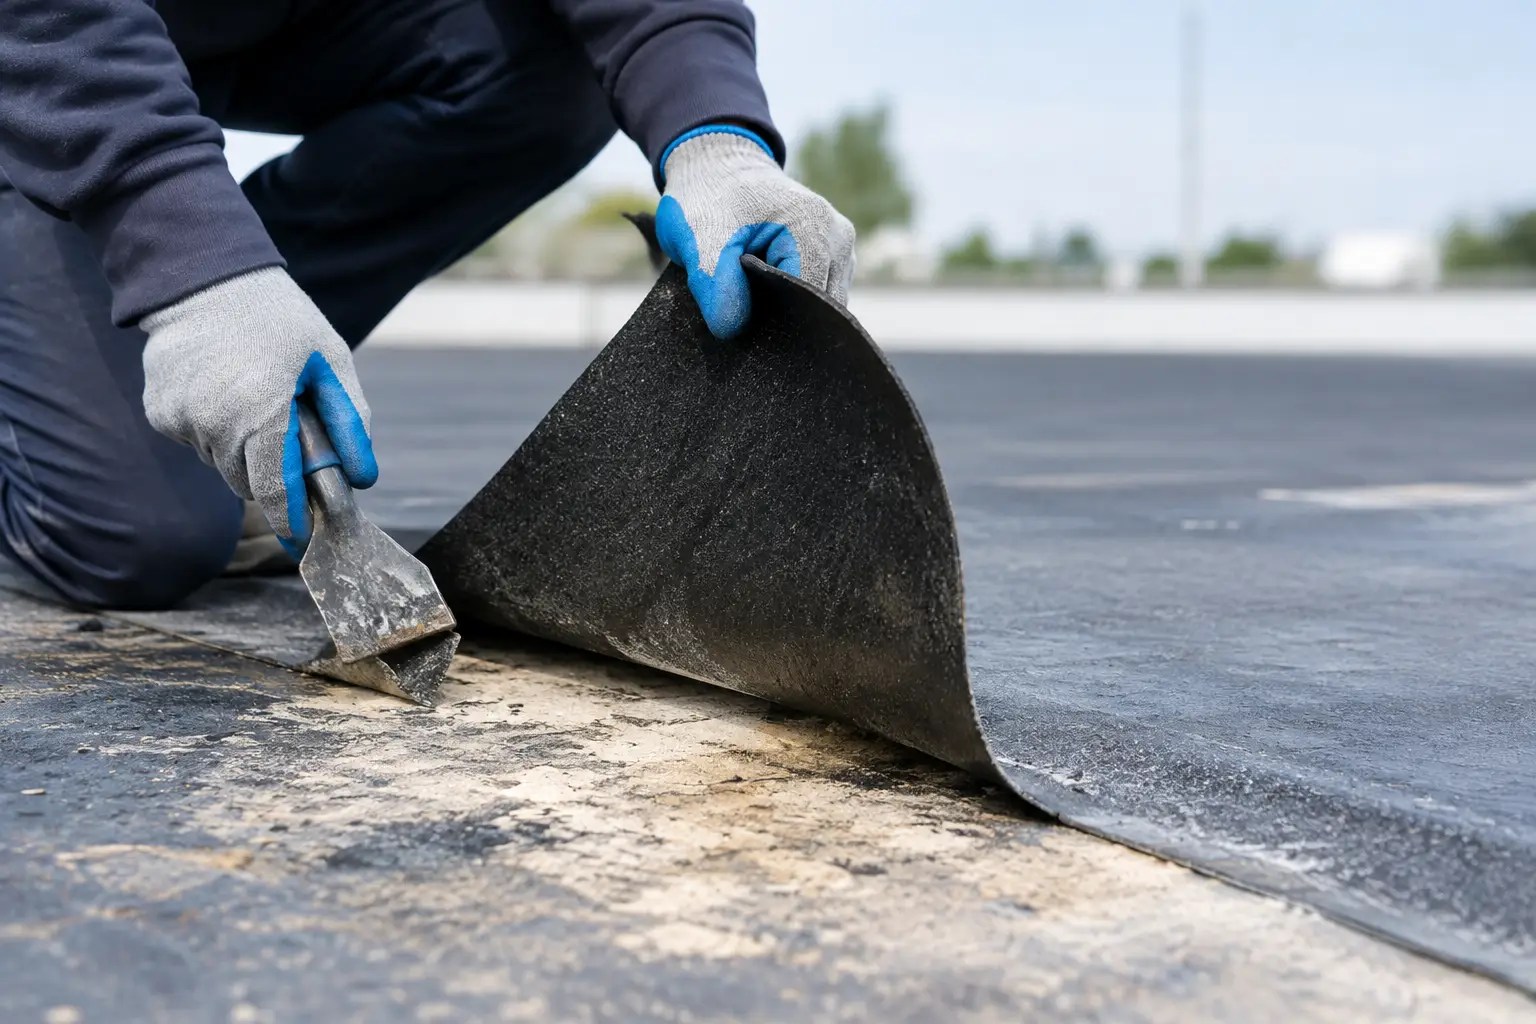
A floor scraper, long-handled stripping tool or powered floor stripper can be used to get under the cork. The blade should stay as flat as possible to the substrate. A steep blade angle is more likely to dig into concrete or tear chunks from timber sheeting.
Work from a loose edge, doorway or cut line and keep the machine or scraper moving steadily. If the cork is releasing cleanly, continue across the section. If it is only shredding at the surface, stop and reassess rather than forcing the blade through the adhesive.
Some adhesives soften with modest heat, but heat is not a universal fix. Excessive heat can create unpleasant fumes, increase fire risk and turn certain glues into a sticky mess. It is generally better to use the right stripping equipment and deal with the adhesive separately than to overheat the floor trying to make it lift.
Remove adhesive to suit the new floor
Once the cork has been removed, the condition of the adhesive determines the next step. Small isolated glue patches may be removed with a scraper or an approved adhesive remover, provided the product is compatible with the substrate and the next floor system. Any chemical residue must then be fully cleaned away.
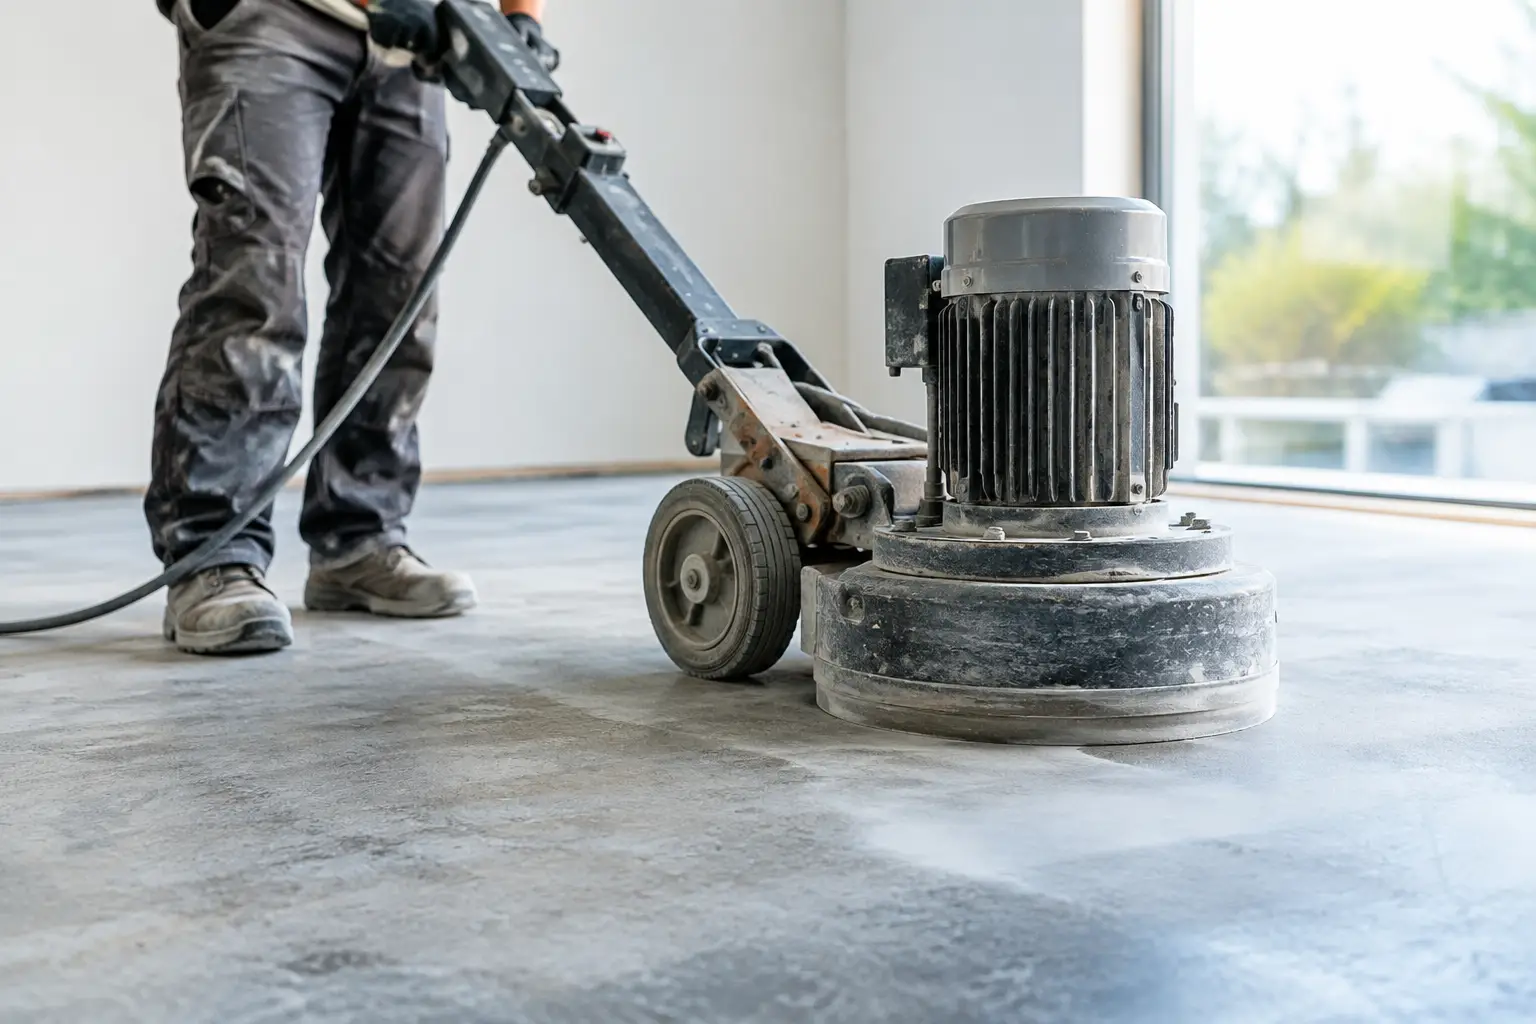
For widespread, hard adhesive on concrete, mechanical grinding is usually the cleaner and more consistent option. A suitable grinder fitted with dust extraction can take down glue residue and leave the slab in a condition that can be assessed for levelling, crack repairs or the next floor finish. The goal is not always to make the slab look brand new. It is to achieve the surface profile required for the product being installed next.
On timber or particleboard, grinding needs far more restraint. Heavy grinding can weaken the sheet surface and create dips that show through vinyl, hybrid planks or other thin flooring. In these situations, careful scraping, limited spot treatment and targeted substrate repairs may be the better route.
Do Not Trade Speed for a Damaged Subfloor
The biggest mistake in cork removal is focusing only on how quickly the top layer comes out. A floor can be cleared in hours, then delayed for days because the adhesive was smeared across the slab or the substrate was damaged during stripping.
Water is another common shortcut that causes trouble. Soaking cork and adhesive may appear to help, but moisture can swell timber-based subfloors, affect nearby walls and create a longer drying period before new flooring can be installed. Chemical adhesive removers can also interfere with floor levellers, primers and adhesives if they are not completely removed.
Dust control matters as well. Grinding old adhesive without suitable extraction creates fine dust that travels through the property, settles on other trades and increases the clean-up burden. A controlled removal process protects the work area and helps keep a renovation site ready for the next stage.
When Professional Cork Floor Removal Makes Sense
DIY removal can be suitable for a small area where the cork is loose, the adhesive is minimal and the underlying surface is not critical. However, professional removal is the sensible option when the cork is bonded firmly across a large room, when adhesive is thick or unknown, or when the floor needs to be ready on a tight renovation schedule.
It is especially worth bringing in specialists where the substrate needs to stay intact, such as timber floors, apartment subfloors and commercial spaces with strict access or noise requirements. The right machinery removes more material in less time, but the real value is in knowing when to strip, scrape, grind or stop before the substrate is compromised.
For builders and property managers, this is often about keeping trades moving. A floor installer cannot work over soft cork residue. A waterproofer needs a clean, suitable base. A commercial fit-out cannot afford adhesive dust spread through an occupied building. Professional floor removal helps avoid those handover problems.
Rapid Stripped handles difficult floor coverings and adhesive removal with the end result in mind: a clean, properly prepared surface for the next trade. For projects across Northern NSW, the Gold Coast, Brisbane and the Sunshine Coast, that can mean completing the removal work within the day and leaving the site ready for renovation rather than creating another problem to solve.
Check the Surface Before Installing Anything New
After cork and adhesive removal, inspect the floor under good lighting. Check for high spots, low areas, cracks, loose sheeting, moisture concerns and remaining adhesive. Run a straightedge across the surface if the new floor requires a flat base, particularly for vinyl planks, hybrid flooring or large-format tiles.
Any repairs should be completed before primers, levellers or new finishes are applied. This is the point where a clean removal job pays off. The substrate is visible, defects can be dealt with properly and the next installer has a reliable base to work from.
The best result is not simply an empty room. It is a floor that is stripped cleanly, assessed properly and ready for the work that follows.