
Learn how to remove old tile glue properly with practical steps, the right tools, and when to call specialists for fast, clean results.
If you have pulled up old tiles and found a stubborn layer of adhesive still welded to the slab, you already know the hard part was not the tiles. It is the glue underneath. Knowing how to remove old tile glue properly matters because whatever goes down next – new tiles, timber, vinyl or carpet – will only be as good as the surface under it.
Old tile glue is one of the most common causes of uneven floors, poor adhesion and delays on renovation jobs. It can also turn a straightforward bathroom, kitchen or commercial refit into a slow, dusty mess if the wrong method is used. The right approach depends on the adhesive type, the substrate underneath, and how clean the surface needs to be for the next stage.
How to remove old tile glue without damaging the floor
The first thing to understand is that not all tile glue comes off the same way. Some adhesives stay brittle and chip off with mechanical scraping. Others go rubbery, smear under heat, or bond so tightly to concrete that hand tools barely make a dent. On older jobs, you may also be dealing with cement-based bedding, mastic, thin-set mortar or multiple layers from past renovations.
That is why there is no single trick that works on every floor. A concrete slab can usually handle aggressive removal methods. Timber, fibre cement and raised substrates need a more controlled approach. If you start too hard and too fast, you can gouge the surface, create low spots or leave it needing more prep than the glue itself would have caused.
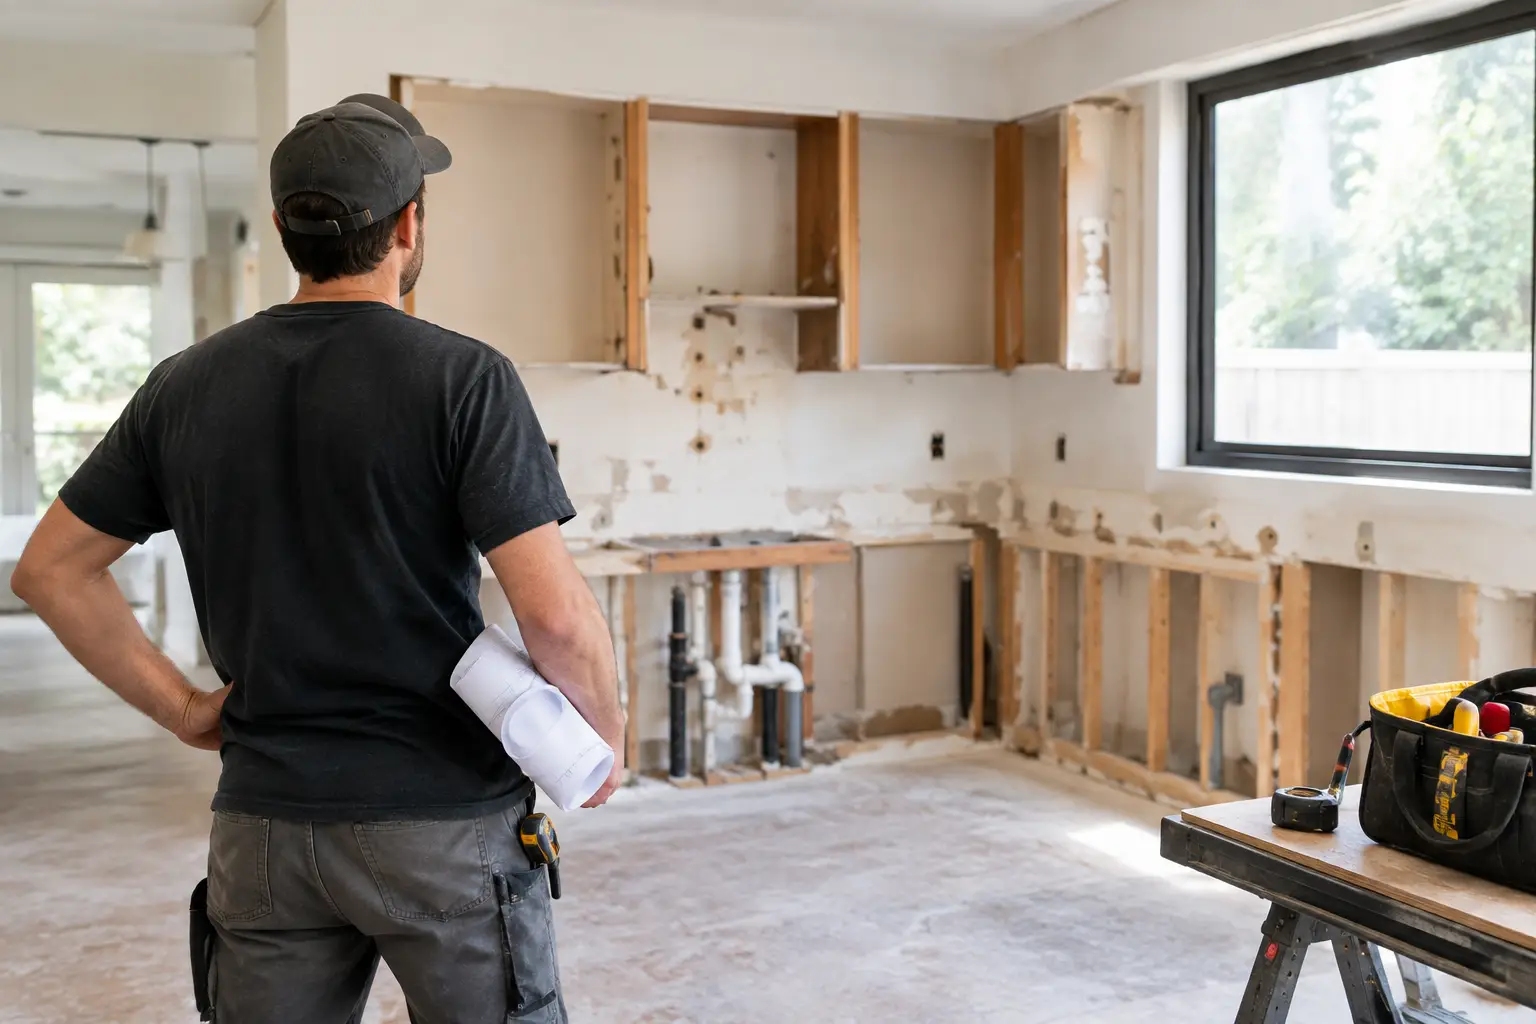
Before you do anything, clear the area fully and inspect the floor. Check whether the glue is soft, brittle, ridged, thick or patchy. Look for cracks, moisture issues, levelling compounds or signs the substrate is already fragile. If the adhesive covers a large area and the floor needs to be ready for reinstallation quickly, that usually changes the job from DIY territory to specialist removal.
Start with scraping, then move to mechanical removal
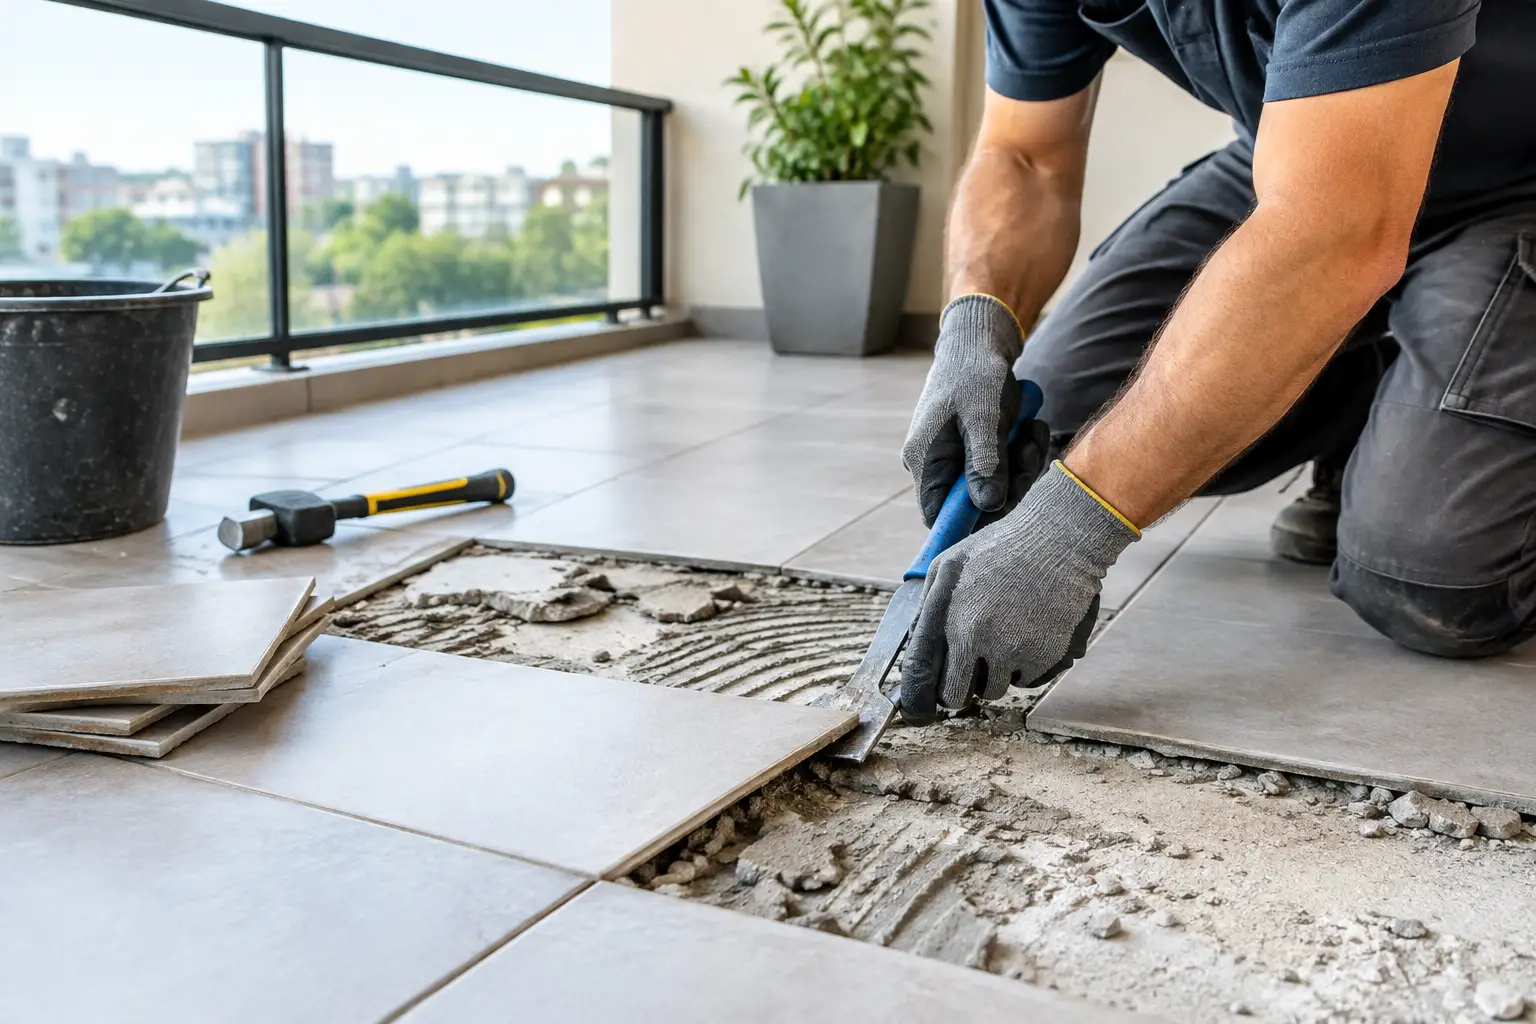
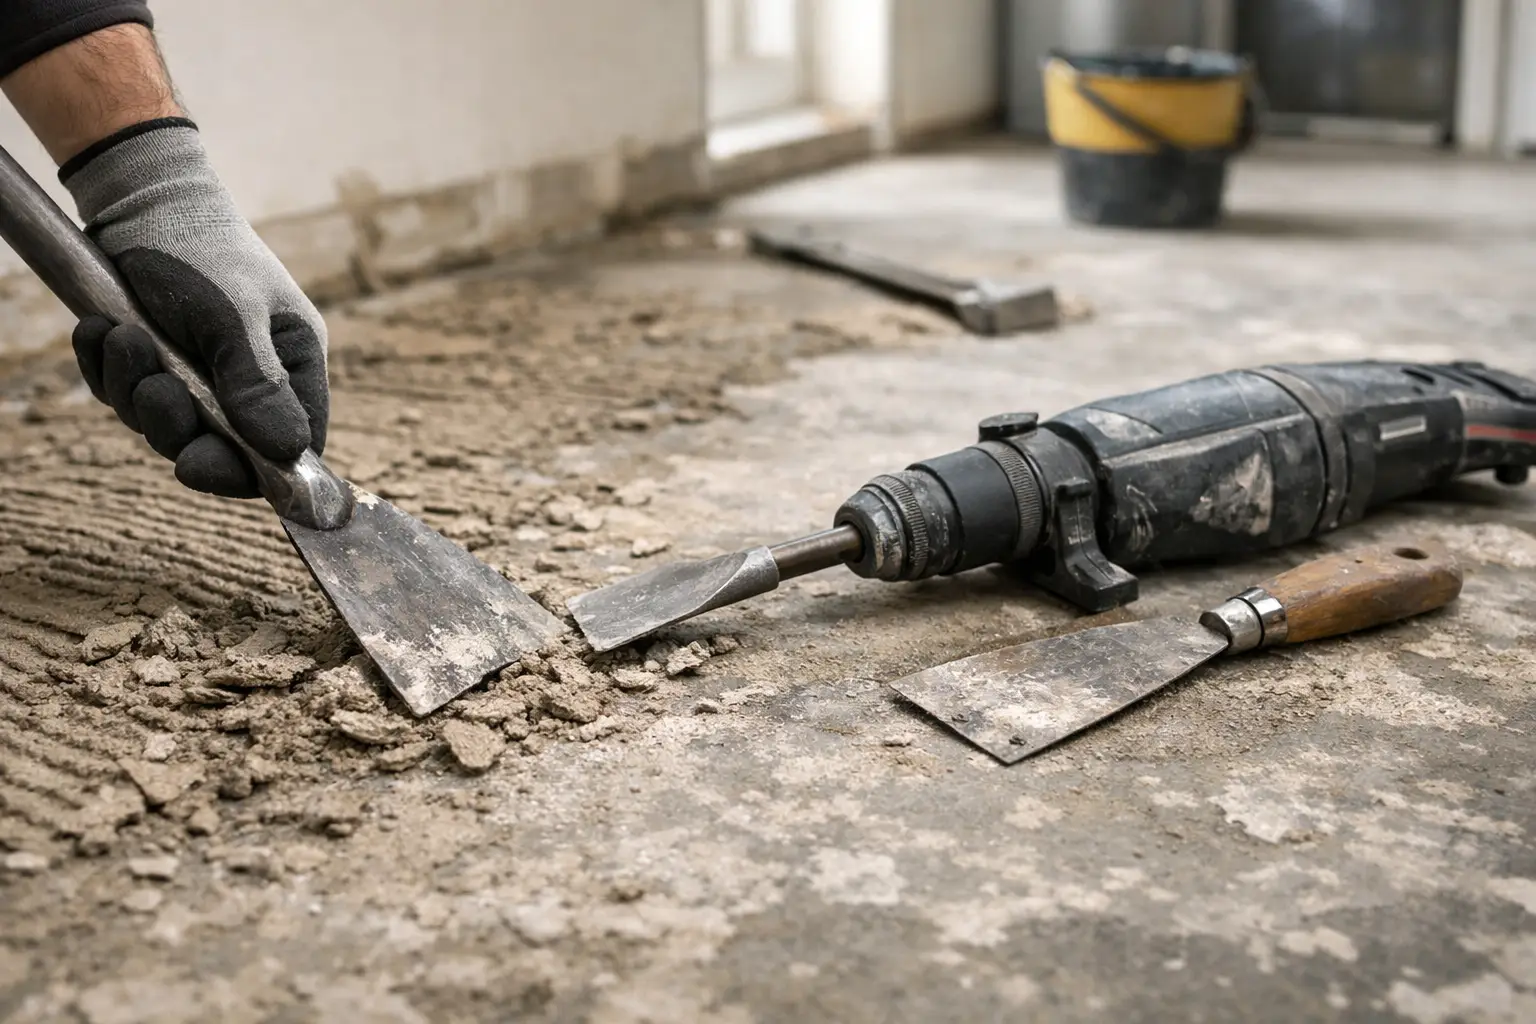
For small areas, a floor scraper is usually the first step. A long-handled scraper gives you better leverage and saves your back, especially on open spaces. On tighter bathroom or laundry jobs, a hand scraper can help you work around edges and fixtures.
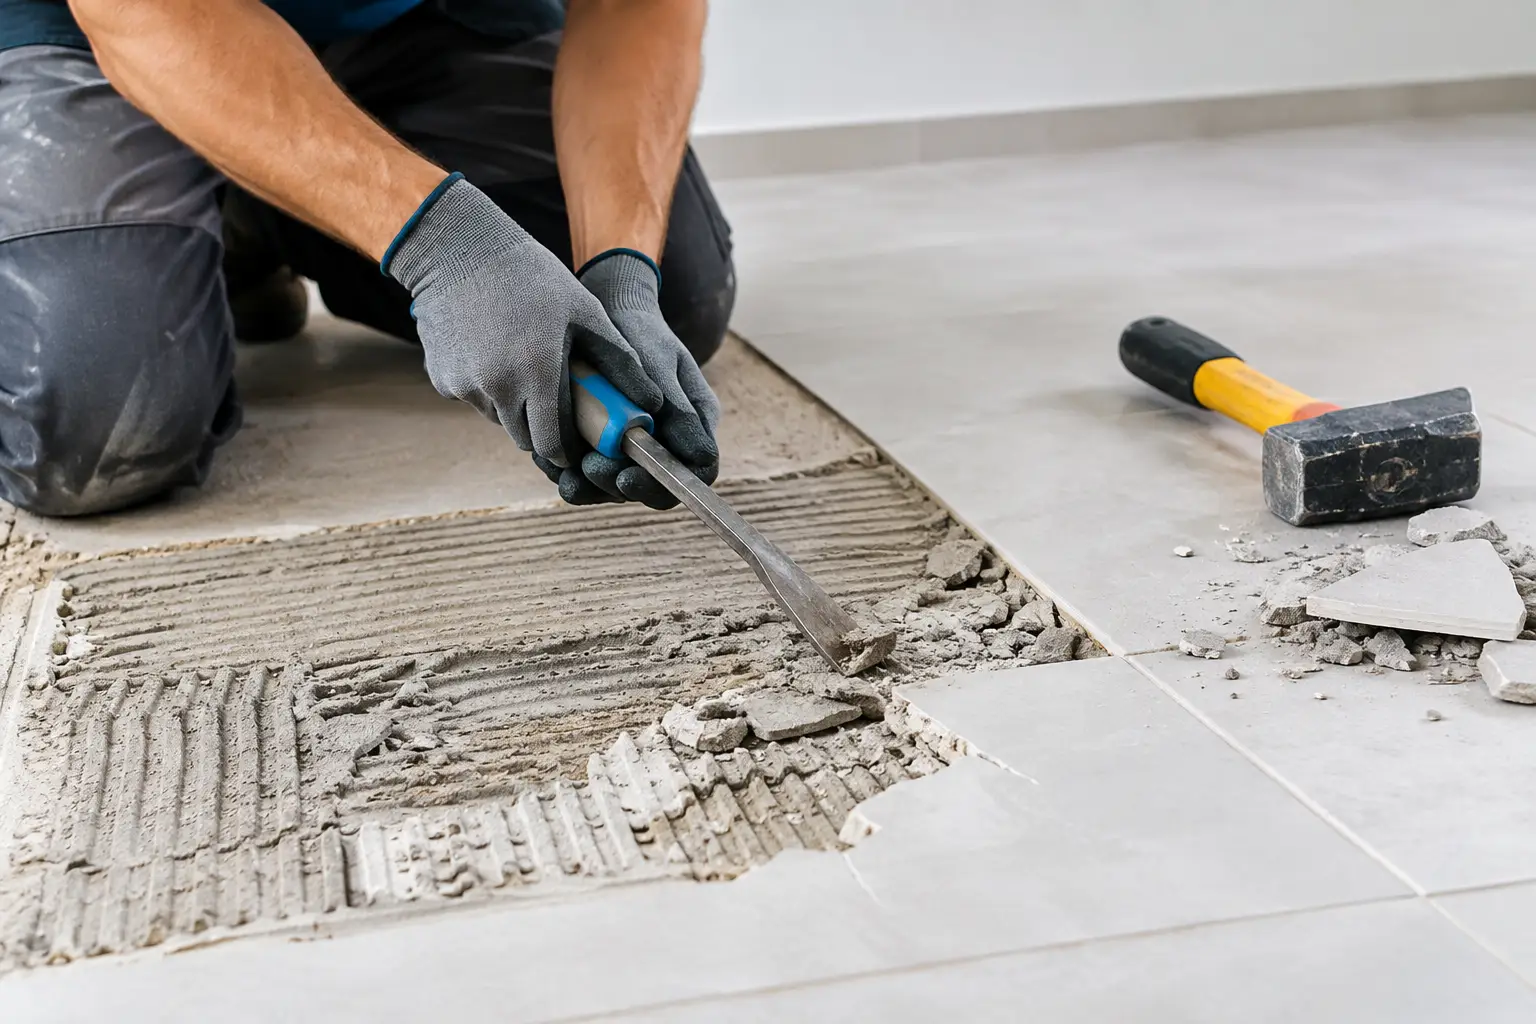
If the glue is brittle and lightly bonded, scraping may remove a decent amount. More often, it will only take the high spots off and leave a thin residue stuck to the slab. That residue still matters. New floor coverings need a clean, stable surface, not a patchwork of old adhesive.
At that point, mechanical removal is usually the answer. For concrete floors, this often means using a jackhammer with a wide chisel attachment for heavy bedding, followed by a concrete grinder to remove remaining glue and smooth the slab. Grinding is what gets the floor properly ready, especially where a clean bond is needed for new finishes.
This is where many jobs go wrong. People stop after chipping off the obvious material, but the slab is still contaminated. If you can still feel ridges, see adhesive staining, or notice uneven patches under a straight edge, the floor is not ready.
When heat or chemicals help – and when they do not
Some older adhesives soften with heat. A heat gun can work on very small areas, particularly on wall tile glue or mastic, but it is rarely the fastest or cleanest solution for larger floors. Softened glue can become sticky and harder to control, especially if it spreads rather than lifts.
Adhesive removers and chemical strippers also have their place, but they are not a universal fix. They can be useful for certain mastics or residues in small, contained areas. The trade-off is time, odour, clean-up and the risk of leaving chemical contamination behind. If the floor is being prepared for a new adhesive system, any residue from stripping products can create problems later.
On renovation sites, mechanical removal is often preferred because it is faster, more predictable and easier to assess. You can see exactly what is being removed and what condition the substrate is in underneath.
The substrate changes everything
Concrete is the most forgiving surface when removing old tile glue. It can usually be scraped, chipped and ground back to a solid finish, provided the right equipment is used. Even then, the goal is not just removal. It is controlled removal, with minimal damage and a floor that is genuinely ready for the next trade.
Timber is different. Old glue on timber floors can tear fibres, damage boards or leave deep scars if you attack it too aggressively. In some cases, careful scraping and sanding are enough. In others, the cost of restoring the surface outweighs removal, and replacement becomes the smarter option.
Fibre cement and underlay boards can also be tricky. They do not tolerate heavy impact well, and once damaged, they may need to be replaced before new flooring can go down. If the adhesive is strongly bonded, the cleaner result may come from removing the substrate with it rather than trying to separate the two.
That is why experienced operators always assess the whole floor system, not just the glue layer. Removing adhesive is only one part of getting the area renovation-ready.
Dust control is not optional
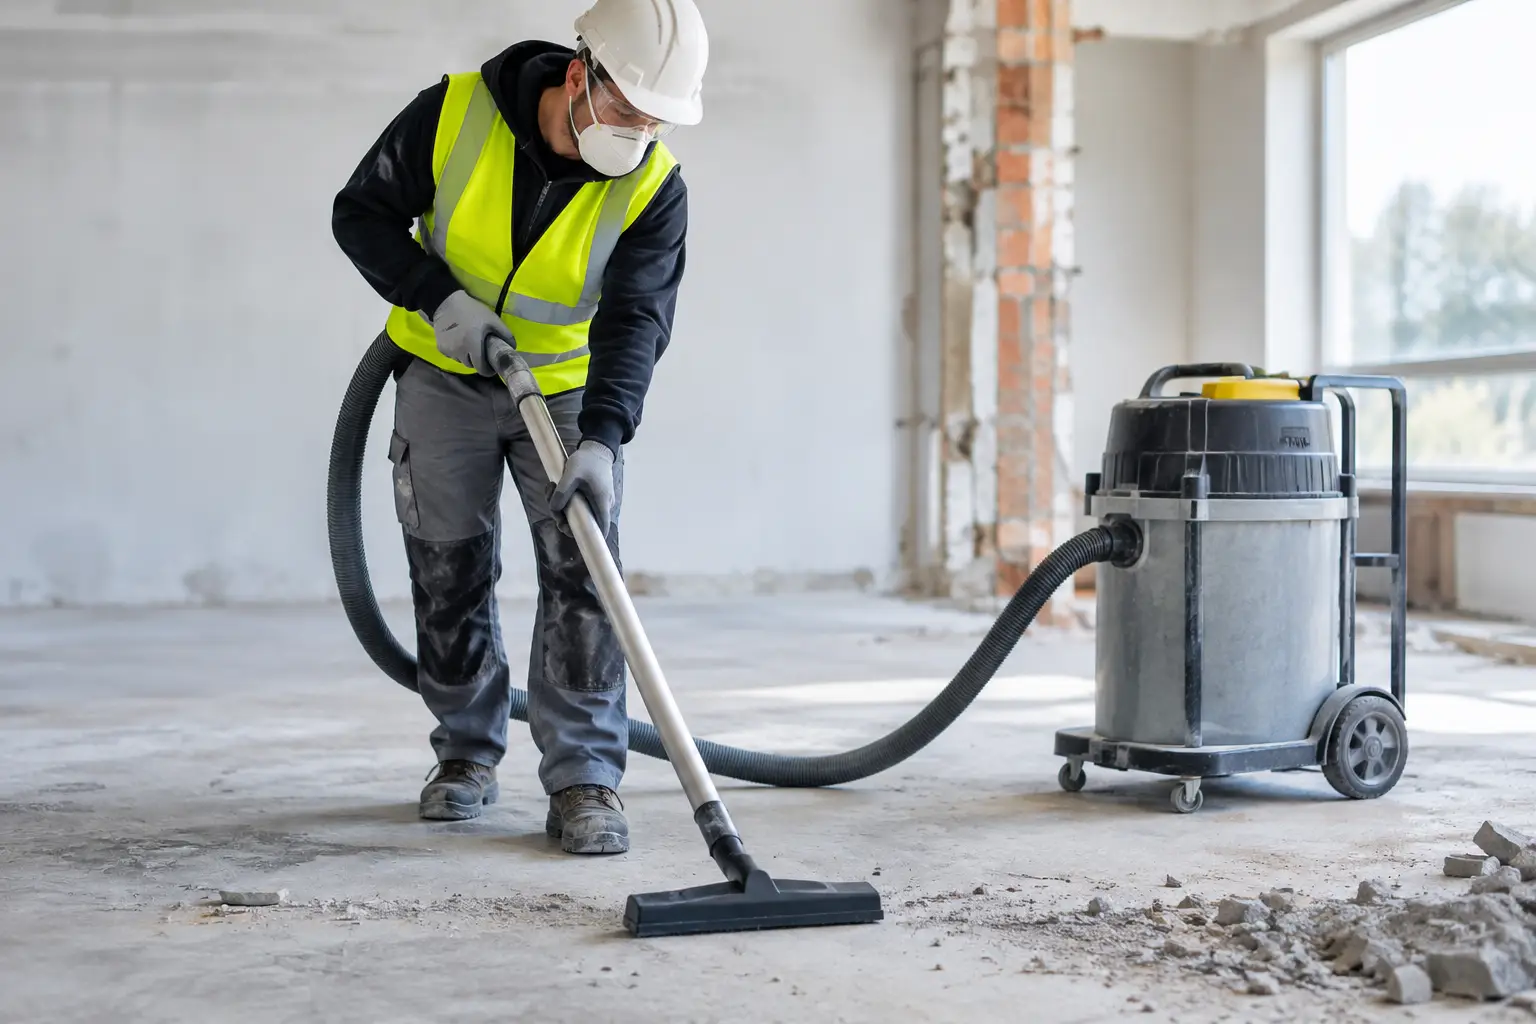
Grinding old tile glue creates dust. A lot of it, if it is done badly. In occupied homes, units, offices and retail spaces, poor dust control can turn one room into a site-wide clean-up problem.
Professional removal setups use proper grinding equipment with dust extraction to keep the job controlled. That matters for cleanliness, but also for safety and scheduling. Fine dust settles into cabinetry, air-conditioning vents, electronics and adjoining tenancies. If you are renovating around other live areas, the clean-up cost and disruption can quickly outweigh any savings from a rough removal job.
For commercial clients, this is often the deciding factor. Fast removal is important, but clean execution is what keeps the broader project moving.
When DIY makes sense and when it usually does not
If you are dealing with a very small area, the glue is brittle, and the substrate is solid concrete, a DIY attempt can be reasonable. The key is to be realistic about the finish required. If you only need to remove a loose patch before minor repairs, basic scraping may be enough.
If the area is larger, the adhesive is thick, the floor needs to be level, or new finishes are going down straight after, DIY often becomes false economy. The equipment is heavier, noisier and more specialised than most people expect. Removal is physically demanding, and the final slab preparation is where skill shows.
The same goes for bathrooms, kitchens, full-home renovations and commercial strip-outs where time matters. If one delayed floor pushes back waterproofing, cabinetry, tiling or handover, the adhesive removal was never a small job.
A specialist team can usually identify the adhesive type, choose the right removal method and complete the work much faster than trial-and-error DIY. For difficult floors, that means less risk, less mess and fewer delays. Rapid Stripped handles this sort of work every day, especially where old glue, stubborn bedding and slab prep need to be dealt with properly the first time.
What a properly finished floor should look like
Once the old tile glue is removed, the surface should be firm, clean and suitable for the next stage of construction. That does not always mean it looks perfect to the eye. It means loose material is gone, contamination is addressed, and the substrate is prepared to the standard required for the new floor covering.
On a concrete slab, that usually means the surface has been ground or cleaned back so adhesives, levellers or membranes can bond correctly. There should be no soft patches, no drummy residue, and no obvious high spots left from old glue lines. If the slab needs further patching or levelling, that should be identified early, not discovered once the installer arrives.
This is where experienced removal work pays off. A rushed strip-out might remove the visible problem. A proper prep job leaves the site ready for what comes next.
How to remove old tile glue and save time on your renovation
The fastest way to save time is not by rushing into removal with the first tool you find. It is by matching the method to the floor, the adhesive and the finish required. A scraper might be enough for one room and useless in the next. Grinding might be essential on one slab and too aggressive for another substrate.
That is the practical reality with old tile glue. It depends on what is there, what is underneath, and what needs to happen after removal. If you get those three things right, the job moves quickly. If you get them wrong, the floor keeps causing problems long after the glue is gone.
If your site needs to be clean, safe and ready for the next trade without the usual blowouts, treat adhesive removal as a critical prep stage, not an afterthought. A floor that is properly stripped gives the rest of the renovation a much better start.