
Tiles might be gone, but the job is not finished. What sits underneath usually decides whether your new flooring goes down properly or starts failing early. If you want to know how to prepare concrete after tile removal, the short answer is this: get the slab clean, flat, sound and dry before anything new is installed.
That sounds simple until you hit the real-world version – stubborn adhesive, old bedding, chipped areas, uneven patches and dust everywhere. This is where plenty of renovations lose time. Rushing the slab prep can lead to hollow spots under new tiles, vinyl failure, poor glue bond, visible floor imperfections or moisture problems that show up after the install. Good preparation is what gives the next trade a proper surface to work with.
Why concrete prep matters after tile removal
Removing tiles is only the first stage. In many homes and commercial sites, the concrete underneath has been through years of movement, moisture, patch repairs and previous floor coverings. Once the tiles and bedding are lifted, all of that becomes visible.
A slab that looks “mostly fine” can still be unsuitable for new tiles, hybrid flooring, vinyl, carpet or epoxy. Adhesive residue can interfere with bonding. High spots can telegraph through thin floor coverings. Loose material can break away under traffic. If the slab has moisture issues, no amount of new flooring on top will fix it.
That is why experienced floor removal crews treat surface preparation as a separate task, not an afterthought. The goal is not just to strip the old finish. It is to leave a substrate that is ready for the next stage with minimal rework.
How to prepare concrete after tile removal
The right method depends on what was under the tiles and what is going back over the slab. A bathroom floor being retiled needs a different finish from a retail tenancy installing vinyl planks. Still, the process follows the same core sequence.
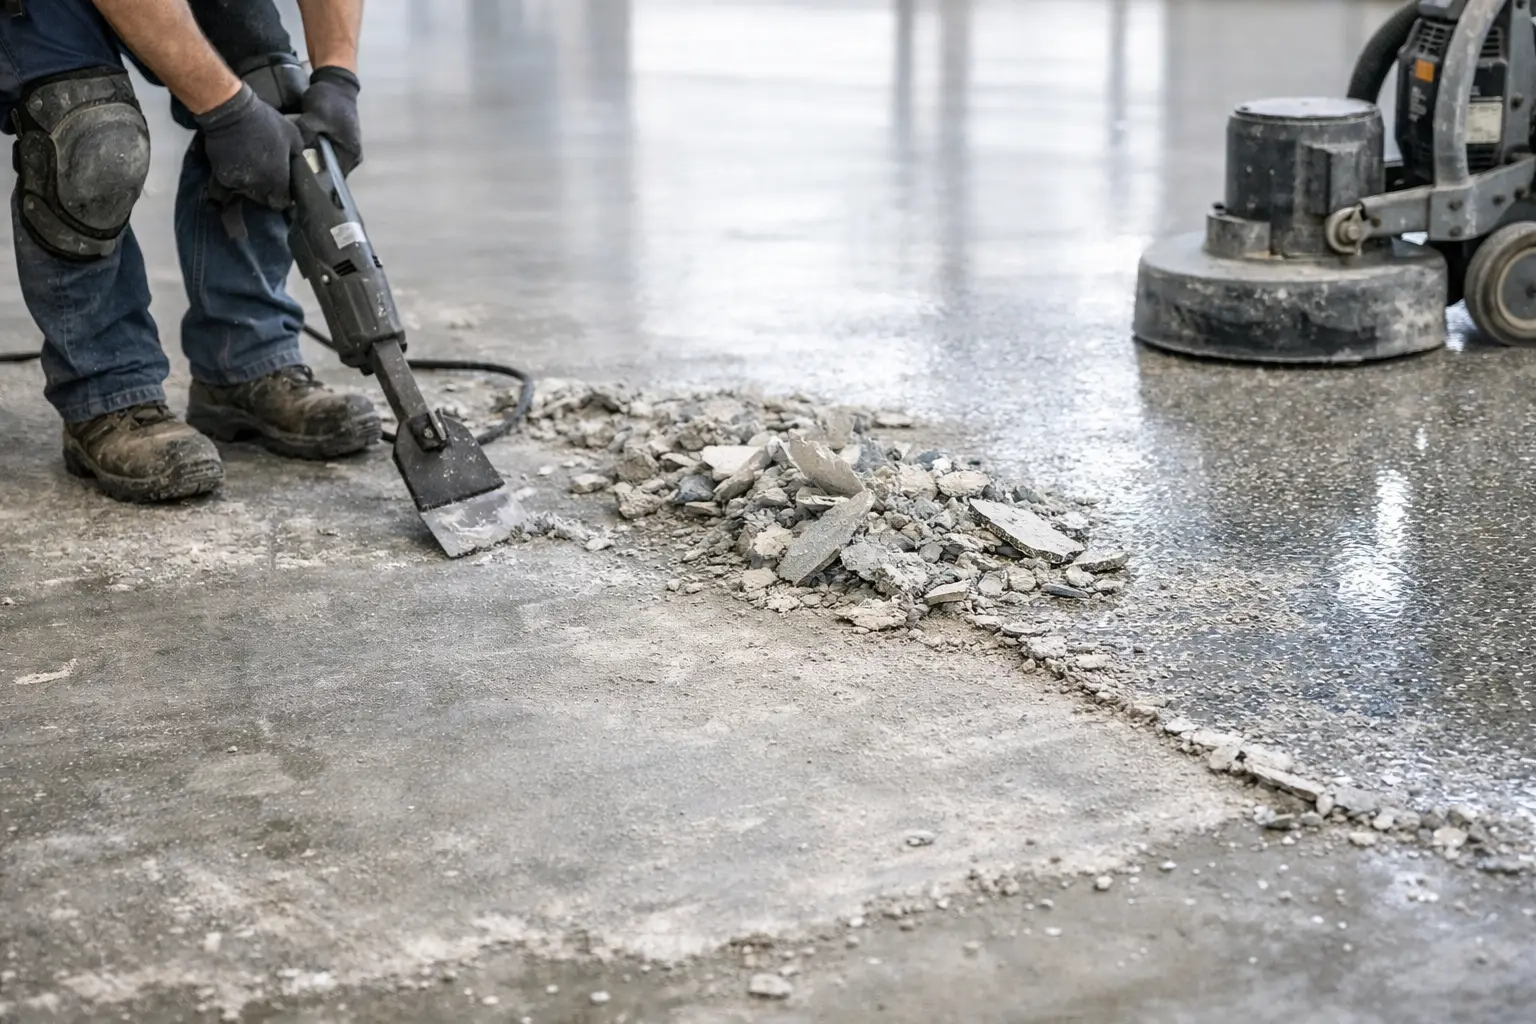
Start by removing all loose material
After tile removal, the slab usually has a mix of tile glue, bedding mortar, grout fragments and broken debris left behind. All of this needs to come off before you can properly assess the concrete.
Loose material should be mechanically removed, not just swept over. If old adhesive or bedding remains bonded to the slab, that usually means chipping, scraping or grinding. The cleaner the slab becomes at this stage, the easier it is to spot cracks, soft areas and uneven sections.
This is also the point where dust control matters. Fine concrete and adhesive dust moves fast through a property, especially during internal renovations. On occupied sites, proper containment and extraction make a big difference to cleanup time and disruption.
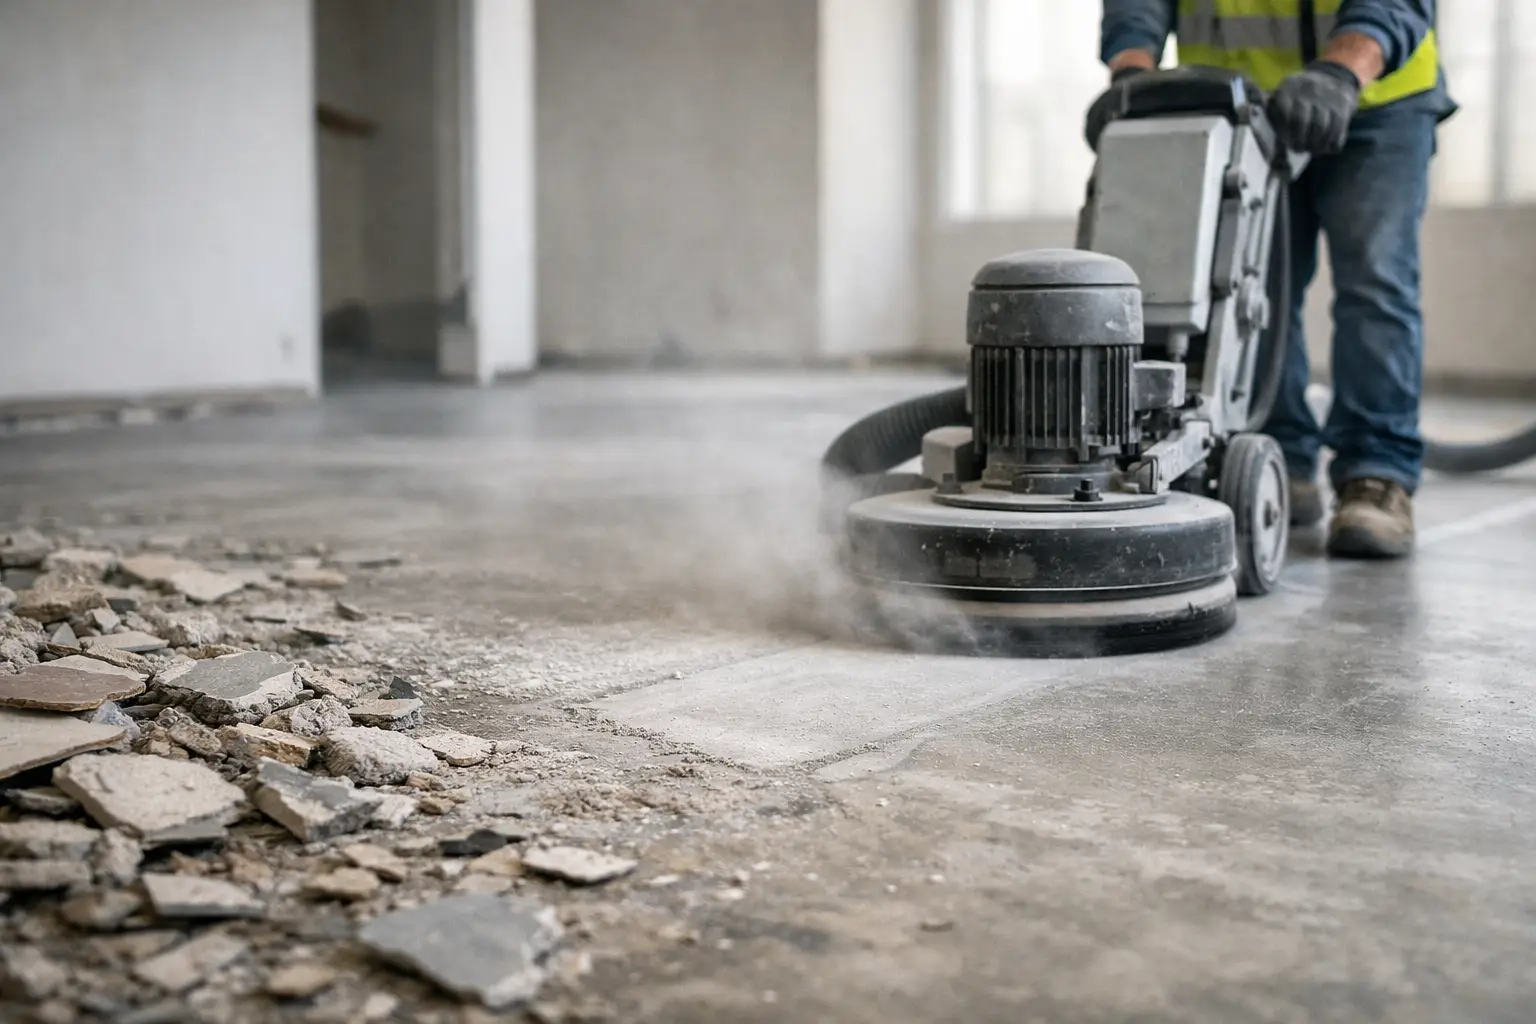
Grind the concrete where needed
In most tile removal jobs, some level of grinding is required. Grinding removes thin-set residue, knocks down high spots and opens the slab so it is better prepared for adhesives, levelling compounds or direct finishes.
Not every slab needs aggressive grinding from wall to wall. Sometimes only isolated areas need attention. Other jobs, especially where there is heavy glue residue or thick bedding, need full surface grinding to bring the floor back to a consistent condition.
This is one of those steps where “good enough” often is not. A slab can feel flat underfoot but still have ridges and contamination that affect the next installation. Floor prep is about tolerance, not guesswork.
Check the slab for damage and weakness
Once the surface is exposed, inspect the concrete properly. Look for cracking, drummy patches, spalling, old patch repairs and any soft or brittle sections. Tile removal can reveal existing damage that was hidden for years.
Hairline cracks are not always a major issue, but they do need to be assessed in context. A stable crack may just need treatment before the next floor system goes down. Wider cracks, movement joints or signs of ongoing movement need closer attention. Likewise, if the slab surface is powdery or weak, new adhesives may not bond as they should.
If parts of the slab break away during removal, those sections need repairing before any new floor covering is installed. Leaving them as-is usually pushes the problem onto the next trade, and then the delay starts.
Getting the slab flat, not just clean
A common mistake after tile removal is assuming that once the glue is gone, the slab is ready. Clean is only part of the job. It also needs to be flat enough for the flooring being installed.
Tiles can tolerate minor variation better than sheet vinyl or some hybrid systems. Polished finishes and large-format tiles are less forgiving again. If the slab has dips, ridges or feathered edges from old bedding removal, these can become obvious once the new floor goes down.
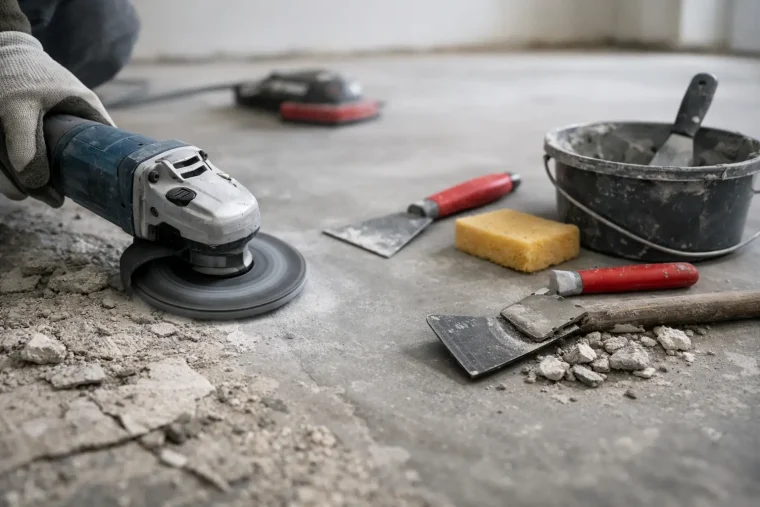
Use patching or levelling compounds where required
Low spots, chipped sections and surface imperfections often need patching. If the floor has widespread variation, a levelling compound may be the better option. The right choice depends on the finish going over the slab, the thickness available and the condition of the substrate.
This is where preparation work needs to line up with the flooring plan. There is no point grinding one area to bare concrete, leaving another with residue and then trying to patch over both without the right prep. Consistency matters.
A proper repair should bond securely and cure to suit the next stage of work. If a patch lifts or powders later, the floor system above it is at risk too.
Moisture matters more than most people expect
If you are working out how to prepare concrete after tile removal for any new floor covering, do not ignore moisture. Tile can hide slab moisture better than some modern flooring products. Once the old floor is removed, the slab needs to be checked before reinstallation begins.
Moisture problems are especially relevant in ground-floor slabs, older properties, bathrooms, laundries, kitchens and commercial spaces with regular wet cleaning. A slab can look dry on the surface and still hold enough moisture to interfere with adhesives or coatings.
Test before installing sensitive floor finishes
Different floor systems have different moisture tolerances. Vinyl, hybrid, timber and epoxy systems can all react badly if the slab moisture is too high. That can mean bubbling, adhesive breakdown, cupping, mould risk or coating failure.
Testing should happen before the next flooring trade starts, not after the material is already on site. If moisture mitigation is needed, it is far better to deal with it early than to rip out a failed floor later.
The finish depends on what comes next
Concrete prep is not one-size-fits-all. The slab should be prepared to suit the final floor finish, not just stripped back for the sake of it.
If the area is being retiled, the focus is usually on achieving a clean, stable and level bonding surface. If vinyl or carpet is going in, the slab often needs a smoother finish with more attention to minor imperfections. If the concrete itself will be coated or polished, the prep standard is higher again because the substrate becomes the finished surface.
That is why experienced operators ask what is being installed next before they finish the slab. It saves double-handling and avoids paying for preparation that does not match the job.
When DIY prep becomes a problem
Some smaller tile removal jobs look manageable at first. Then the bedding refuses to move, the grinder fills the room with dust, and the slab underneath turns out to be uneven or damaged. That is usually where time blows out.
The issue is not just effort. It is having the right equipment and knowing how far to go without damaging the slab. Over-grinding can create more repair work. Under-preparing leaves contamination behind. Using the wrong method on adhesive or brittle concrete can make the site harder to recover.
For renovation timelines, that matters. Builders, tilers and flooring installers need a substrate they can trust. A floor that is only half-prepared usually causes delay for everyone after it.
What a properly prepared slab should look like
A concrete slab ready for new flooring should be free of tile bedding, adhesive residue, loose material and surface contamination. It should be flat enough for the intended finish, repaired where damaged, and checked for moisture where relevant. It should also be clean enough that the next trade can start without spending half a day fixing what should have been completed earlier.
That standard is what keeps a renovation moving. On residential jobs, it means less mess and fewer surprises. On commercial sites, it means less downtime and better coordination with the trades coming in behind.
Teams like Rapid Stripped handle this kind of work every day because removal and preparation go together. Fast tile removal means very little if the slab is left rough, contaminated or not ready for the next stage.
If you are planning a renovation, the best approach is simple – treat slab preparation as part of the floor removal job, not something to sort out later. A clean, level, properly prepared concrete surface gives the next finish its best chance of lasting.