
Floor Preparation sets up every renovation for success. Learn what matters, what gets missed, and how to avoid delays, dust and rework.
A new floor only performs as well as the surface underneath it. That is why Floor Preparation is not a quick sweep, a bit of patching, and hope for the best. If the slab is uneven, contaminated, cracked, or still covered in stubborn adhesive, the next trade inherits the problem – and the finished floor pays for it.
For homeowners, builders, and property managers, poor preparation usually shows up later as drummy tiles, lifting vinyl, uneven timber, coating failure, or delays that throw the whole schedule out. Getting the substrate right from the start is what keeps a renovation moving and reduces the chance of expensive rework.
What floor preparation actually involves
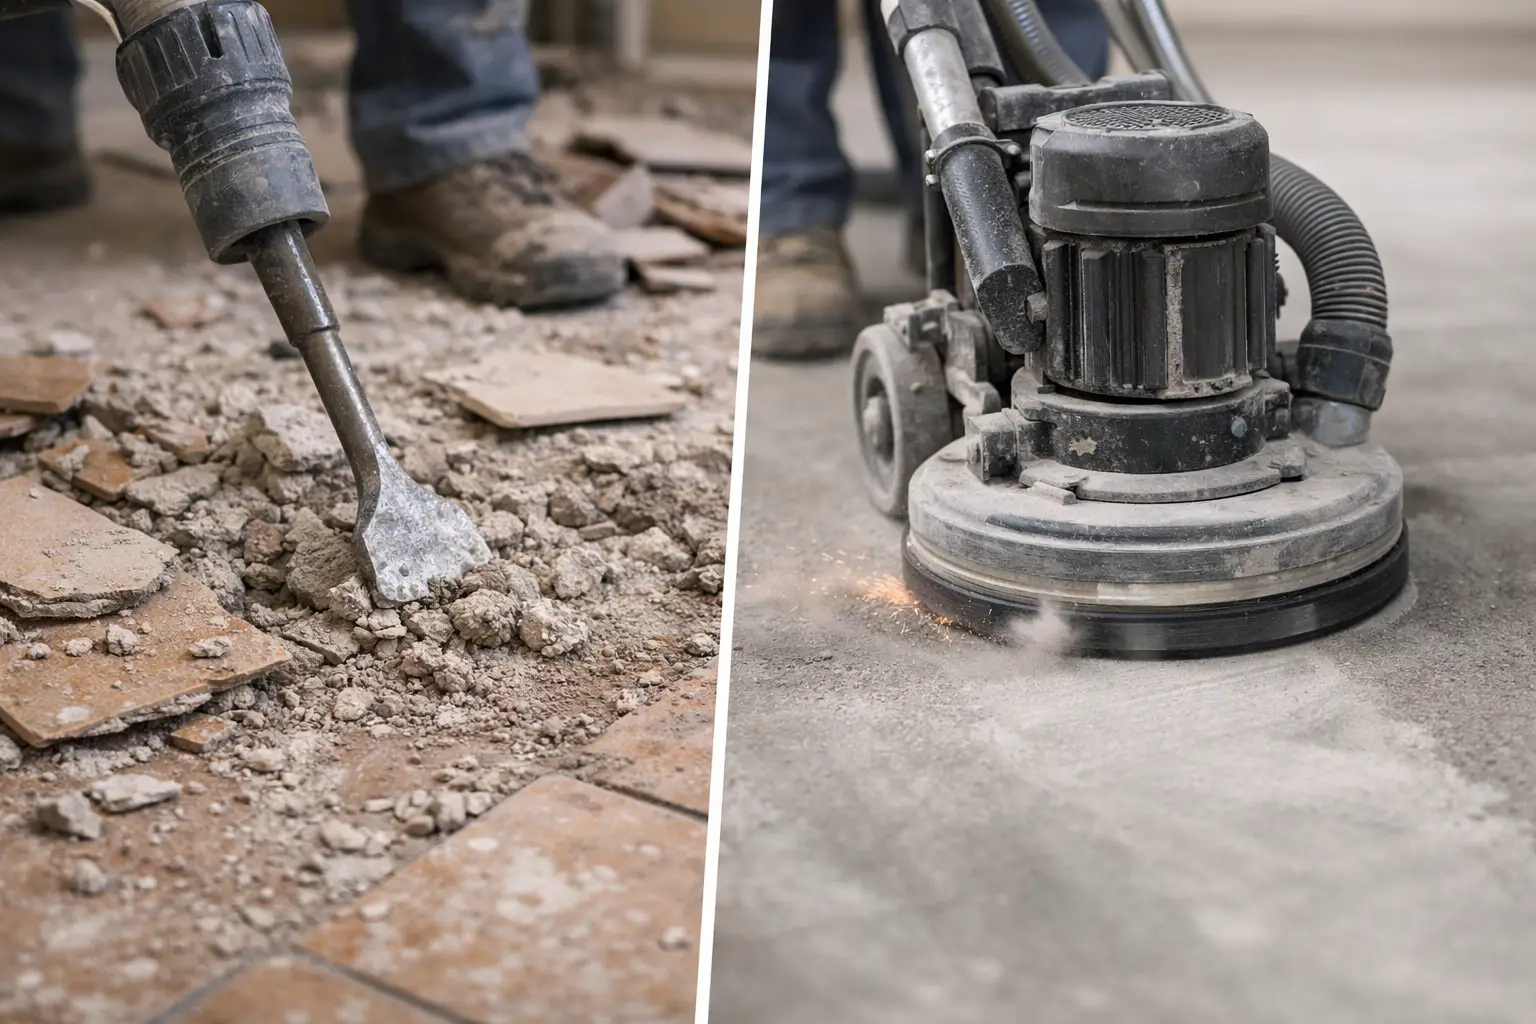
Proper floor preparation starts with identifying what is on the floor now, what is bonded to the substrate, and what needs to go before the new finish can be installed. That can mean removing tiles, vinyl, carpet, cork, timber, epoxy, paint, waterproofing residue, tile glue, levelling compounds, or thick bedding that has been left behind after demolition.
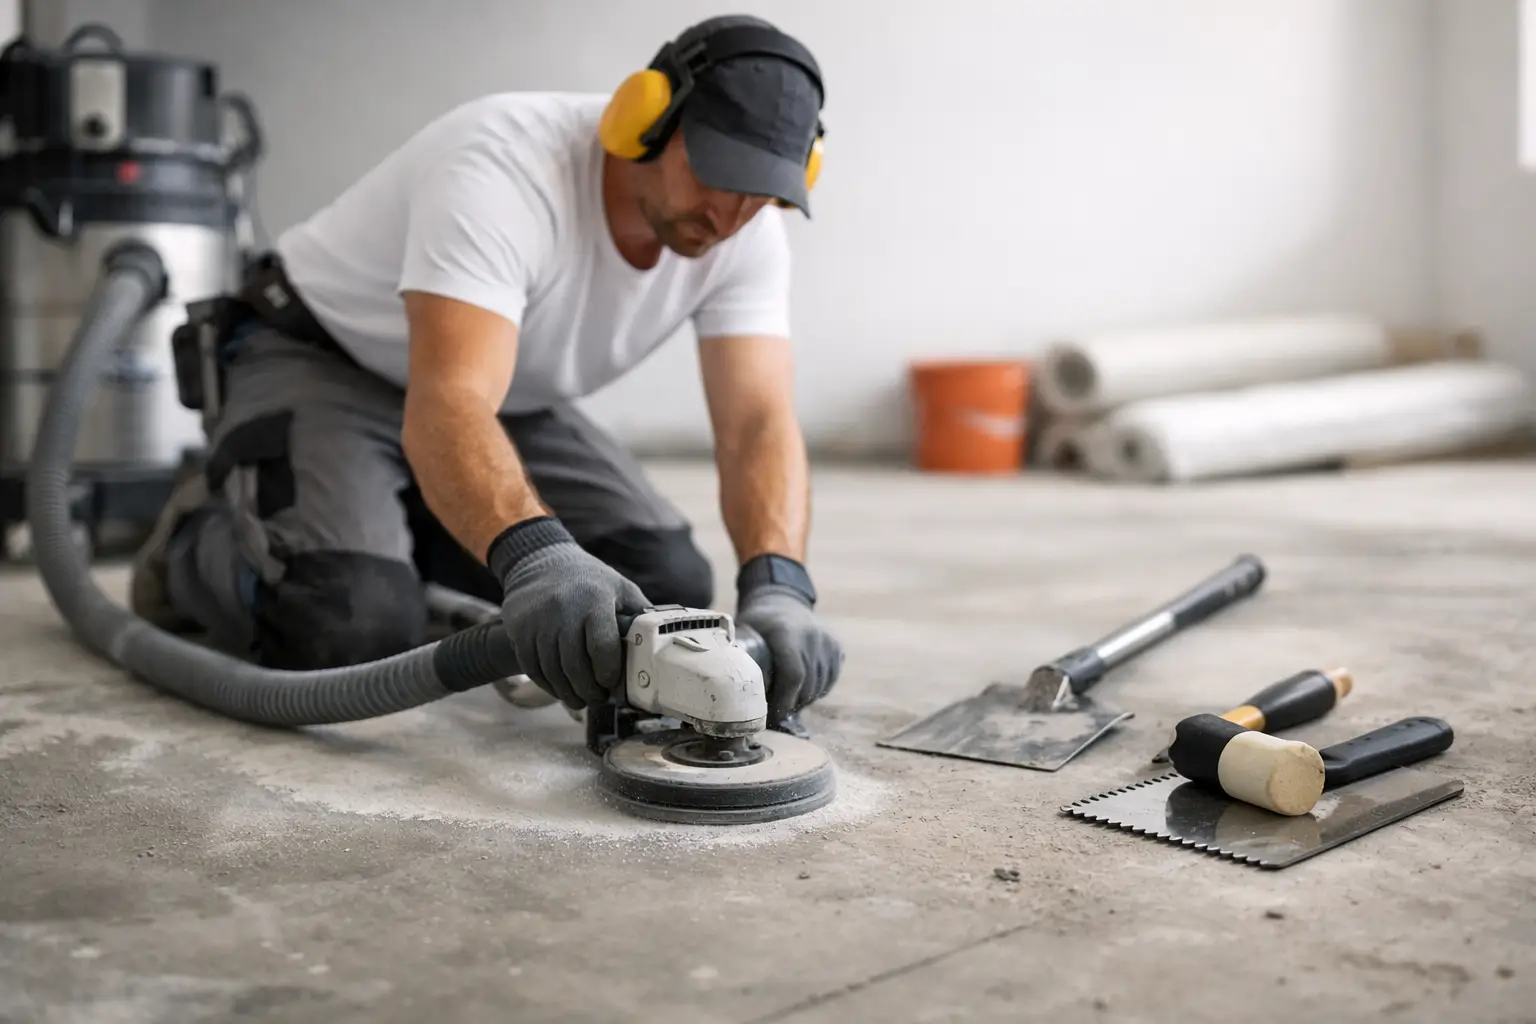
The next step is making the surface suitable for what comes next. In some jobs, that means grinding the slab to remove contaminants and create a clean profile. In others, it means taking down high spots, exposing sound concrete, or removing loose material so the floor layer is not trying to work over a compromised base.
This is where many projects slow down. Surface issues are often hidden until the old flooring is gone. A floor can look fine until the coverings are lifted and the slab underneath tells a different story.
Why Floor Preparation matters more than most people think
The finished floor is the part everyone sees, but the substrate does the hard work. If it is not flat, clean, dry enough, and structurally sound, installation becomes harder and the risk of failure goes up. Adhesives need a clean bond. Tiles need a stable base. Coatings need proper adhesion. Even minor residue can cause major problems later.
There is also a time issue. If preparation is rushed or left incomplete, the next trade either has to stop and wait or try to fix someone else’s work. That creates disruption on residential jobs and even bigger headaches in offices, retail sites, and tenanted properties where downtime matters.
Good preparation is not just about quality. It is about keeping the whole project on track.
Common problems found during floor preparation
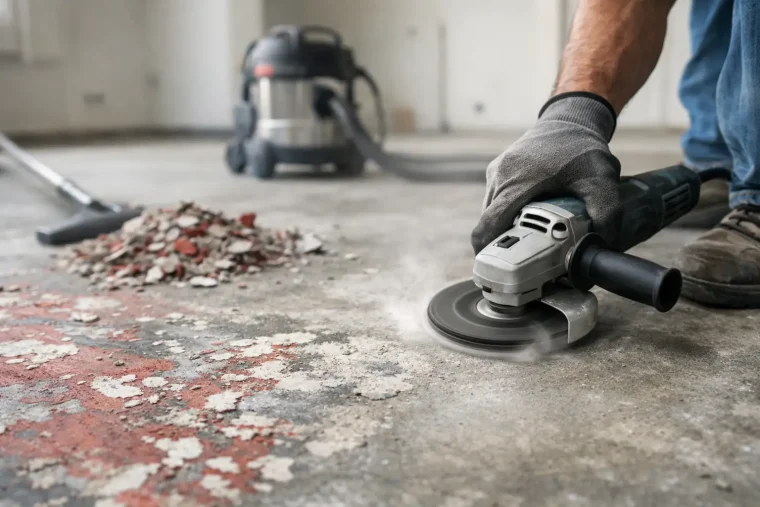
Not every floor comes up cleanly. Some of the toughest jobs involve thick tile bedding, multiple layers of old coverings, brittle adhesives, painted slabs, moisture-affected surfaces, and patched concrete that has failed over time. Commercial sites can be worse again, especially where several fit-outs have been done over the years.
One of the most common issues is leftover adhesive. It is easy to underestimate and hard to work around. Another is uneven slab condition after tile or timber removal. Even when the covering is gone, the floor may still need grinding before it is ready.
Cracks, soft spots, contamination, and lipping between old pours can also become obvious once the site is stripped. That does not always mean a major problem, but it does mean the job needs the right equipment and the right approach.
The difference between removal and readiness
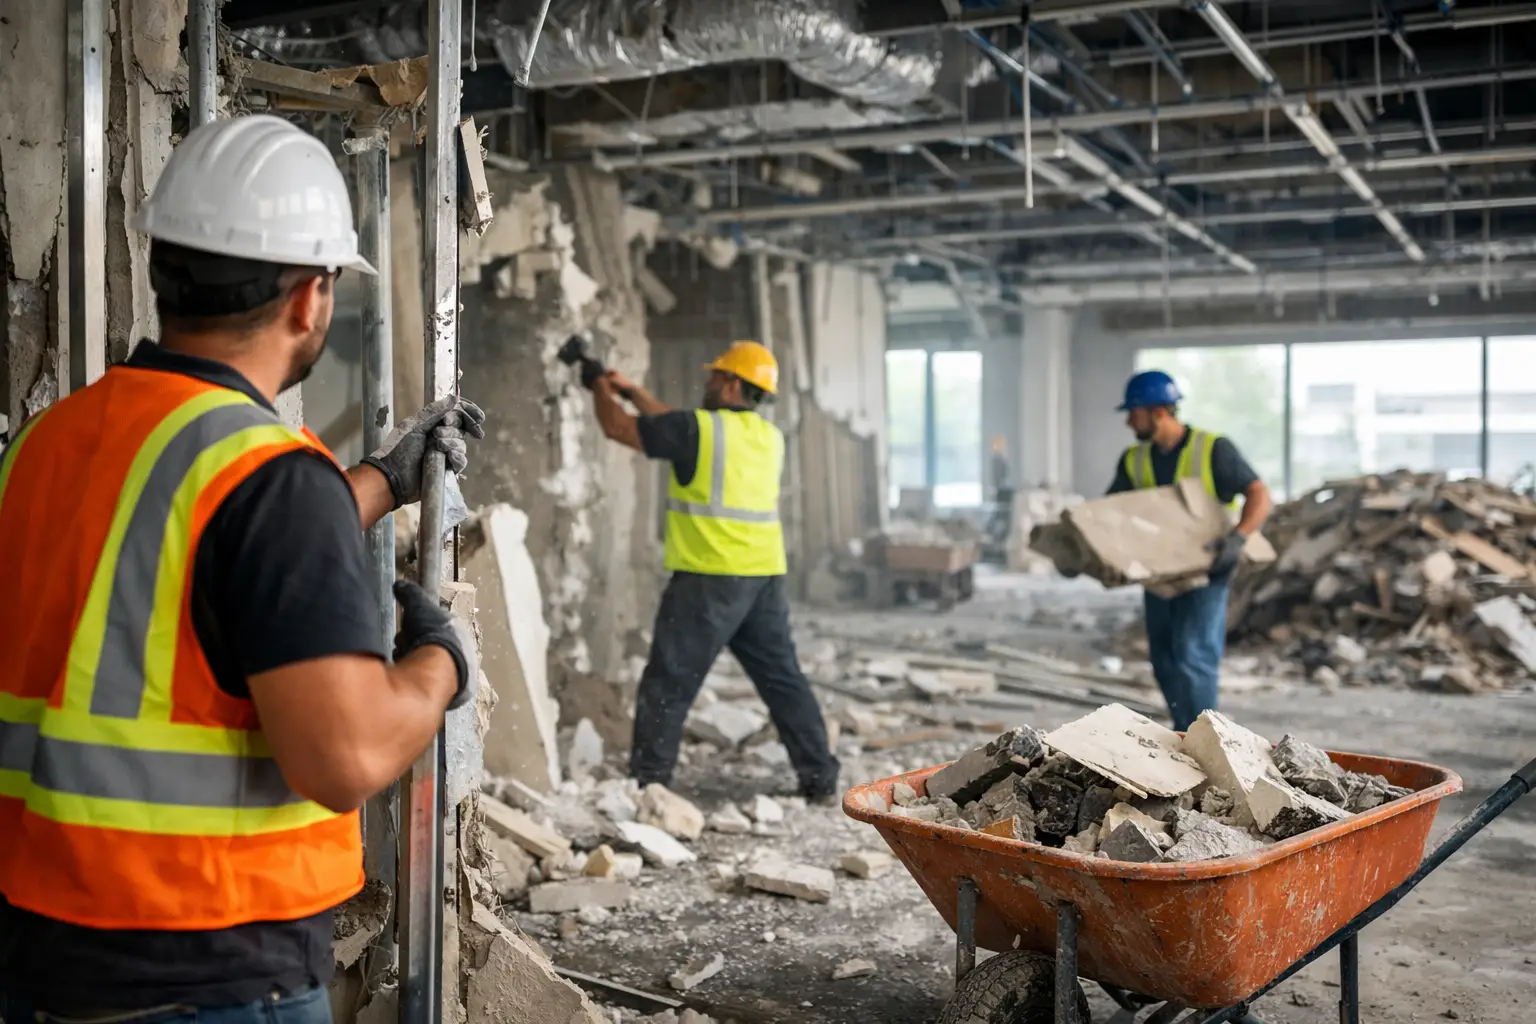
Removing old flooring is only part of the job. A site is not ready just because the visible material is gone. True readiness means the floor has been stripped back to a condition that allows the next stage to begin without avoidable hold-ups.
That is a big difference, especially on renovation schedules where trades are lined up tightly. A clean strip-out with proper slab grinding and residue removal saves time because the floor layer, tiler, or coating contractor can step in and get moving.
That is also why specialist operators are often brought in for difficult removals. Some materials come up easily. Others do not. Tile on thick mortar beds, glued timber, old vinyl with hard-set adhesive, and failed epoxy coatings all need more than brute force. They need controlled removal, attention to the substrate, and a finish that leaves the site genuinely prepared.
What to expect from a professional floor preparation team
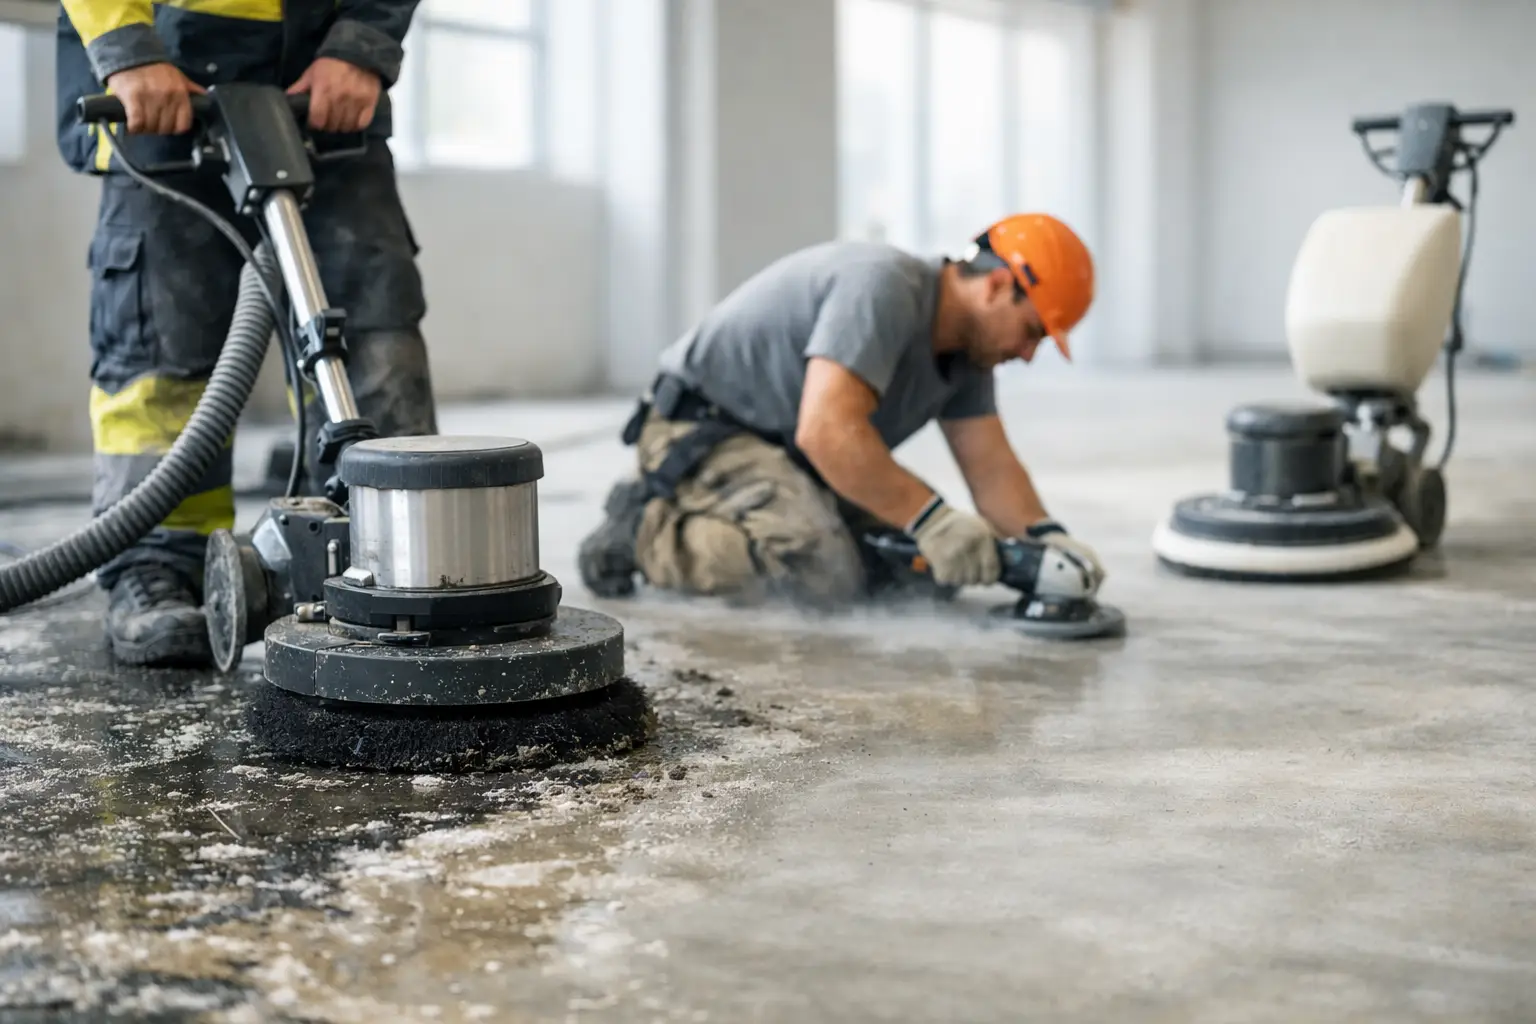
The basics should be non-negotiable: reliable arrival, clear communication, safe work practices, and a job that leaves the site ready for the next stage. Beyond that, the real value is in speed, dust control, and knowing how to deal with difficult surfaces without causing unnecessary damage.
A good team will assess the floor type, substrate condition, access, and waste removal requirements before starting. They will use the right machinery for stripping, grinding, and surface cleaning, and they will work in a way that limits mess and disruption wherever possible.
For occupied homes, tenanted units, and commercial spaces, this matters. Fast turnaround and clean execution are not nice extras. They are part of keeping the job practical.
When floor preparation should be booked
The best time to plan floor preparation is before the next trade is locked in, not after a failed removal attempt or a rushed demolition. If you know old flooring, glue, coatings, or bedding need to be removed, book that work as a standalone stage and treat it as critical path.
That gives you a clearer site, a more accurate view of substrate condition, and fewer surprises when installation starts. For projects across Northern NSW, the Gold Coast, Brisbane, and the Sunshine Coast, a specialist service like Rapid Stripped is often the difference between a floor that is just stripped and one that is actually ready.
If the next finish matters, the preparation matters just as much. Get the surface right first, and the rest of the job has a far better chance of running cleanly.