
Renovations go off the rails early when old flooring is not removed properly. A solid floor stripping process guide helps you avoid the usual problems – hidden adhesive, damaged slabs, uneven surfaces and trade delays that show up after the floor looks “done”. If the site is not stripped clean and prepared properly, the next stage pays for it.
The job is not just about ripping up tiles or vinyl and hauling rubbish away. Proper floor stripping is controlled demolition. It takes the right equipment, the right sequence and a clear understanding of what sits under the finished surface. Done well, it leaves the area clean, safe and ready for waterproofing, levelling compounds, polishing or new floor installation.
What the floor stripping process guide should cover
A proper floor stripping process guide starts before any tool touches the floor. The first step is identifying the surface material, the bedding or adhesive below it, and the condition of the substrate. Tile removal from a concrete slab is different from lifting glued vinyl off timber. Epoxy removal behaves differently again, especially when the coating is bonded hard and the slab underneath needs to be preserved.
This is where experience matters. Some floors come up fast. Others fight all the way because of thick adhesive beds, multiple floor layers, patch repairs or previous poor workmanship. On older sites, you can also find cracked slabs, moisture issues or areas that have been built up over time to hide defects. If you treat every floor the same, you create more work than you solve.
The right approach balances speed with control. On a live commercial site, minimising disruption matters just as much as removal speed. In a home renovation, dust control, access management and protecting adjacent finishes can make the difference between a clean project handover and a mess that spreads through the whole property.
Site preparation before stripping starts
Before removal begins, the work area needs to be isolated and cleared. Furniture, appliances, loose fittings and obstacles should be removed so the team has proper access. If the strip-out is part of a larger renovation, adjoining areas may need protection to keep dust and debris contained.
Power supply, ventilation and waste handling also need to be sorted early. On some jobs, especially units, retail sites or offices, access times and noise restrictions shape the whole schedule. There is no point planning a fast removal if the rubbish path, lift access or loading zone has not been organised.
A professional setup also includes checking for hazards. That means looking at trip risks, sharp broken material, silica dust exposure, unstable surfaces and any services that could be affected during demolition. Floor stripping is physical work, but it should never be rough for the sake of looking quick.
Assessing the floor system properly
The visible floor is only part of the job. Underneath, there may be tile glue, screed, mortar beds, underlay, staples, levelling products or coatings that need separate treatment. A floor can look clean after the top layer is gone while still being nowhere near ready for the next trade.
That matters because the replacement system often has tighter tolerances than the old one. Large format tiles, hybrid flooring, polished concrete and epoxy finishes all need a sound, clean and level base. If residue or high spots are left behind, installers lose time correcting a problem that should have been solved during stripping.
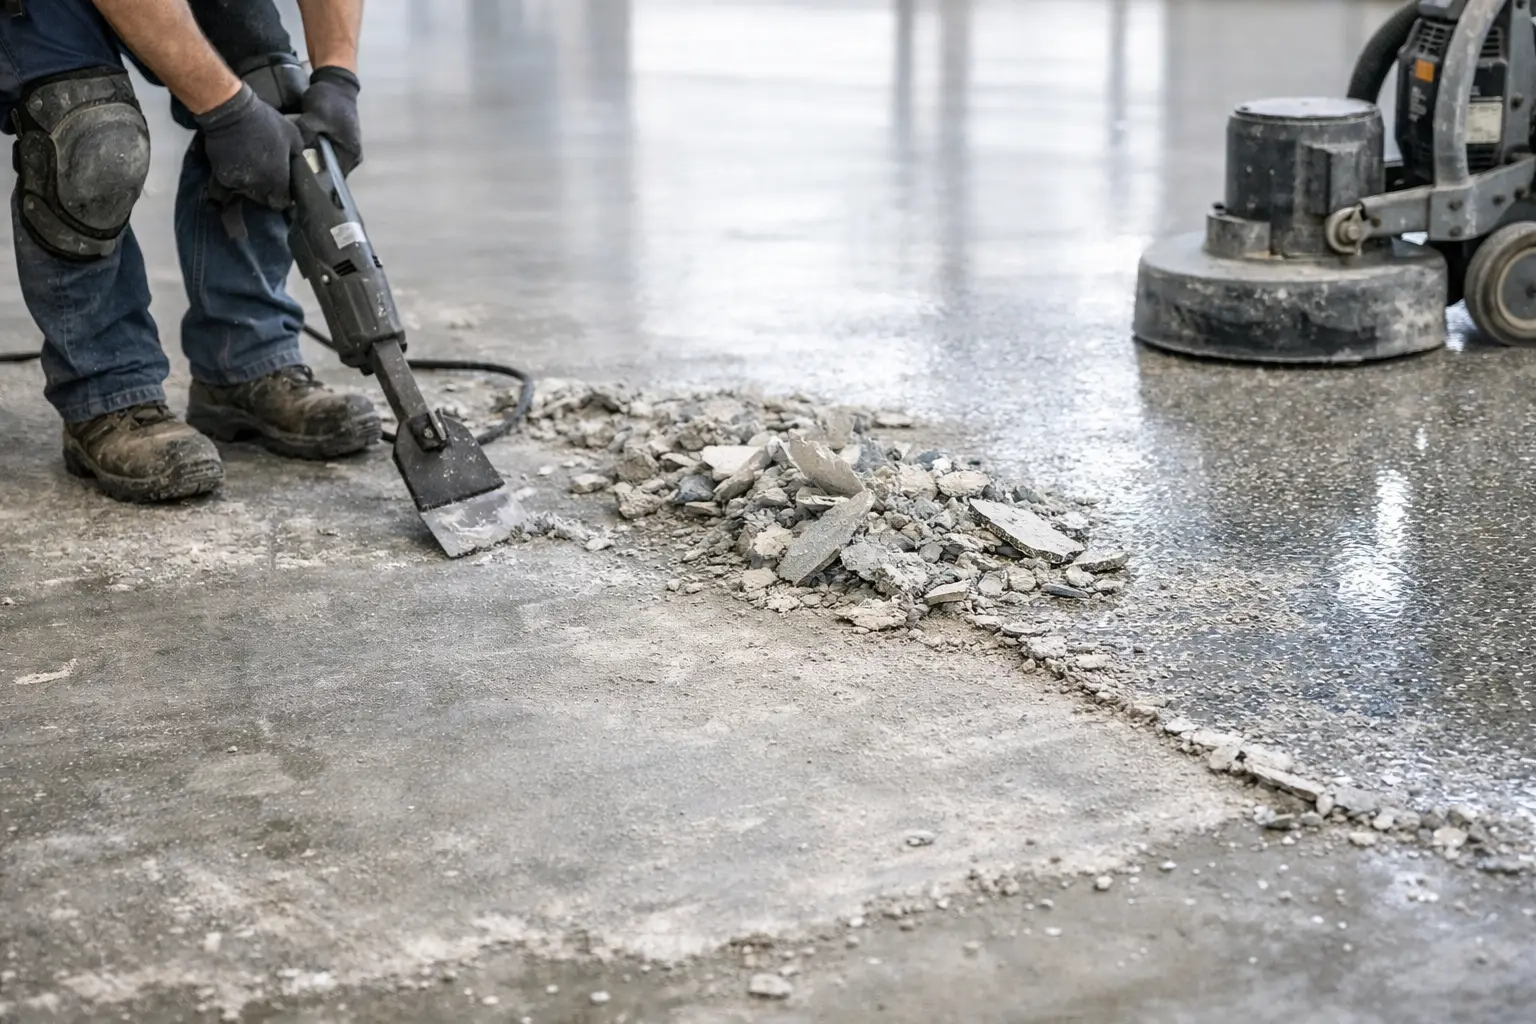
The stripping stage: removal methods and trade-offs
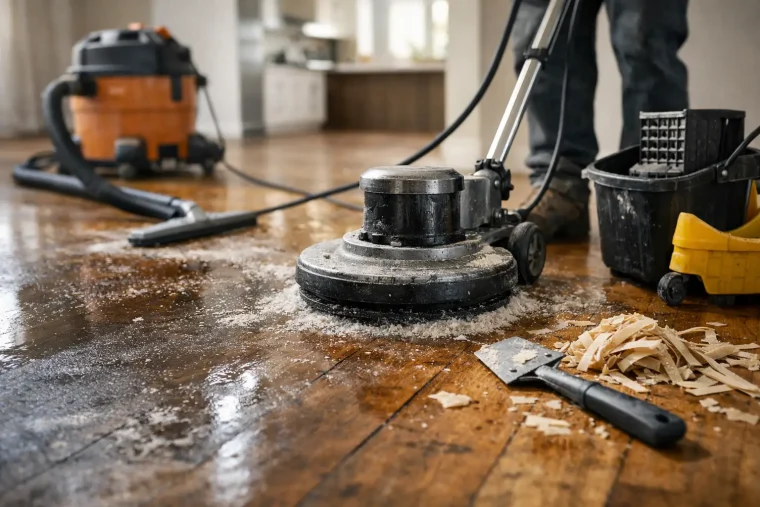
The stripping method depends on the material and substrate. Tiles usually require mechanical breakup and bedding removal. Vinyl and cork may lift in sections, but the adhesive often remains stubbornly bonded to the slab. Timber flooring can involve fastener removal, glue removal or both. Carpet may come up quickly, yet underlay residue and smooth-edge fixings still need attention before the floor is truly clear.
Mechanical removal is usually the fastest and most reliable approach for hard-bonded materials, but the tool has to match the surface. Too aggressive, and you damage the slab. Too light, and you waste hours chasing small gains. This is one of the biggest differences between a specialist crew and a general labour approach. The goal is not just to remove the covering. The goal is to leave a usable substrate.
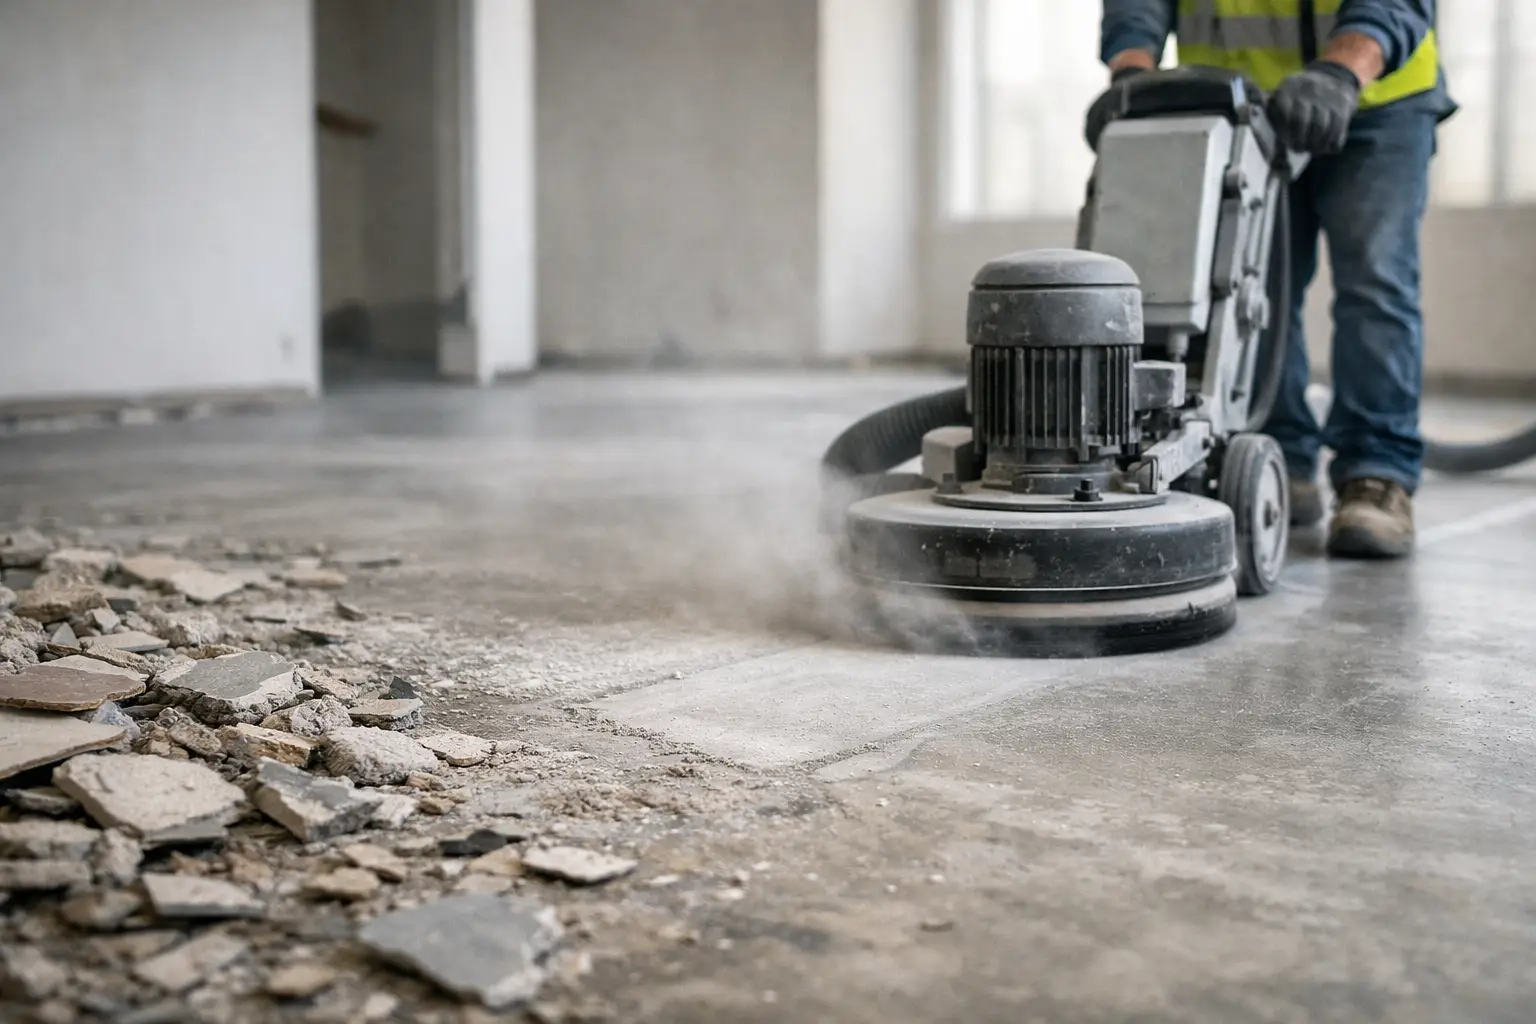
Some jobs also need staged removal. For example, the top floor covering might come off first, followed by adhesive scraping, then slab grinding to remove residue and flatten the surface. That extra step is not over-servicing. It is often what makes the area fit for reinstallation.
Dust control is not optional
Floor stripping creates dust, and on many surfaces that dust is not something you can ignore. Concrete grinding, tile bedding removal and coating removal can generate fine airborne particles that spread fast if not controlled properly.
Good dust management protects both the site and the people on it. That means using suitable equipment, extraction systems and containment where needed, especially in occupied homes, offices, hospitality venues and medical or retail environments. It also keeps the job moving. A dusty site slows every trade that comes after and makes cleanup harder than it needs to be.
For clients, this is one of the clearest signs of a disciplined operator. Fast work is only useful if the site remains manageable, safe and ready for the next stage.
Adhesive and residue removal
This is where many strip-outs fall short. Anyone can lift a floor covering. The hard part is dealing with what remains stuck to the slab. Adhesives, membranes, paint, epoxy and old patch compounds often need mechanical removal to get back to a sound surface.
Residue matters because new flooring systems bond to the substrate, not to the leftovers from the old installation. Even thin layers of glue can affect adhesion, moisture behaviour and floor level. If a floor feels patchy underfoot after installation, there is a good chance the preparation was rushed.
Not every slab needs to be ground flat across the full area, but every slab needs to be checked honestly. If there are ridges, lipping, drummy patches or old coatings, they need to be dealt with before the site can be called ready.
Subfloor inspection after stripping
Once the old material is gone, the real condition of the floor shows itself. Cracks, spalling, moisture staining, previous repairs and level variations are common. This stage is where a proper contractor adds value by identifying what will affect the next trade instead of simply saying the removal is complete.
A clean slab is not always a finished slab. It may still need grinding, patching or levelling before tilers, flooring installers or coating crews can start. On renovation projects with tight timelines, picking that up early prevents rework and hold-ups.
This is also the point where communication matters. Builders, renovators and property owners need a clear picture of what has been removed, what condition the substrate is in, and whether any further preparation is recommended. Straight answers save time.
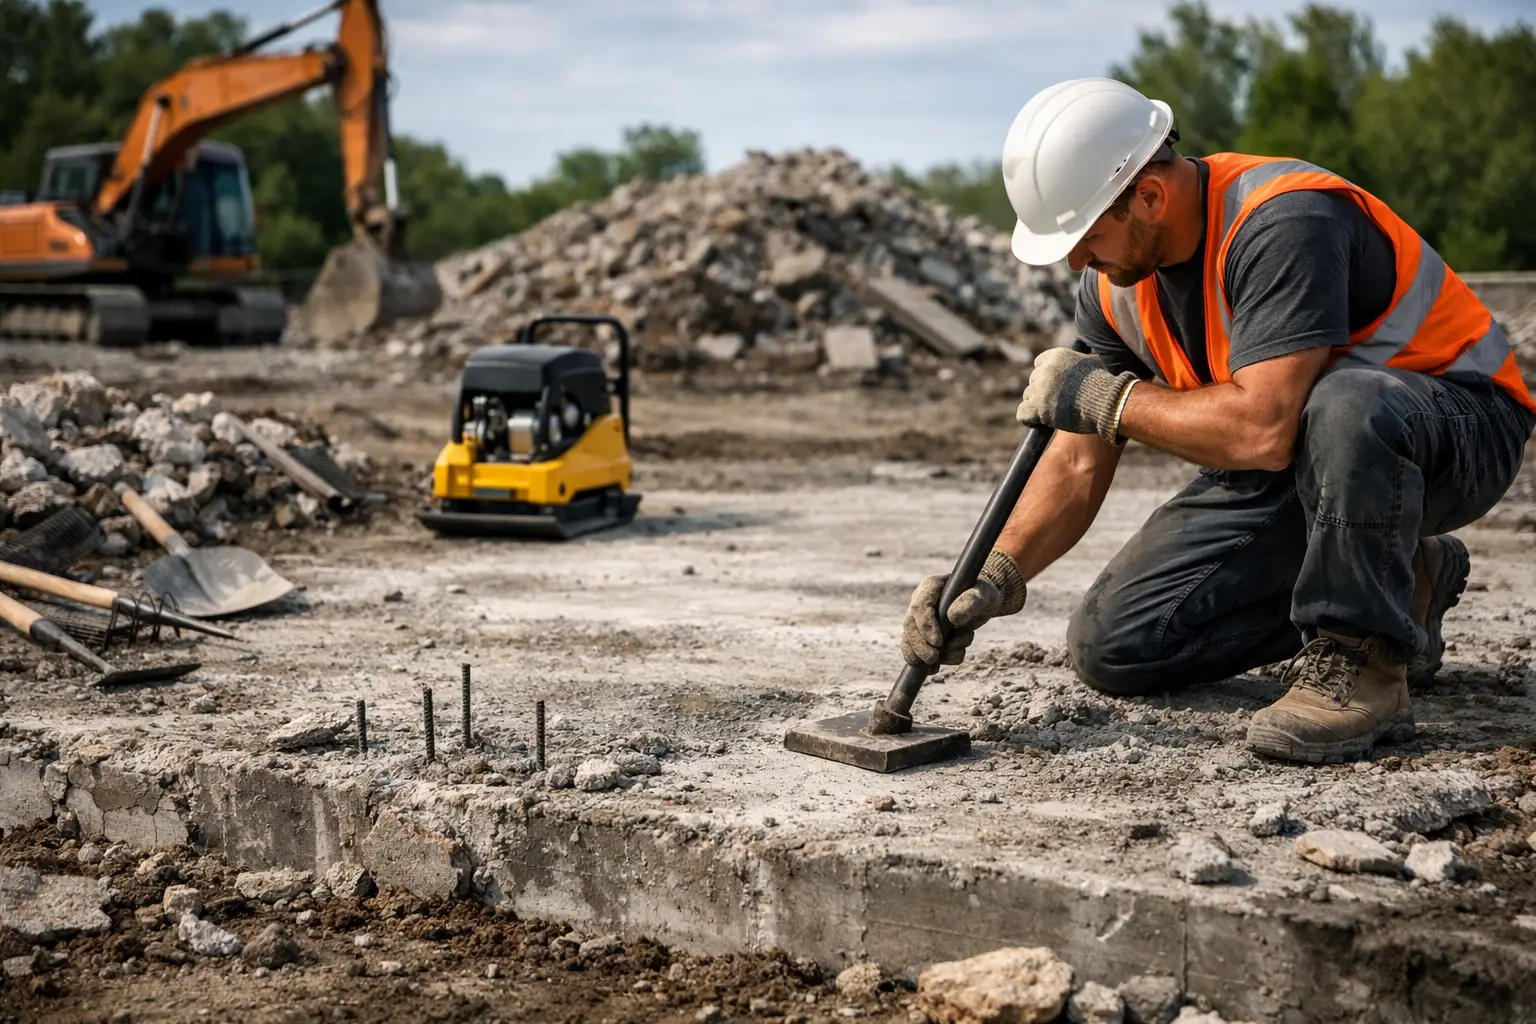
When speed matters most
Fast turnaround is a major advantage in floor stripping, but only when it is backed by proper process. On occupied sites, every extra day of disruption affects access, productivity and coordination. In homes, it delays the whole renovation sequence. In commercial spaces, downtime has a direct operational impact.
That is why specialist teams focus on efficient removal, controlled waste handling and leaving the site ready for the next contractor. Rapid Stripped works this way because most clients are not looking for demolition theatre. They want clean execution, quick completion and a floor that does not need to be revisited before installation can proceed.
Still, speed depends on the material, access and substrate condition. A straightforward carpet lift is not the same as removing thick-set tiles over a damaged slab in a second-storey unit. The right contractor will move quickly, but they will also tell you where the job has genuine complexity.
Choosing the right contractor for floor stripping
If you are comparing options, look past the promise of removal alone. Ask whether the contractor handles difficult adhesives, slab grinding, dust control and post-removal clean-up. Ask what condition the floor will be left in and whether it will be genuinely ready for the next stage.
That is the practical test. A proper floor stripping process guide is not about making demolition sound technical. It is about understanding that the quality of the strip-out affects every trade that follows. The cleaner the removal and the better the preparation, the smoother the renovation.
If you are planning a renovation, treat floor stripping as the foundation job it really is. Get that part right, and the rest of the site has a much better chance of staying on schedule.