

Old tiles are often the easy part. The real job starts when they’re gone and you’re left with ridges of glue, stubborn bedding and a subfloor that still isn’t ready for new finishes. If you’re working out how to remove tile adhesive, the right method depends on what the adhesive is, what it’s stuck to, and how clean the surface needs to be for the next stage.
Get this part wrong and the new flooring can fail before the job has properly started. Adhesive left behind can create high spots, stop levelling compounds bonding properly, and cause issues with tiles, vinyl, hybrid planks or timber going back down. That’s why adhesive removal needs a bit more thought than just attacking it with whatever tool is closest.
How to remove tile adhesive without damaging the floor
The first thing to check is the substrate. Concrete can usually handle more aggressive removal methods, including grinding and mechanical scraping. Timber, compressed sheeting and some older screeds need a lighter hand. You’re not just trying to get rid of the glue – you’re trying to leave a sound, usable surface underneath.
Next, work out what type of adhesive you’re dealing with. Cement-based tile adhesive behaves very differently from old mastics, flexible polymers or thick bedding compounds. Some chip off in sections. Others smear, gum up tools or sit tight until they’re ground back. If the floor is uneven, cracked or contaminated, adhesive removal can quickly turn into surface preparation work as well.
That’s where many DIY jobs come unstuck. The adhesive might come off, but the slab ends up scarred, gouged or still too rough for the next trade.
Start by identifying the adhesive and subfloor
Before you choose a tool, look at the residue left behind. Thin-set style adhesive is usually hard, brittle and cementitious. It often leaves ridges and patches bonded firmly to concrete. Softer adhesives can look darker, tackier or bitumen-like, especially in older properties.
Concrete is the most forgiving base, but even concrete has limits. Heavy hammering can break out weak areas or leave a rough finish that still needs grinding. Timber subfloors are more vulnerable again. If you use the wrong scraper angle or too much force, you can tear the surface, loosen boards or leave low spots that need repair before the flooring installer can continue.
Moisture also matters. In bathrooms, laundries and kitchens, leftover adhesive can hide waterproofing damage or trap residue in corners and around wastes. That’s one reason adhesive removal in wet areas often needs a more controlled approach.
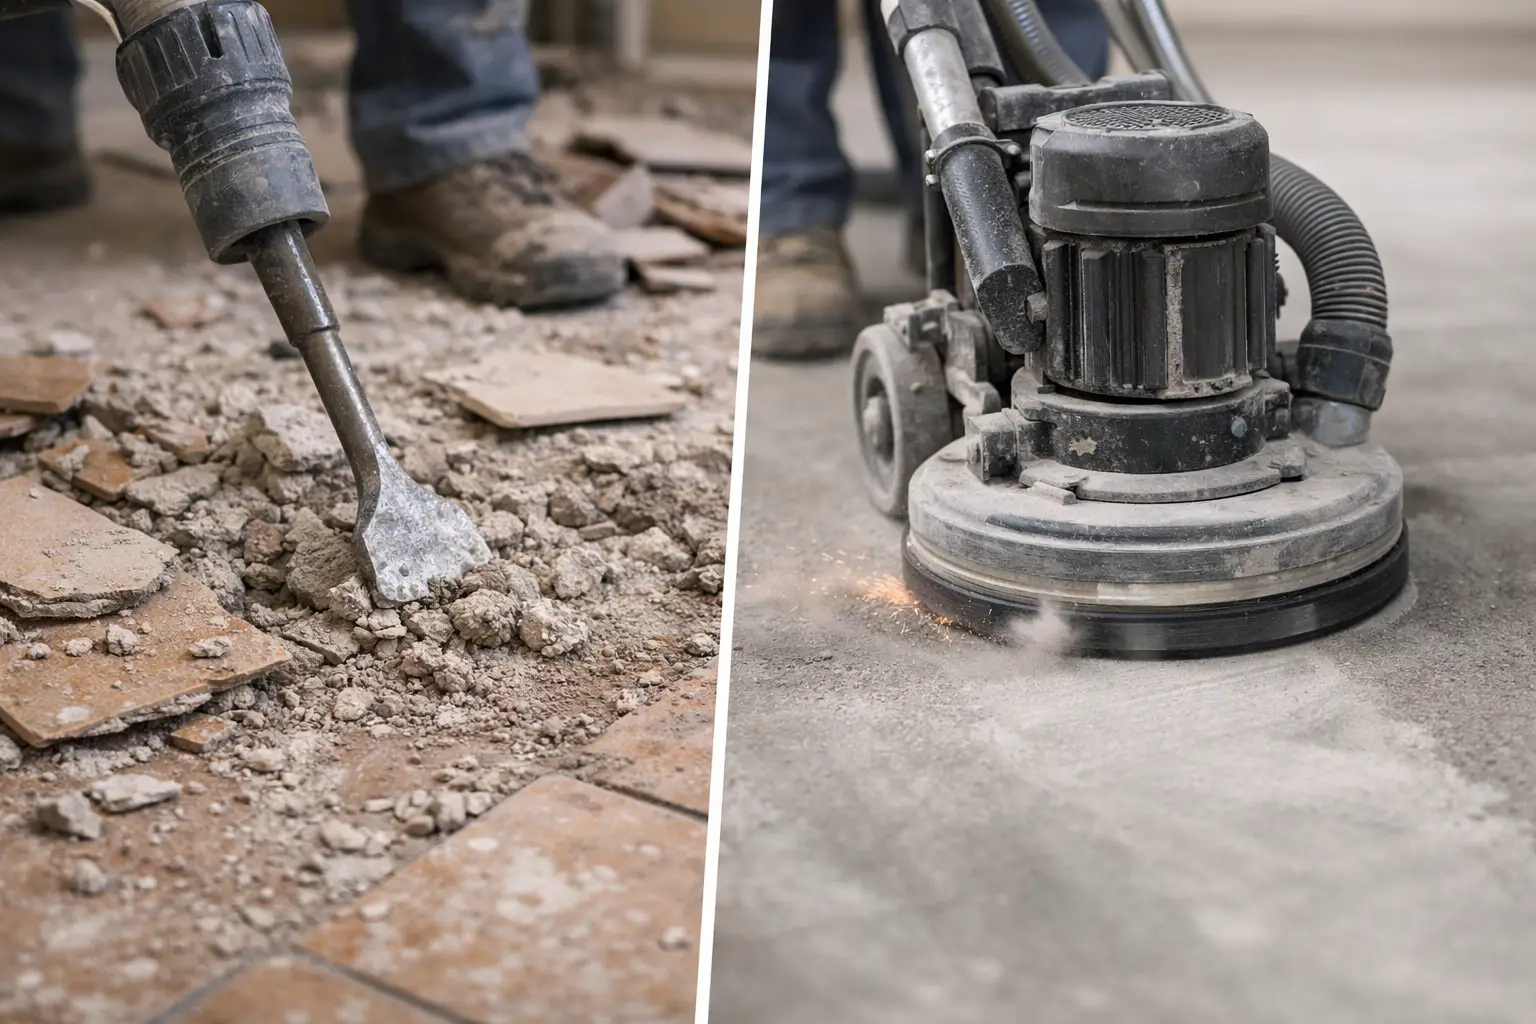
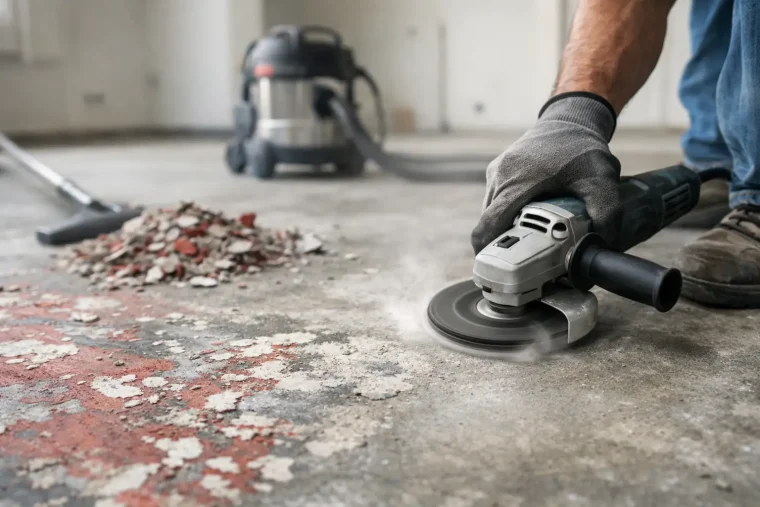
Manual removal works for small areas
If the adhesive is patchy and the area is small, a floor scraper, hammer and cold chisel may do the job. This is generally the slowest option, but it can be effective for isolated repairs or when you need to remove adhesive in tight spots without affecting surrounding finishes.
The key is patience. Work low and flat rather than digging downward. If you attack the floor at a steep angle, you’ll damage the substrate before the adhesive lets go. On a concrete slab, that can leave pitting. On timber, it can leave permanent scarring.
Manual removal suits minor adhesive residue, single-room touch-ups and jobs where dust or noise needs to be kept down. It is less practical for whole-home renovations, commercial sites or any job where the floor has to be brought back to a consistently clean standard.
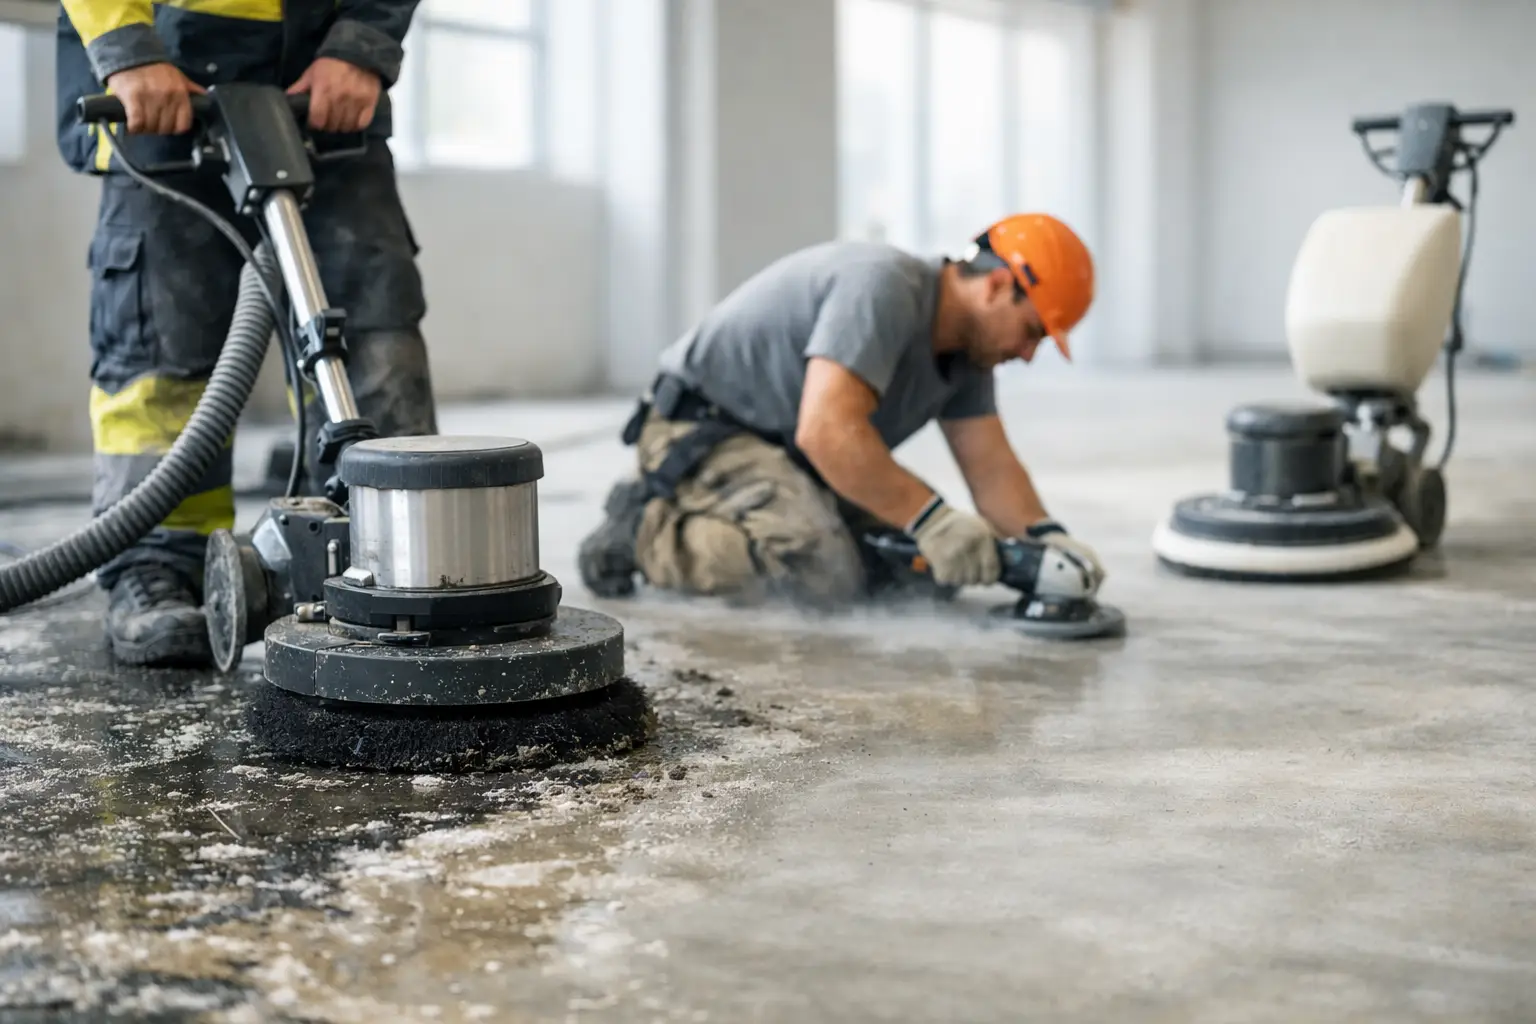
Mechanical removal is usually faster and cleaner
For larger areas or tougher adhesives, mechanical removal is normally the right call. That can include rotary grinders, jackhammers with floor preparation blades, demolition hammers, ride-on removal equipment or specialist scraping machines. The aim is simple – remove the adhesive efficiently while keeping the subfloor sound and as flat as possible.
Grinding is often the most reliable method when cement-based tile adhesive is bonded hard to concrete. It takes the residue back to the slab and leaves a better surface for reinstallation. The trade-off is dust, noise and the need for proper control measures. Without dust extraction, grinding creates a mess fast and can bring work on the rest of the site to a stop.
Mechanical scraping is quicker where the adhesive is thicker or more brittle, but it doesn’t always leave the same finished result. In many cases, scraping removes the bulk and grinding finishes the surface. That combination is common on renovation jobs where time matters and the floor has to be genuinely ready for the next trade, not just partly stripped.
When grinding is the better option
Grinding makes sense when the adhesive is thin but stubborn, when the floor needs to be levelled at the same time, or when a smooth finish is required for new coverings. It’s especially useful before vinyl, hybrid, polished concrete or any finish that won’t hide imperfections.
It also helps where there are multiple layers of residue from previous floor coverings. Old tile glue, paint overspray, self-leveller and general site contamination often sit on the same slab. Grinding can deal with that in one process instead of piecemeal fixes.
When scraping is enough
Scraping is often enough if the adhesive is lifting cleanly, the residue is thick rather than bonded flat, or the next floor finish can tolerate minor surface texture. Even then, the word is minor. If the installer needs a clean bond, adhesive left in patches will still cause trouble.
Chemical adhesive removers have limits
People often assume a chemical remover will make the job easier. Sometimes it helps, but it’s not a shortcut. Some products soften adhesive enough for scraping, but they can also leave residue in the slab, create disposal issues and slow the whole job down. If the floor needs to accept fresh adhesive, waterproofing or levelling compounds, any chemical contamination becomes a problem.
There’s also a safety side to it. Fumes, skin contact and poor ventilation make chemical removal a poor fit for many occupied homes and commercial sites. In enclosed bathrooms or tenanted properties, that trade-off usually isn’t worth it.
For most tile adhesive on concrete, mechanical removal is the more dependable option. Chemical products are more of a niche solution for specific adhesive types or delicate surfaces where aggressive tooling isn’t suitable.
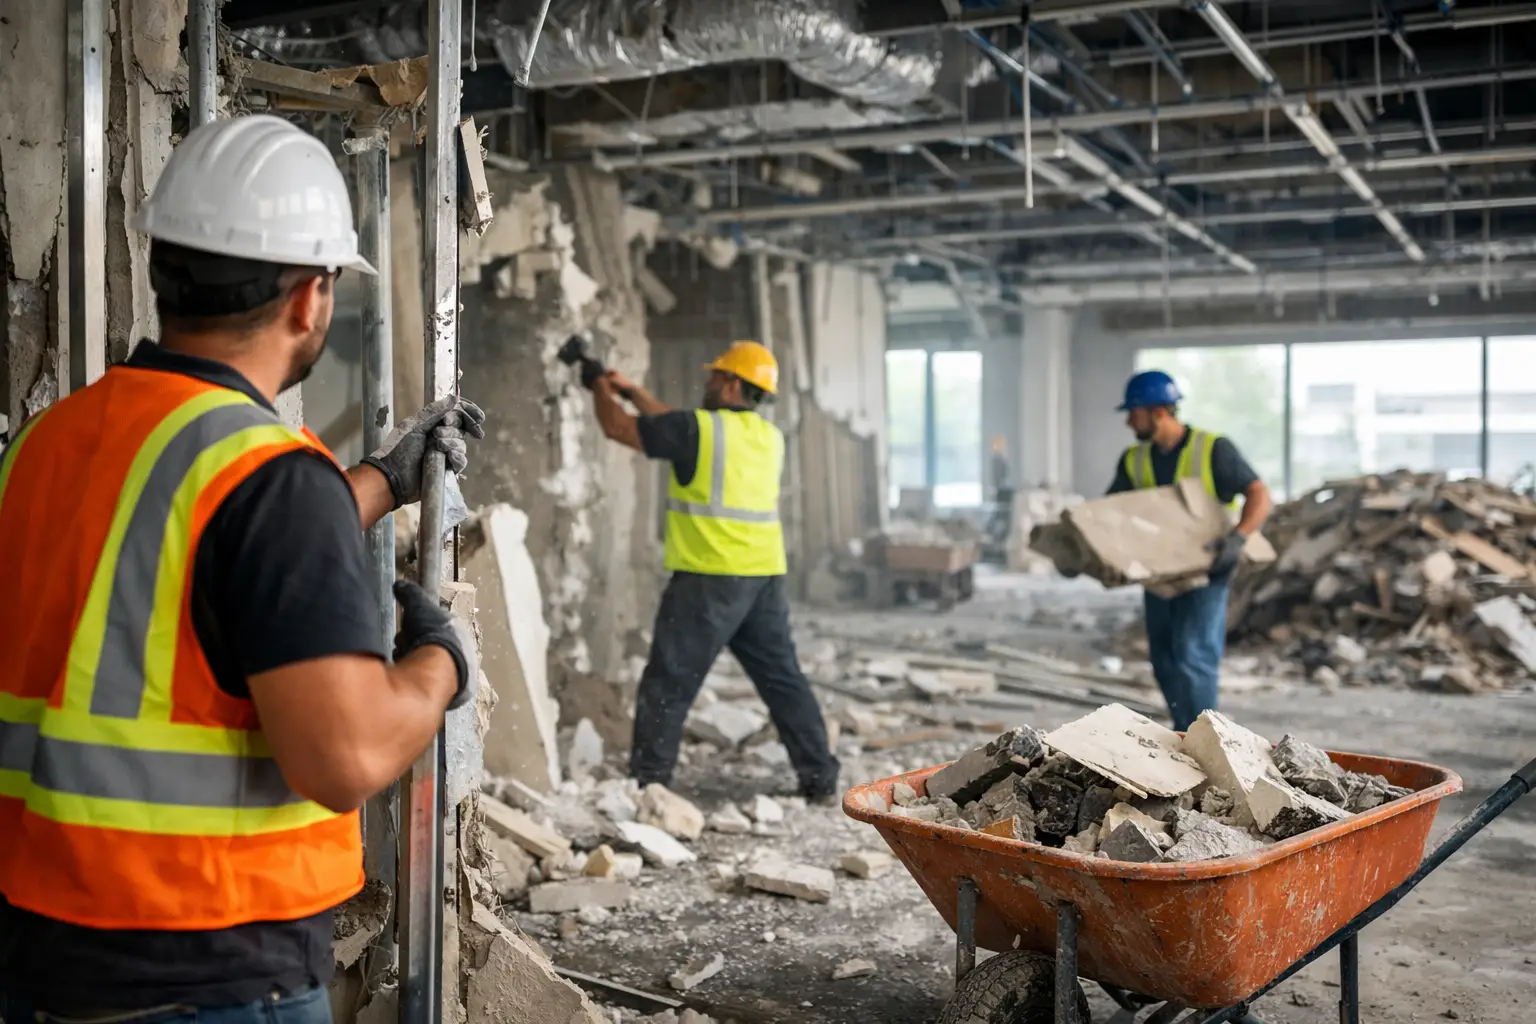
Common mistakes when removing tile adhesive
The biggest mistake is treating all adhesive the same. Different products bond differently, and older renovations often uncover a mix of methods from different eras. What works in one room can fail in the next.
Another common issue is stopping too early. A floor can look clean from standing height but still have enough residue to affect the new installation. High spots, ghost ridges and shallow adhesive smears are enough to throw off a finished floor.
Poor dust control is another one. Dry grinding without extraction spreads fine dust through the site, settles into joinery and creates more clean-up than the removal itself. On active renovation sites or commercial spaces, that has flow-on effects for every trade coming in behind.
Then there’s substrate damage. Overly aggressive demolition can turn a removal job into a repair job. Once the slab is gouged or the sheeting is torn up, the time you thought you saved disappears.
When to call in a specialist
If you’re dealing with a large floor area, hard-set adhesive, multiple rooms or a tight renovation schedule, specialist removal is usually the smarter move. The same applies if the site needs to stay clean, access is limited, or the subfloor has to be handed over ready for waterproofing, screeding or floor installation.
This is where experience matters. Knowing how to remove tile adhesive is one part of it. Knowing when to scrape, when to grind, how to manage dust, and how far to take the finish is what keeps the project moving.
For homeowners, that can mean avoiding a weekend blowout that turns into a week of rework. For builders and commercial clients, it means the next trade can get on site without delay. On demanding jobs across Northern NSW, the Gold Coast, Brisbane and the Sunshine Coast, that speed and control can make a real difference.
At Rapid Stripped, this type of work is handled with the same focus as the rest of the strip-out – remove the problem properly, protect the substrate where possible, and leave the site ready for what comes next.
Getting the floor ready for reinstallation
Adhesive removal is only finished when the floor is ready for the new system going down. That may mean a final grind, edge clean-up, minor patching or checking levels across the room. In wet areas, it may also mean making sure no residue remains that could affect waterproofing adhesion.
This is the part worth getting right. A clean slab or sound subfloor gives the next stage of the renovation a fair start. No shortcuts, no hidden ridges, no surprises once the new floor is halfway installed.
If the adhesive is light and localised, you may be able to handle it yourself with the right tools and enough care. If it’s widespread, rock-hard or tied to a deadline, professional removal will usually save time, mess and rework. The best result is not just getting the glue up – it’s ending the day with a floor that’s actually ready to move forward.