
A timber floor can look straightforward until the first board comes up. What sits underneath – nails, black adhesive, levelling compound, old underlay or damaged concrete – determines how hard the job really is. A professional timber floor removal process is about more than pulling up boards. It is about exposing a sound, clean and level surface that is ready for the next stage of your renovation.
Whether you are replacing worn timber with new flooring, preparing a rental property for an upgrade, or stripping out a commercial space on a tight programme, the removal work needs to be planned properly. Rushed removal can gouge slabs, spread dust through the property and leave adhesive behind that delays the new floor installation.
What type of timber floor is being removed?
Not every timber floor comes out the same way. The first step is identifying the flooring system and how it has been fixed to the substrate. This determines the equipment, labour and surface preparation required.
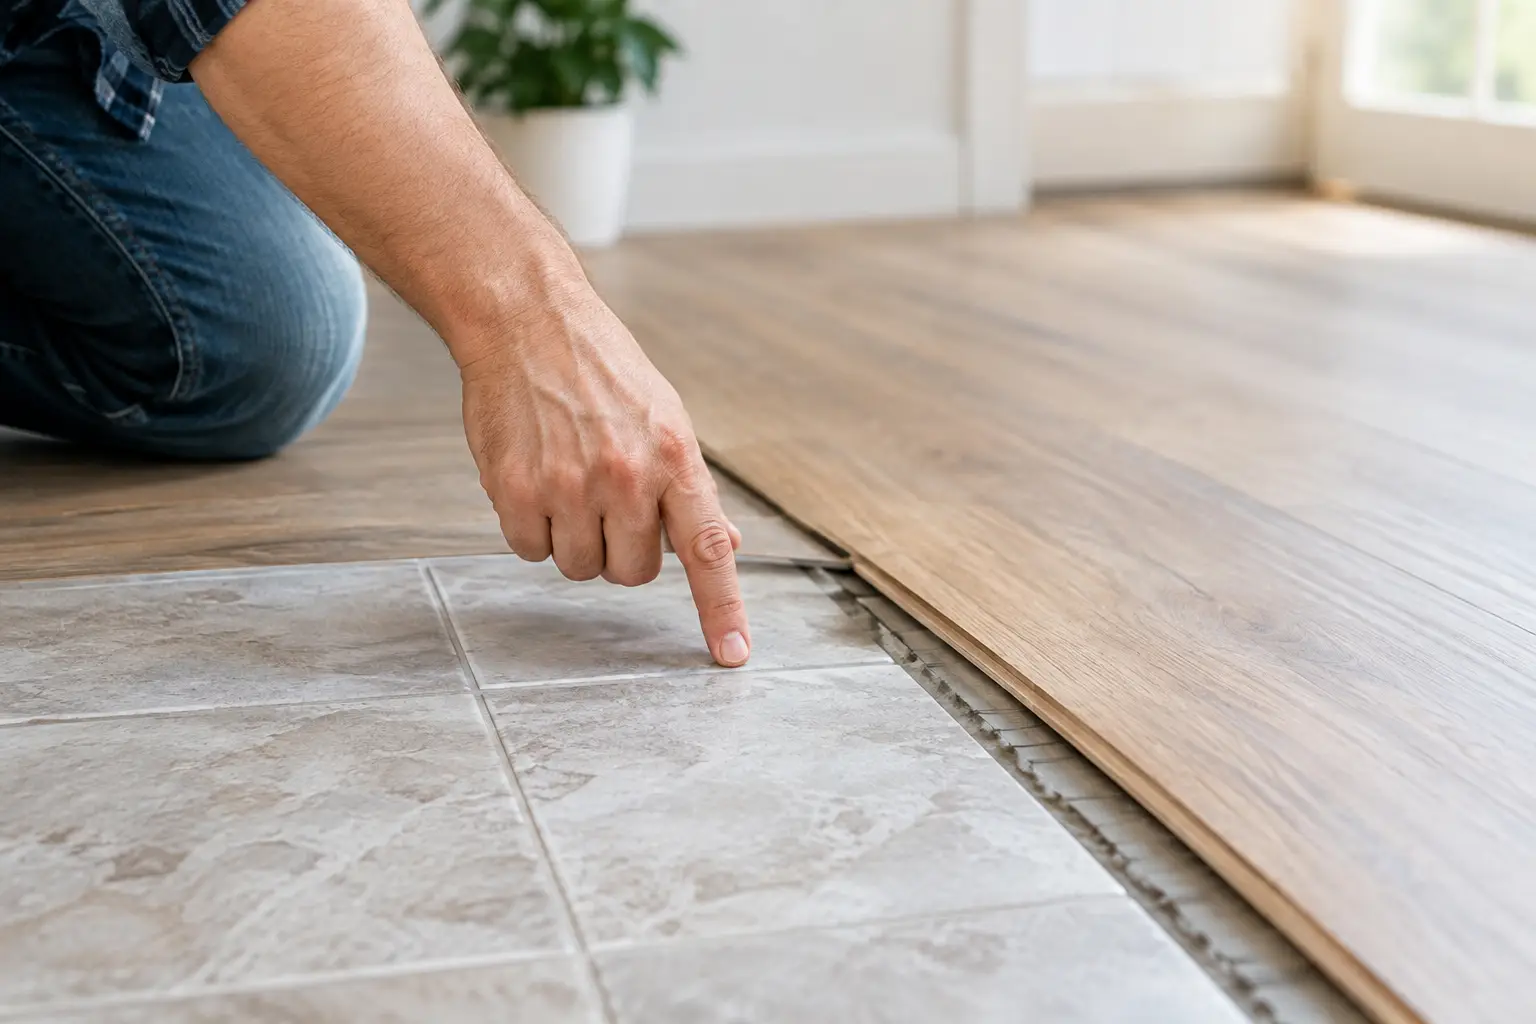
Floating laminate and engineered boards are generally the quickest to lift. They are often clipped together over an underlay, so the boards can be separated and removed in sections. That does not necessarily mean the job is clean or simple. Swollen boards, damaged joins, skirting boards and trapped underlay can slow the work down.
Direct-stick engineered timber and parquetry are more demanding. These products are bonded firmly to concrete, fibre cement or timber subfloors with construction-grade adhesives. The boards may break apart during removal, leaving substantial adhesive residue behind. Solid timber floors can be nailed, screwed, glued or fixed using a combination of methods, particularly in older homes.
The objective is always the same: remove the covering efficiently while protecting the substrate wherever practical. The right approach depends on what is under the timber and what flooring is going back down.
Inspection comes before removal
A proper site inspection prevents unpleasant surprises once work starts. Before removal, the team checks the floor type, room access, furniture requirements, substrate condition and the edges of the installation around doorways, cabinetry and built-in joinery.
The inspection should also identify potential moisture damage. Timber flooring often hides leaks near kitchens, laundries, bathrooms and external doors. If the slab is damp, cracked or contaminated, that needs to be addressed before new flooring is installed. Covering it up only shifts the problem to the next floor.
Older properties require extra care. Some older floor coverings, underlays, vinyl layers or adhesive products may need specialist assessment before disturbance. A competent removal contractor will not guess when a material needs to be checked. Safety and compliance come before speed.
Access matters as well. A ground-floor home with clear entry is very different from an occupied unit with lift bookings, shared hallways and strict noise requirements. Planning the work area, removal path and rubbish loading point keeps disruption under control.
The timber floor removal process step by step
Once the scope is clear, the work can move quickly. Most straightforward timber floor removal jobs can be completed within a day, but heavily bonded flooring, multiple layers or widespread adhesive may require additional time for grinding and preparation.
1. Protect the work area
The room is cleared where required, and adjacent areas are protected from dust and debris. Skirting boards may be removed or carefully worked around depending on whether they are being replaced. Door thresholds, cabinetry, walls and finished surfaces need attention before machines come out.
Dust control is not an optional extra. Mechanical removal and concrete grinding create fine dust that can travel well beyond the work zone. Professional extraction equipment, containment practices and disciplined clean-up help keep the renovation site safer and more manageable.
2. Lift the boards and underlay
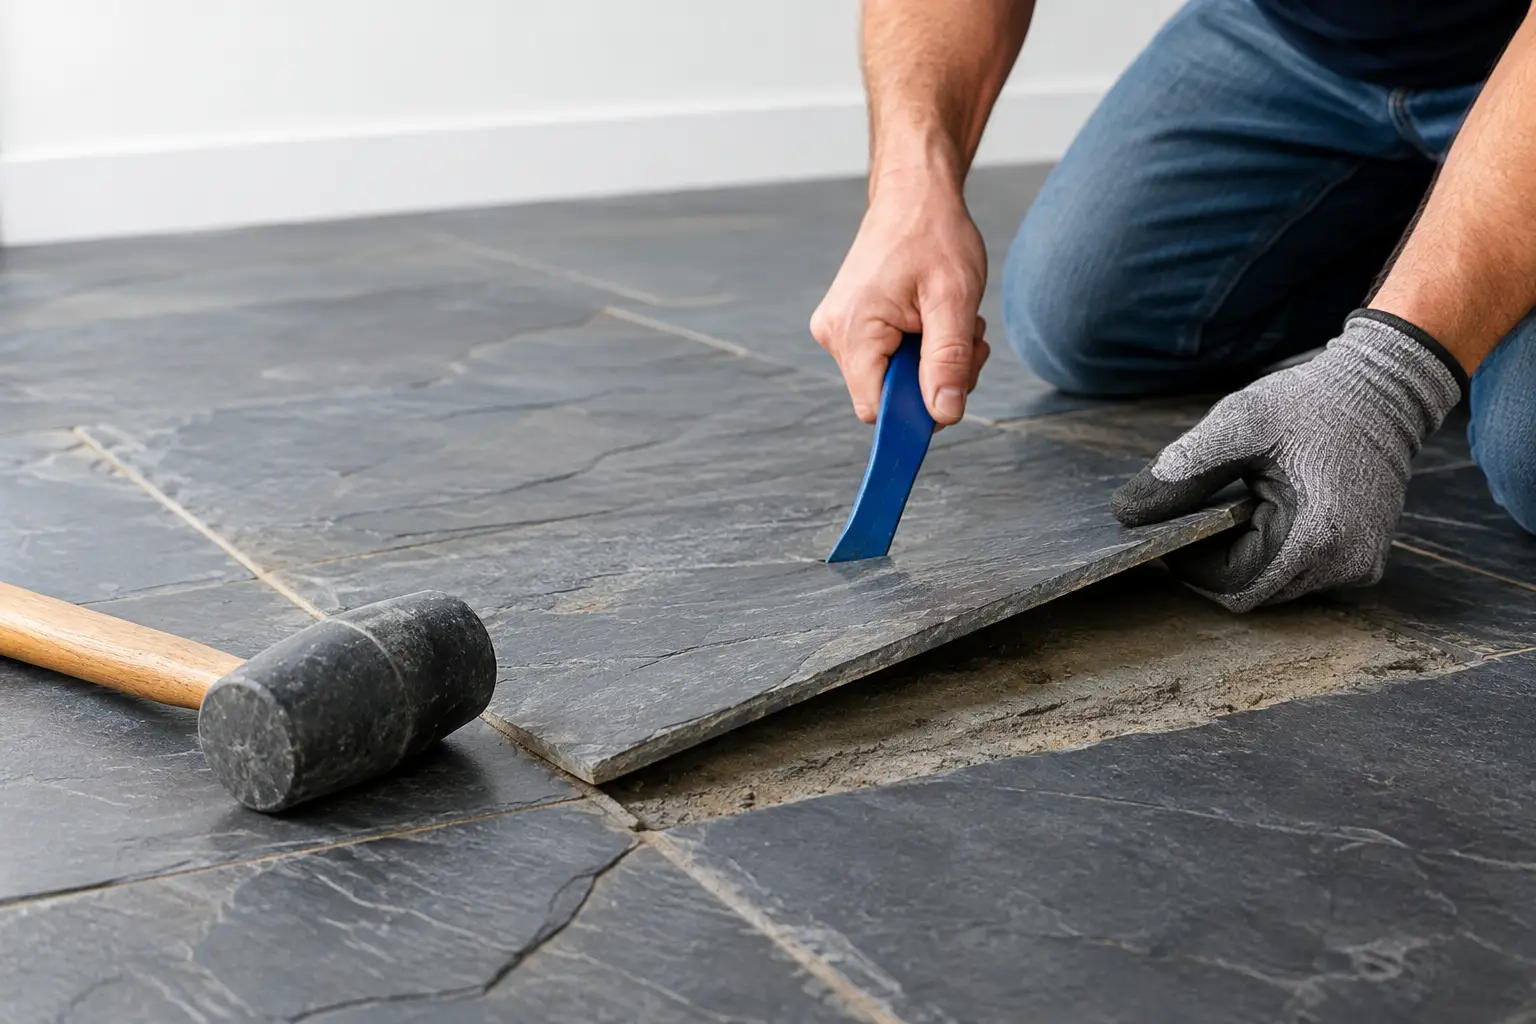
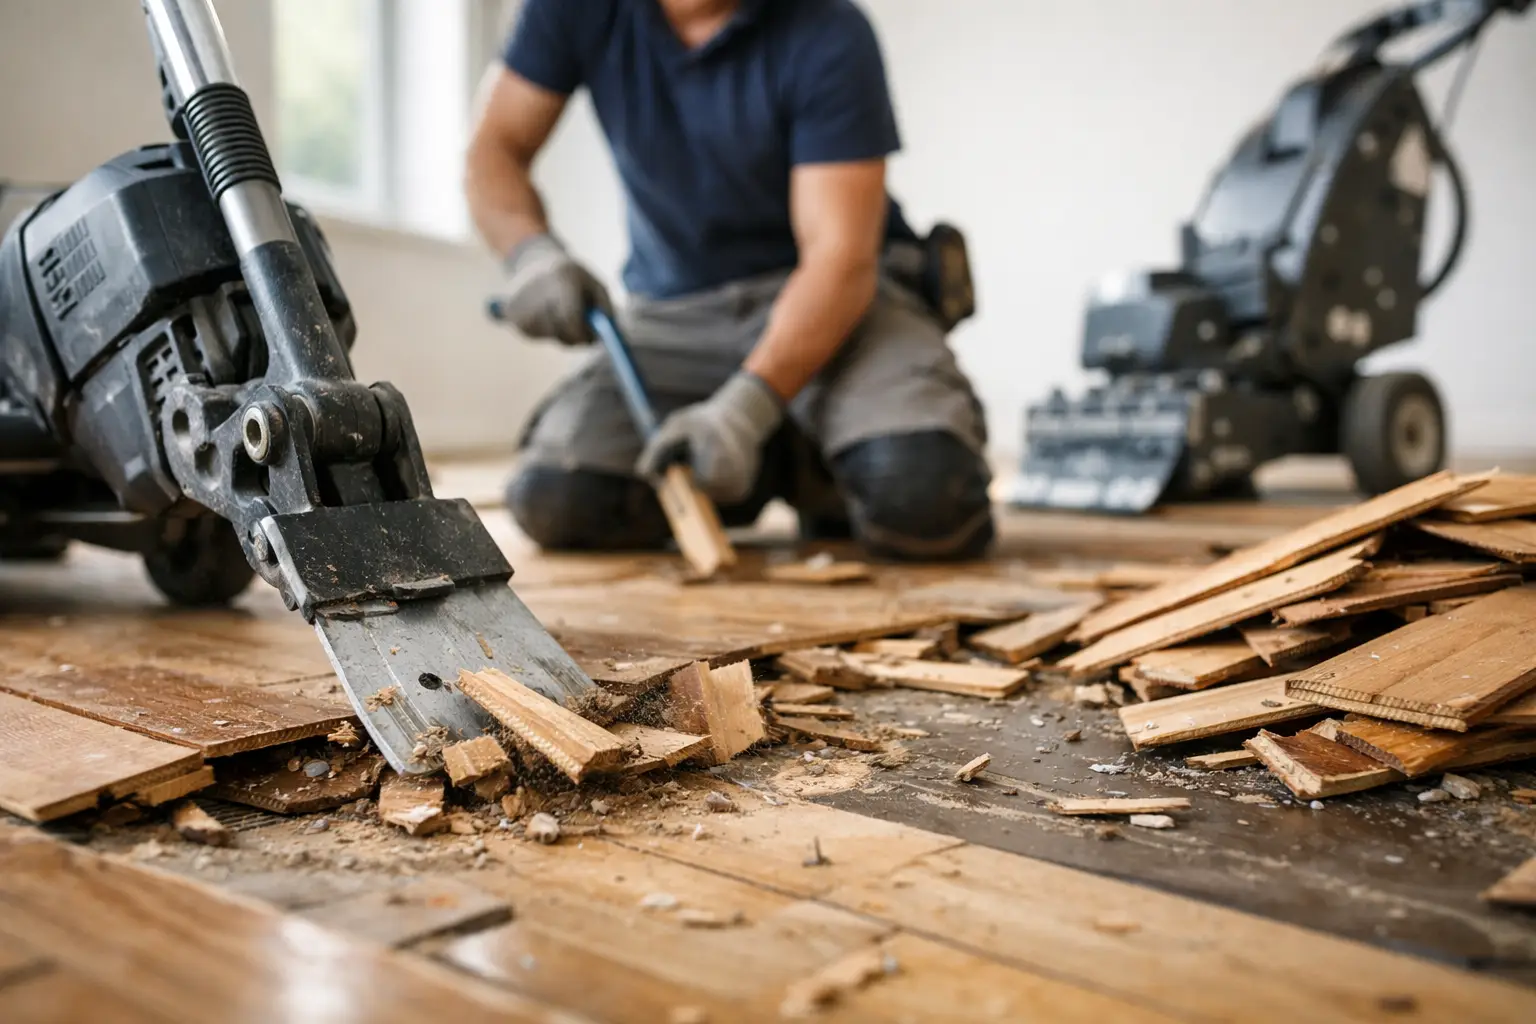
The removal method changes with the flooring type. Floating boards are usually dismantled from an accessible edge, then lifted and stacked for removal. Glued timber, parquetry and stubborn engineered boards are commonly broken into manageable sections using purpose-built floor stripping equipment and hand tools around edges.
Care is needed near services and transitions. Floor penetrations, plumbing points, electrical conduits and door jambs can all be damaged by careless removal. This is where experience pays off. Fast work is only valuable when it does not create repair work for the next trade.
Underlay, moisture barriers, nails, staples and perimeter trims are removed as part of the strip-out. Leaving these materials behind can interfere with levelling compounds, adhesive systems and new floor finishes.
3. Remove adhesive and fixings
This is often the stage that decides whether a floor is genuinely ready for reinstallation. Timber adhesive can remain bonded tightly to the slab even after every board has been removed. A new floor should not be laid over loose residue, high spots or contaminated areas unless the selected installation system specifically allows it.
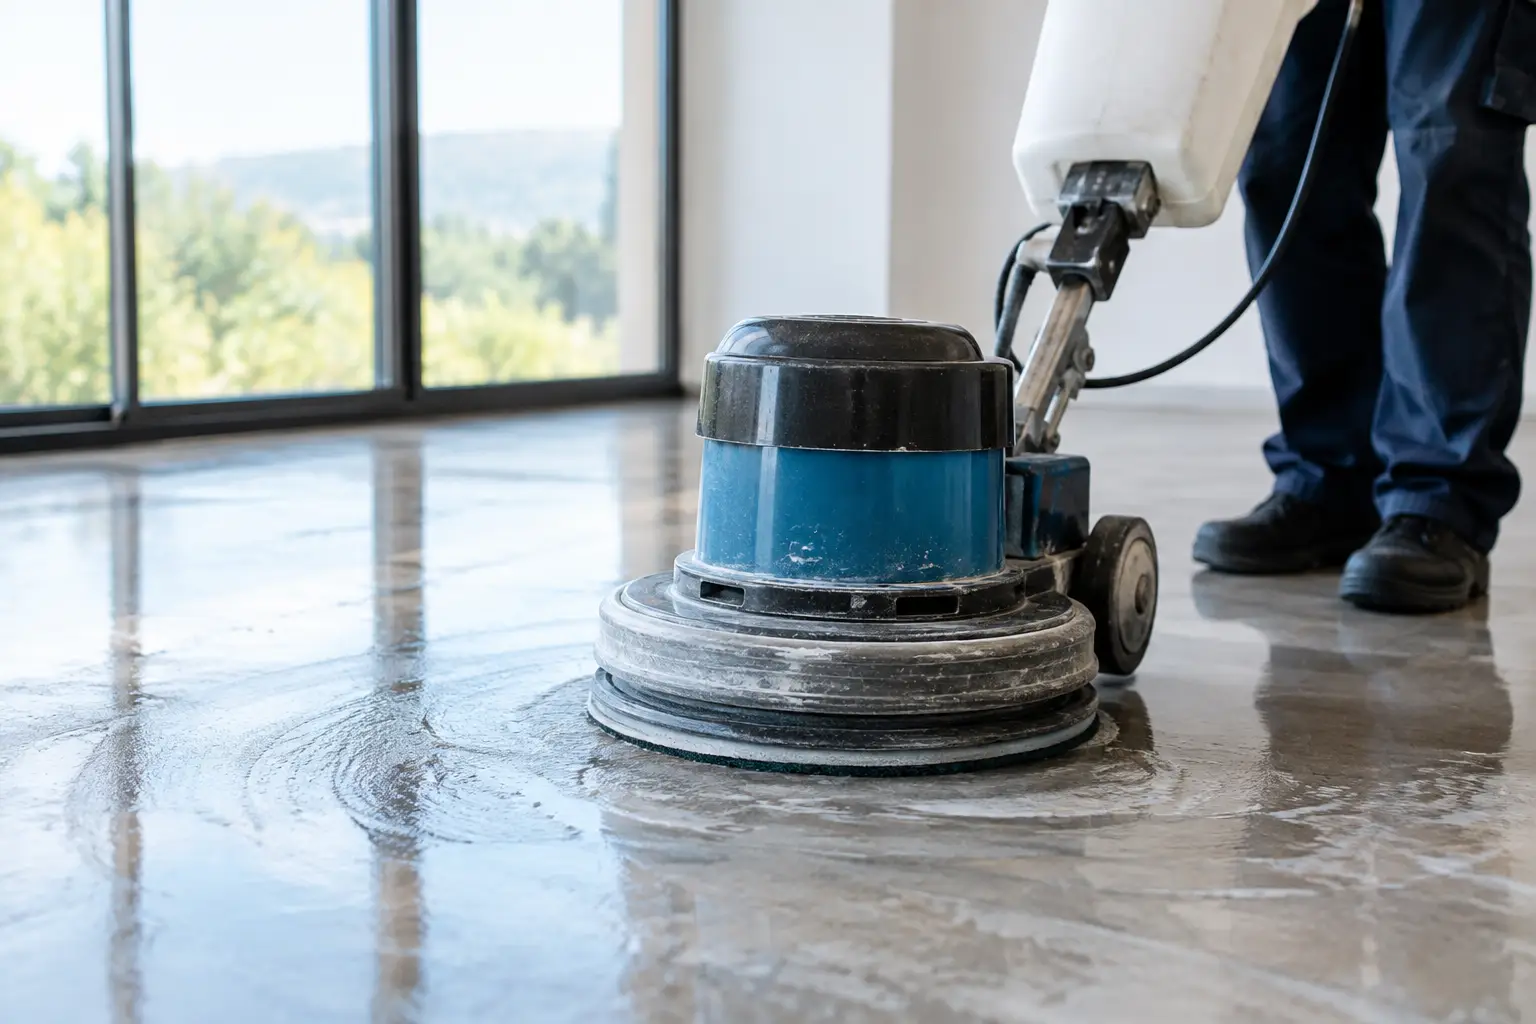
Depending on the adhesive and substrate, removal may involve scraping, mechanical stripping or slab grinding with dust extraction. Nails, screws and staples must also be removed or ground flush. The aim is not to make the concrete look brand new. It is to create a stable, even surface suitable for the flooring system that follows.
Aggressive grinding can damage a slab if used without care, while insufficient preparation can leave adhesive ridges that telegraph through new vinyl, hybrid planks or carpet. The right level of preparation depends on the replacement material and the condition of the existing substrate.
4. Check the exposed substrate
Once the timber and adhesive are gone, the exposed surface can be assessed properly. This is when cracks, hollows, old patch repairs and moisture issues become visible.
For a tile installation, minor slab imperfections may be manageable with the appropriate adhesive bed. For hybrid flooring, polished concrete, vinyl or glued-down timber, the tolerances can be much tighter. High spots may need further grinding, while low areas may require levelling by the relevant flooring trade.
This distinction matters. Floor removal and surface preparation create the right base for the next stage, but the final specification should always match the installation requirements of the new flooring product.
5. Remove rubbish and leave the site ready
Timber boards, underlay, adhesive debris and packaging build up quickly. A complete service includes loading out the waste, removing it from site and cleaning the work area so other trades can get moving.
A stripped floor should not leave you with piles of broken boards, dusty rooms and a slab that still needs another day of scraping. For homeowners, builders and property managers, a clean handover reduces downtime and makes it easier to schedule installers, painters, cabinetmakers or other renovation trades.
Why DIY timber floor removal can become expensive
Removing a few loose floating boards may be manageable for a capable homeowner. Full-room removal is different, particularly when the boards are glued down or the property is occupied. The physical work is demanding, and the hidden risks are easy to underestimate.
Common problems include damaging the slab with the wrong tools, cutting into skirting or door frames, leaving adhesive that prevents proper installation, and creating dust throughout the house. Disposal is another consideration. Timber flooring, underlay and adhesive waste are bulky and awkward to manage without a planned removal process.
There is also the time factor. A weekend job can stretch out when the adhesive does not release, the hired equipment is underpowered, or the floor underneath needs more attention than expected. For renovation projects with trades booked in sequence, delays at the removal stage can hold up the entire job.
When professional removal makes the most sense
Professional removal is particularly worthwhile for glued timber, parquetry, large floor areas, multi-room homes, commercial premises and sites where dust control is critical. It also makes sense when the new flooring contractor requires a clean slab and clear substrate before they begin.
Rapid Stripped handles difficult floor coverings, adhesive removal and slab preparation across Northern NSW, the Gold Coast, Brisbane and the Sunshine Coast. The focus is practical: remove the old floor safely, control the mess, manage the waste and leave a surface ready for the renovation work ahead.
The best result is not simply an empty room. It is a properly prepared starting point that lets the next trade do their job without delays, compromises or surprises.