
A bathroom strip-out can look simple until the first tile comes loose, dust reaches the adjoining rooms, or an unknown service is found behind a wall. A proper demolition safety checklist turns that risk into a controlled job. It keeps the work area contained, protects people on site, and helps ensure the property is ready for the next trade without avoidable delays.
For homeowners and project managers, the goal is not just to get old materials out quickly. It is to remove them safely, cleanly and in the right sequence. Whether you are lifting tiles, removing timber flooring, stripping a kitchen or preparing a commercial tenancy for a refit, the planning done before tools start matters most.
Start With the Scope, Not the Tools
Demolition work should begin with a site inspection and a clear scope. Identify exactly what is being removed, what must remain untouched, where waste will go, and how workers will enter and exit the property. This is especially important in occupied homes, units, offices, retail spaces and hospitality venues where access, noise and dust can affect other people.
Walk through the site before work begins. Check floor levels, stair access, lift use, parking, loading zones and the route from the work area to the rubbish vehicle. A difficult access path changes the handling plan. It may mean smaller loads, more labour, floor protection or different equipment.
The scope also needs to distinguish between non-structural removal and anything that may affect a building’s stability. Removing floor coverings, fixtures, cabinetry and internal linings is very different from removing load-bearing walls, structural elements or concrete. If the work could affect structural integrity, obtain the appropriate engineering advice before demolition starts.
Confirm Services Are Isolated
Electricity, gas, water, communications and plumbing services can run through walls, floors and ceilings in places that are not obvious. Isolation should never be assumed because a room appears unused.
Confirm which services are live, isolate what is required for the work, and clearly communicate this to everyone on site. In a kitchen or bathroom strip-out, this includes checking for water lines beneath cabinetry, electrical wiring behind splashbacks, gas connections and drainage points. For commercial work, allow for concealed data cabling, fire services and building management requirements.
Check for Hazardous Materials
Older properties can contain hazardous materials that require specialist assessment and controlled removal. Suspect materials should be identified before they are disturbed, particularly in older vinyl flooring, backing materials, adhesives, fibre-cement sheeting, insulation, textured coatings and ceiling products.
If asbestos is suspected, stop and arrange appropriate testing or licensed removal. Do not cut, grind, drill or pull up suspect material to find out what it is. The same approach applies to lead-based paint, mould contamination and unidentified chemicals. Fast work only works when the site is safe to proceed.
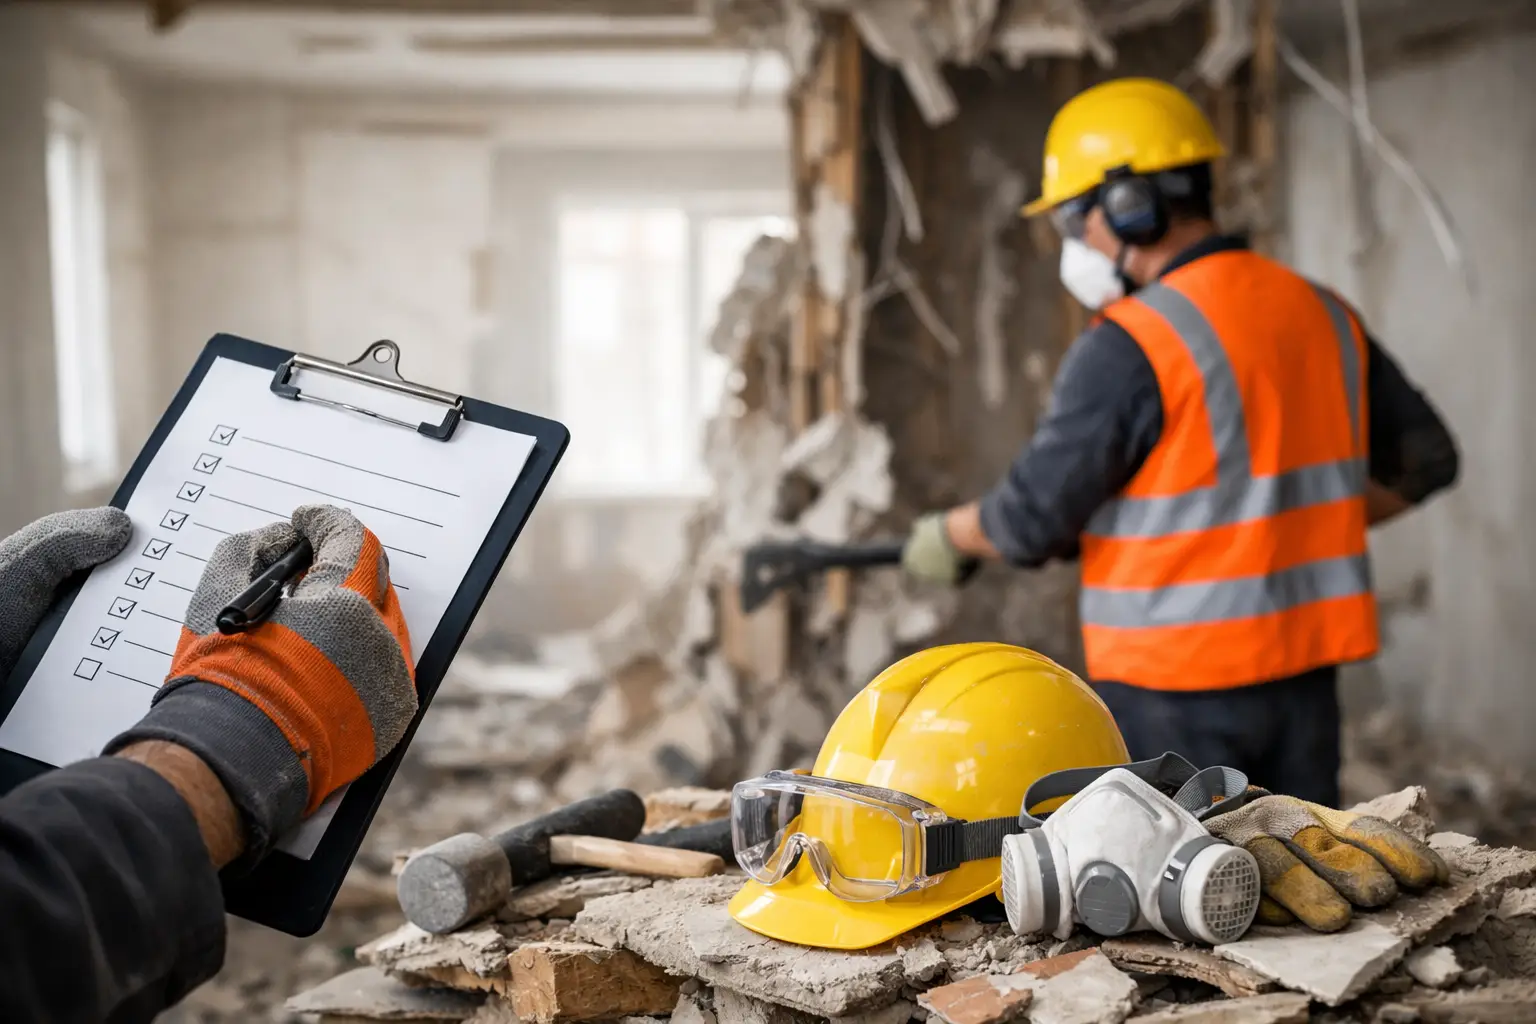
Demolition Safety Checklist Before Work Starts
Before the first tile is lifted or wall is opened, the crew should work through the essentials:
- Confirm the work scope, access plan, exclusion zones and waste removal route.
- Inspect the site for structural concerns, trip hazards, hidden services and hazardous materials.
- Isolate relevant electrical, gas and water services and verify the isolation.
- Set up dust containment, ventilation arrangements and protection for retained surfaces.
- Inspect tools, leads, guards, extraction equipment and personal protective equipment.
- Brief every worker on the task sequence, manual handling plan and emergency procedures.
This checklist is not a substitute for site-specific safety documentation, legal obligations or a Safe Work Method Statement where one is required. It is the practical baseline that prevents rushed decisions once demolition is underway.
Control Dust Before It Spreads
Dust control is one of the biggest differences between a professional strip-out and a messy removal job. Tile bedding, concrete, old adhesives, levelling compounds and plaster can produce fine dust that travels well beyond the immediate work area. It can settle in cupboards, air-conditioning systems, neighbouring rooms and common areas.
Containment should be installed before demolition begins, not after dust has already escaped. Depending on the site, this may include sealed doorways, protective sheeting, floor coverings, negative air control and extraction equipment connected to grinding or removal tools. The right method depends on the size of the area, the material being removed and whether the property is occupied.
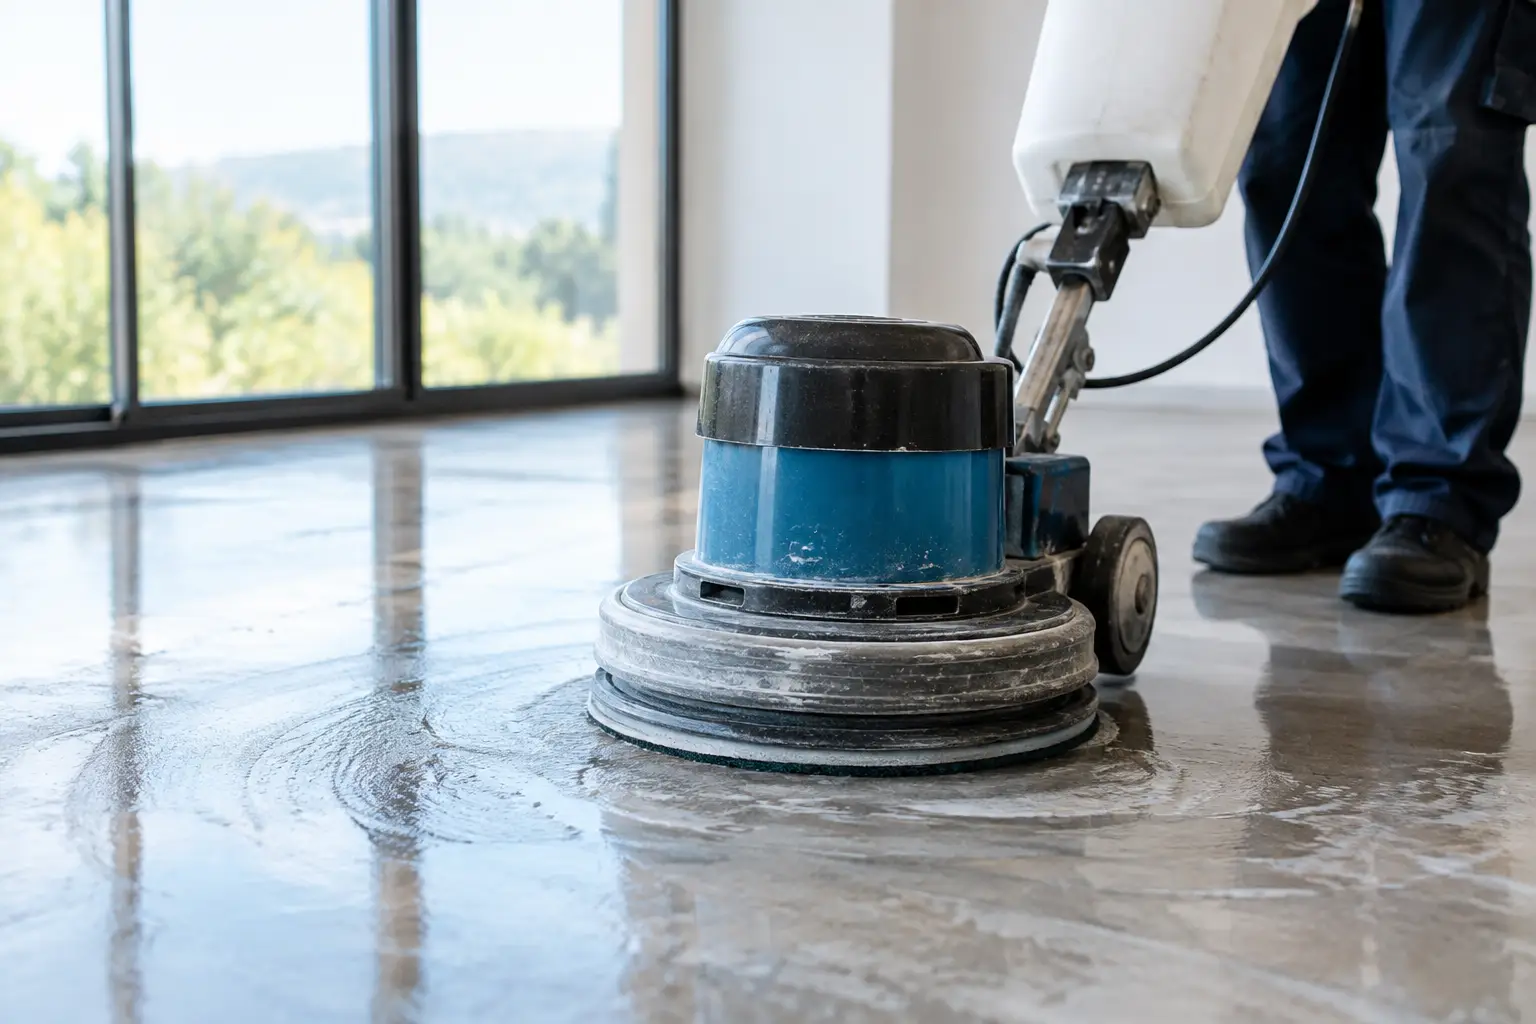
For floor removal, dust extraction at the tool is usually more effective than relying on a general clean-up afterwards. Slab grinding in particular needs suitable extraction and disciplined housekeeping. Sweeping dry dust around a site simply moves it. Use controlled collection methods and remove accumulated debris regularly.
Noise and vibration also need managing. Start times, shared walls, building rules and nearby businesses can all affect when work can be carried out. A unit renovation may require more containment and tighter scheduling than a detached home. The job plan should reflect that reality.
Match the Removal Method to the Material
Different floor coverings create different hazards. There is no single removal method that suits every site.
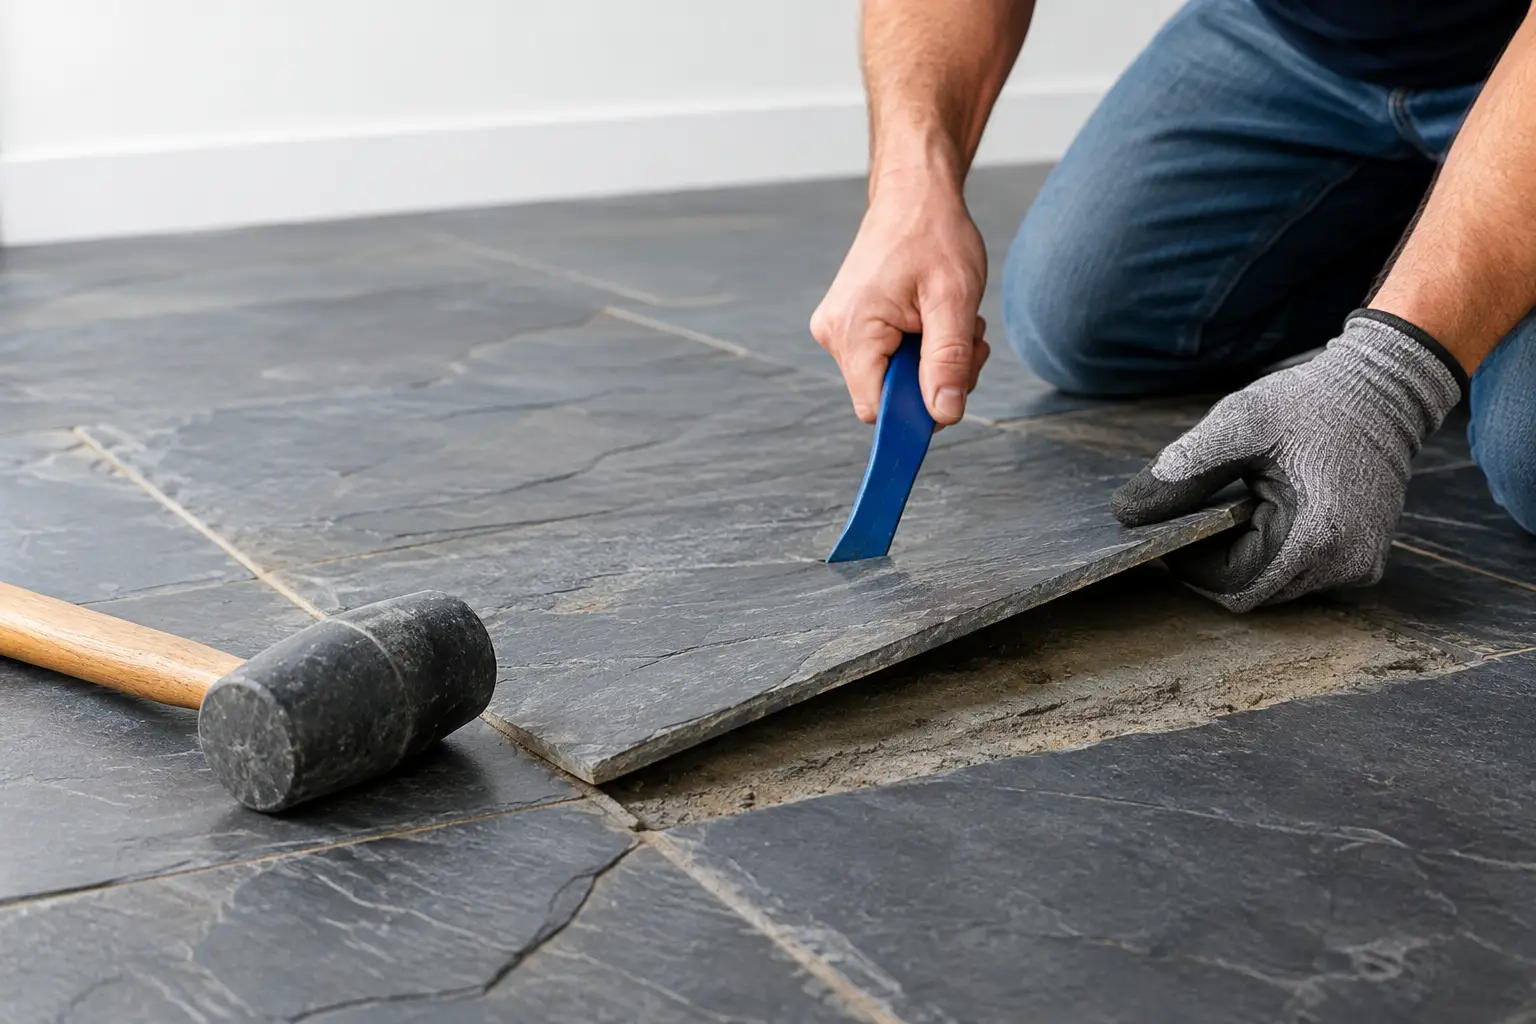
Ceramic, porcelain, terracotta, marble and slate tiles can break into sharp fragments and may be fixed with thick bedding or hard adhesives. Workers need eye protection, gloves, suitable footwear and controlled removal techniques to prevent flying debris. Once tiles are removed, the remaining bedding or adhesive may need mechanical removal or slab grinding to create a clean, level surface for the next stage.
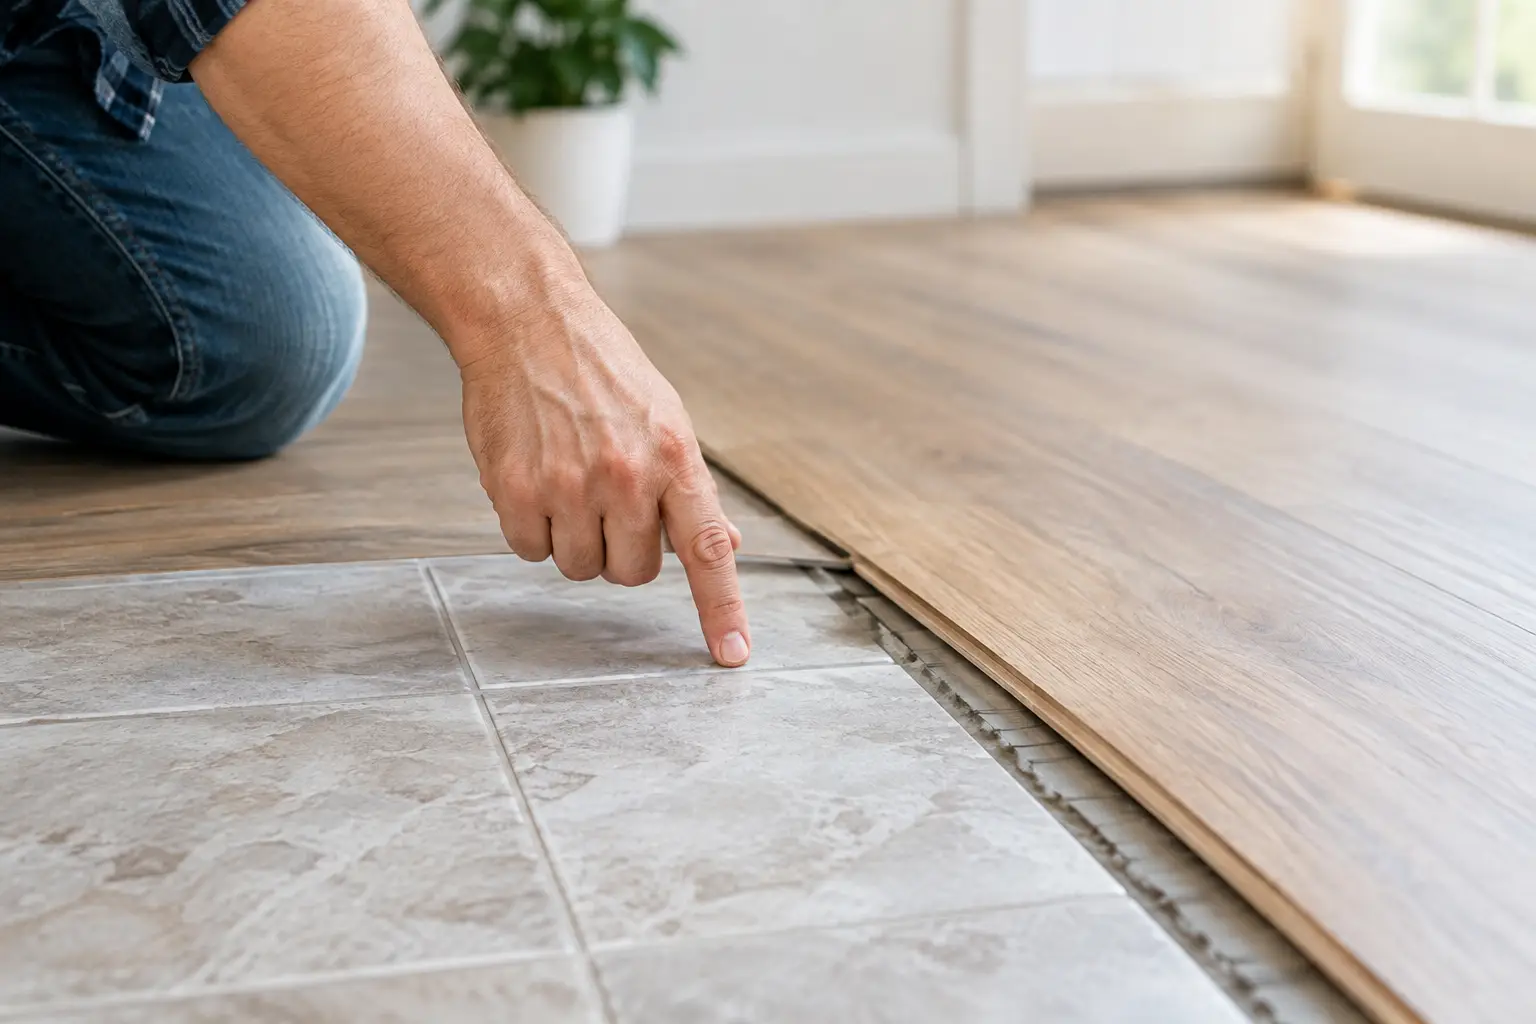
Timber flooring can conceal nails, staples, screws and adhesive. Boards may splinter, and old underlays can release dust when lifted. Vinyl and carpet removal often involves adhesives that are difficult to remove cleanly, particularly where the substrate has been damaged by previous installations. Rushing this stage can leave contamination or uneven residue that causes problems for the new floor covering.
Epoxy coatings and thick paint systems require careful equipment selection. Mechanical removal can create substantial dust and noise, while chemical products introduce their own handling and ventilation requirements. The safest option depends on the substrate, coating type, surrounding finishes and required final surface condition.
Protect People, Plant and Retained Areas
Personal protective equipment should match the task, not be treated as a one-size-fits-all requirement. At a minimum, demolition workers commonly need suitable eye protection, hearing protection, gloves, protective clothing, safety footwear and respiratory protection appropriate to the dust or material present.
PPE is only one layer of protection. Well-maintained tools with guards, dust extraction and safe electrical leads do more to prevent incidents than relying on protective gear alone. Inspect equipment before use and remove damaged tools from service. Keep leads away from wet areas, sharp debris and travel paths.
Manual handling also deserves proper attention. Tiles, concrete rubble, cabinetry and flooring waste become heavy quickly. Plan for smaller loads, use trolleys or mechanical aids where access allows, and avoid carrying rubble through busy or uneven routes. A clear path to the skip or ute reduces both handling injuries and damage to the property.
Retained finishes need protection from the beginning. Cover surfaces that are staying, including stairs, hallways, benchtops, glazing, door frames and nearby floors. In commercial sites, protect common areas and maintain safe access for tenants, staff and the public. An exclusion zone should keep unauthorised people away from active demolition work.
Keep the Site Orderly During the Job
Demolition sites change by the hour. Loose rubble, exposed fixings, broken tiles and removed cabinetry create new hazards as the work progresses. Regular clean-up is not cosmetic. It keeps access routes clear, reduces trip hazards and makes it easier to spot damage or unexpected issues.
Separate waste where practical and remove it in a controlled manner. Do not overload bins, block exits or stack debris where it can shift or fall. Sharp materials should be contained, and dusty waste should be handled to minimise airborne particles.
Communication matters just as much. If the scope changes, hidden damage is found or a service is discovered, stop and assess the situation. Pressing on to keep a schedule can turn a manageable variation into a costly repair or safety incident.
Finish With a Safe, Ready-to-Work Area
The last part of a demolition safety checklist is the final inspection. Check that debris, nails, sharp fragments, adhesive residue and loose materials have been removed. Confirm services are left safe, openings are protected where necessary, and the floor or slab is in the agreed condition for the next trade.
For renovation projects, a clean handover saves time immediately. Builders can measure accurately, waterproofers can assess substrates, installers can prepare surfaces properly, and owners are not left dealing with dust or rubbish after the crew has gone.
A safe strip-out is not about slowing the job down. It is about using the right sequence, equipment and controls so the work moves forward without creating a problem for the people, property or trades that follow. When demolition is planned properly, the site is ready for renovation rather than another round of clean-up.