
Once tiles are up, the job is only half done. Knowing how to remove tile bedding properly is what separates a renovation-ready floor from a slab covered in hard mortar, adhesive residue and avoidable damage. The right approach depends on the bedding material, the condition of the concrete underneath and what is going back down.
Tile bedding is commonly a sand-and-cement mortar bed laid beneath tiles to level the floor, build falls in wet areas or create a stable base. It can be thin and brittle, or thick, heavily bonded and extremely hard. Removing it takes the right equipment, controlled technique and a clear plan for the substrate.
What tile bedding is and why it is difficult to remove
Tile bedding is not the same as tile adhesive. Adhesive is usually a thinner bonding layer applied directly beneath the tile. Bedding is a cementitious layer that may range from a few millimetres to several centimetres thick.
In bathrooms, laundries and balconies, bedding is often shaped to direct water towards a floor waste. In older homes, it may have been laid over a membrane, a concrete slab or even a timber substrate. That construction matters. Aggressive removal can crack a slab, tear waterproofing or damage the floor structure below.
The goal is not simply to break up mortar as quickly as possible. It is to remove the bedding cleanly while preserving a sound, workable base for the next trade.
Check the floor before starting
Before lifting a tool, inspect the exposed floor and surrounding area. Look for cracks, hollow sections, changes in bedding depth, floor wastes, door thresholds and services that may run through or below the slab. In wet areas, assume waterproofing may be present until the scope of work confirms otherwise.
A solid concrete slab can generally handle mechanical removal, but it still needs care. Deep gouges and fractured edges create more patching work before new flooring, levelling compound or tiles can be installed. If the bedding is laid over timber, fibre cement sheeting or a screed that needs to remain, the method needs to be much more controlled.
Older properties also need additional caution. Dust generated during demolition may contain silica, while some older floor products and backing materials can involve hazardous materials. If there is any uncertainty about the floor build-up, stop and have it assessed before disturbing it.
Tools used to remove tile bedding
The best tool is determined by the thickness and bond strength of the bedding. Hand tools may be enough for small, loose sections, but they are slow on large areas. Professional removal work generally relies on a combination of mechanical breakers and grinding equipment.
For most tile bedding removal jobs, the core equipment includes:
- A demolition hammer or jackhammer with a wide scaling chisel
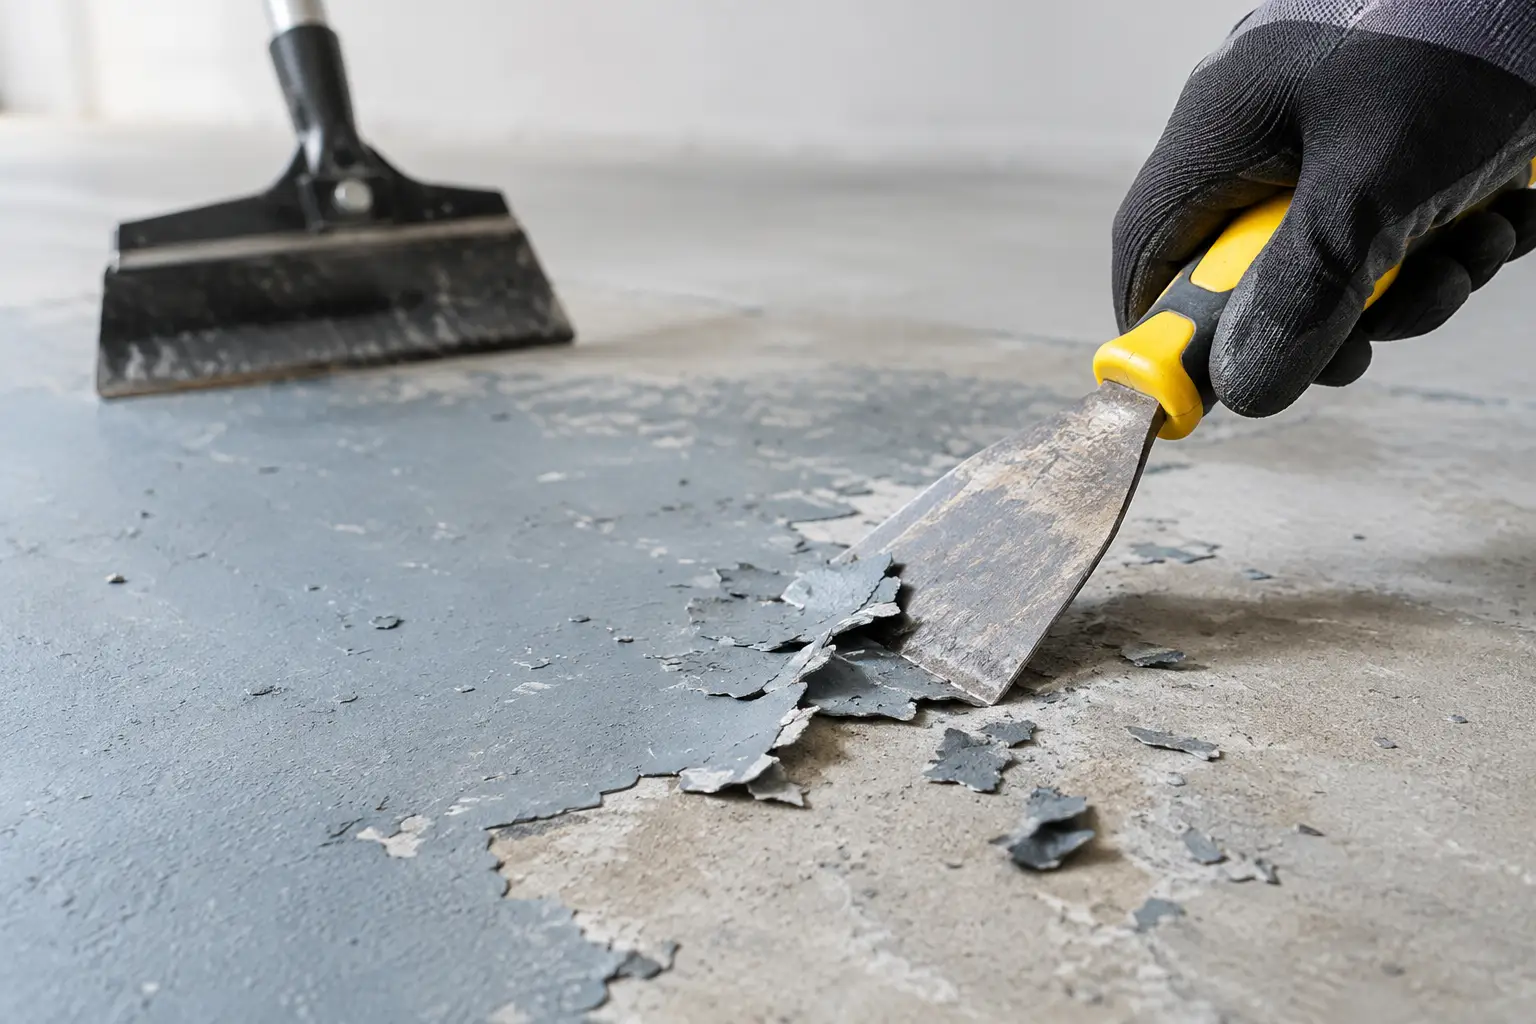
- A floor scraper or spade bit for thinner, weak bedding
- A concrete grinder for remaining high spots and bonded residue
- An industrial dust extraction system rated for fine concrete dust
- PPE including hearing protection, eye protection, gloves and a properly fitted respiratory mask
A wide chisel is usually more effective than a narrow point because it gets beneath the bedding and lifts it in sections. A point bit concentrates force in one spot, which can be useful for breaking up very hard mortar but is more likely to dig into the concrete if used carelessly.
How to remove tile bedding from a concrete slab
Start at a broken edge or weak point
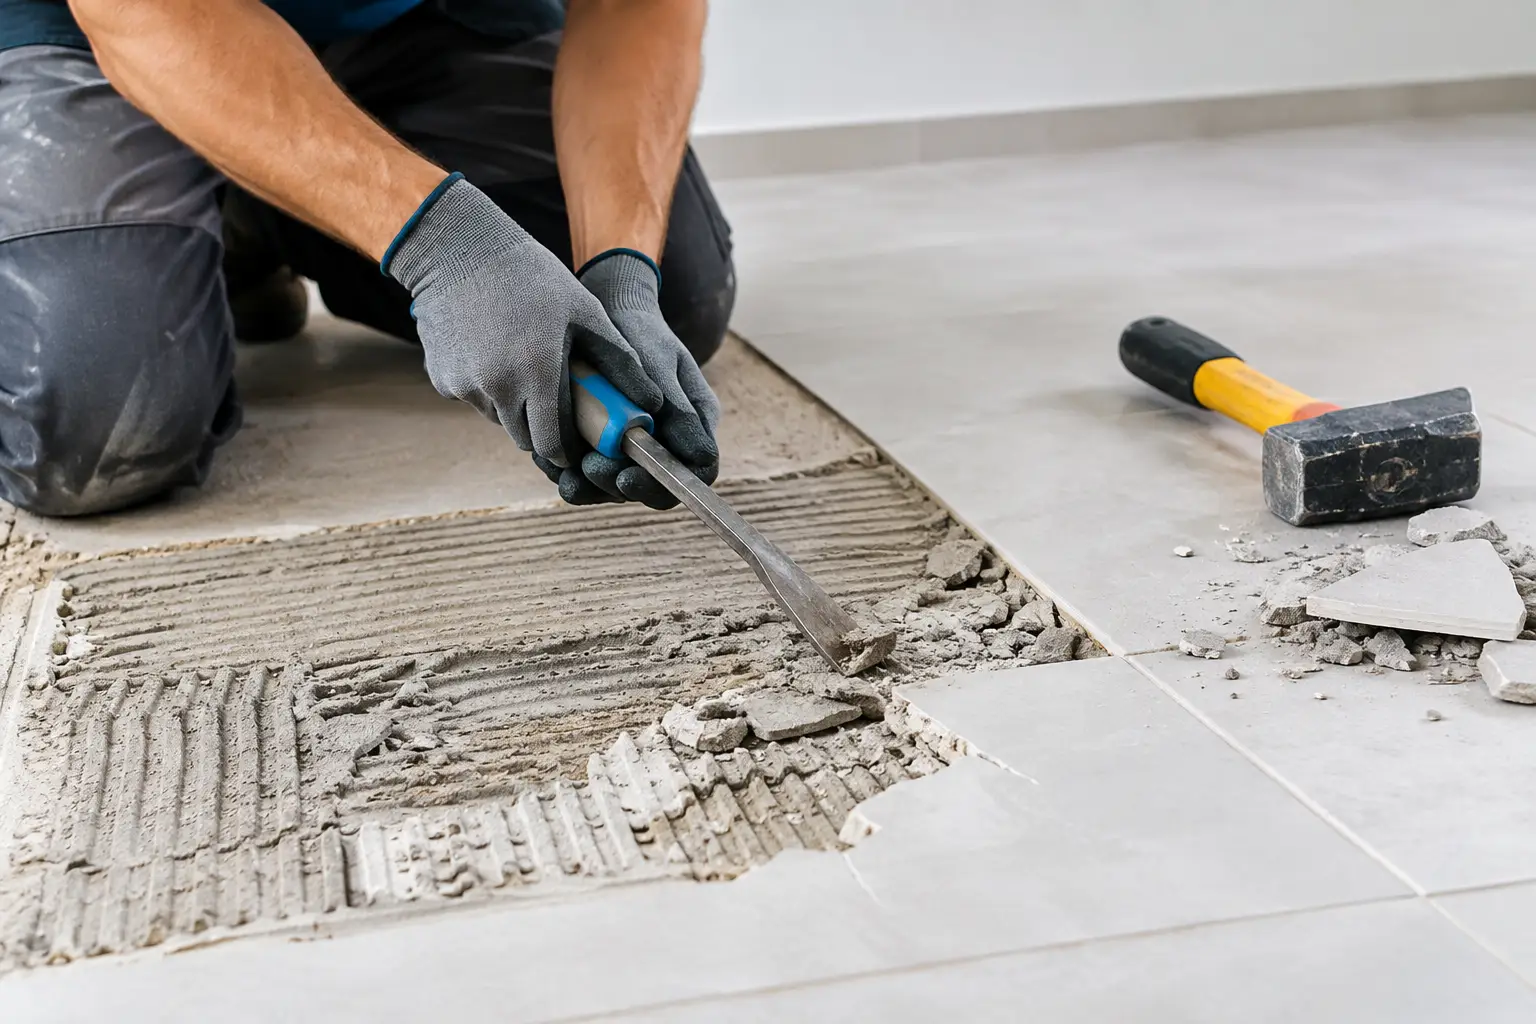
After the tiles have been removed, find an exposed edge, crack or hollow-sounding section in the bedding. Starting at an existing break gives the chisel somewhere to work. Trying to attack the middle of a fully bonded mortar bed usually creates unnecessary vibration and wastes time.
Hold the demolition hammer at a low angle, almost parallel to the slab. The aim is to drive the chisel under the bedding layer, not down into the concrete. Work in manageable sections and keep checking the exposed slab as you go.
If the bedding releases in larger sheets, keep following that separation line. If it is strongly bonded, take smaller passes rather than increasing force blindly. Heavy impacts can damage the substrate, particularly around walls, steps, penetrations and floor wastes.
Control dust and keep the work area clear
Breaking cement bedding creates fine silica dust fast. This is not a job for an open window and a household vacuum. Use dust extraction connected to the tool where possible, and regularly remove broken material from the work area so the operator can see the slab condition.
Good dust control also makes the job quicker. It improves visibility, prevents residue being tracked through the property and reduces cleanup before the next stage of renovation. For occupied homes, units, retail sites and offices, containment and clean work practices are just as important as removal speed.
Remove high spots with grinding, not more smashing
Once the bulk of the bedding has been lifted, there will often be bonded patches, ridges and small mortar islands left behind. This is where concrete grinding is usually the cleaner option.
A grinder removes the remaining material gradually and helps produce a flatter surface without repeatedly striking the slab. It is particularly useful where new vinyl, hybrid flooring, epoxy or large-format tiles are planned, as those finishes show up every imperfection underneath.
Grinding should be done with proper dust extraction. Dry grinding without extraction fills a property with hazardous dust and creates a mess that can delay every other trade on site.
Special care in bathrooms and wet areas
Bathroom tile bedding removal has extra risks because bedding may form the falls to the floor waste and sit over waterproofing. If the bathroom is being fully stripped and waterproofing will be replaced, the bedding can generally be removed as part of that demolition scope. The floor still needs to be protected from unnecessary slab damage.
If the waterproofing is intended to remain, do not assume it will survive mechanical tile bedding removal. Even a careful chisel can puncture or delaminate a membrane. In many renovation projects, removing tiles and bedding means allowing for new waterproofing and a new screed or bedding layer afterwards.
Take particular care around the waste. Damaging the waste flange, cracking the surrounding slab or leaving an uneven transition can cause problems when falls are rebuilt. This is one area where a fast-looking DIY job can create expensive rectification work later.
When hand removal makes sense
Hand chisels and small electric breakers can be suitable for a small repair area, a loose patch of mortar or a location with limited access. They give more control near walls and door jambs, and can reduce the risk of damaging nearby finishes.
The trade-off is time and physical effort. On a full room, hand removal is slow, noisy and hard on the body. It can also produce a less consistent result if the remaining surface is not ground flat afterwards. For larger areas, mechanical removal and professional slab grinding are usually more efficient and leave a better base for the next floor finish.
Common mistakes that damage the floor
The most common mistake is holding a jackhammer vertically and driving straight into the slab. That approach may break the bedding, but it also creates divots that need to be patched and levelled later. Keeping the tool low and working beneath the layer is safer and more efficient.
Another mistake is assuming every bit of residue must be chipped off. Thin, well-bonded remnants are often better ground down than hammered. The same applies to adhesive beneath bedding – a grinder may be the right final-preparation tool, depending on the floor covering being installed.
Rushing the cleanup is another problem. Loose mortar, dust and uneven patches hide defects. A floor should be assessed after removal, not before. Check for cracks, hollow concrete, moisture issues, exposed reinforcement and low areas that may need repair or levelling.
Know when to bring in a floor removal specialist
Tile bedding removal is physically demanding, dusty and noisy work, but the real value of a specialist is substrate control. Experienced operators know when to break, scrape or grind, and when to stop before a sound slab becomes a repair job.
For full bathrooms, kitchens, apartments, commercial spaces or heavily bonded bedding, professional equipment and dust management can save considerable time and disruption. Rapid Stripped handles difficult floor removal and surface preparation with the focus on leaving a clean, usable base for the renovation team.
A properly stripped floor gives the next trade a fair start. Remove the bedding with control, inspect the slab closely and prepare the surface for what is being installed next – that is how renovation work keeps moving instead of circling back for repairs.