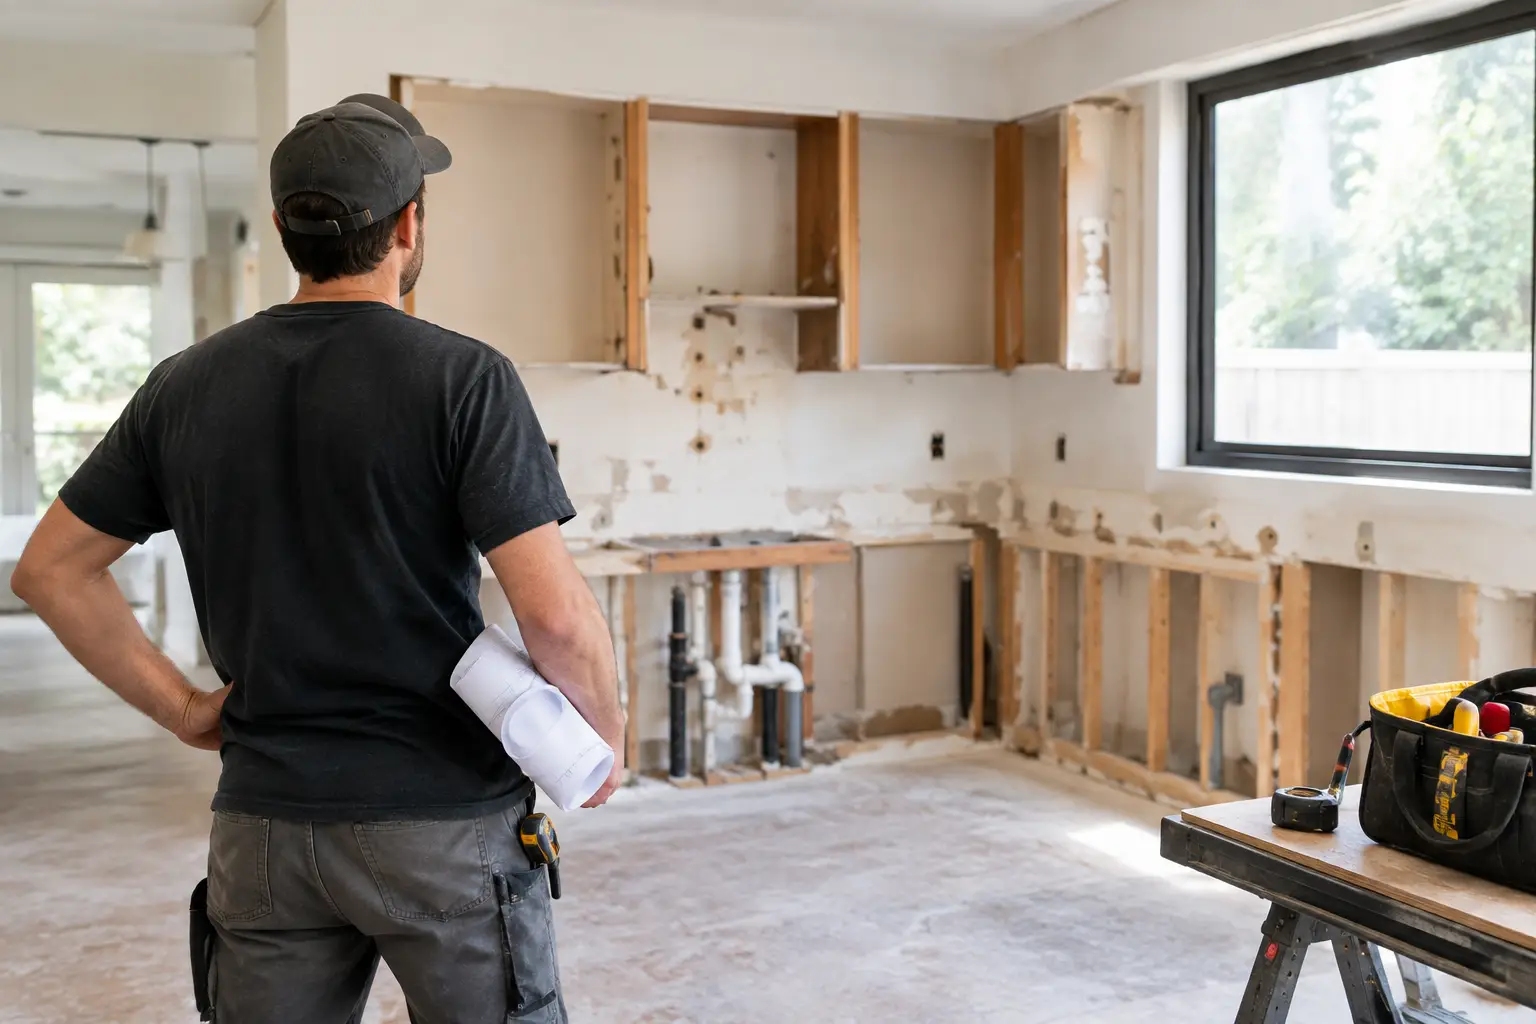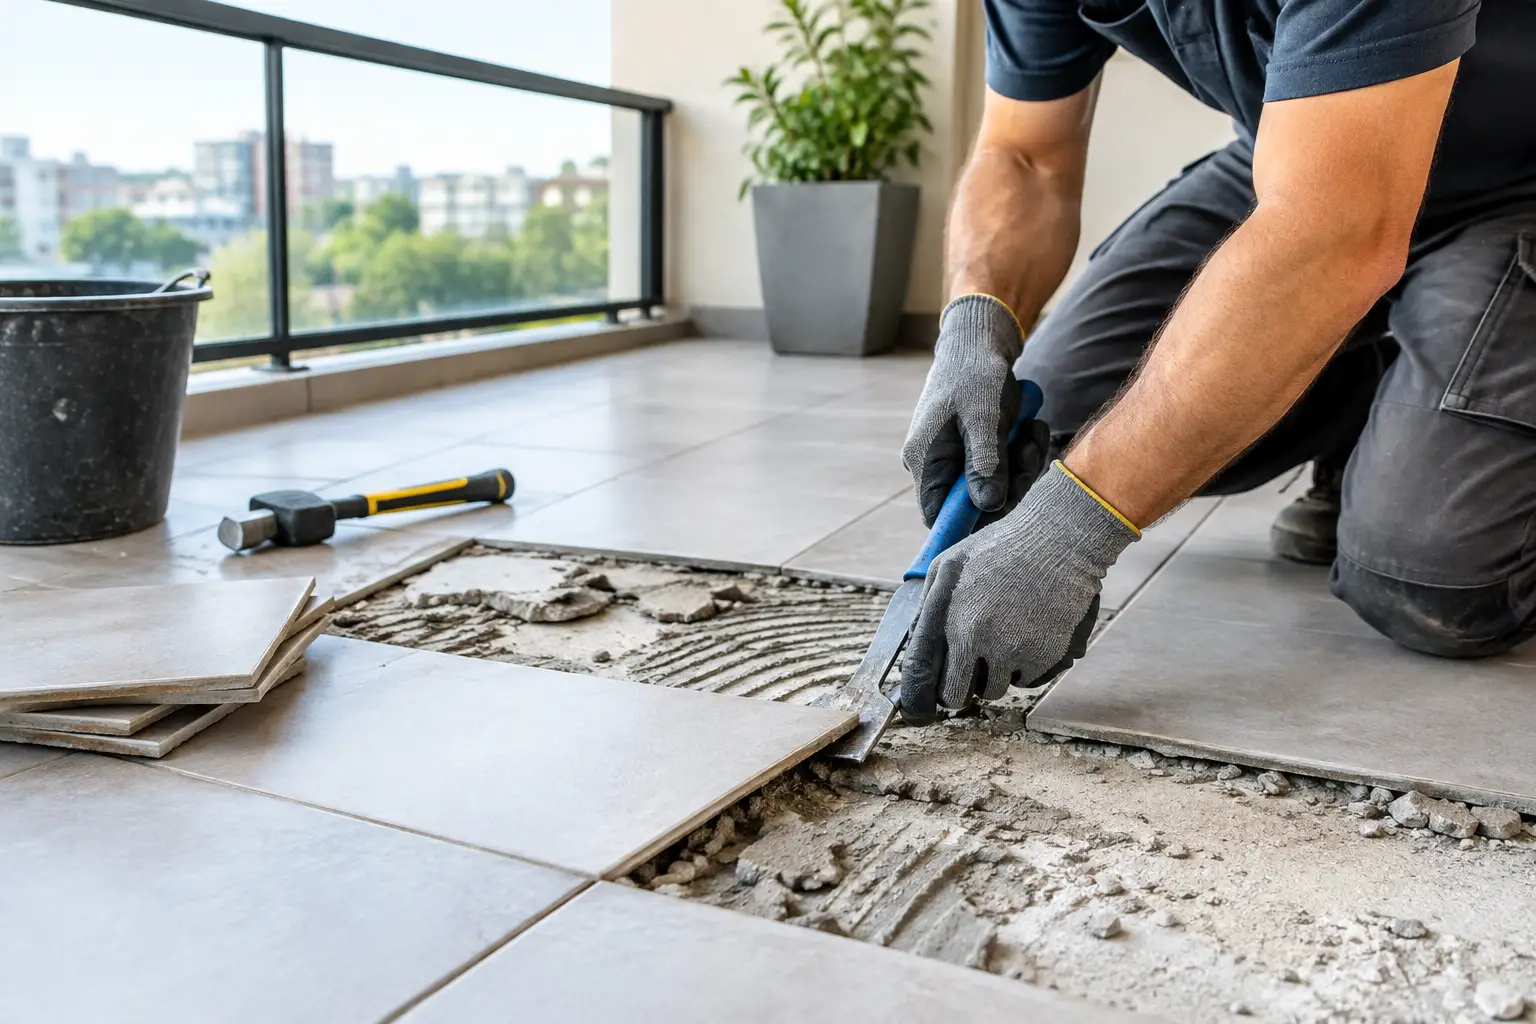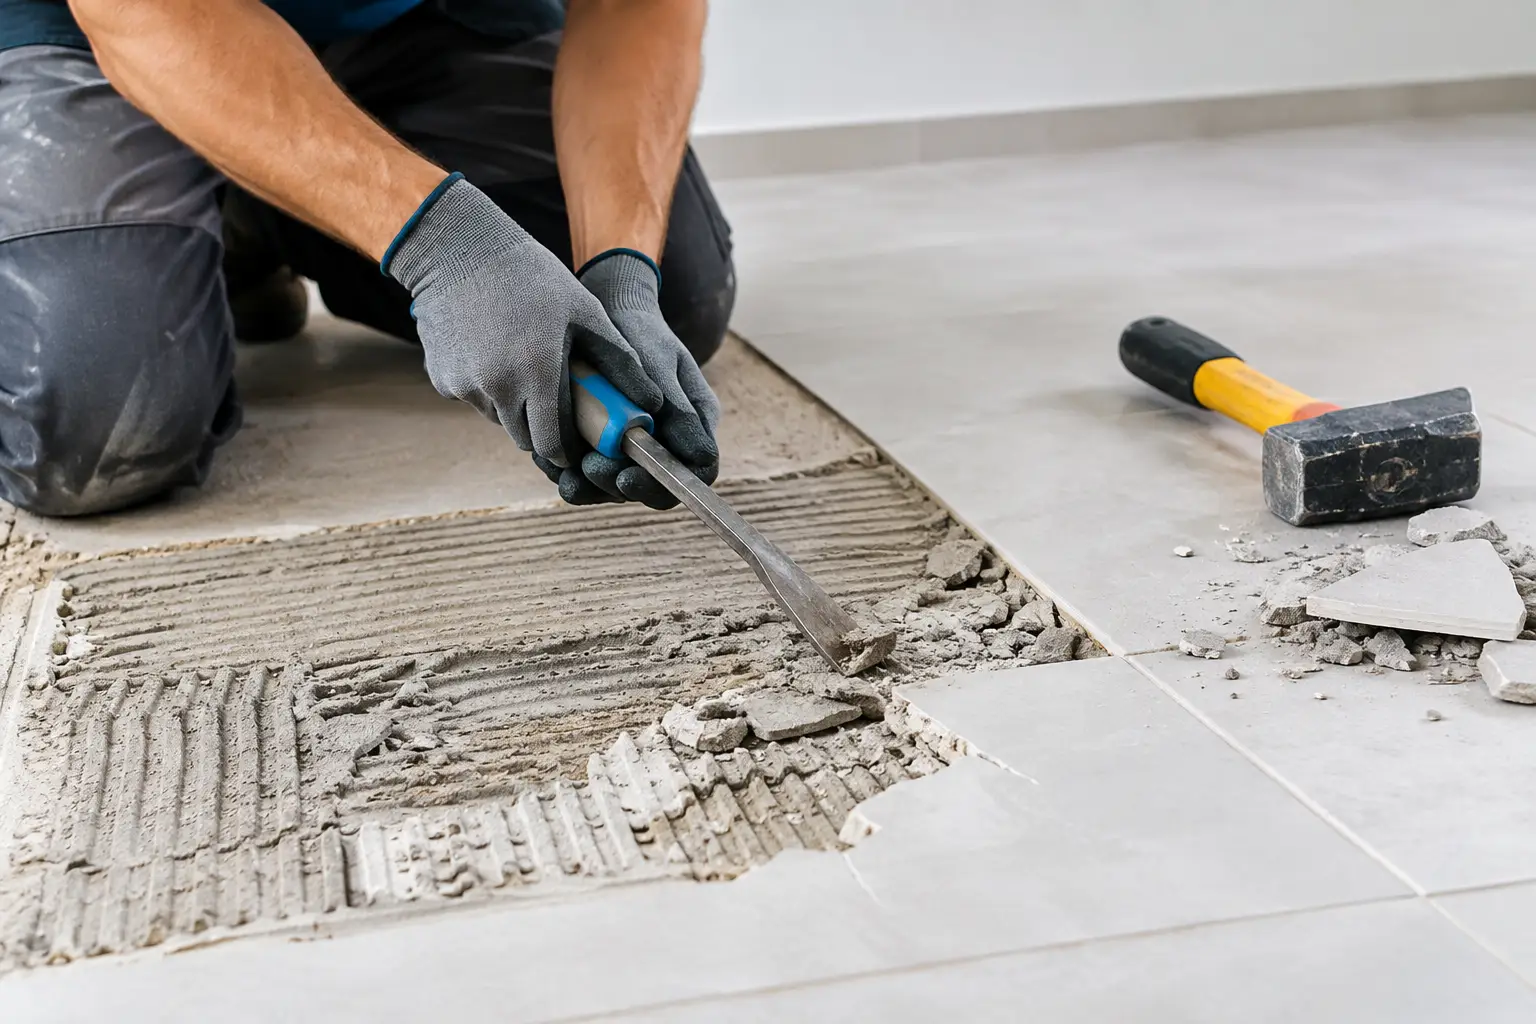

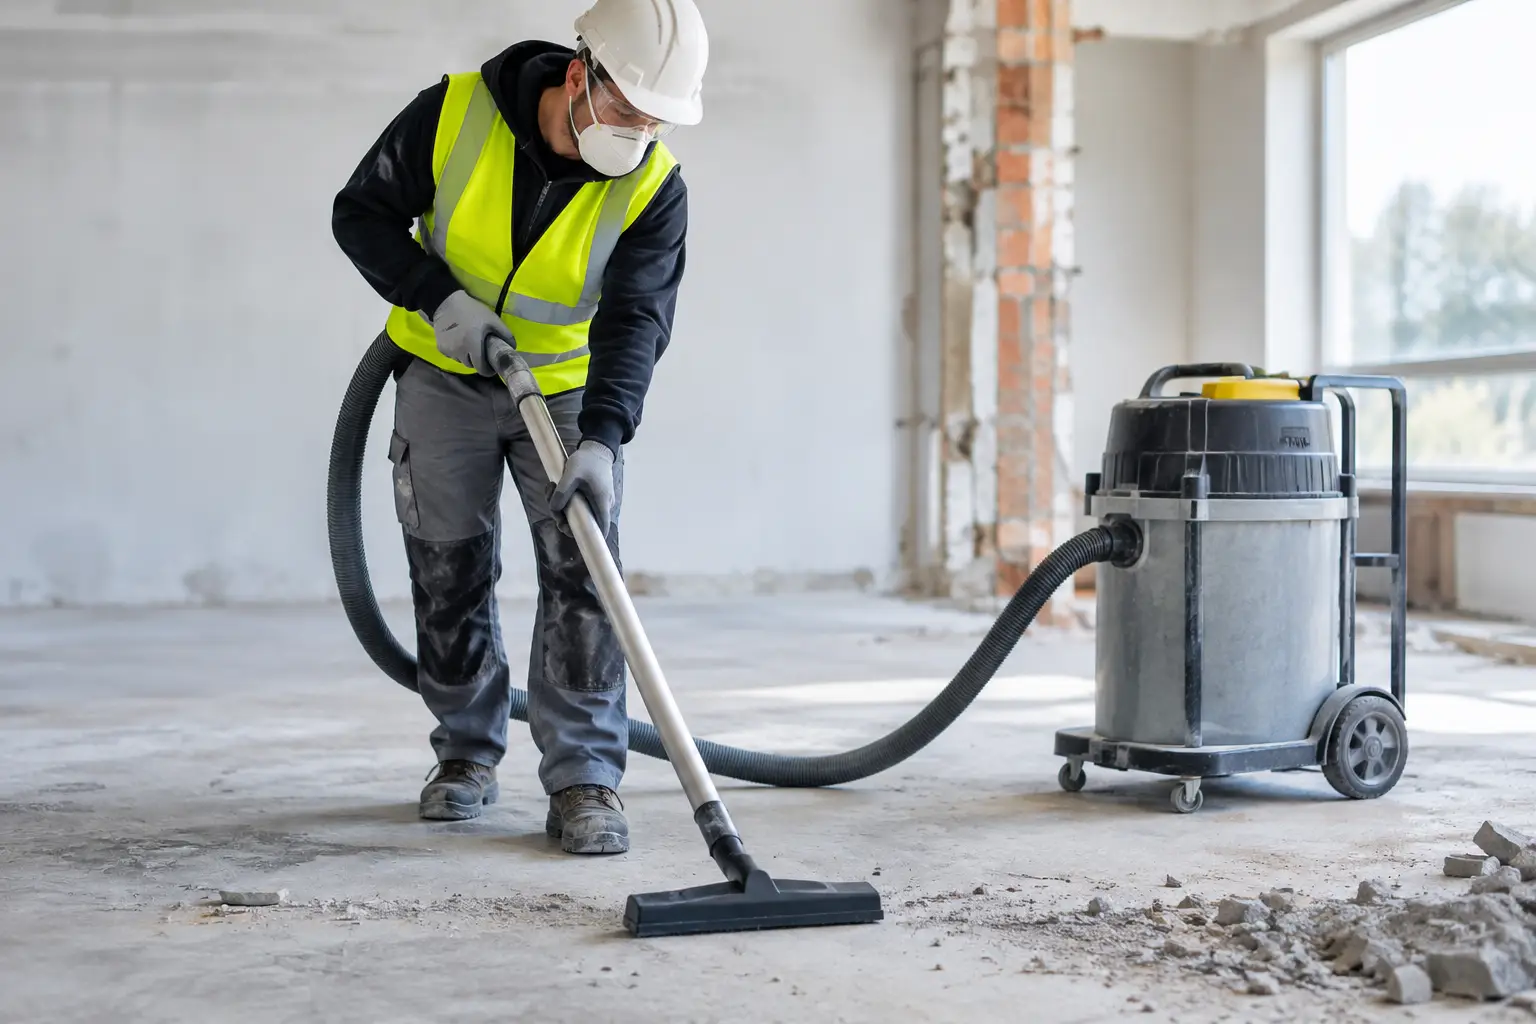
A strip-out can be fast without turning the rest of the property into a clean-up job. The best practices for dust control start before the first tile is lifted or grinder is switched on. They protect workers, keep adjoining rooms and common areas cleaner, reduce disruption for neighbours and leave a slab that is genuinely ready for the next trade.
Dust is not just an inconvenience. During floor removal, it can contain concrete particles, old adhesive, grout, paint residue, timber fibres and, in some older materials, hazardous contaminants. Fine dust travels further than most people expect. It can move through door gaps, air-conditioning returns, stairwells and open windows, then settle across finished surfaces well outside the work area.
For homeowners, builders and commercial property managers, proper dust management is one of the clearest signs that a strip-out has been planned and carried out professionally.
Plan Dust Control Before Work Starts
Dust control is most effective when it is built into the method of work, not added after the site is already dirty. Before removal begins, inspect the floor covering, substrate, room layout, access points and occupied areas nearby. A tiled bathroom in a vacant house needs a different approach to epoxy removal in an operating shop or office.
The team should identify where dust could escape, how waste will leave the property and where equipment can be positioned without creating extra mess. This includes protecting access routes from the work zone to the skip, ute or waste collection point. Repeated foot traffic through an unprotected hallway can spread dust and debris further than the demolition itself.
Older buildings deserve additional care. If there is any concern about asbestos-containing material, lead-based coatings or other hazardous substances, work must stop until the material has been properly assessed. Standard dust suppression is not a substitute for the correct testing, controls and licensed removal requirements.
Contain the Work Area Properly
The first physical control is containment. Close off the room wherever practical and seal gaps around doorways, openings and service penetrations. Temporary plastic barriers can be effective, but only if they are installed securely and checked throughout the job. A loose sheet taped across a doorway will not hold up to workers moving equipment in and out all day.
For larger strip-outs, use a defined entry point so workers are not constantly opening multiple doors or moving through finished areas. Where the property is occupied, protect nearby floors, walls, joinery and ventilation grilles before demolition starts. It is quicker to install protection than to repair scuffs, clean settled dust or explain why a newly painted room now needs attention.
Containment also needs to account for pressure and airflow. Fans, open windows and air-conditioning can carry fine particles well beyond the room. In some situations, controlled negative air arrangements may be appropriate to draw air through filtration rather than letting dust drift into the building. The right setup depends on the size of the job, the material being removed and whether people remain on site.
Protect HVAC and Shared Spaces
Heating, ventilation and air-conditioning systems can spread dust through an entire home, unit block or commercial tenancy. Switch off or isolate affected systems where safe and practical, and cover vents within the work zone where appropriate. Do not simply seal everything without considering the building’s ventilation needs or manufacturer requirements.
In apartments, offices and retail sites, shared corridors, lifts and foyers need their own protection plan. These areas are highly visible, frequently used and difficult to clean while other occupants are moving through them. Clean work practices matter just as much outside the demolition zone as they do inside it.
Use the Right Removal Method for the Material
The best dust-control method is often to create less dust in the first place. Mechanical removal tools should be selected for the material, adhesive and substrate rather than used as a one-size-fits-all solution. Tile lifting, timber removal, vinyl stripping and carpet uplift all produce different waste and airborne particles.
When grinding concrete, levelling compounds, adhesive residues or coatings, use machinery with effective local dust extraction. A properly matched shroud and industrial vacuum capture dust at the cutting or grinding point before it enters the room. This is far more reliable than trying to clean airborne dust after the fact.
Wet methods can help suppress dust during some cutting and grinding tasks, but they are not automatically the best choice. Water can create slurry, increase slip risks, affect surrounding finishes and complicate waste handling. It may also be unsuitable where electrical equipment, timber substrates or occupied spaces are involved. The practical answer is to choose the method that controls the hazard without creating a new problem.
Dry sweeping is generally a poor choice around fine dust. It lifts settled particles back into the air and can spread them into adjacent spaces. Use an appropriate industrial vacuum with suitable filtration, followed by damp wiping or controlled wet cleaning where the surface and site conditions allow.
Treat Silica Dust as a Serious Hazard
Concrete, engineered stone, mortar, grout and some floor levelling products can contain crystalline silica. Cutting, grinding or drilling these materials can generate respirable silica dust, which is too fine to see clearly and can travel deep into the lungs.
This is why slab grinding and adhesive removal cannot be treated as basic clean-up work. Effective controls may include on-tool extraction, wet suppression where suitable, properly maintained filtration equipment and respiratory protective equipment selected for the task. Respirators are a last line of defence, not a replacement for containment and extraction.
Equipment also needs maintenance. A clogged filter, damaged vacuum hose or worn tool shroud can quickly undermine an otherwise sound dust-control plan. Check extraction performance during the job, not just at the start. If visible dust is escaping from the tool, stop and correct the issue.
Keep Waste Moving Without Spreading It
Demolition waste should be removed progressively rather than left to build up in the work area. Broken tiles, bedding, adhesive scrapings and carpet backing create trip hazards and can be crushed underfoot into finer material. Bag, bin or load waste in a controlled way, then keep it covered during transport through occupied sections of the property.
A clean-out path makes a real difference. Use floor protection along travel routes, wipe down wheels and tool bases where needed, and avoid overfilling bins or bags that may tear. On multi-storey sites, plan how debris will move through lifts, stairwells or loading areas without creating dust trails for other occupants.
At the end of each shift, remove loose debris and vacuum edges, ledges and corners. Fine dust settles after work stops, so the final clean should not be rushed immediately after the last cut or grind. Allow time for airborne particles to settle, then complete a detailed clean of the containment area and access route.
Match PPE to the Actual Task
Personal protective equipment is necessary, but it works best alongside proper site controls. Workers may require suitable respiratory protection, eye protection, hearing protection, gloves and protective clothing depending on the removal method and material involved.
The key point is fit and condition. A respirator that does not seal correctly, is worn inconsistently or has unsuitable filters offers false confidence. Protective clothing can also carry dust into vehicles or other areas if it is not managed properly. Establish a designated area for cleaning down, removing PPE and storing equipment before workers leave the site.
For occupied properties, communication is part of protection too. Let residents, tenants or site managers know which rooms are restricted, when noisy or dusty stages will occur and whether ventilation systems need to remain off. Clear expectations prevent people from walking through a controlled zone at the wrong time.
Check the Finish, Not Just the Removal
A floor is not ready for the next stage merely because the old covering is gone. Check the slab or substrate for remaining adhesive, loose material, high spots, damage and settled dust. These issues can affect the bond and finish of new flooring, waterproofing, coatings or levelling products.
The final inspection should include adjoining rooms and access paths. Look at skirting lines, window sills, door tracks and protected surfaces before barriers are removed. If dust has escaped, deal with it while the equipment and crew are still on site.
At Rapid Stripped, dust control is treated as part of the removal process, not an optional final tidy-up. The goal is simple: remove the old surface efficiently, manage the mess properly and hand back a clean, prepared site that allows the renovation to keep moving.
A well-controlled strip-out saves more than cleaning time. It protects people, preserves finished areas and gives the next trade a better surface to work from – exactly where a renovation needs to be.