
Glued carpet can look like a straightforward rip-up job until the backing tears away in strips and a hard layer of adhesive stays welded to the slab. Knowing how to lift glued carpet properly saves time, reduces dust and prevents unnecessary damage to the floor underneath. The aim is not simply to get the carpet out. It is to leave a sound, clean surface that is ready for the next trade.
Check what you are removing first
Start by identifying how the carpet has been installed. Some carpet is held by perimeter tack strips and will lift with relatively little effort. Fully glued carpet is different. The adhesive may cover the entire floor, sit in broad bands, or be concentrated around doorways and high-traffic areas.
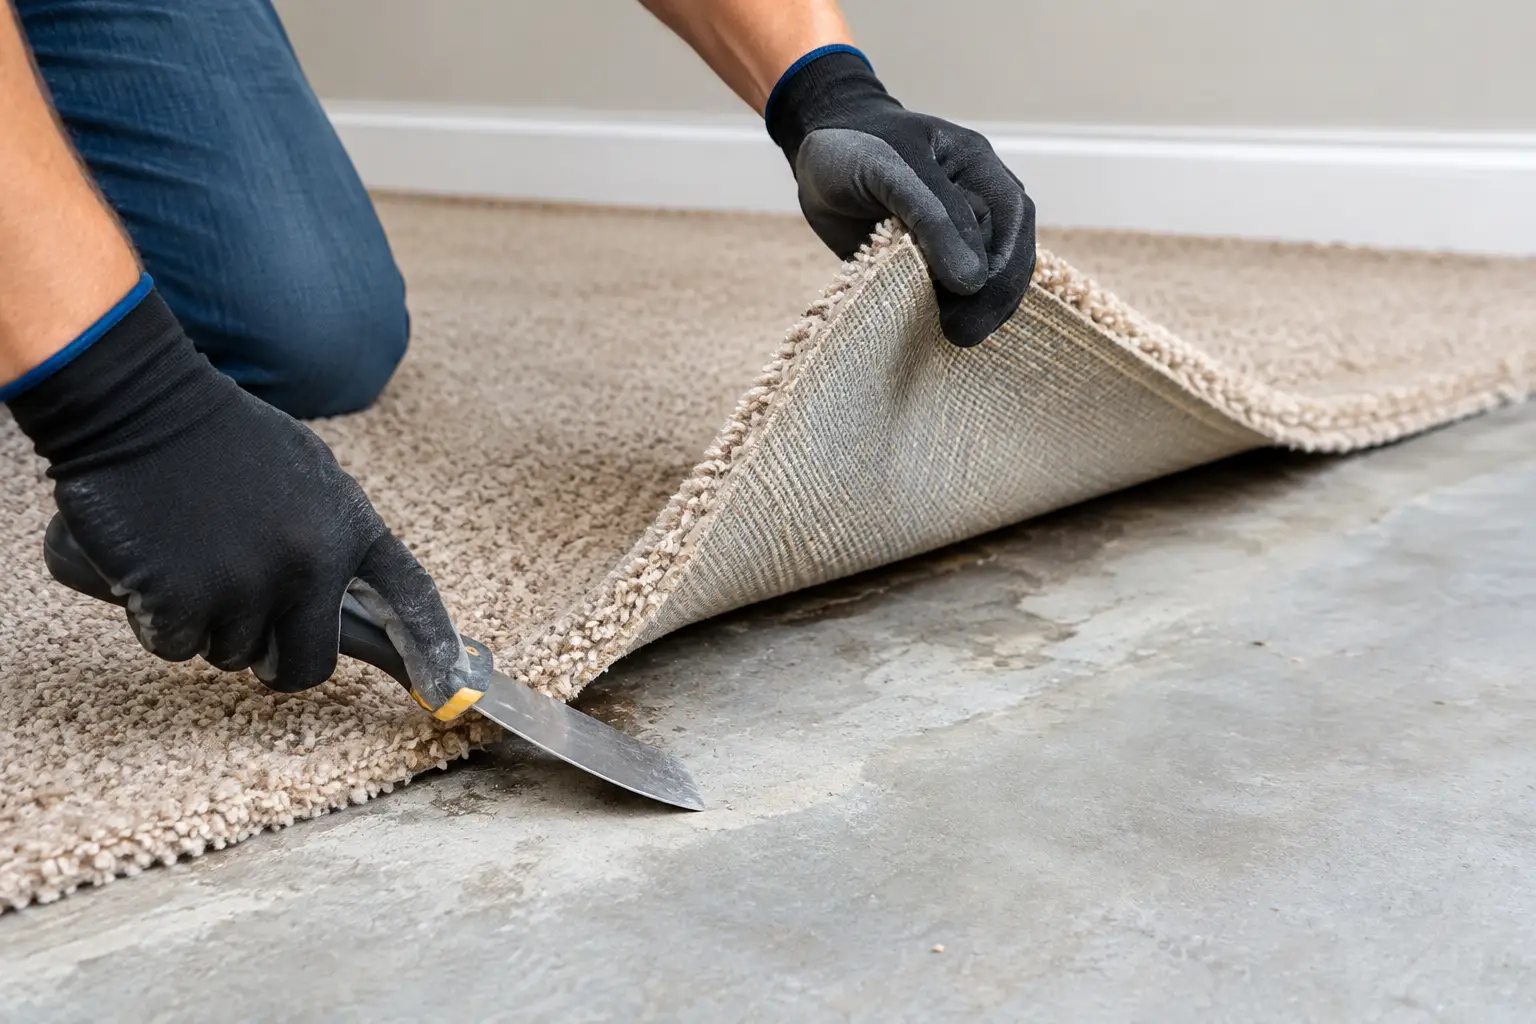
Find a loose edge at a doorway, inside a cupboard or beside a wall. Use a utility knife to cut a small test section, then pull it back slowly. If the pile and backing come up together, the job may be manageable with hand tools and a floor scraper. If the carpet separates from its backing, or large amounts of adhesive remain on the slab, expect a more involved removal process.
Also check the condition of the substrate. Concrete slabs, timber subfloors and old sheet flooring all respond differently. Aggressive scraping that may be acceptable on concrete can gouge timber or damage particleboard. If you are renovating an older property and find black, tar-like adhesive or unknown sheet material beneath the carpet, stop work and arrange appropriate testing before disturbing it further.
Tools for lifting glued carpet
The right equipment makes a major difference. For a small, lightly glued room, a sharp utility knife, pliers, pry bar and long-handled floor scraper may be enough. For larger rooms or commercial areas, manual scraping quickly becomes slow, physically demanding and inconsistent.
A practical removal setup may include:
- Heavy-duty utility knife with spare blades
- Pliers or locking grips for pulling carpet sections
- Long-handled floor scraper with replaceable blades
- Oscillating multi-tool for edges and tight areas
- Floor stripping machine for firmly bonded carpet
- HEPA-rated vacuum and dust-control equipment
- Safety glasses, gloves, hearing protection and a P2 respirator
Keep blades sharp. A blunt blade forces you to pull harder, tears the carpet instead of cutting it and increases the chance of damaging the surface below. If you are using powered stripping equipment, make sure the blade angle suits the substrate and the operator has room to work safely.
How to lift glued carpet in manageable sections
Do not try to pull up an entire room in one piece. Cut the carpet into strips roughly 300 to 600 mm wide. Narrower strips are easier to handle, easier to roll and put less strain on your back. They also give you better control if the carpet is heavily bonded.
Start at your chosen edge and use pliers to lift enough carpet to get a grip. Pull the strip back low and slow, rather than yanking it upwards. Pulling close to the floor directs force along the adhesive line and often releases more backing. Lifting vertically tends to tear the carpet and leave more material behind.
Work across the room one strip at a time. Roll each strip as it comes free and move it out of the work area. Keeping removed material under control reduces trip hazards and stops loose carpet fibres from being tracked through the property.
At walls, door jambs and built-in cabinetry, use a sharp knife or oscillating tool to cut cleanly around the obstruction. Avoid forcing a scraper beneath skirting boards or fixed joinery. It is easy to mark painted surfaces, crack brittle skirting or tear trim that was not due to be replaced.
When the carpet separates from the backing
This is one of the most common problems with old glued carpet. The top layer may pull away while a felt, foam or hessian-like backing stays attached to the floor. Do not keep pulling harder. Change tactics.
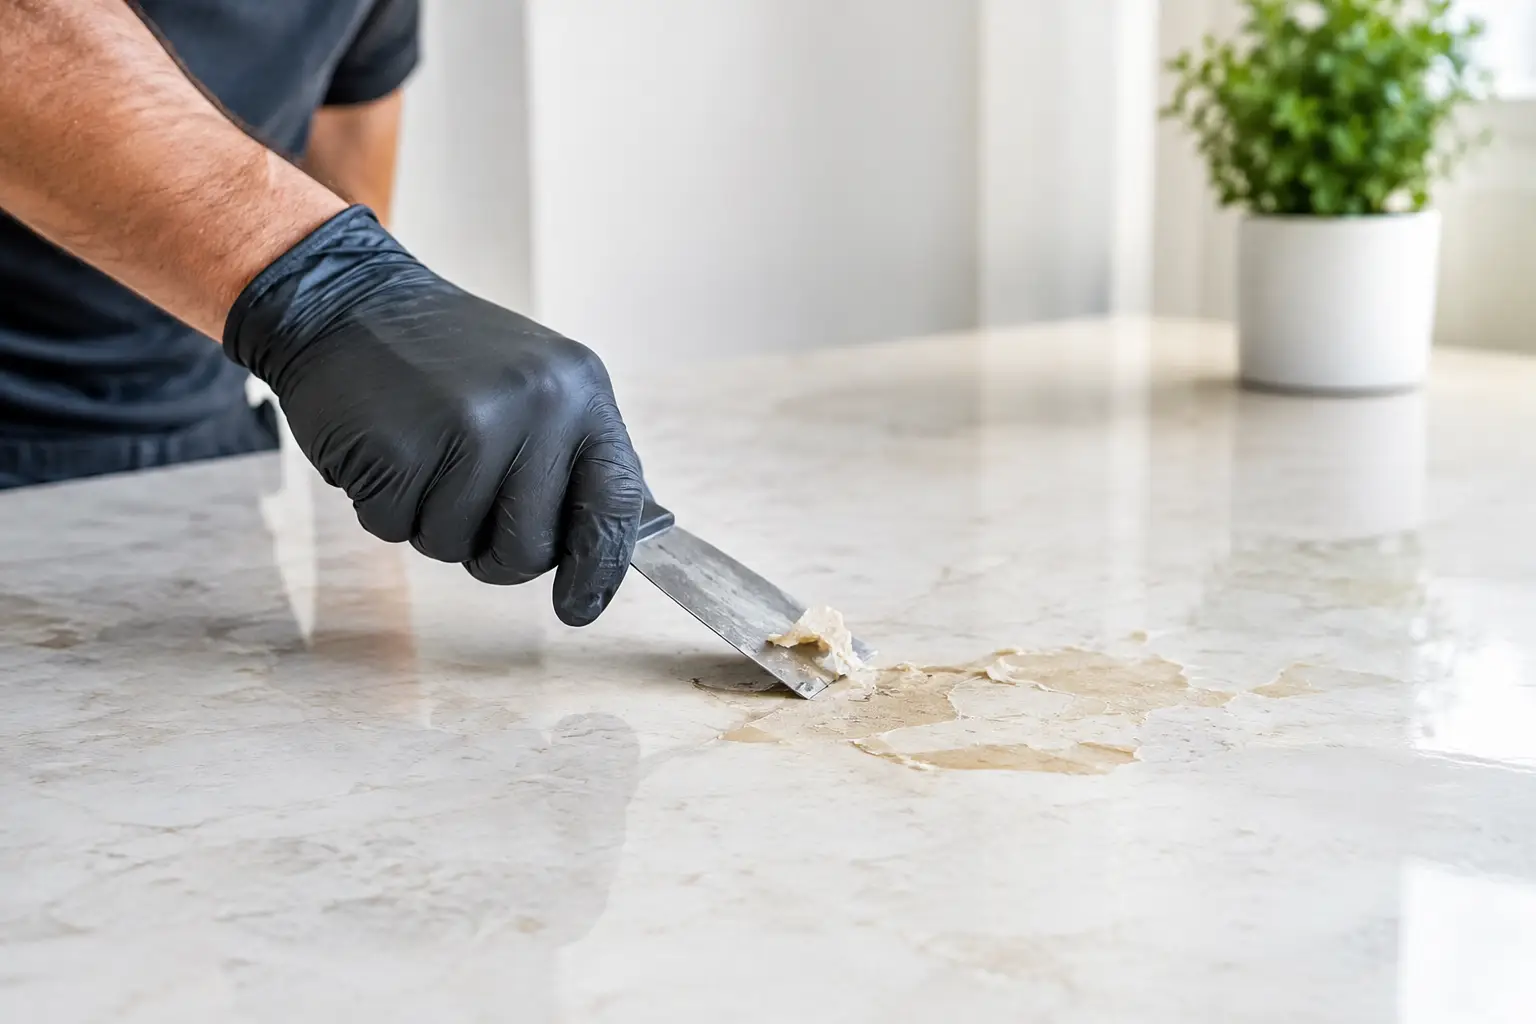
Use a floor scraper at a shallow angle to remove the remaining backing. On concrete, a powered floor stripper can be the efficient option for broad areas. Work methodically and inspect the blade regularly. A worn blade will skim over residue instead of getting underneath it.
Heat can soften some adhesives, but it is not always the best answer. Heat guns can create strong fumes, damage nearby finishes and make certain adhesive residues sticky rather than removable. In occupied homes, offices and retail sites, mechanical removal with proper dust control is usually the cleaner, more predictable approach.
Removing the adhesive left behind
Carpet removal and adhesive removal are separate stages. The carpet may be gone, but the floor is not ready for new vinyl, hybrid flooring, tiles or levelling compound until the adhesive has been dealt with properly.
The correct method depends on the adhesive, the substrate and what will be installed next. A small amount of thin, well-bonded adhesive may be acceptable beneath some floor preparation systems. Thick ridges, loose residue, soft adhesive or uneven patches are not. They can show through new flooring, interfere with bonding or cause floor levels to vary across the room.
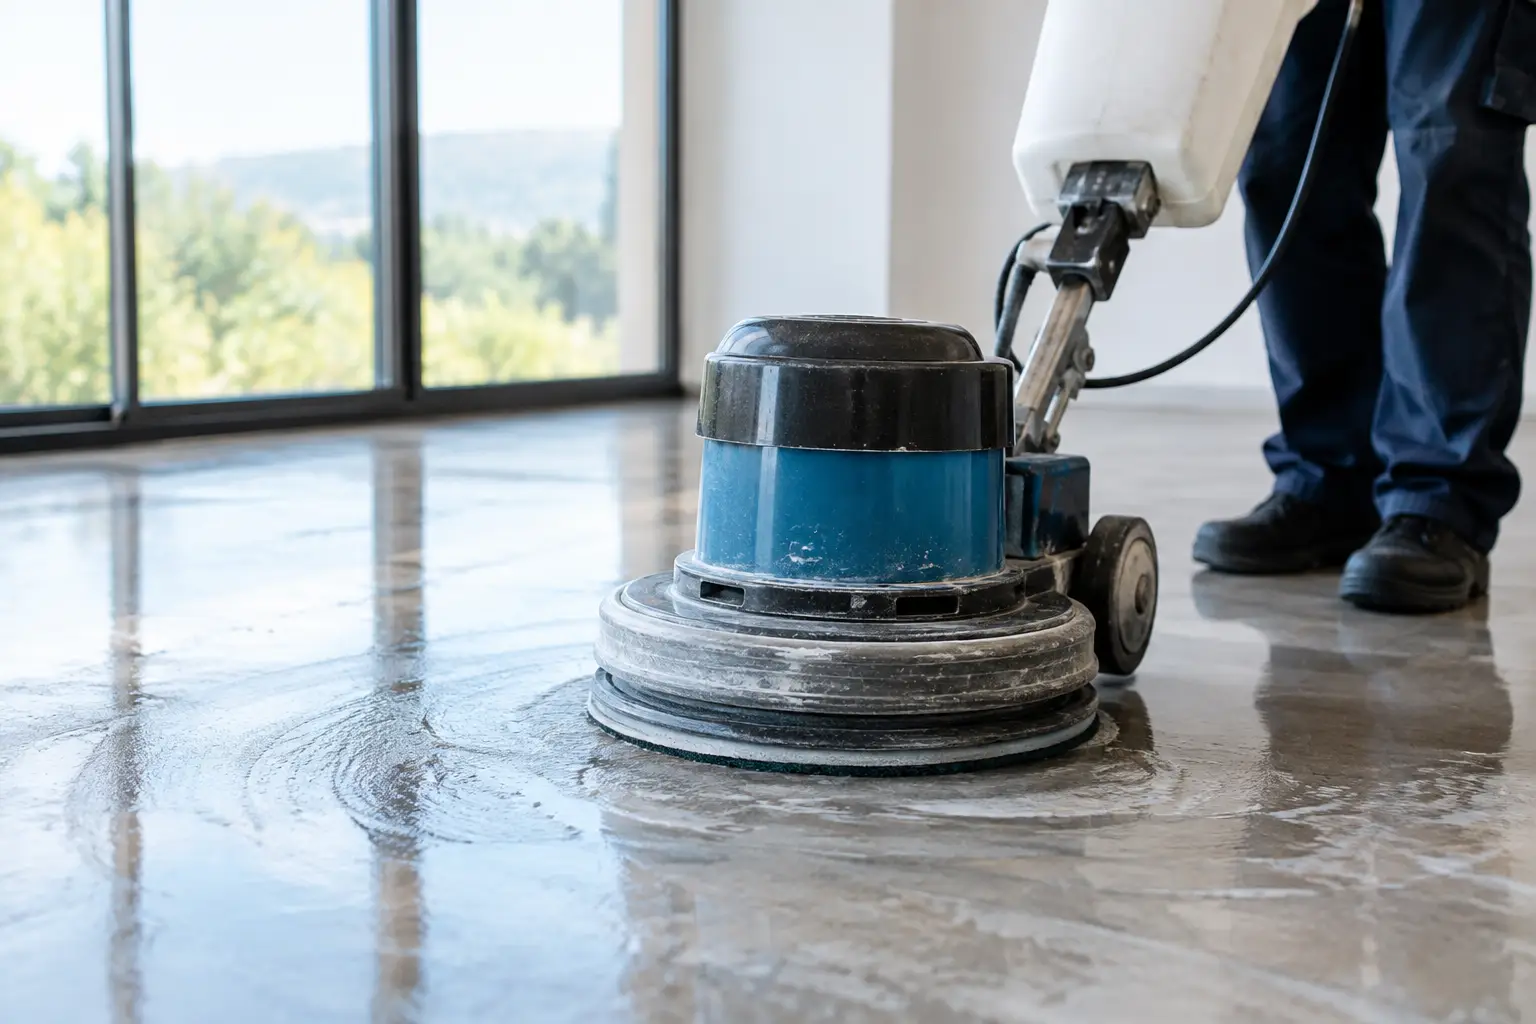
On a concrete slab, mechanical scraping followed by slab grinding is often the most reliable path to a clean result. Grinding removes stubborn adhesive and helps create an even surface, but it must be carried out with suitable dust extraction. Dry grinding without dust control can spread fine silica-containing dust through the site, creating a difficult clean-up and a serious health risk.
Chemical adhesive removers have their place on small, contained areas, but they are not a shortcut for every floor. They can leave an oily residue, create odours and affect the adhesion of new flooring products if not completely removed. Before using any chemical, check that it is suitable for the existing substrate and compatible with the planned floor system.
Do not skip substrate repairs
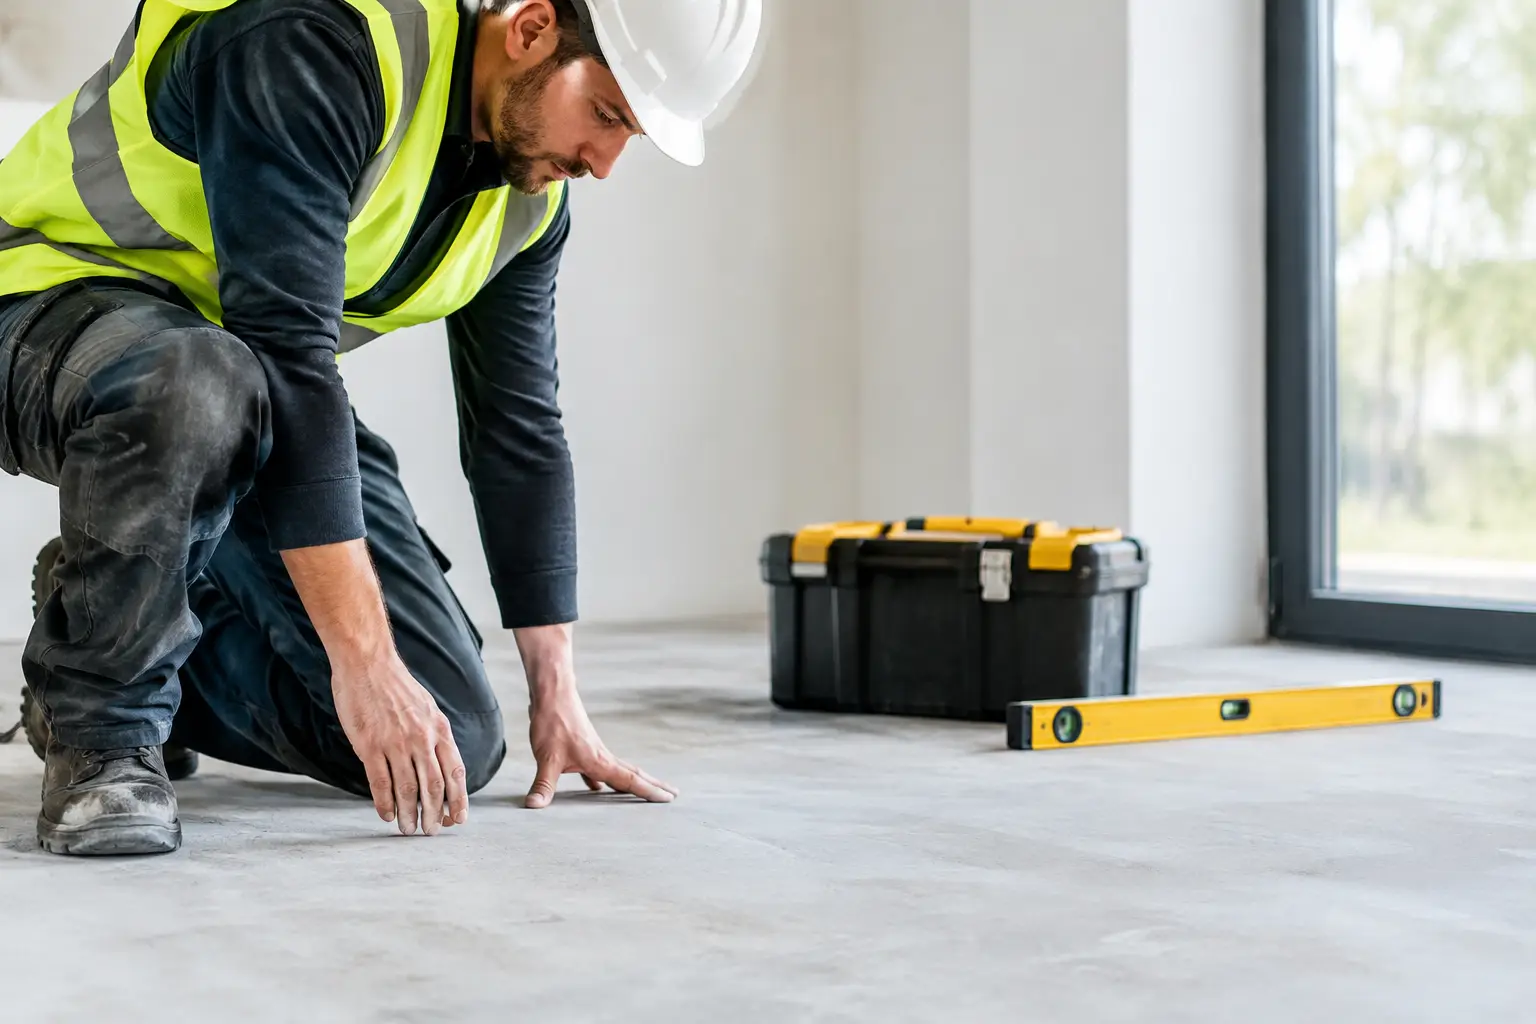
Once the adhesive is removed, inspect the exposed floor in good light. Look for cracks, old patching, nail holes, moisture damage and high or low spots. Timber floors may need fasteners punched down and damaged boards repaired. Concrete may need crack treatment, patching or levelling before the new finish goes down.
This is the point where rushing costs time later. A new floor is only as good as the surface beneath it. Preparing the slab or subfloor properly gives the installer the best chance of a durable, level finish.
Manage dust, waste and disruption
Lifting glued carpet creates more mess than many people expect. Old carpet holds dust, pet hair, grit and allergens, while scraping and grinding can create fine debris quickly. Isolate the work area where possible, protect adjoining surfaces and vacuum progressively rather than leaving all clean-up until the end.
For homes, plan around access routes, furniture and pets. For commercial premises, consider working outside trading hours or sectioning the job so essential areas remain accessible. Carpet strips and adhesive waste are bulky, so have a clear removal plan before work starts. A cluttered site slows the job and increases the risk of damage to walls, doors and finished surfaces.
If the room needs to be handed straight to a flooring installer, painter or builder, confirm the required finish beforehand. Some trades need a bare slab, while others need adhesive fully ground off and the surface levelled. Getting that standard clear at the start avoids rework and delays.
When professional removal is the better option
DIY removal can suit a small bedroom with lightly glued carpet and a sound concrete slab. The job changes quickly when there are large areas, dense commercial carpet, stubborn backing, aged adhesive, tight deadlines or a floor that must be ready for immediate installation.
A specialist floor removal team brings purpose-built stripping equipment, slab grinders, dust extraction and the experience to match the method to the substrate. That matters in occupied properties and renovation sites where cleanliness, safety and turnaround are as important as removing the carpet itself. Rapid Stripped handles glued carpet removal across Northern NSW, the Gold Coast, Brisbane and the Sunshine Coast, with a focus on leaving sites ready for the next stage of works.
Take the time to test an edge, assess the adhesive and set the required finish before the first strip comes up. That simple preparation is what turns a messy rip-up into a clean, renovation-ready floor.