
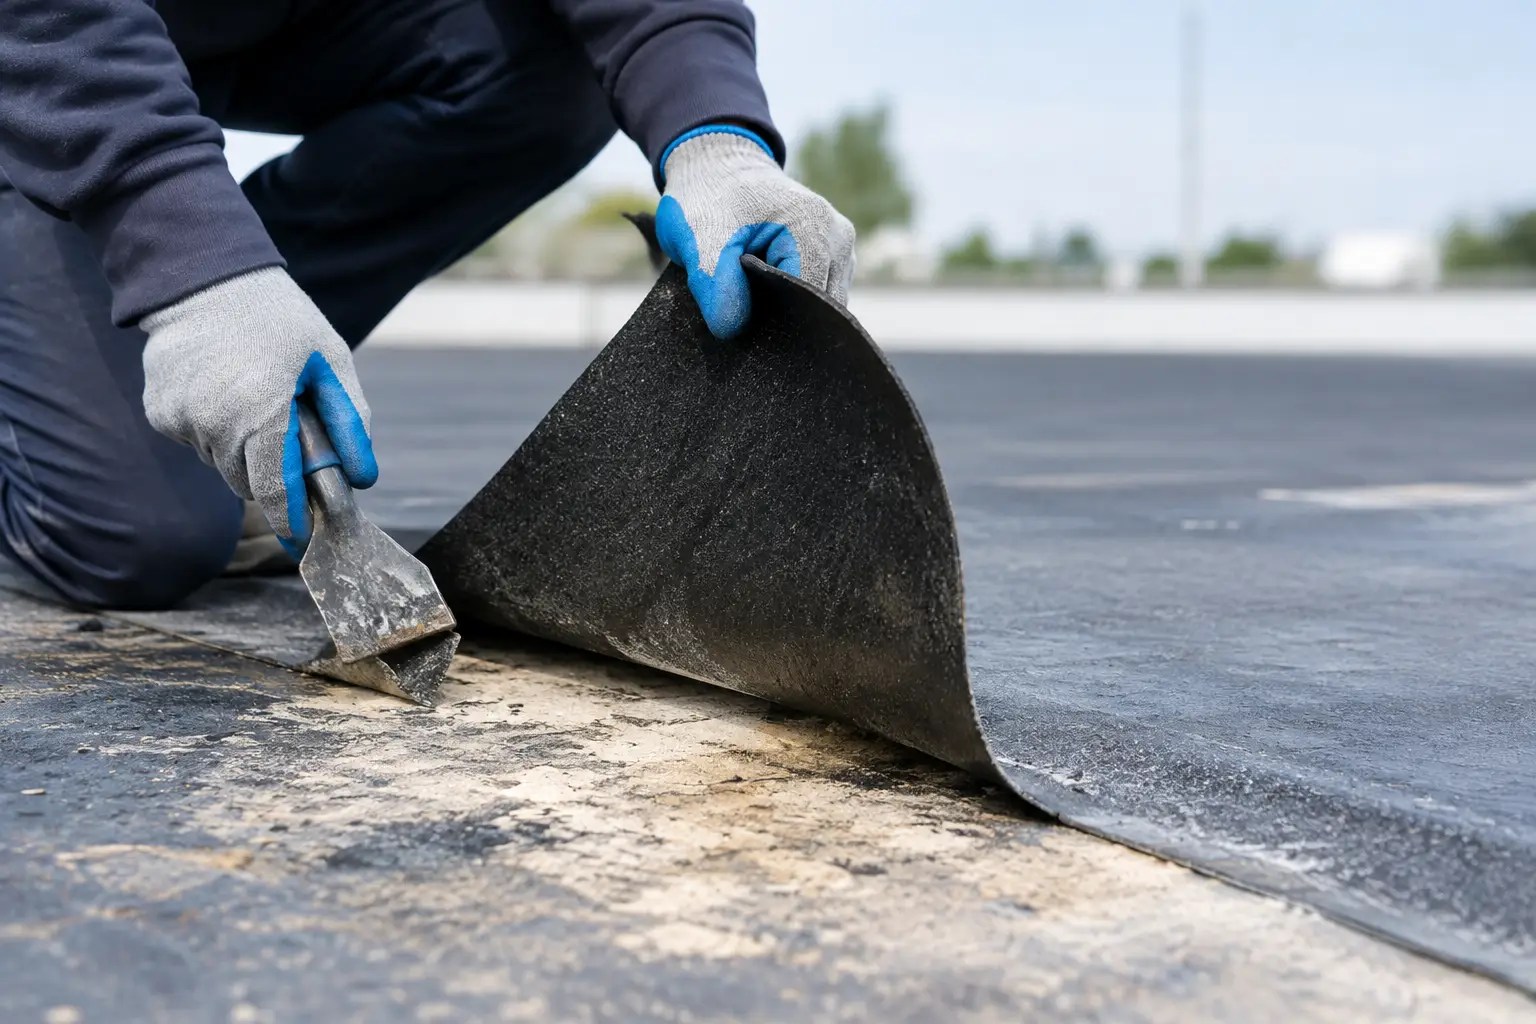
A guide to waterproof membrane stripping starts with one hard truth: removing the tiles is rarely the difficult part. The real work is getting rid of failed or unwanted membrane, adhesive and bedding without gouging the slab, damaging wall linings, or leaving contamination that compromises the next waterproofing system.
For a bathroom renovation, balcony repair or commercial wet-area strip-out, the finish beneath the surface matters. If old membrane remains loose, patchy or incompatible with the new system, the new coating may not bond as intended. A fast-looking removal job can then become the reason a renovation stalls later.
When does waterproof membrane need stripping?
Waterproof membrane is usually stripped when it has failed, when a wet area is being rebuilt, or when the existing substrate needs correction before new work begins. Signs of failure can include drummy tiles, moisture damage around adjoining walls, deteriorated grout and sealant, staining below a balcony, or membrane lifting away with tile bedding.
Not every job requires full removal. If an experienced waterproofer confirms the existing membrane is sound and compatible with the proposed system, a targeted repair may be possible. But once tiles, screed and bedding have been removed, the condition of the membrane needs to be assessed properly rather than guessed at.
Full stripping is commonly the safer option where the membrane is brittle, torn, uneven, poorly bonded, contaminated with adhesive, or applied over an unstable surface. It is also often necessary when falls need to be corrected, cracks need attention, or the renovation changes the layout of the shower, bath, floor waste or penetrations.
What makes membrane stripping difficult?
Membranes are designed to stick. Depending on the age of the property and the system used, you may be dealing with a painted-on liquid membrane, sheet membrane, bituminous material, epoxy coating or multiple layers from previous repairs. Each responds differently to mechanical removal.
The challenge is removing the old material while preserving the substrate underneath. On a concrete slab, aggressive tools can leave deep scores, expose weak areas or create an uneven surface that requires extra repair. On fibre cement sheeting, rendered walls or other wall substrates, the risk is greater again. Once a lining is damaged, replacement can be quicker and more reliable than trying to patch it repeatedly.
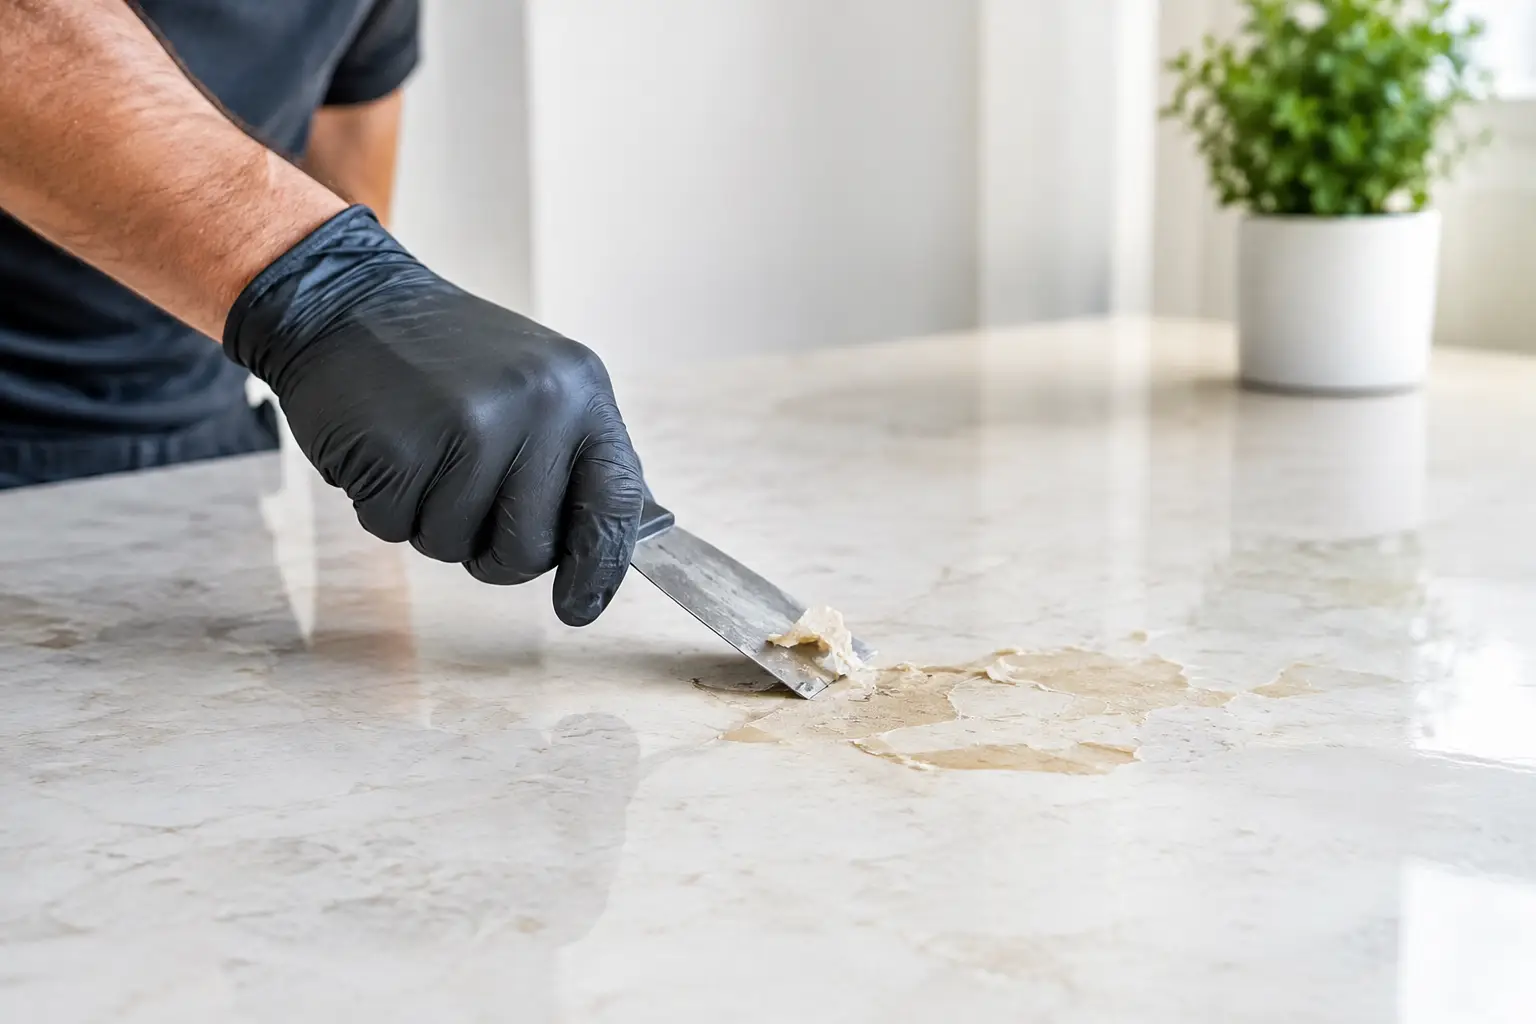
Adhesives and tile bedding also change the job. A membrane may be buried under thick cement-based bedding, covered in stubborn glue, or bonded to a substrate that was not properly prepared in the first place. This is why waterproof membrane stripping should be approached as part of the complete strip-out, not as a separate afterthought.
Guide to waterproof membrane stripping: the right process
A clean result comes from assessing the layers first, selecting the right equipment, and working back to a stable surface. Rushing straight in with a demolition hammer can remove material quickly, but it can also create avoidable repair work.
1. Inspect the area before removal starts
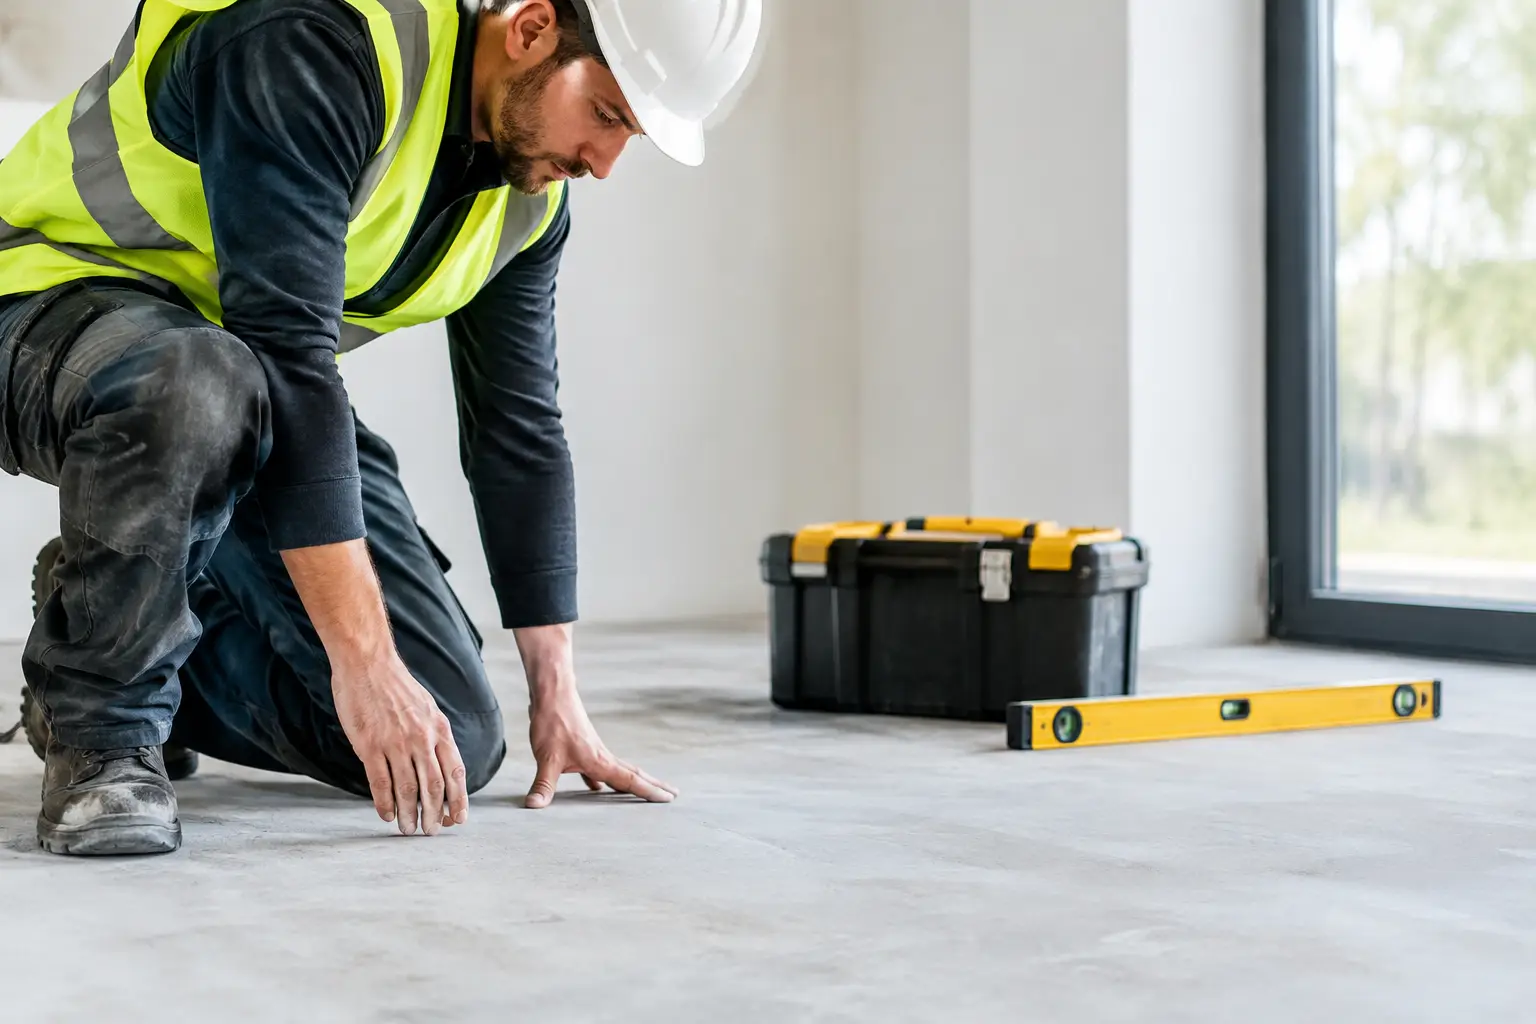
The first step is identifying what sits above and below the membrane. This includes tiles, bedding, screed, adhesives, wall linings, floor wastes, plumbing penetrations and movement joints. The team also needs to check for signs of moisture damage that may have affected framing, adjoining rooms or the slab.
In older properties, the wider demolition scope should be considered before disturbing materials. Some products used in past construction can require controlled handling. A professional assessment keeps the job safe and avoids spreading dust or debris through an occupied property.
2. Protect the work zone and control dust
Membrane stripping creates mess, particularly where tile bedding and concrete residues need to be mechanically removed. Dust control is not just about keeping the site tidy. Fine silica dust from concrete and mortar requires the right controls, equipment and work practices.
A properly contained work area protects nearby finishes and reduces disruption for occupants, neighbours and other trades. This is especially valuable in units, occupied homes, retail premises and offices where access is limited and rubbish needs to be removed efficiently.
3. Remove tiles, bedding and loose material first
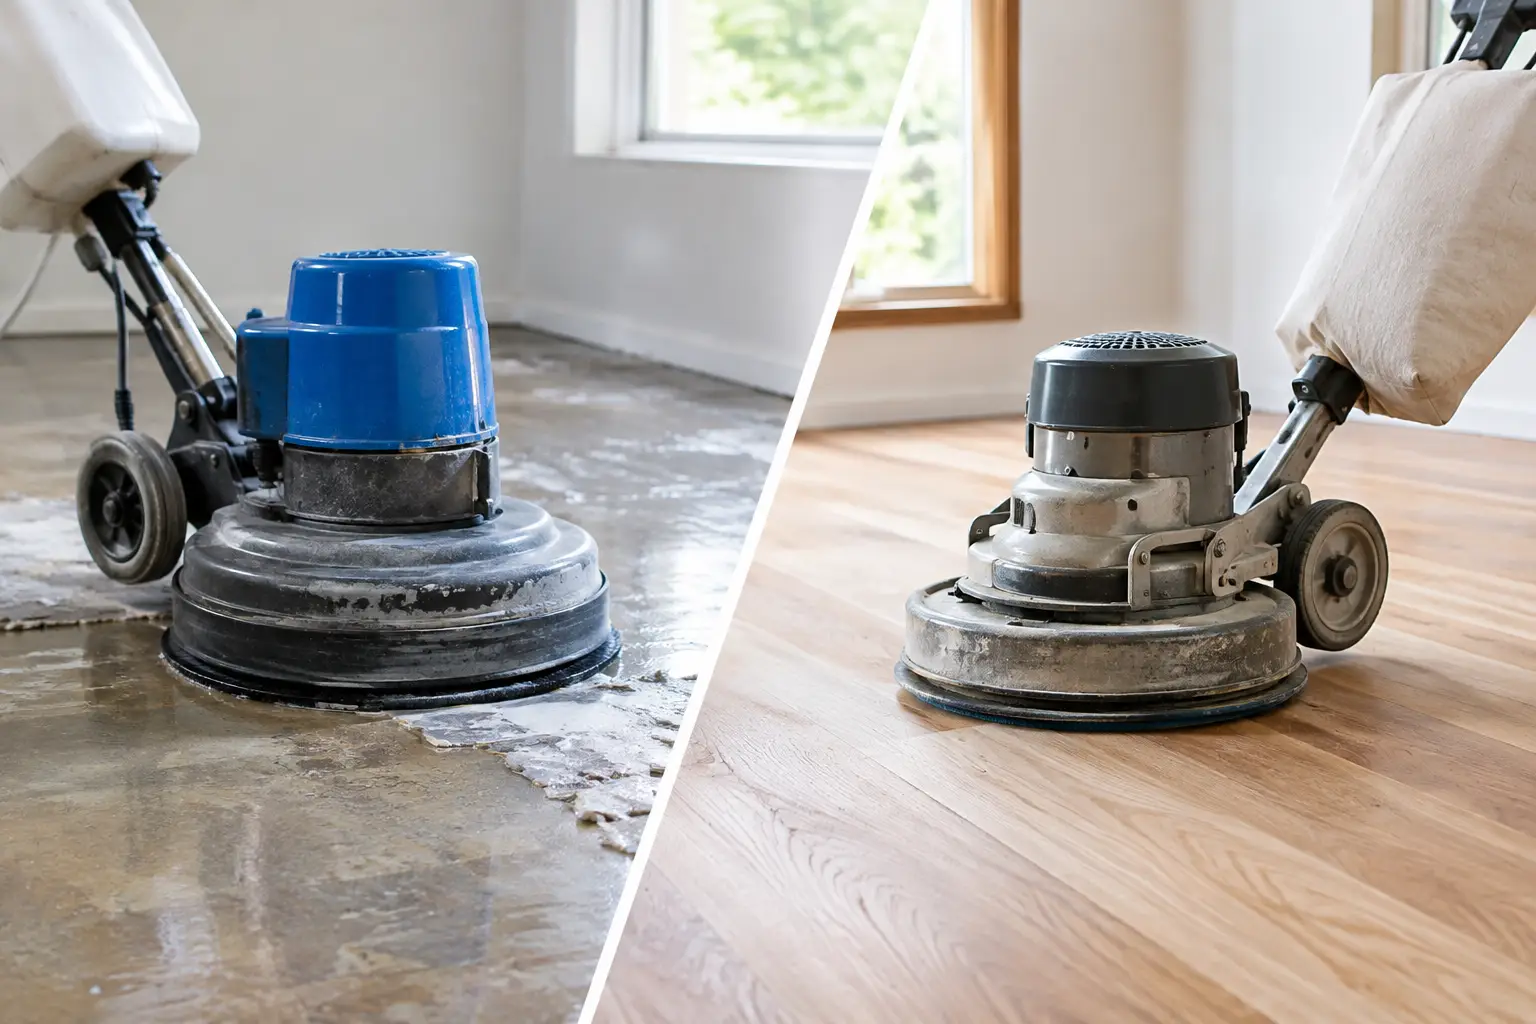
Tiles and loose bedding need to come off before the membrane can be assessed accurately. The removal method depends on the tile type, substrate and access. Heavy-duty mechanical stripping equipment may be appropriate on a concrete floor, while more controlled hand work may be required near wastes, wall junctions and services.
The goal is not simply to expose membrane. It is to avoid driving impact into areas that need to remain intact. Shower hobs, floor wastes, corners and wall-floor junctions all need particular care.
4. Strip membrane back to a sound substrate
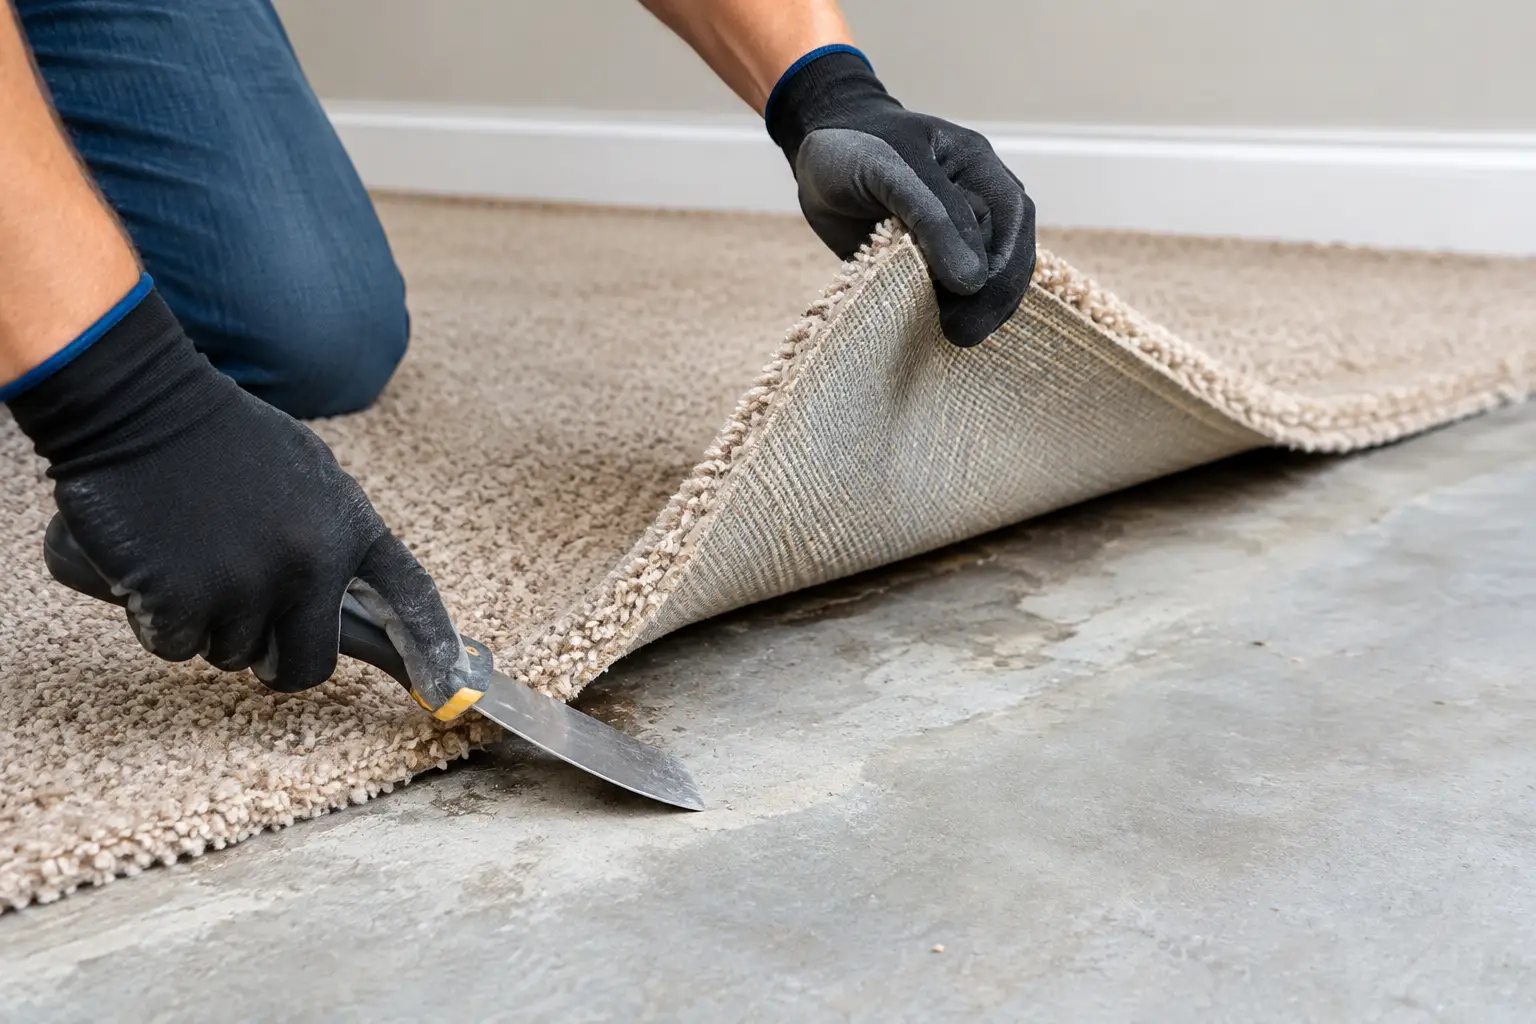
Once exposed, the membrane is removed using the method suited to its composition and bond. This may involve controlled scraping, grinding, mechanical chiselling or a combination of techniques. The correct approach depends on whether the membrane is soft and flexible, brittle, thickly layered, or fused with adhesive and screed residue.
A sound substrate is clean, stable and free of loose coatings, weak material and contaminants that could interfere with the next stage. It does not necessarily need to look brand new. It needs to be properly prepared for the waterproofer or the trade completing repairs and reinstallation.
5. Grind and repair where required
After stripping, slabs often need grinding to remove remaining adhesive, high spots and stubborn membrane traces. Grinding can also help create an even profile for repairs, screed or the new waterproofing system.
Any cracks, holes, damaged edges or poor falls should be addressed before waterproofing begins. This is the point where a good strip-out saves time. Finding these issues after new membrane has been applied can mean rework, delay and extra disruption.
6. Leave the area ready for the next trade
The best stripping job gives the next trade a clean, accessible work area. Rubbish should be removed, dust managed, and the substrate left exposed for inspection and preparation. Plumbing and drainage points should be easy to access, not buried under fragments of tile, glue or broken screed.
For renovation projects across the Gold Coast, Brisbane, Northern NSW and the Sunshine Coast, fast turnaround matters, particularly when several trades are booked in sequence. Rapid Stripped focuses on removing difficult materials cleanly so the site is ready for what comes next.
Why DIY membrane removal can create bigger problems
There is a difference between lifting a few loose tiles and stripping a wet area back correctly. Hiring tools without knowing the depth of the bedding, membrane or substrate can lead to damaged concrete, broken pipes, compromised wall sheeting and excessive dust.
Chemical removers can also be a poor shortcut. They may soften some coatings, but residues can remain and affect the bond of replacement products. They are not suitable for every membrane type or enclosed space, and ventilation, surface compatibility and disposal all need consideration.
The other risk is incomplete removal. Small patches of loose membrane, adhesive or friable screed may not look serious, but they can become weak points under new finishes. When a bathroom or balcony is already open, it makes sense to deal with the substrate properly rather than cover up uncertainty.
What to ask before booking membrane stripping
Before engaging a removal specialist, be clear about the scope. Is the job limited to floor tiles and membrane, or does it include wall tiles, shower screens, vanities, screed, adhesive removal and rubbish disposal? Will the slab need grinding? Are there access restrictions, strata requirements or occupied areas that need extra dust control?
It also helps to establish who is responsible for the next stage. A stripping contractor prepares and exposes the surface; the waterproofing contractor needs to inspect that surface and specify any repairs or preparation required for their chosen system. Clear handover between trades prevents assumptions and keeps the programme moving.
A waterproof membrane is only as reliable as the surface beneath it. Strip the old layers with control, deal with defects while they are visible, and give the next trade a clean foundation to work from.