
Rip up a few tiles and the real job shows itself fast. Tile removal is rarely just about lifting the surface. It is the bedding underneath, the adhesive left behind, the condition of the slab, and the amount of dust and noise created while the work is happening. If you are planning a renovation, those details decide whether the next trade walks into a clean, ready site or a delay.
That is why proper removal work matters. Homeowners want the mess contained and the job finished without dragging on for days. Builders and renovators want a substrate that is actually ready for waterproofing, levelling or reinstallation. Commercial operators want the work done with minimal disruption and no guesswork. Good tile removal is not smash-and-grab demolition. It is controlled, efficient preparation for what comes next.
What tile removal really involves
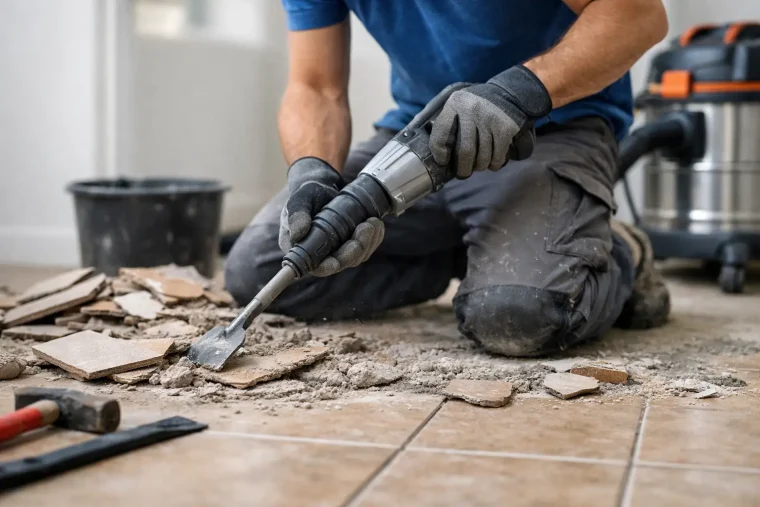
Most people picture a jackhammer, a skip and a lot of broken ceramic. That is only part of it. On many jobs, the tile comes up reasonably well but the bedding does not. On others, the tile shatters into small pieces and stays bonded hard to the floor. Some older floors have thick mortar beds that need serious mechanical removal. In bathrooms and wet areas, there may also be membranes, screeds and damaged underlayers to deal with.
The difficulty changes with the material. Ceramic and porcelain can behave very differently. Terracotta, marble and slate each need their own approach. Pool tiles, wall tiles and floor tiles all present different removal challenges as well. Then there is the substrate underneath – concrete slab, compressed sheeting, old screed, timber or a patched surface that has already been repaired once before.
This is where experience saves time. A specialist team can usually tell early whether the job is straightforward or whether the removal will expose more work underneath. That matters because the goal is not just to remove the visible tile. The goal is to leave the site in a condition that keeps the project moving.
Why some tile removal jobs go bad
The biggest problem is treating every floor the same. One room might have tiles sitting on a thin adhesive bed that comes off cleanly. The next might have tiles laid over a stubborn mortar base that holds on like concrete because it is concrete. If the wrong equipment or technique is used, progress slows down, dust gets out of hand, and the slab can be left rougher than it needs to be.
There is also the issue of what sits around the tiled area. Cabinetry, skirting, waterproofed zones, glass, stone benchtops and finished walls all need care. In occupied homes and live commercial spaces, noise and debris control become part of the job. You cannot just attack the floor and hope for the best.
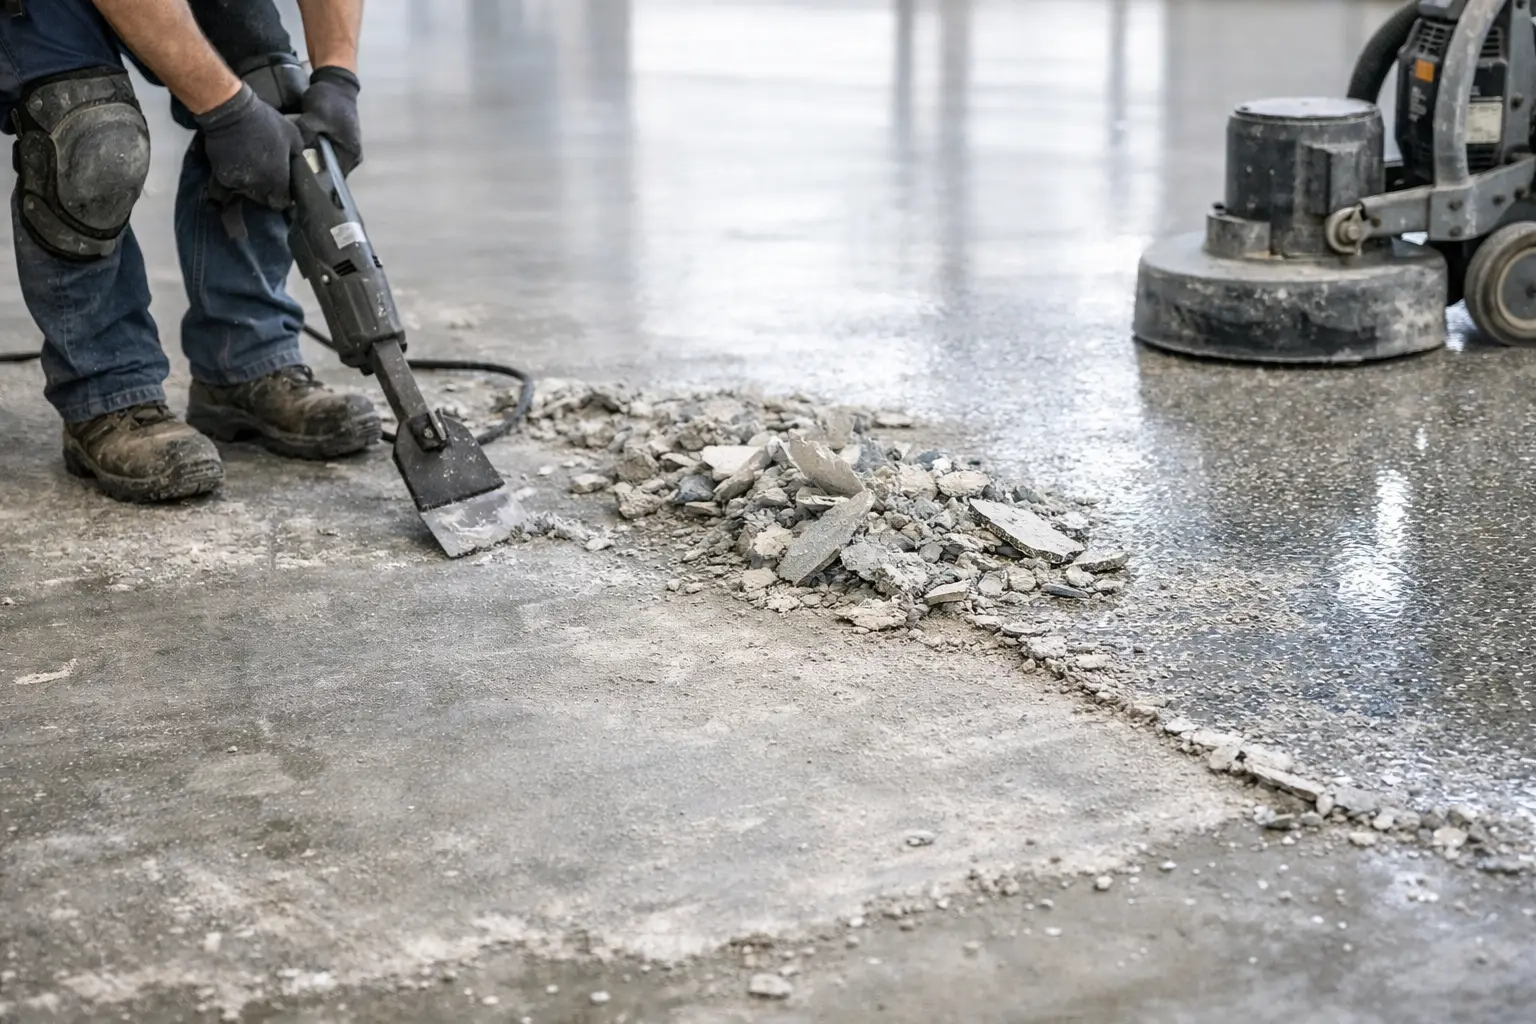
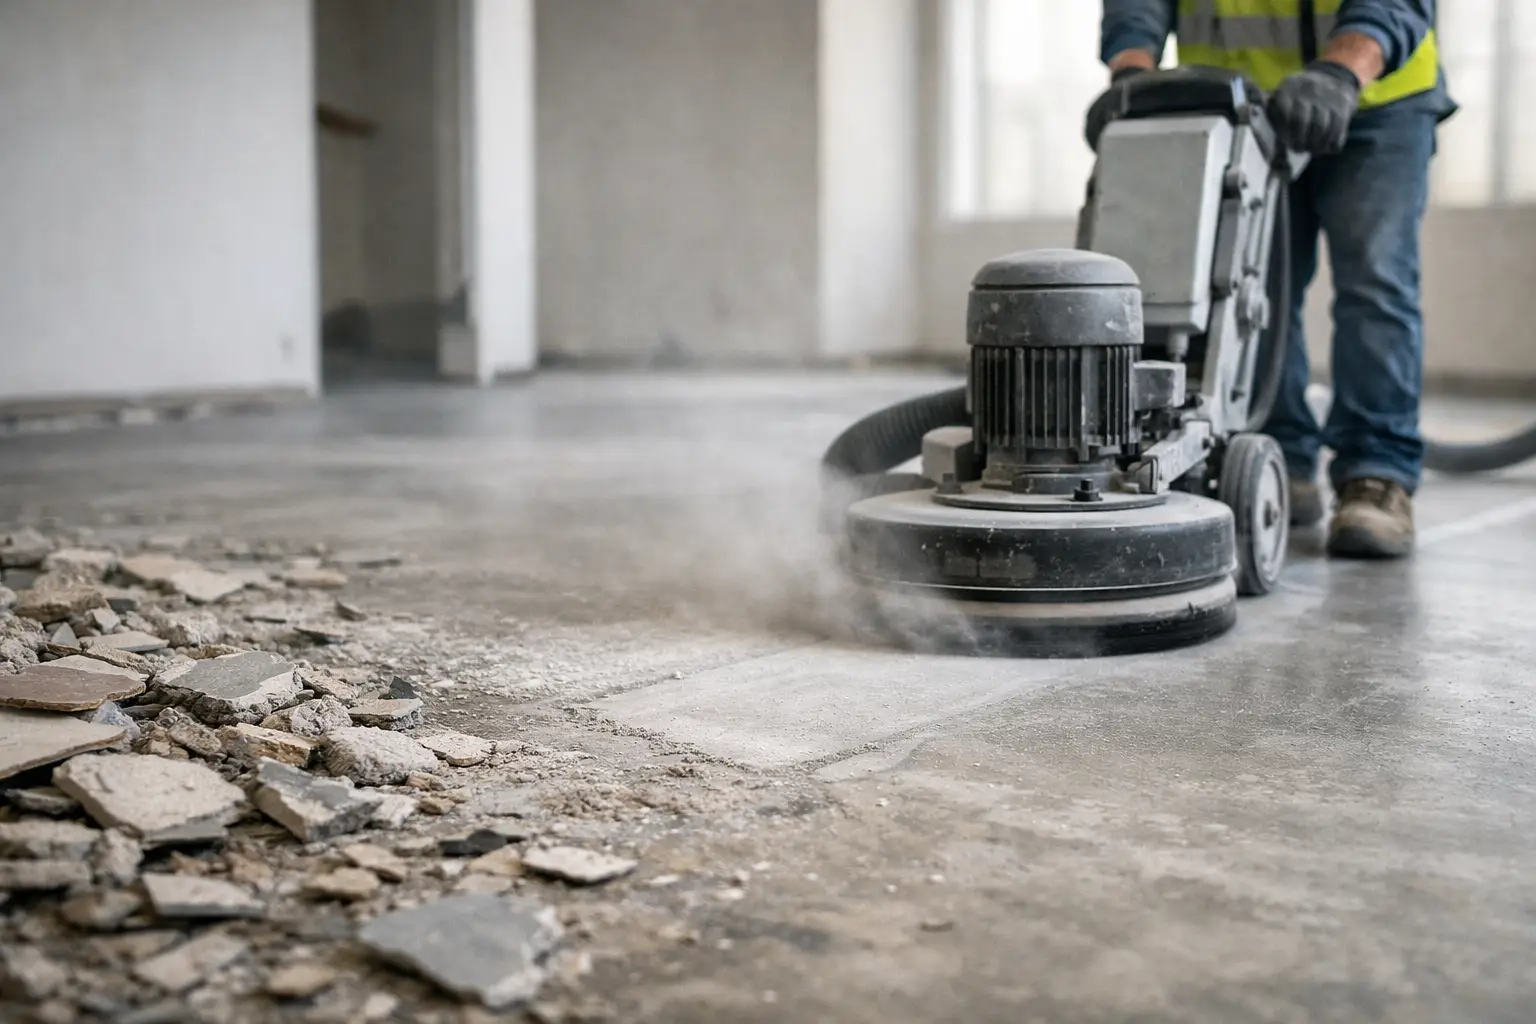
The other common issue is stopping too early. Tiles may be gone, but if adhesive ridges, bedding residue or uneven patches remain, the next trade is forced to clean up the floor before they can start. That creates rework and wasted time. A proper tile removal scope should consider whether slab grinding or surface preparation is needed to achieve a site-ready finish.
When DIY tile removal makes sense – and when it does not
There are jobs a capable owner can tackle. A small laundry with loose tiles and clear access is one example. If the finish underneath does not matter much and there is no pressure on timing, doing it yourself can be manageable. The trade-off is usually mess, fatigue and the risk of underestimating how hard the bedding will be to remove.
Where DIY usually falls over is in bathrooms, kitchens, larger living areas and commercial tenancies. These spaces often involve tougher bonding, tighter access, more waste, and a higher expectation on the condition of the floor afterwards. Once dust spreads through a property or a slab is gouged unnecessarily, the savings disappear quickly.
There is also the safety side. Silica dust, sharp waste, hidden services and heavy vibrating equipment are not minor concerns. If the job needs to be done quickly, safely and to a standard that supports the next stage of the renovation, specialist removal is the smarter call.
How professional tile removal saves time on the whole project
The obvious benefit is speed, but speed on its own is not enough. Fast work only helps if the site is left clean, controlled and ready for follow-on trades. That is where a specialist operation earns its keep.
A proper crew turns up with the right removal gear for the tile type and substrate. They work with dust-control measures, protect surrounding areas where needed, and remove not just the visible finish but the layers that stop the next phase from starting. If grinding is required to get rid of glue, bedding remnants or high spots, that gets factored into the process rather than pushed onto someone else.
For renovators and builders, that means less downtime between trades. For homeowners, it means less disruption and fewer surprises once the old floor is gone. For commercial sites, it means a better chance of keeping to programme without extended shutdowns.
Tile removal in wet areas needs extra care
Bathrooms, laundries and pool surrounds are a different category. These areas often hide water damage, failed membranes, crumbling screeds or soft underlayment. Tile removal here has to be deliberate. If the work is too rough, you can create more repair work than necessary. If it is too cautious, the site stays half-prepared and nothing moves forward.
Wet area strip-outs usually need a broader view. It is not just about getting the floor tiles off. Wall tiles, screed beds, shower bases, adhesives and damaged substrate may all need removal to create a clean starting point for the rebuild. The best outcome is a clear scope, controlled demolition and a surface that the waterproofing and tiling trades can trust.
What a site-ready finish actually looks like
This is where a lot of confusion comes from. People hear that the tiles are removed and assume the floor is ready for new finishes straight away. Sometimes it is. Often it is not.
A site-ready finish generally means the old tiles are gone, loose material is cleared, heavy adhesive and bedding have been removed, and the substrate has been prepared to the level required for the next stage. That may include grinding the slab, removing ridges, cleaning up edges and making sure the area is free of rubble and trip hazards.
It does not mean every slab will look perfect the moment the old floor comes out. Some floors reveal cracking, previous patching or uneven levels that need separate rectification. Good operators are upfront about that. The point is to expose the true condition of the floor and prepare it properly, not hide problems under leftover debris.
Choosing the right team for tile removal
If you are comparing operators, look past the basic promise of demolition. Ask whether they handle difficult bedding removal, adhesive clean-up and slab grinding. Ask how they manage dust and protect occupied areas. Ask whether they regularly work across homes, units, offices, retail and hospitality spaces where timing matters.
The right team will speak clearly about substrate conditions, job access, waste handling and what the floor should look like when they are done. They will not treat your project like a generic rip-out. They will understand that removal work sits at the front of the whole renovation timeline, and mistakes here affect everyone after them.
That is the standard Rapid Stripped works to – fast turnaround, controlled execution and floors left ready for the next trade, not half-finished and full of excuses.
The real value of doing it properly
Tile removal is one of those jobs that looks simple until it starts. Then the noise, dust, bedding, adhesive and hidden issues show up all at once. When it is handled properly, the whole project feels easier because the site is cleaner, safer and genuinely prepared for what comes next.
If you are removing old tiles, think beyond getting them off the floor. Think about what the slab needs afterwards, how much disruption the job will create, and whether the result keeps your renovation moving. That is where the difference is made.