
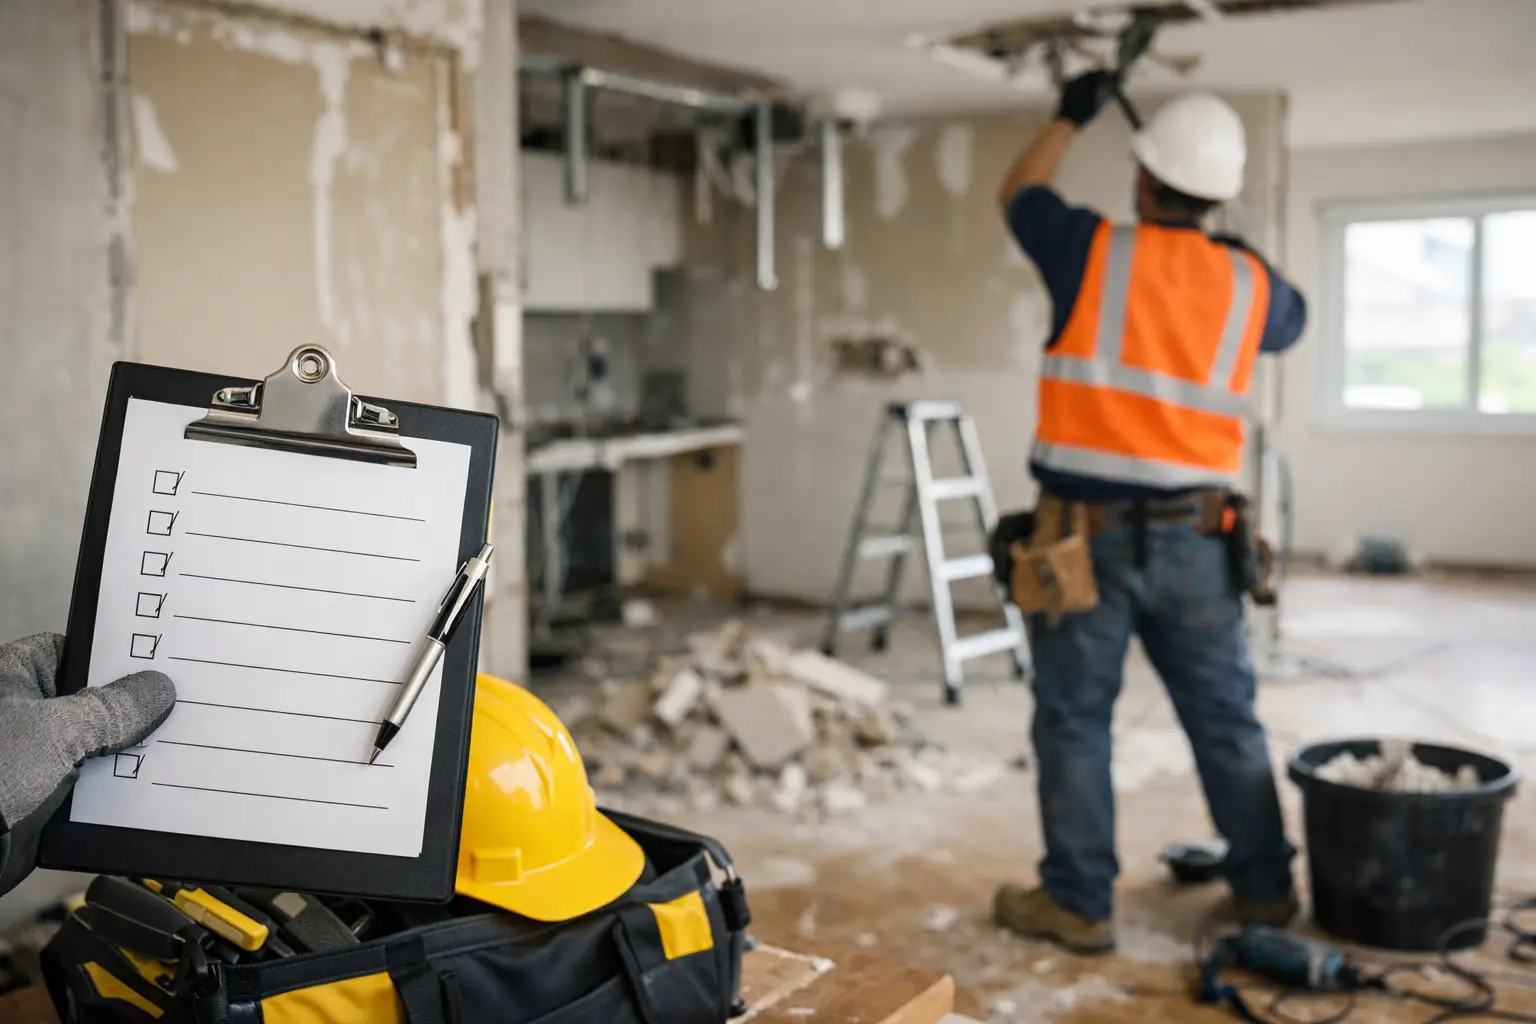
A proper unit strip out checklist prevents the problems that slow renovations down: a lift booking nobody made, power disconnected too early, debris left in common areas, or a slab that is not actually ready for the next trade. In apartments and units, the removal work is only one part of the job. Access, neighbours, strata rules and clean handover all matter just as much.
Whether you are renovating a single bathroom, replacing every floor covering or taking a unit back to its shell, the best time to plan the strip-out is before a tool touches the floor. Use this checklist to line up the work, protect the building and give your builder or installer a site they can start on without delays.
Unit Strip Out Checklist Before Work Starts
Start by defining exactly what is being removed and what stays. “Full strip-out” can mean very different things depending on the renovation scope. One job may involve carpet, vinyl and tile removal only. Another may include kitchen cabinetry, bathroom fixtures, wall linings, built-in wardrobes, timber flooring, adhesive removal and demolition of non-structural elements.
Walk through the unit room by room and document the scope. Photos are useful, particularly around existing damage, shared corridors, lifts and entry areas. Identify any items that must remain in place, such as air-conditioning units, electrical switchboards, windows, appliances or fixtures scheduled for reuse.
Before booking the work, confirm the following:
- the areas and materials to be removed, including floor coverings, screed, tiles, bedding, adhesives and skirting
- which walls, fixtures or joinery are approved for demolition
- the building access point, loading zone, lift and stairwell arrangements
- the work hours permitted by strata, building management or body corporate
- where rubbish can be loaded, stored and removed without blocking common property
- who is responsible for isolating power, water, gas and communications where required
- the condition required for handover to the next trade
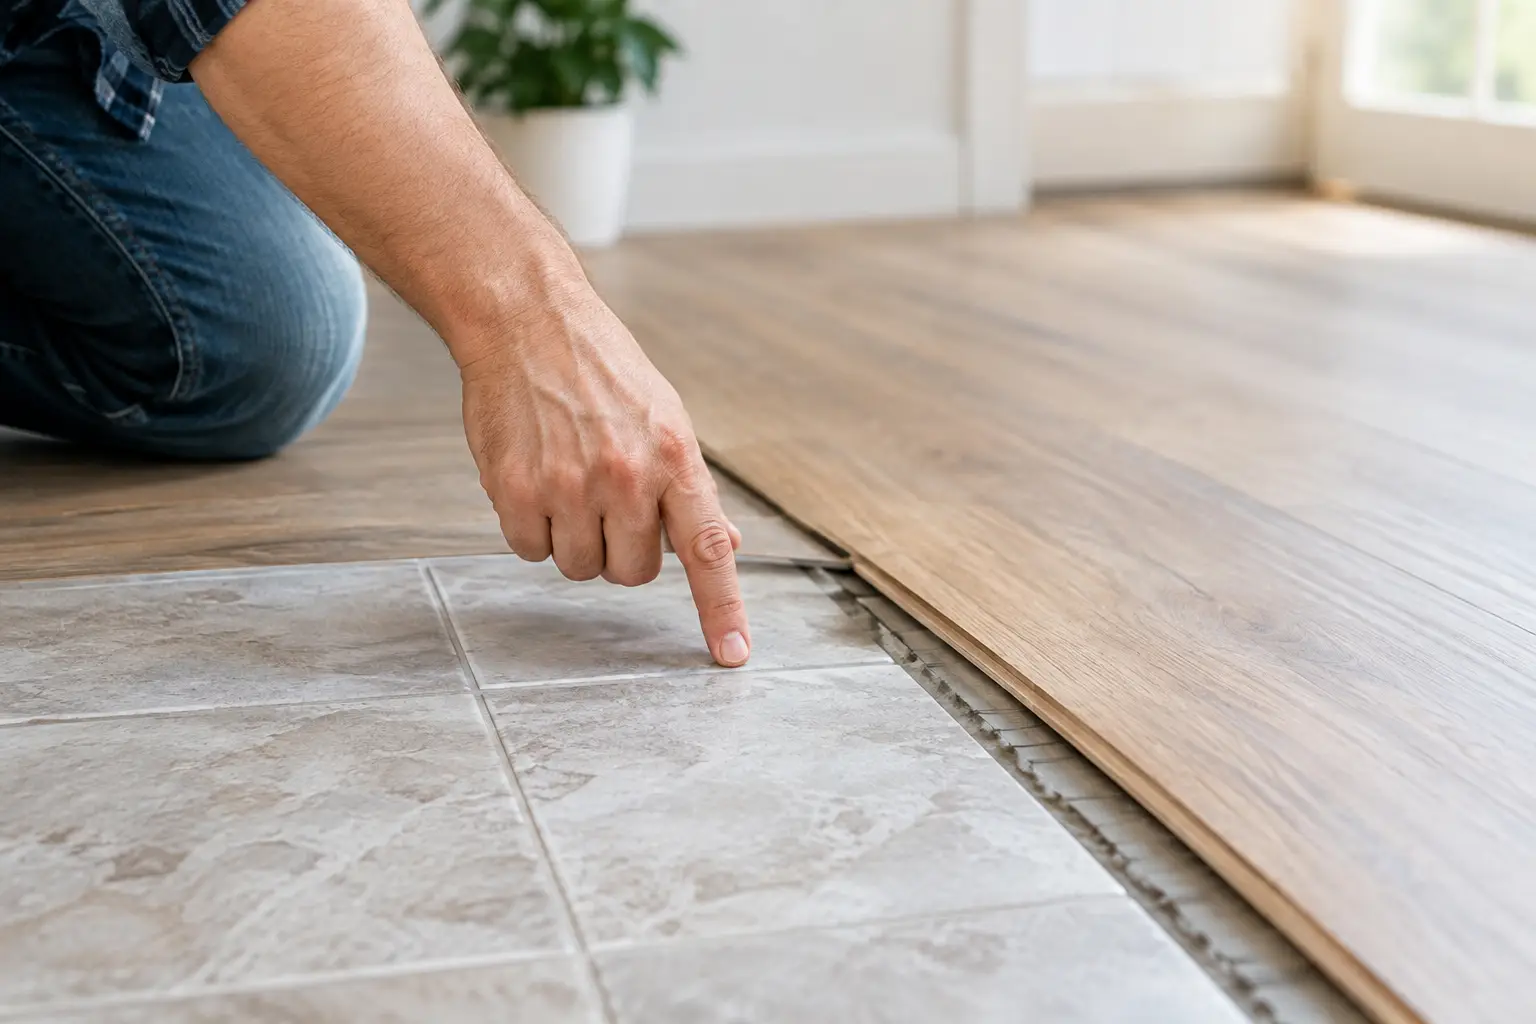
That last point deserves attention. Removing tiles is not always the same as preparing a floor for new tiles, hybrid flooring, carpet or epoxy. Old tile bedding, vinyl glue, levelling compounds and high spots can all affect the next installation. Be clear about whether the slab needs to be stripped back, ground flat or left ready for a specific flooring system.
Check Strata Rules, Access and Neighbour Impact
Unit strip-outs are often governed by more rules than a standalone house renovation. Body corporate approval may be needed for renovation works, waste removal, noisy demolition, lift use or changes to plumbing and electrical services. Do not assume that approval for the renovation automatically covers the logistics of the strip-out.
Check the building’s requirements before work is scheduled. Many buildings require contractors to provide insurance details, use lift protection, book service lifts and follow set work hours. Some restrict demolition activity to certain days or require a building manager to be notified before rubbish is removed.
Access can make or break the day’s productivity. A ground-floor unit with direct access is straightforward. A top-floor unit with one small lift, limited parking and a busy common corridor needs more planning. Measure difficult entry points if large items are coming out. Confirm whether the lift can carry demolition loads and whether stair access is available if it cannot.
Neighbour consideration is practical, not just polite. Controlled removal methods, dust containment and regular clean-up reduce complaints and keep common areas usable. Let adjacent residents know when noisy work is planned, especially if tile removal, slab grinding or concrete preparation is involved.
Protect Common Areas Before Removal Begins
Lifts, hallway carpets, walls and door frames can be damaged quickly by heavy debris or repeated trolley traffic. Protection should be installed before materials start moving through the building, not after the first load has marked the corridor.
Use suitable floor and wall protection in agreed common areas, and keep a clear path from the unit to the loading point. Rubbish should be removed progressively rather than stacked in hallways or near fire exits. This is cleaner, safer and far easier to manage in a shared building.
Identify Hazards and Isolate Services
A strip-out site can contain hidden services, damaged materials and hazards that are not obvious from a quick inspection. Older units may have multiple layers of flooring, old adhesives, patched substrates and services that have been altered during previous renovations.
Electrical, plumbing and gas services must be assessed before demolition starts. Water should be isolated before removing bathroom or kitchen fixtures. Electrical circuits need to be made safe before work near outlets, lights or hardwired appliances. Gas work must be handled by appropriately licensed trades.
If there is any possibility of hazardous materials, stop and have them assessed before disturbing them. This includes suspected asbestos-containing materials, certain old vinyl products, backing materials, eaves, wall linings and insulation. Cutting, grinding or breaking up unknown materials is not a shortcut. It can create a serious site risk and complicate the project.
A clear work area also matters. Remove personal belongings, loose furniture and valuables before the team arrives. If items cannot be moved out, identify them in advance so they can be protected or worked around. This keeps the scope clean and avoids confusion about what was meant to stay.
Plan for Dust, Debris and Waste Removal
Floor removal can create a surprising amount of debris. Tile beds, timber, carpet, underlay, cabinetry and plasterboard fill space quickly, while adhesive removal and grinding generate fine dust that travels further than most people expect.
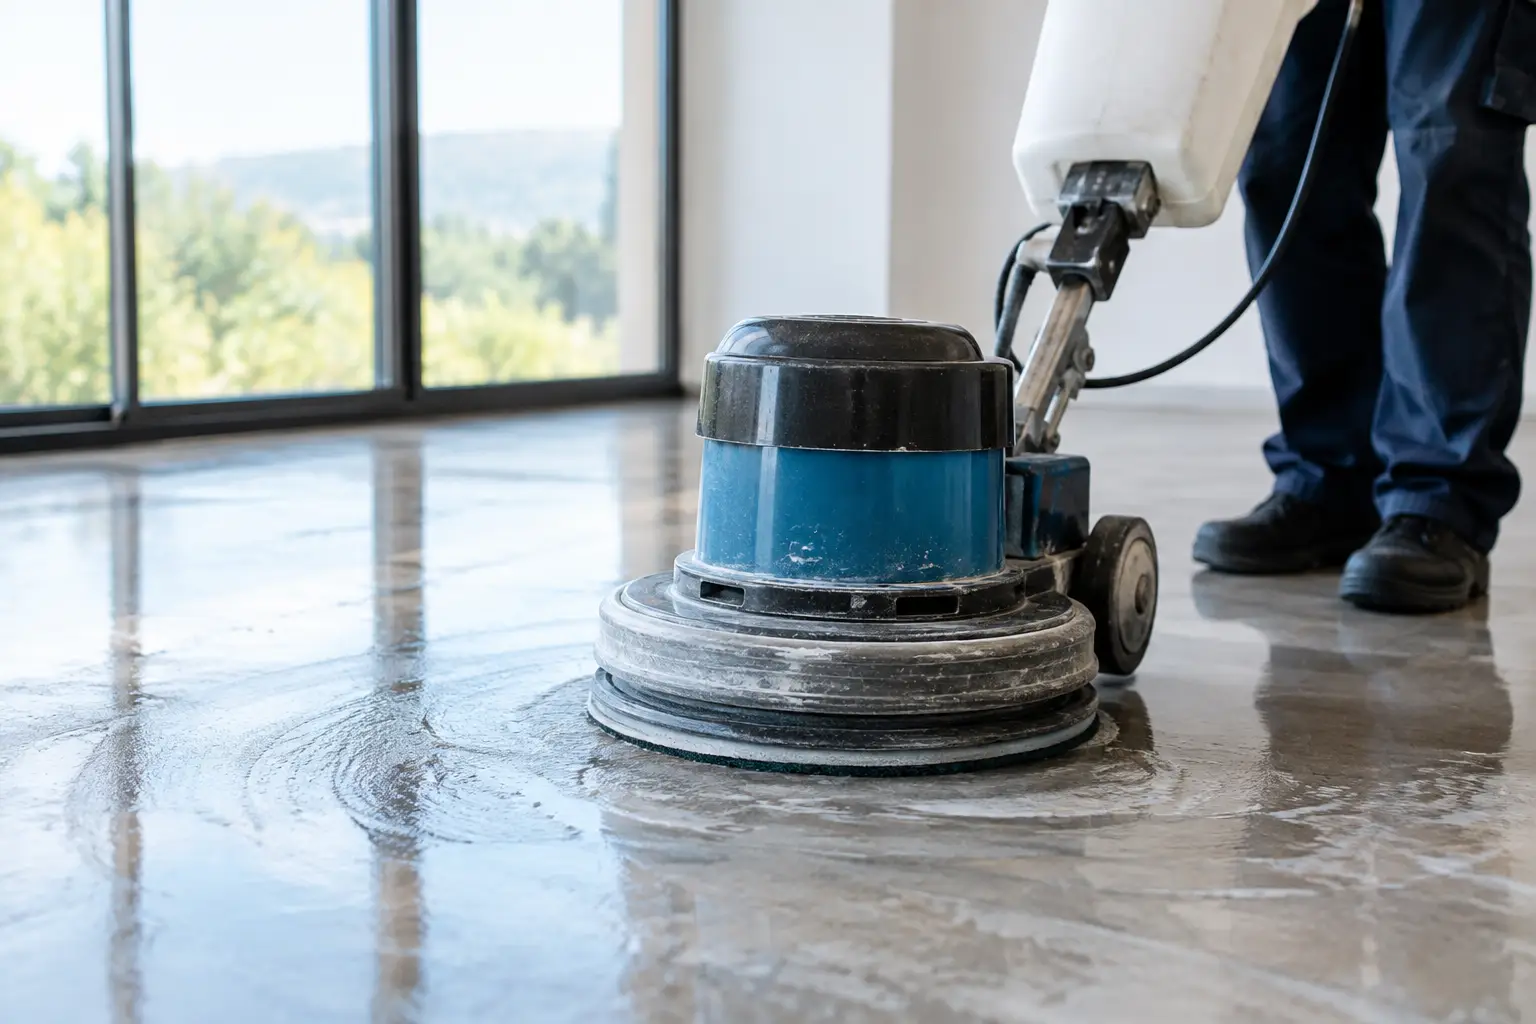
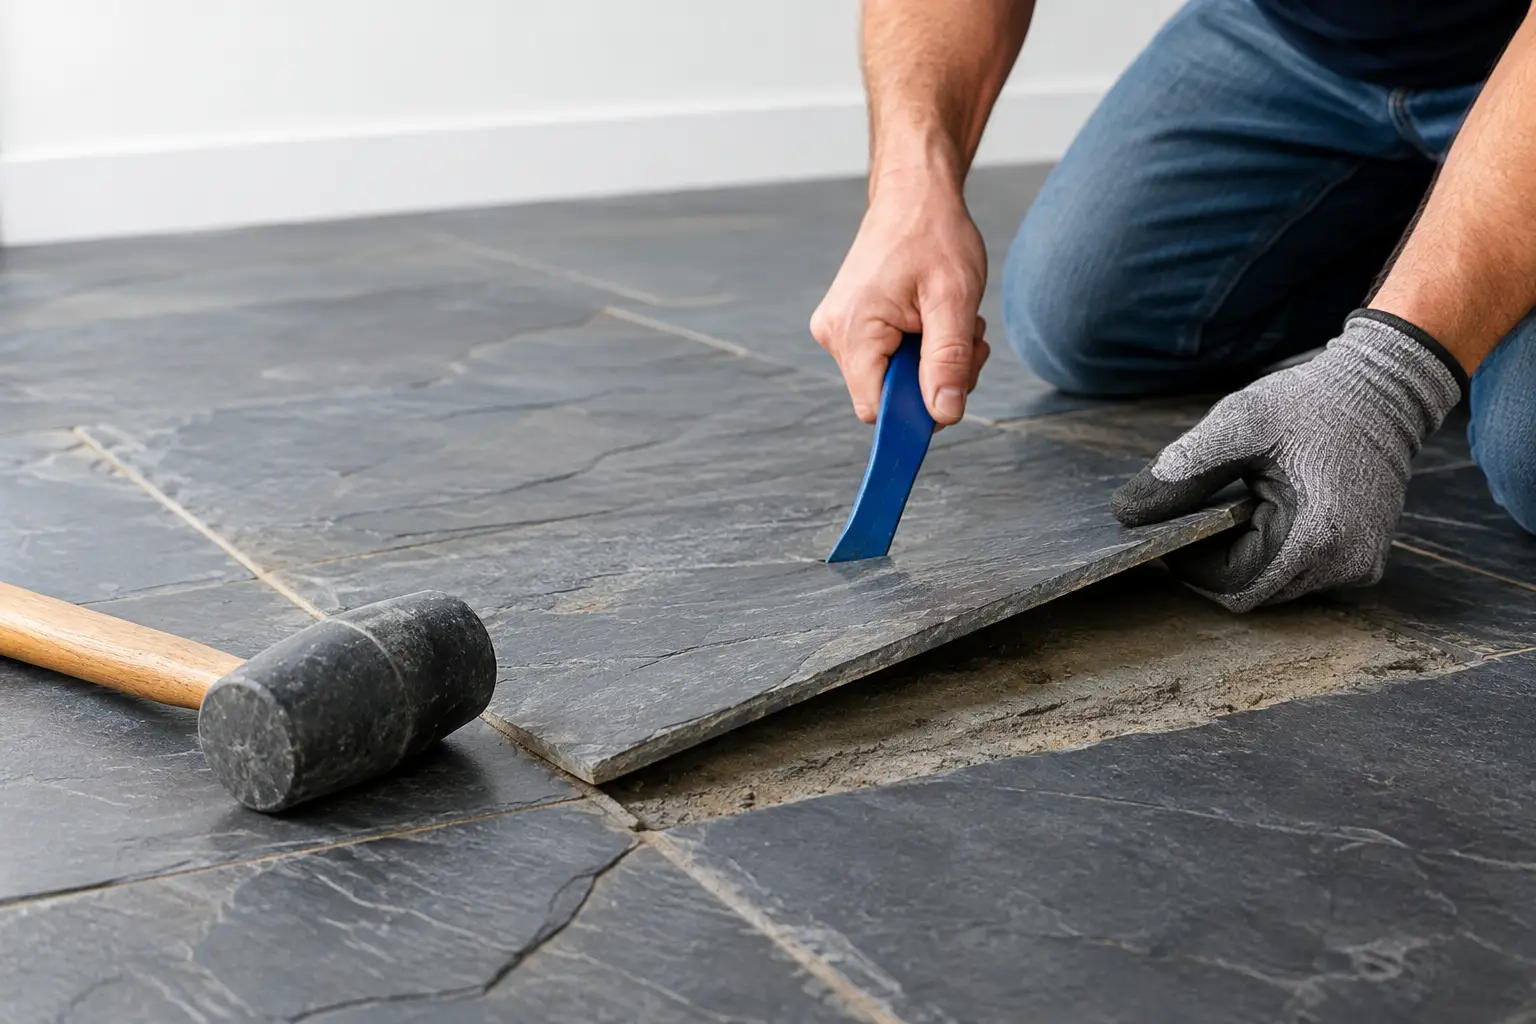
The right approach depends on the material and the building. Mechanical removal equipment can lift difficult tiles and coverings efficiently, but it must be paired with appropriate dust control and containment. For occupied buildings, particularly units with shared ventilation and close neighbours, this is not optional detail work. It is part of doing the job properly.
Discuss waste removal early. Confirm where a skip bin or collection vehicle can be positioned, whether council or building permissions are required, and how material will travel from the unit to the collection point. In some buildings, smaller staged loads are the only workable option.
Separate materials where practical. Recyclable metal, clean timber and general demolition waste may need different handling. More importantly, do not let waste build up inside the unit. It restricts access, creates trip hazards and slows the removal crew as the day progresses.
Do Not Overlook Adhesives and Floor Preparation
Many renovation schedules fall behind after the old flooring has been removed because the surface underneath was never included in the scope. Carpet glue, black adhesive, vinyl residue, thick tile bedding and uneven patches can stop a new floor going down correctly.
Ask the incoming flooring contractor or builder what substrate condition they require. Some installations can tolerate minor residue. Others need a clean, level and mechanically prepared slab. If waterproofing, screeding or levelling is planned, confirm where the strip-out handover ends and the next trade begins.
A specialist removal crew can assess the covering and substrate together, then use the right method for the material rather than treating every floor the same. That matters with hard tile bedding, engineered timber, epoxy coatings and stubborn adhesives, where poor removal can damage the slab or leave unnecessary repair work behind.
Confirm the Handover Standard
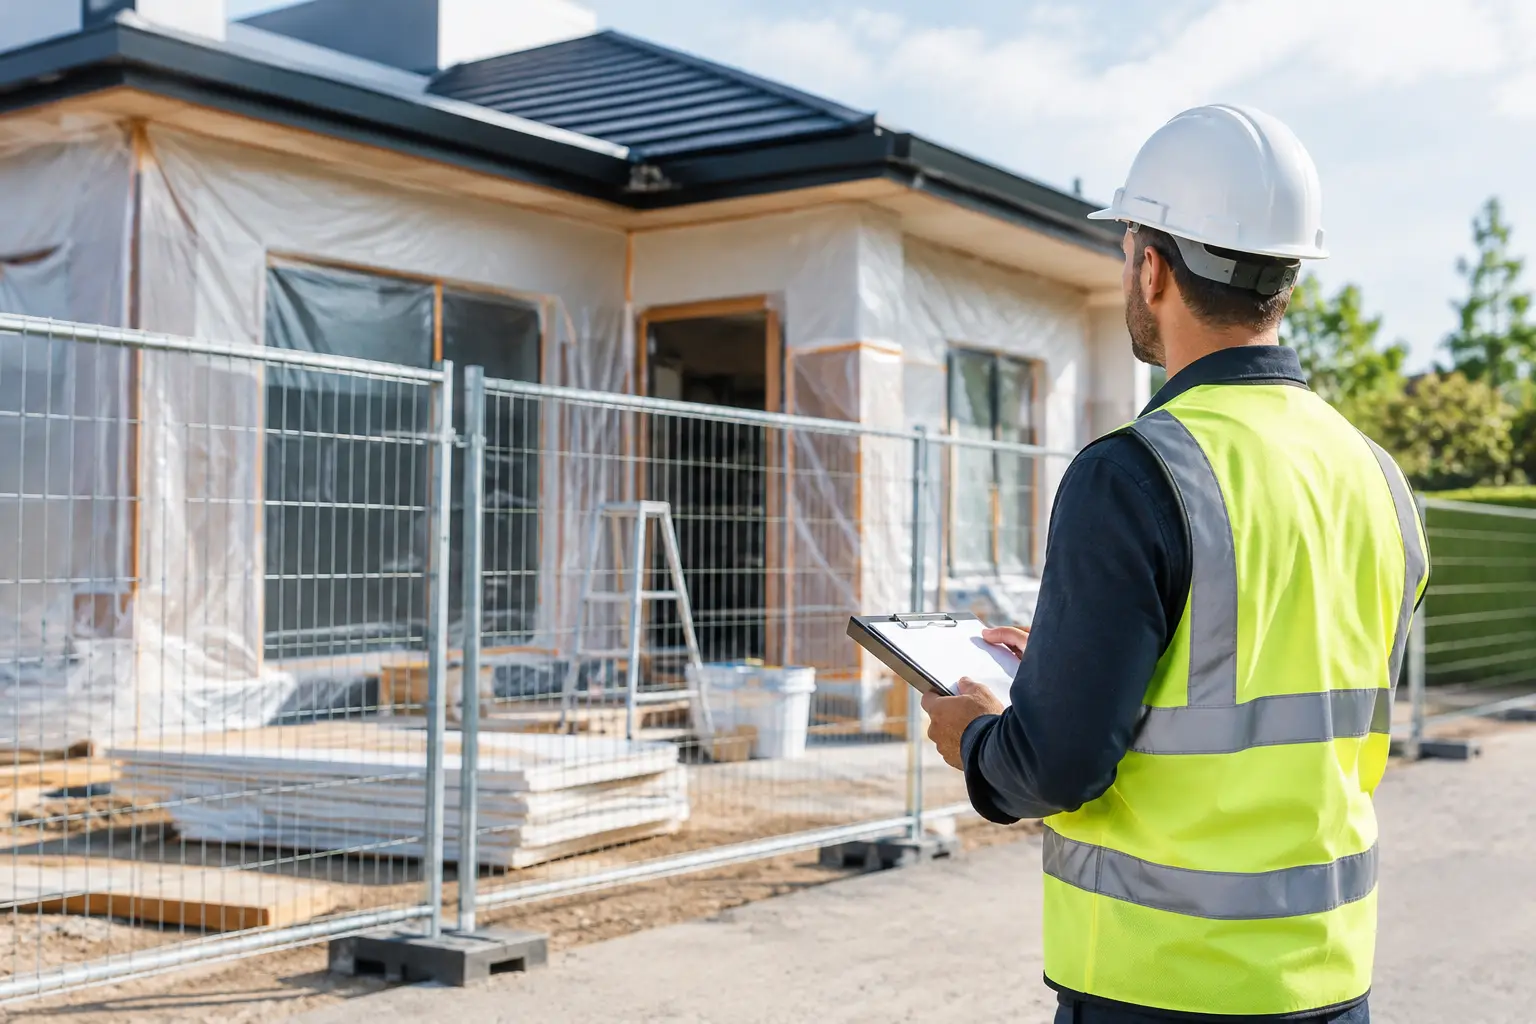
The final walk-through should happen before the removal team leaves site. A “stripped” unit should not mean a unit full of loose debris, exposed hazards and unfinished edges. It should mean the agreed materials are gone, rubbish has been removed, access paths are clean and the area is ready for the next phase.
Check that all agreed flooring and fixtures have been removed, including material under cabinetry or inside cupboards where specified. Inspect the slab for leftover adhesive, tile bedding, protrusions and damaged areas. Make sure capped services are safe, openings are identified and no loose material remains in bathrooms, kitchens, balconies or wardrobes.
For investors and property managers, this handover is especially useful because it gives you a clear point to inspect the renovation before new materials hide the work. For builders, it reduces the chance of trades arriving to find an unprepared site. For homeowners, it provides confidence that the messy stage is genuinely finished.
When to Bring in a Specialist Strip-Out Team
A small amount of carpet removal may be manageable as part of a general renovation. Heavy tile removal, difficult adhesives, slab grinding, large-volume waste and high-access unit work are different jobs. They need suitable equipment, dust control, safe handling and a crew that understands how to work within occupied buildings.
Rapid Stripped handles unit strip-outs and difficult floor removal across Northern NSW, the Gold Coast, Brisbane and the Sunshine Coast, with a focus on clean execution and sites ready for the next trade. The right team should be able to clarify the scope, manage access requirements and leave the job in the condition promised.
A well-planned strip-out gives every trade after it a better start. Set the scope early, confirm building access, protect the shared areas and be specific about the finish you need. That is how renovation work keeps moving rather than getting stuck on a floor that was only half removed.