
The fastest way to blow out a bathroom renovation is to get the strip-out wrong. A proper guide to bathroom strip outs starts before the first tile is lifted, because what happens in demolition affects every trade that follows – plumbing, waterproofing, tiling, cabinetry and fit-off.
A bathroom strip-out looks simple from the doorway. Rip out the vanity, pull up the tiles, cart the waste away. In reality, it is a tight-space demolition job with live services, heavy materials, hidden moisture issues and plenty of ways to damage what should stay in place. If the goal is a clean, renovation-ready site, the work needs to be planned and carried out properly.
What a bathroom strip-out actually includes
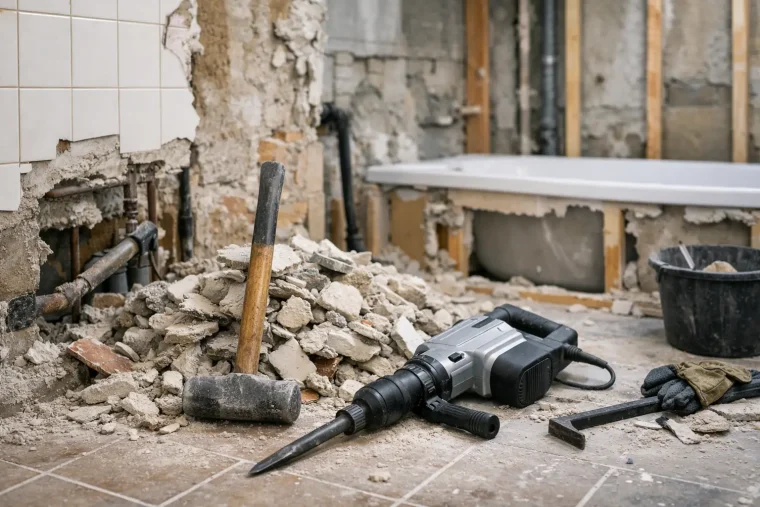
A full bathroom strip-out usually means removing wall and floor tiles, screed or bedding, the vanity, shower screen, bath, toilet, taps, mirrors, fixtures and any loose fittings. Depending on the renovation scope, it can also include taking wall linings back, removing waterproofing layers, lifting old adhesives and preparing the substrate for the next stage.
Not every strip-out is full demolition. Sometimes the brief is selective. You might be keeping structural walls but replacing everything else. In other jobs, the bathroom sits inside an apartment or commercial tenancy where access, noise and waste handling need tighter control. That is why bathroom strip-outs are rarely one-size-fits-all.
Why bathroom strip outs need more than brute force
Bathrooms are built tough. Tiles are often bedded hard. Waterproofing bonds tightly to the substrate. Older bathrooms may have multiple renovation layers sitting over each other, which means more thickness, more adhesive and more labour to remove cleanly.
There is also the issue of what sits behind the finishes. Plumbing lines, waste pipes, electrical runs and wall framing can all be damaged by rushed demolition. That damage does not just create repair work. It can stall the whole project while trades come back to rectify avoidable problems.
A clean strip-out is about control. The aim is not just removal. It is removing the right materials, protecting what stays, managing dust and leaving surfaces in a condition that makes the rebuild easier.
Guide to bathroom strip outs: what to check first
Before demolition starts, the site needs a proper assessment. This is where experienced operators save time. They can usually tell from the build type, tile thickness and substrate condition how the job is likely to behave once removal begins.
The first check is services. Water and power must be isolated correctly. If the bathroom is part of an occupied home, unit block, office or retail site, that isolation needs to be coordinated so it does not create bigger disruption elsewhere.
The second check is access. Tight stairwells, lifts, narrow doorways and shared common areas affect how waste is moved out and how the site is protected. In unit and commercial work especially, this matters just as much as the demolition itself.
The third check is what the renovation actually requires. Some builders want a full return to slab and studs. Others need tiles and fittings removed but want wall framing or certain linings left untouched. Clear scope avoids rework and keeps the next trade moving.
The strip-out process from start to finish
Most bathroom strip-outs begin with site protection. Floors outside the work zone, nearby walls, door frames and common paths should be covered before any demolition starts. Dust control should also be in place early, not halfway through when the room is already a mess.
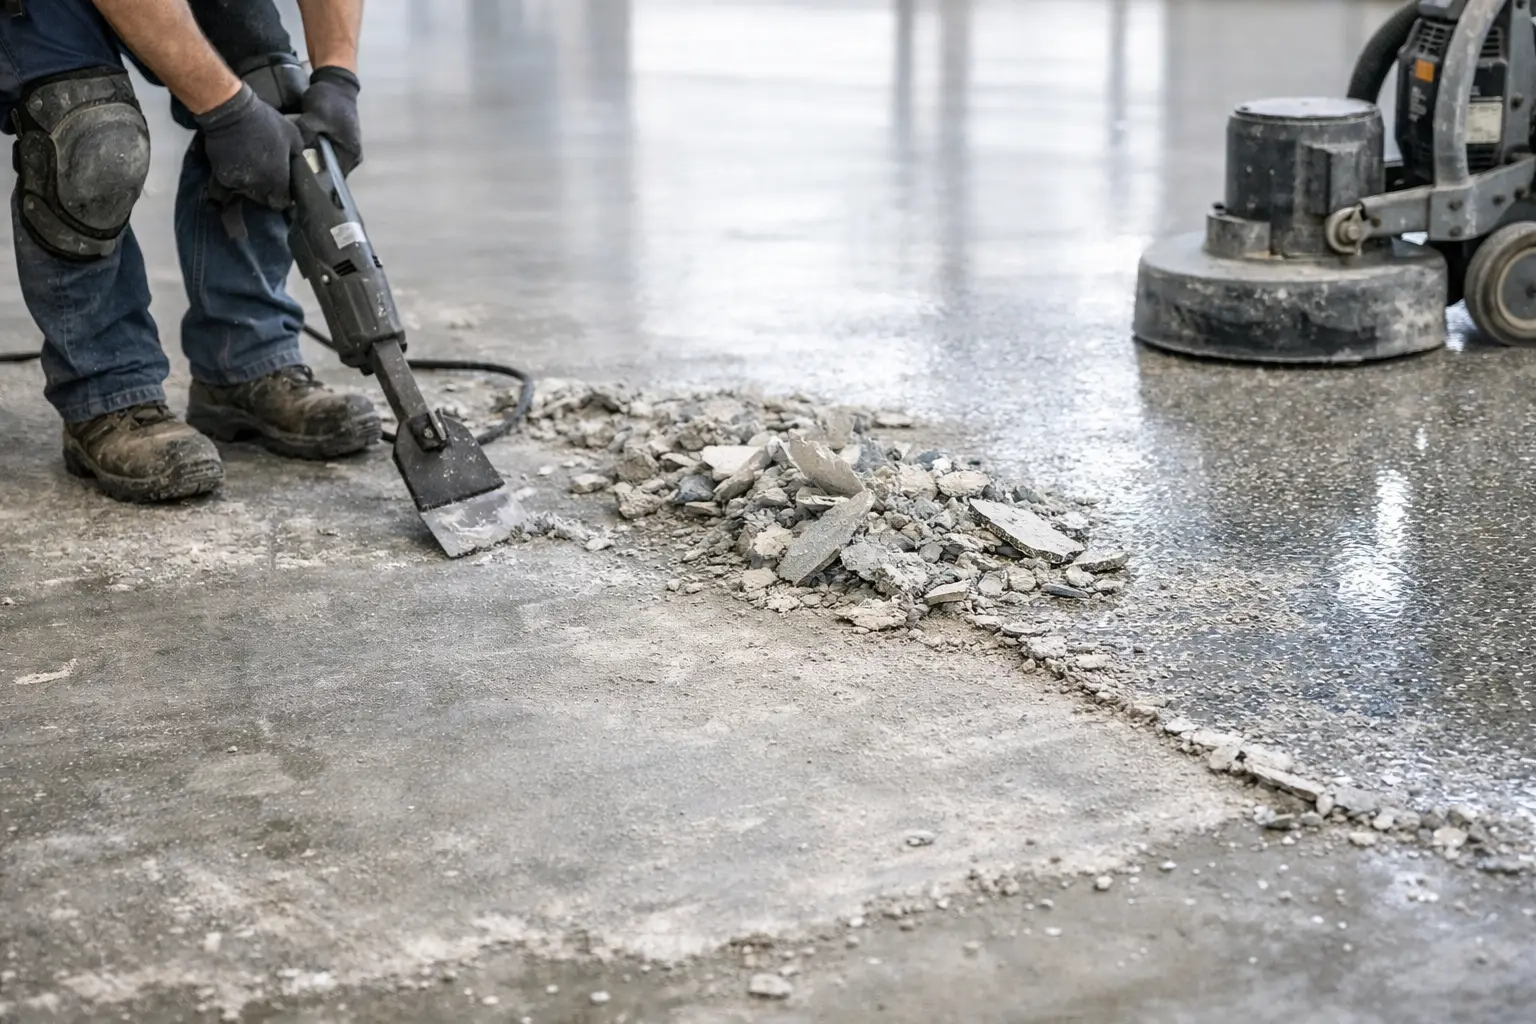
Fixtures and fittings are usually removed first. That includes vanities, mirrors, shower screens, toilets and baths. Once the room is cleared, tile removal can start on walls and floors. In many bathrooms, floor tile removal is only half the job. The bedding, glue and waterproofing underneath often need mechanical removal as well.
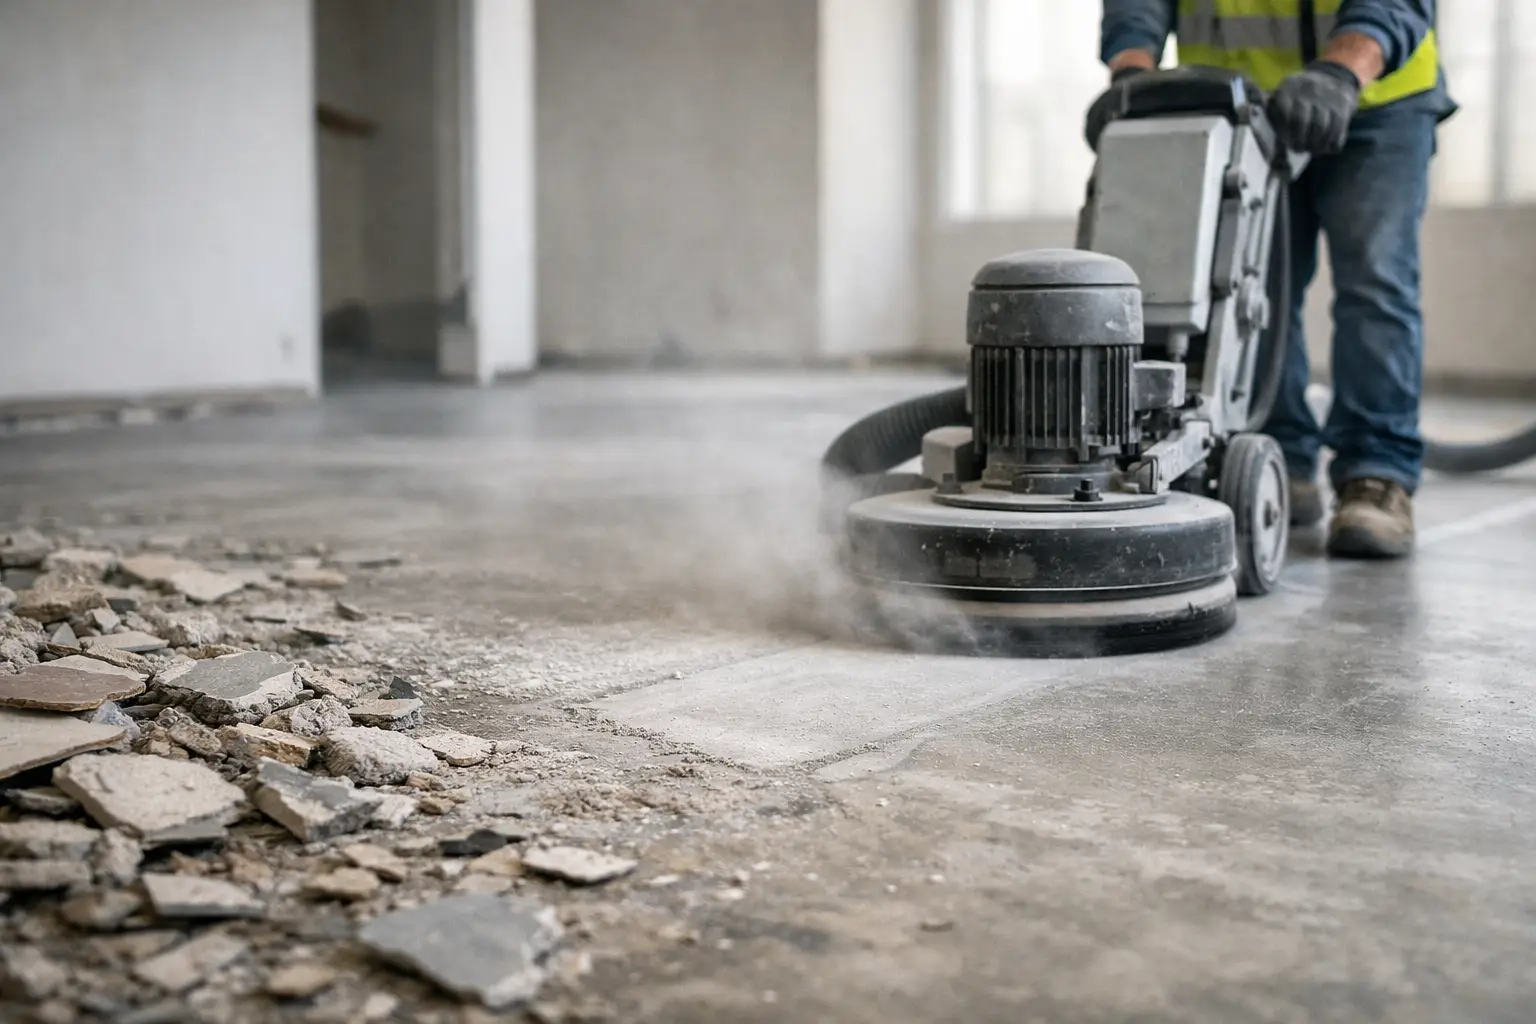
After the finishes are out, the substrate needs to be checked. Some slabs come up clean enough for minor prep. Others need grinding to remove adhesive residue, level high spots or create a sound base for new work. This stage is often underestimated, but it is one of the biggest factors in whether a site is truly ready for renovation.
Waste removal comes last, but it should be managed throughout. Bathrooms generate dense, heavy rubble. Broken tile, screed, fittings and contaminated waste build up quickly. Keeping the site clean as the job progresses improves safety and helps the work move faster.
What can go wrong during a bathroom strip-out
The biggest problems usually come from rushing. Smash-and-grab demolition often leaves cracked adjacent tiles, damaged pipes, broken door jambs and unnecessary repairs outside the bathroom itself. In strata or commercial settings, it can also create complaints around dust, noise and common-area mess.
Moisture damage is another common surprise. Once tiles and wall linings are removed, water damage around showers, baths and vanity areas often becomes visible. That can change the scope of the renovation. It is not a reason to avoid the work – it is a reason to have a team on site that can expose issues cleanly instead of turning them into a bigger problem.
There is also the substrate issue. Some bathrooms look stripped but are not actually ready. Adhesive ridges, loose bedding, leftover waterproofing and uneven slab sections all create trouble for the next trade. A proper strip-out finishes with surfaces that are clean, stable and ready for prep or installation.
Bathroom strip-outs in lived-in and commercial spaces
An empty house is one thing. A lived-in home, busy office, medical fit-out or retail tenancy is another. In these environments, the standard is not just removal. It is minimal disruption.
That means showing up on time, containing dust, protecting access routes and working in a way that keeps the rest of the property usable where possible. Fast turnaround matters here, but speed without discipline is useless. The best result is a job completed quickly and cleanly, without leaving the client with extra problems to solve.
This is where specialist operators stand apart from general demo crews. Bathroom strip-outs often need a tighter finish, especially when the follow-on renovation is booked in immediately. If the demo is sloppy, every delay gets pushed downstream.
When partial strip-outs make sense
Not every bathroom needs to be taken back to nothing. If the plumbing layout is staying put and the wall structure is sound, a selective strip-out can reduce disruption and preserve parts of the room that do not need replacing.
That said, partial work only makes sense when it supports the renovation plan. Keeping old materials to save effort can backfire if those surfaces are not suitable for new waterproofing or finishes. This is one of those it-depends calls where a proper site inspection matters. The right approach balances speed, condition and what the next stage needs.
Choosing the right team for the job
If you are comparing contractors, ask how they handle substrate removal, adhesive clean-up, dust control and waste disposal – not just fixture removal. Anyone can promise demolition. The difference is whether they leave the bathroom genuinely ready for the next trade.
You also want a team that understands sequencing. Bathroom renovations move quickly when demolition, clean-up and surface prep are aligned from day one. If the strip-out crew knows what tilers, plumbers and waterproofers need next, the whole project runs better.
For homeowners, builders and property managers across Northern NSW, the Gold Coast, Brisbane and the Sunshine Coast, that often means using a specialist rather than handing the work to a general labour crew. Rapid Stripped, for example, focuses on exactly this kind of removal work – difficult finishes, clean strip-outs, tight turnarounds and a site left ready for what comes next.
Guide to bathroom strip outs: the result you actually want
A good bathroom strip-out is not measured by how much rubble hits the skip. It is measured by what the room looks like when the demolition crew leaves. Clean access, controlled dust, removed waste, sound surfaces and no avoidable damage.
That is what keeps your renovation moving. Whether you are updating one bathroom at home or preparing multiple units or commercial amenities for refit, the strip-out stage sets the pace for everything after it. Get that first step right, and the rest of the job has a far better chance of running on time.
If you are planning a bathroom renovation, think beyond demolition. The right strip-out should leave you with a space that is clean, safe and properly prepared – not just emptied out.