

A new kitchen cannot be installed over loose vinyl adhesive. A tiler cannot set out properly on a slab covered in tile bedding. And a painter should not be working around demolition rubble that could have been removed before the first coat goes on. This guide to renovation site readiness explains what a genuinely prepared site looks like, what commonly holds projects up, and how to get the removal stage done without creating problems for the trades that follow.
For homeowners, builders and commercial property managers, readiness is more than an empty room. It means the old materials are gone, the substrate has been assessed, access is safe, rubbish is cleared, and the next contractor can start work without spending half a day fixing someone else’s mess.
What renovation site readiness actually means
A renovation site is ready when the outgoing materials have been removed to the agreed level and the remaining surfaces are suitable for the next stage of work. The required standard depends on what is being installed next.
If new carpet is going down, the floor may need to be clean, dry and free of protrusions. If the plan is polished concrete, epoxy, vinyl planks or large-format tiles, the slab condition matters far more. Old glue, tile bedding, levelling compounds, paint overspray and uneven sections can all affect adhesion, finished levels and the quality of the final result.
The same principle applies to strip-outs. A bathroom might need fixtures, wall linings, tiles and flooring removed while plumbing and structural elements are left intact. An office may need partitions, carpet tiles, joinery and ceiling components taken out before the fit-out team arrives. The job is not finished when the room looks empty. It is finished when it is safe, clean and prepared for the agreed next trade.
Start with the next trade, not the demolition
The fastest way to create rework is to organise removal without confirming what comes next. Before any floor stripping or demolition begins, establish the intended finish, the required finished floor height and any areas that must remain untouched.
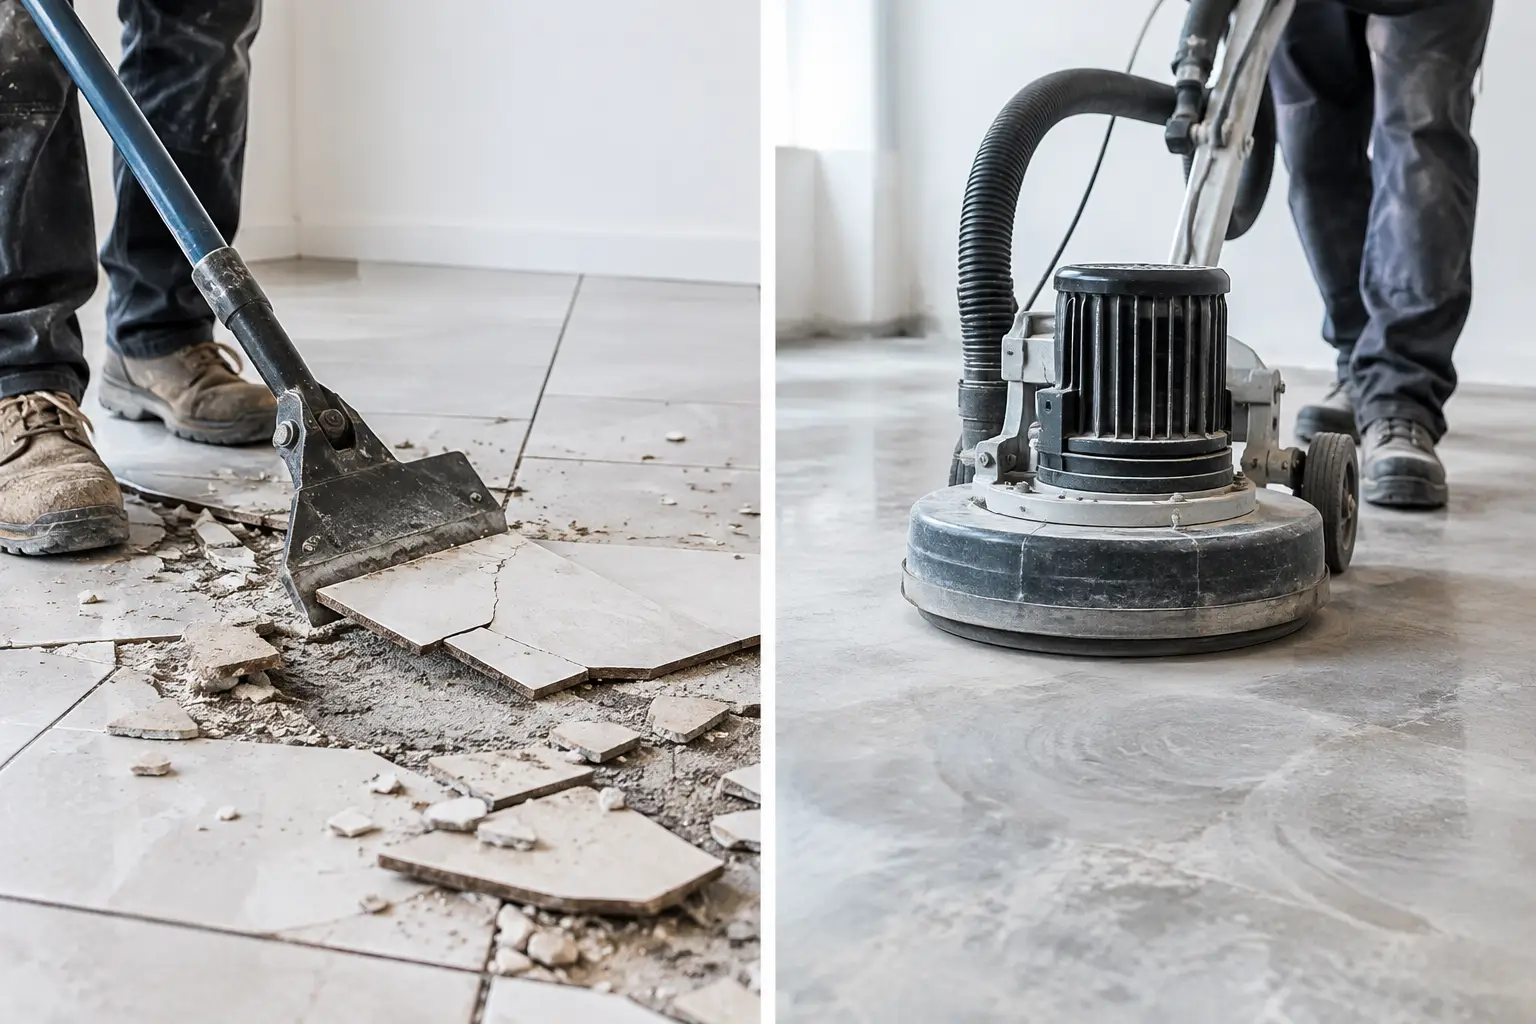
A floating timber floor, for example, has different preparation requirements from direct-stick vinyl. Tile removal may expose a sound slab that only needs adhesive residue removed, or it may reveal uneven bedding, cracks or patch repairs that need grinding and further attention. There is no single removal method that suits every floor.
Ask the installer, builder or project manager what they need handed over. Useful details include whether they require bare concrete, whether minor adhesive can remain, what flatness tolerance applies, and whether moisture testing is planned. Clear answers at this point prevent arguments after the removal crew has left site.
Inspect the existing floor before committing to a method
Floor coverings often hide the real scope of the job. Ceramic tiles may be laid over thick mortar beds. Timber can be glued directly to concrete with hard-setting adhesive. Old vinyl may sit over multiple layers of backing, patching compound and black adhesive. In commercial spaces, carpet tiles are frequently installed with tackifier that looks minor until it interferes with a new flooring system.
A proper inspection identifies the covering, how it is fixed, the substrate underneath and the access available for equipment. It should also account for thresholds, stairs, lifts, neighbouring tenancies and areas that need protection.
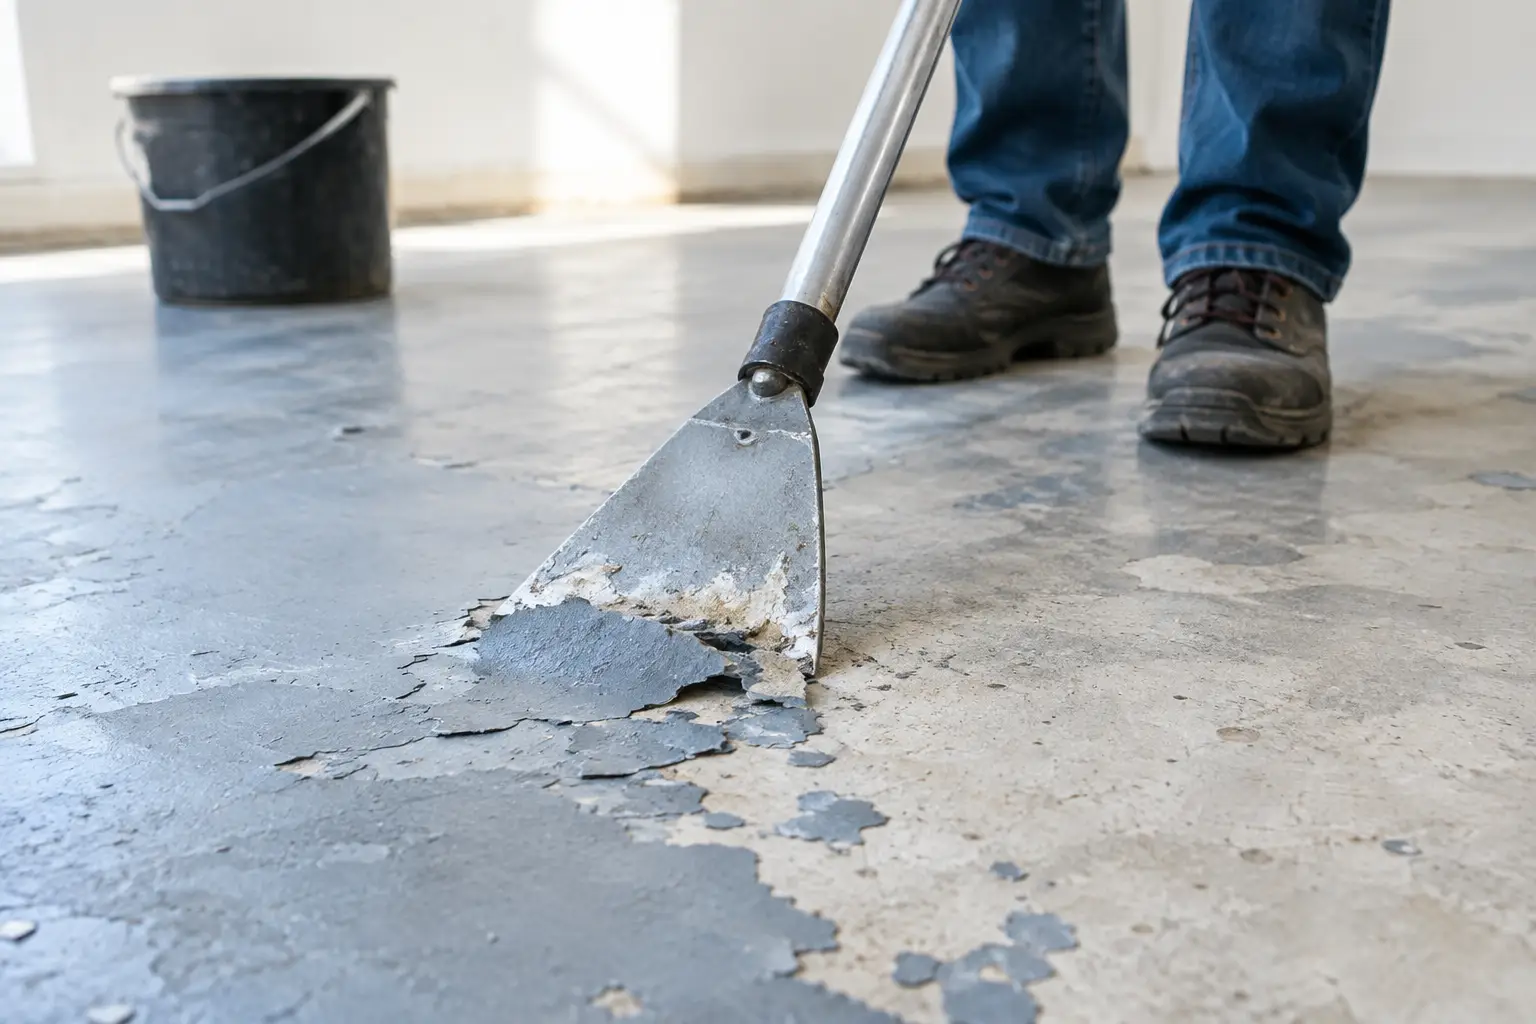
This is where specialist removal makes a difference. Heavy tile bedding, epoxy coatings, slate, marble and stubborn adhesives often require controlled mechanical removal or slab grinding rather than hand tools and guesswork. The aim is to remove the problem efficiently without unnecessarily damaging the concrete beneath it.
Older properties deserve extra caution. Materials and adhesives can be unpredictable, and some demolition work may require testing or specific handling before disturbance. If there is uncertainty about hazardous materials, stop and have the issue assessed properly. A rushed start is never worth putting workers, occupants or the project programme at risk.
Plan access, protection and isolation before work starts
A well-prepared removal job protects the parts of the property that are staying. That begins with a clear route from the work area to the exit point. Furniture, appliances and loose items should be removed or isolated before machinery arrives. Identify which doors, walls, benchtops, windows and finished floors need protection.
In occupied homes, access planning is also about keeping daily life manageable. In units, this may mean booking lift access, protecting common areas and working within building rules. In retail, hospitality and office spaces, it may mean scheduling noisy or dusty work outside operating hours so staff, customers and neighbouring tenants are not disrupted.
Services need the same attention. Confirm whether power, water, gas, data and plumbing lines run through the demolition area. A bathroom or kitchen strip-out often involves multiple services in tight spaces. Anything that must be disconnected or made safe should be handled by the appropriately qualified trade before removal proceeds.
Dust control is part of a ready site
Dust is not an unavoidable sign of quality demolition. Some dust is expected when removing flooring or grinding concrete, but it should be controlled at the source and contained from the rest of the property.
Concrete dust travels quickly through open doorways, air-conditioning returns and shared building corridors. It settles on joinery, electronics and freshly painted surfaces, then creates extra cleaning and delays. For occupied properties, it can make an otherwise straightforward renovation feel far more disruptive than it needs to be.
Professional site preparation uses the right equipment, extraction and containment for the task. Work zones should be separated where practical, and removal debris should be managed progressively rather than allowed to build up around accessways. Dust control also helps expose the true condition of the slab. You cannot assess cracks, adhesive residue or low spots properly through a layer of demolition debris.
Remove the rubbish as part of the scope
A room full of broken tiles is not ready for a tiler. A driveway piled with old carpet and cabinetry is not a clean handover. Rubbish removal needs to be planned alongside the strip-out, particularly where access is limited or the project is in a unit, office building or busy commercial site.
Different materials may need different disposal streams. Timber, metal, plasterboard, tiles, carpet, green waste and general demolition waste should not simply be mixed without thought. Keeping the work area clear makes the job safer, gives other trades room to operate and prevents the renovation from losing momentum between stages.
It also pays to check who is responsible for final cleaning. Removal work should leave the area swept, cleared and accessible, but a final builders clean is a separate task on many larger renovations. Set the handover expectation early so no one assumes another contractor is taking care of it.
Check the substrate before calling the site ready
Once the old covering is removed, inspect what is left. Look for residual adhesive, raised bedding, delamination, holes, cracks, moisture marks and uneven transitions at doorways. Not every imperfection needs to be removed, but every issue should be visible and understood before the next material is installed.
The required finish depends on the new system. A slab prepared for carpet may not be suitable for glue-down vinyl. A tile installer may be able to manage small variations with adhesive, while a polished concrete finish exposes nearly everything. Where grinding is required, it should be targeted to achieve the required surface condition, not carried out blindly across the entire area.
This is also the right time to confirm levels. Removing thick tiles and bedding can leave a floor lower than adjoining rooms. Conversely, new overlays can create high transitions that affect doors, skirtings, cabinetry and accessibility. Resolving these details before installation is quicker than pulling up a finished floor later.
A practical handover checklist
Before the next trade arrives, the project manager or homeowner should be able to confirm four basics: the agreed materials have been removed; accessways are clear and safe; debris and dust have been controlled and cleared; and the substrate has been inspected against the requirements of the new finish.
Take photographs of the exposed slab, thresholds and any areas requiring further repair. This gives everyone a clear record of the handover condition and makes it easier to coordinate the next step. If there are cracks, moisture concerns or unexpected substrate damage, raise them immediately rather than covering them over.
For renovation work across Northern NSW, the Gold Coast, Brisbane and the Sunshine Coast, Rapid Stripped handles the difficult removal stage with a focus on clean execution, controlled dust and a site that is ready for the next trade. Most importantly, the scope should be agreed around the finished handover standard, not just how quickly the old floor can be torn out.
A renovation moves faster when each trade inherits a clean, safe and properly prepared work area. Get that first handover right, and the rest of the project has a far better chance of staying on track.