
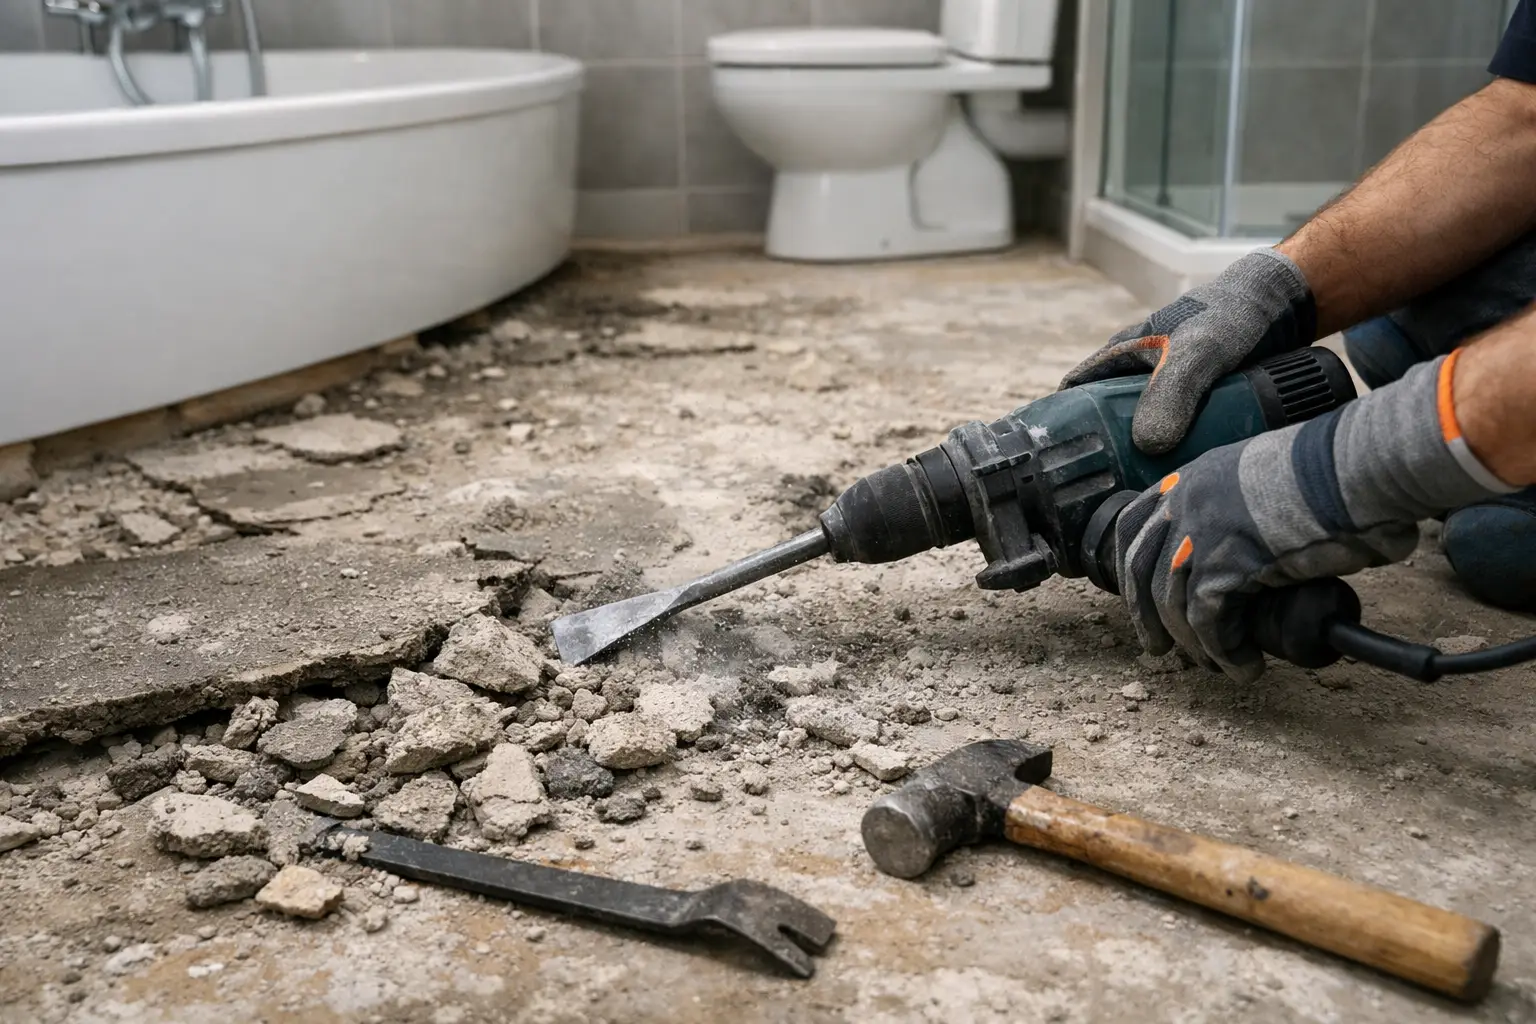
A bathroom can look stripped once the tiles are gone, but the hard work often starts underneath. Knowing how to remove bathroom screed properly matters because this cement-based bedding can be tightly bonded to the slab, conceal services and sit directly over a waterproofing system that may already be compromised. Get the removal wrong and a straightforward renovation can turn into unnecessary concrete repairs, damaged plumbing or delays for the next trade.
Bathroom screed removal is heavy, dusty and physical work. It also calls for the right equipment, a controlled approach and a clear understanding of what is below the surface. The goal is not simply to smash out material. It is to leave a clean, sound substrate ready for the waterproofing and tiling stages that follow.
What bathroom screed is and why it is difficult to remove
Bathroom screed is a sand and cement mix laid over a concrete slab to create falls towards the floor waste. It may also level an uneven floor, raise the finished floor height or provide a stable bed beneath tiles. In older bathrooms, it is common to find thick screed, multiple tile layers or a hard adhesive layer above it.
Its condition determines the removal method. Weak or hollow-sounding screed may break away in sections. Dense, well-bonded screed can behave more like the slab itself, requiring controlled mechanical removal and careful grinding at the finish. A bathroom with a step-down slab or formed falls also needs extra attention, as taking out too much material can change the levels needed for drainage.
The key distinction is between removing the screed and damaging the structural concrete below it. The first is the job. The second is an avoidable repair.
Check what sits beneath the screed before starting
Do not start with a demolition hammer at full force. First, establish the bathroom layout and likely service locations. Floor wastes, shower pipes, water lines, electrical conduits and underfloor heating can all be affected by aggressive removal.
Remove the toilet, vanity, shower screen and any loose fixtures before work begins. Isolate water and power where required. If the bathroom is part of an apartment, townhouse or commercial fit-out, confirm building access, work hours, waste routes and strata requirements before bringing equipment through common areas.
The waterproofing membrane is another consideration. In most full bathroom renovations, the existing membrane is removed with the screed or is no longer suitable once demolition has started. Trying to preserve an old membrane while breaking up cement bedding is rarely practical. What matters is avoiding damage to the slab, walls and services so the new waterproofing system can be installed correctly.
Check floor levels at doorways, adjoining rooms and the shower area. Photos and measurements taken before removal give your waterproofing contractor, tiler or builder a reliable reference point. They also help identify whether the original screed was creating the required fall to the waste.
Equipment needed to remove bathroom screed
The right tools depend on the screed thickness, bond strength and access. A small ensuite may be manageable with compact equipment, while a large bathroom or multi-unit project needs machinery that can maintain progress without turning the site into a dust problem.
A typical professional set-up includes:
- A demolition hammer or jackhammer with suitable chisels for breaking and lifting screed.
- A floor scraper or stripping machine for stubborn bedding and adhesive layers.
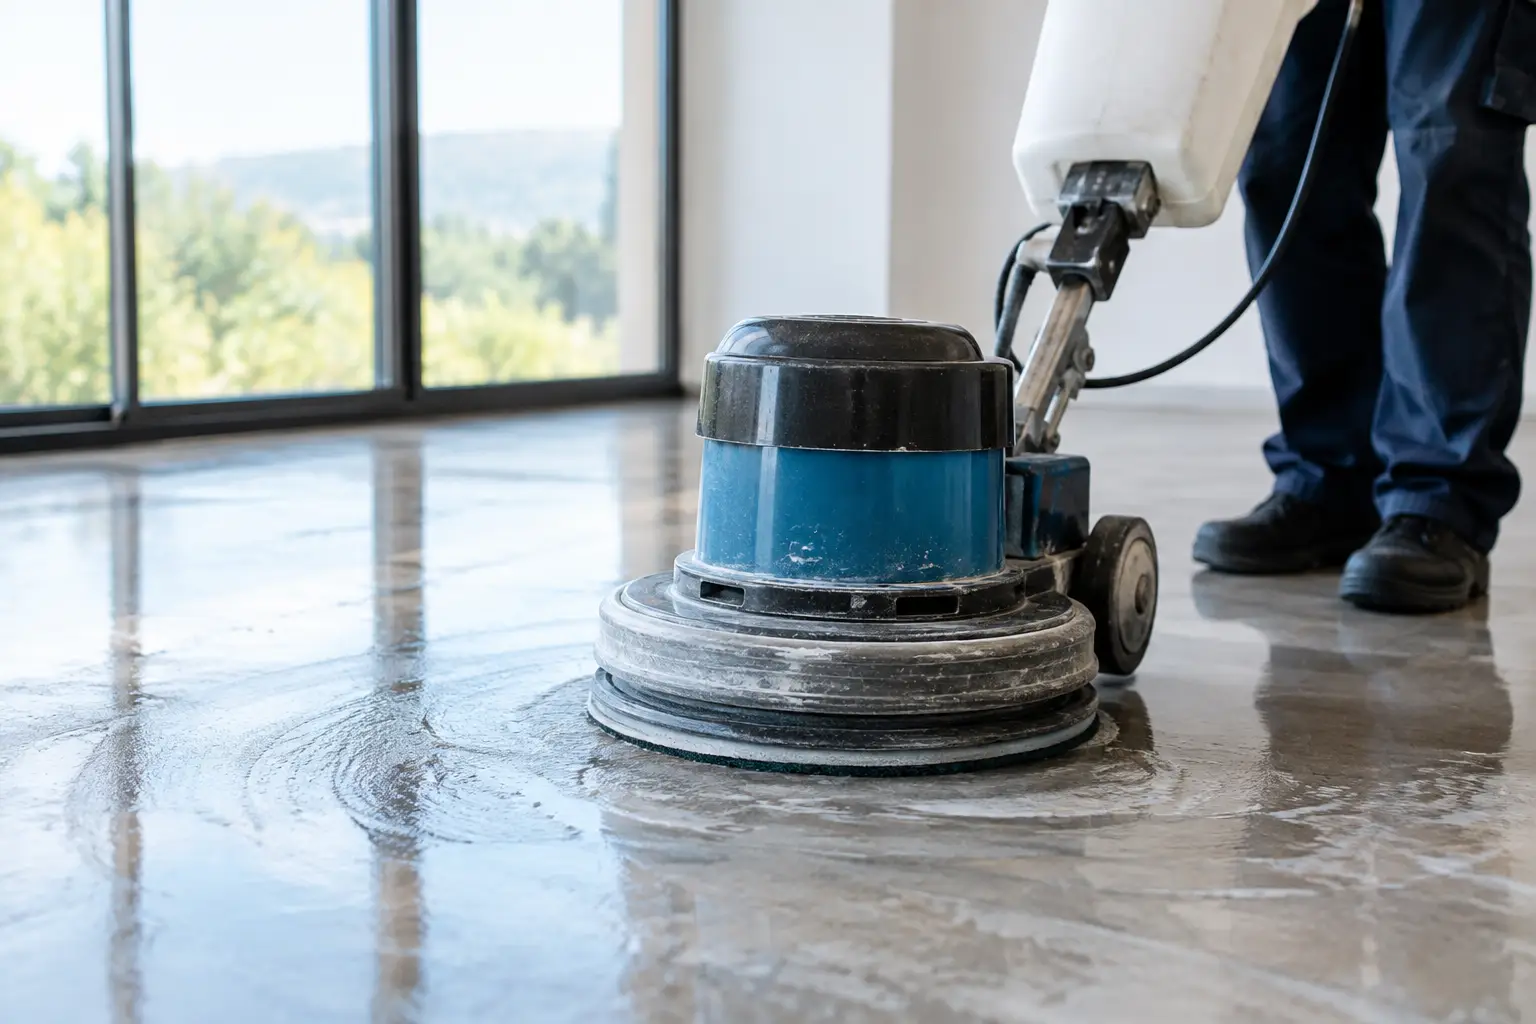
- A concrete grinder with dust extraction for controlled final clean-up.
- An industrial HEPA vacuum and dust-control measures to keep debris contained.
- Hand tools for edges, corners, around wastes and areas close to plumbing.
A sledgehammer and cold chisel may look economical, but they are slow and difficult to control across a bonded floor. They also increase fatigue, noise and the chance of gouging the slab. For most renovations, purpose-built stripping and grinding equipment delivers a cleaner result in less time.
How to remove bathroom screed step by step
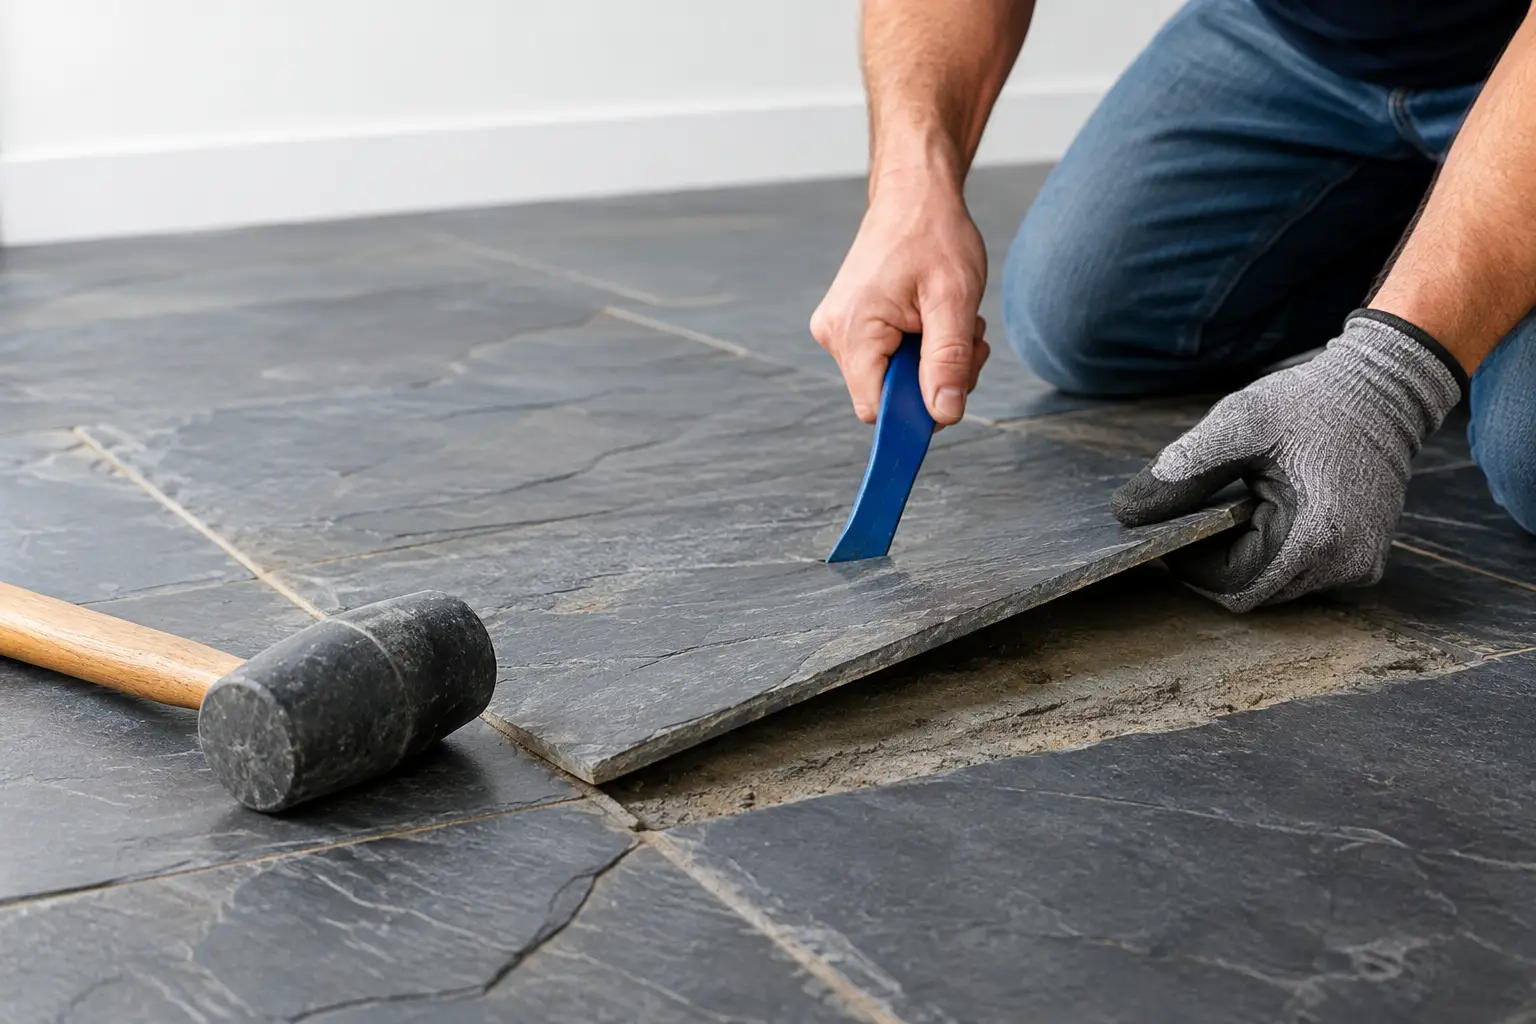
Start by removing all tiles, loose adhesive and surface debris. Vacuum the floor so you can see the screed clearly, including cracks, old patches and the position of the floor waste. Mark known pipes and keep a clear exclusion zone around the waste until the surrounding material can be worked carefully by hand.
Begin at an exposed edge, doorway or damaged section where the screed has already broken free. Use a demolition hammer at a low, shallow angle. The aim is to get underneath the screed layer and lift it away in manageable pieces, rather than driving the chisel straight down into the concrete.
Work in small sections and regularly check the exposed surface. If the material is releasing cleanly, continue methodically across the room. If it is strongly bonded, reduce the impact force and adjust the chisel angle before escalating. Heavy blows can fracture the slab surface or expose aggregate, creating more levelling work later.
As the screed comes out, bag or remove rubble progressively. Piles of broken cement limit movement in a tight bathroom and make it harder to spot hazards. They also put unnecessary strain on floors if waste is allowed to build up in an upper-level unit.
Near walls, floor wastes and penetrations, slow down. These areas should be removed in smaller bites with hand tools or light mechanical equipment. It takes longer, but damaging a pipe or waste connection will cost far more time than careful removal.
Once the bulk screed is gone, inspect the slab for remnants of bedding, adhesive, high spots and loose concrete. Grinding is generally the right finishing method. It removes thin residues and smooths minor imperfections without indiscriminately cutting deep into the slab. Dust extraction should be connected throughout this stage, particularly in occupied homes, apartments and commercial properties.
Protect the slab, drainage and adjoining areas
A clean slab does not always mean a perfectly flat slab. Bathroom floors often need specific falls, and the next stage may involve patching or a new screed to achieve them. Avoid grinding the floor flat just because it looks uneven. The required finish depends on the new bathroom layout, floor waste position, tile selection and waterproofing specification.
If there are slab cracks, deep hammer marks, exposed reinforcement or areas where concrete has delaminated, stop and assess them before proceeding. Minor surface damage can often be repaired as part of floor preparation. Structural concerns, active moisture issues or suspect plumbing should be addressed by the appropriate qualified trade before new materials go down.
Containment also matters. Seal doorways, protect adjoining flooring and maintain a clear route for removing waste. Cement dust travels quickly through a house and is especially difficult to manage in occupied apartments, medical rooms, retail sites and offices. Professional dust-control equipment is not an optional extra when the job needs to be clean and ready for the next trade.
When DIY screed removal makes sense, and when it does not
A capable DIY renovator may be able to remove small areas of loose screed in a ground-level bathroom with clear access and no services nearby. Even then, hire equipment, personal protective equipment and waste disposal need to be organised before starting. Concrete dust contains respirable silica, so appropriate respiratory protection and controlled extraction are essential.
Professional removal is usually the better call when the screed is thick or heavily bonded, the bathroom is upstairs, the property is occupied, access is tight or there is a deadline for waterproofers and tilers. The same applies where tile bedding, adhesive and screed have fused into a hard multi-layered floor. These jobs reward experience, not brute force.
For homeowners, builders and property managers across Northern NSW, the Gold Coast, Brisbane and the Sunshine Coast, Rapid Stripped handles bathroom strip-outs and difficult floor removal with the equipment and control needed to prepare the area properly. The focus is on removing the material efficiently, managing dust and leaving a clean substrate for the renovation team.
What a bathroom slab should look like after screed removal
Before waterproofing begins, the floor should be clear of loose material, tile adhesive ridges, debris and uncontrolled dust. The slab should be sound, accessible around the floor waste and ready for any approved patching, levelling or fall-forming work.
Do not rush to lay new tiles over a partly cleaned floor. A few remaining high spots, loose patches or contaminated areas can affect adhesion and compromise the finished result. A well-prepared slab gives the next trade a proper starting point and keeps the renovation moving without avoidable rework.
The best bathroom screed removal leaves more than an empty room. It leaves a safe, clean and correctly prepared surface that lets waterproofing, tiling and fit-off proceed on schedule.