
Marble looks solid, but removing it is not a brute-force job. If you are working out how to remove marble floor safely, the real challenge is controlling dust, avoiding damage to the slab and knowing what sits beneath the stone before tools touch the floor. Get any of those wrong and a simple flooring change can become a costly repair job.
Marble is commonly installed over a cement-based bedding layer or thick tile adhesive. Individual pieces can be heavy, sharp when broken and difficult to lift cleanly. In bathrooms, kitchens, foyers and commercial spaces, there may also be waterproofing, plumbing, electrical services or level-sensitive substrates below. The safest approach depends on the construction of the floor, not just the visible marble.
Start by identifying the marble installation
Before removal begins, inspect the floor edges, doorways, floor vents and any areas where a tile has already cracked or loosened. This helps establish whether the marble is laid on a sand-cement bed, direct-stick adhesive or another system. Older floors often have a much thicker bedding layer than expected, which changes the tools, time and disposal required.
Natural marble tiles, marble slabs and engineered stone products do not all come up the same way. Small tiles may fracture as they are lifted, while larger-format pieces can transfer significant force into the substrate when prised up. If the marble has been installed over timber, fibre-cement sheeting or a waterproofed bathroom floor, aggressive removal can quickly damage the layer that needs to remain.
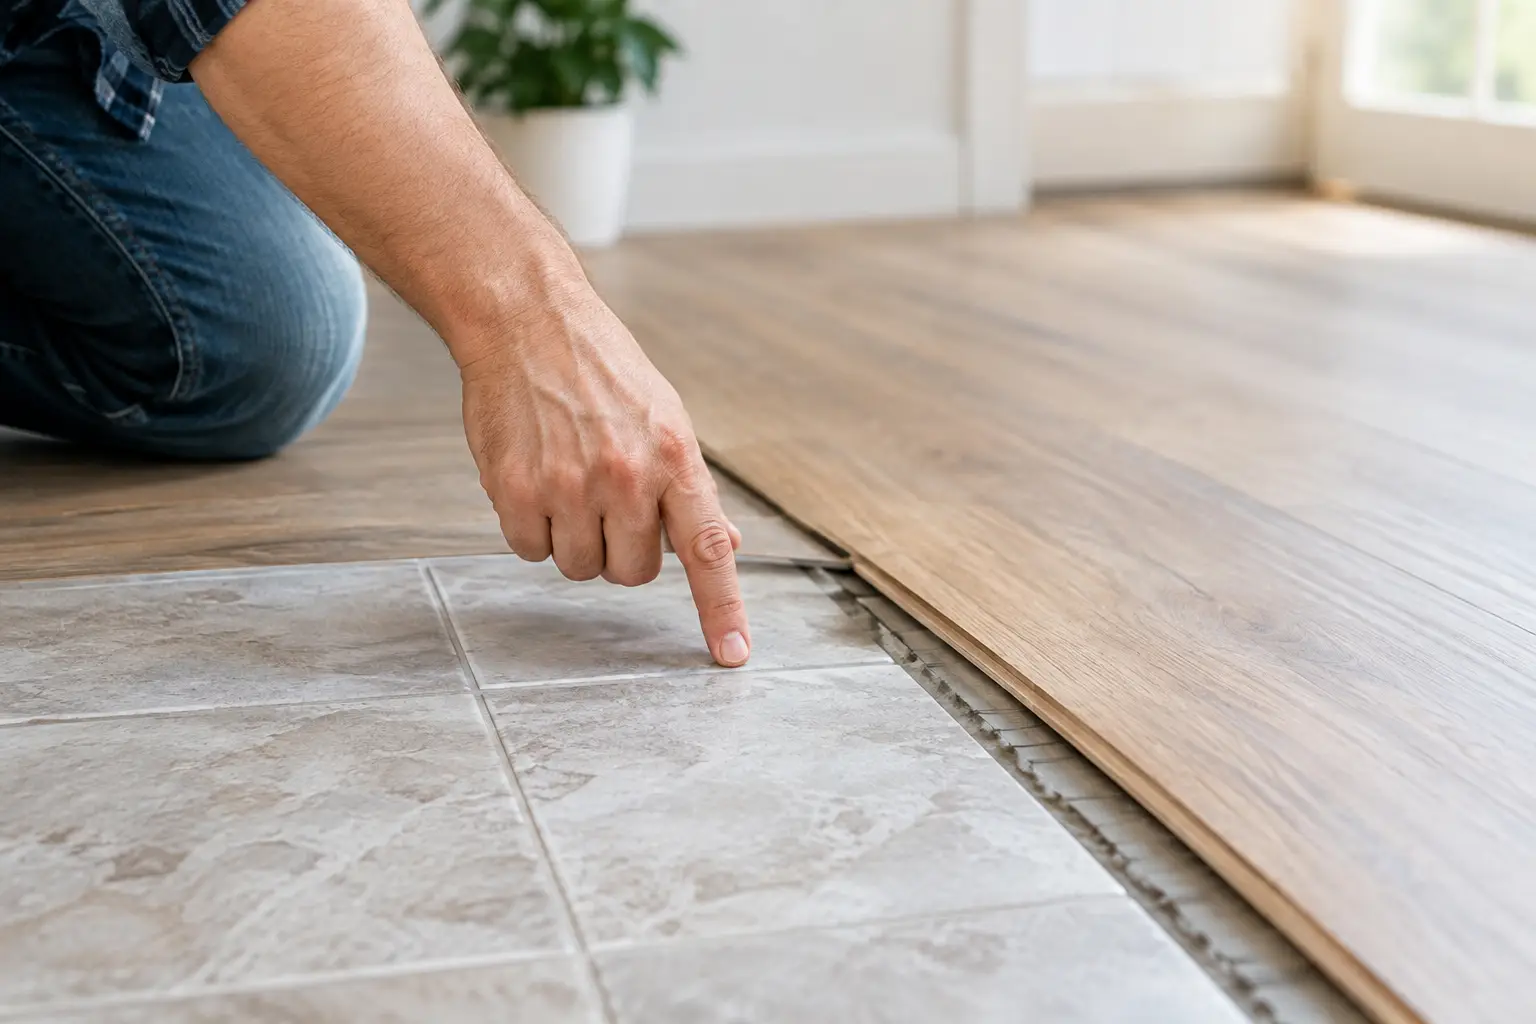
Check for hollow-sounding tiles by tapping lightly across the surface. Hollow areas may lift more easily, but they can also indicate poor bonding and unpredictable breakage. Soundly bonded marble usually needs controlled mechanical removal rather than a hammer-and-chisel approach across the whole room.
Is DIY marble floor removal the right call?
A small, isolated marble area may be manageable for an experienced renovator with the right equipment and a clear plan. A large room, an occupied home, upper-level unit or commercial site is a different proposition. The volume of broken stone and bedding adds up quickly, while dust and vibration can affect adjoining rooms, common areas and neighbouring tenancies.
DIY removal is also less suitable where the next trade needs a level, clean slab. It is easy to remove the visible marble and leave behind adhesive ridges, bedding fragments and damaged concrete. Those defects can delay waterproofing, tiling, hybrid flooring or polishing work.
Professional removal is generally the practical option when the job involves thick mortar beds, difficult adhesive, tight timeframes, occupied premises or a substrate that must be preserved. Specialist operators can lift the covering, mechanically remove residual material and prepare the floor as one coordinated process rather than leaving a half-finished surface for the next contractor.
Prepare the area before breaking the first tile
Safe removal starts with isolation and containment. Empty the room completely where possible, including freestanding appliances, furniture and loose fittings. Protect fixed joinery, benchtops, door frames and walls with suitable coverings. Marble fragments travel further than many people expect, particularly when a demolition hammer is used close to a perimeter.
Seal doorways and isolate air-conditioning returns where practical. Dust from the bedding layer is often a greater concern than the marble itself. Cement-based adhesives, grout and concrete can contain respirable crystalline silica, which is hazardous when dry-cut, ground or broken into fine airborne dust.
Use appropriate personal protective equipment: safety glasses, hearing protection, gloves, long workwear, steel-capped boots and properly fitted respiratory protection suitable for silica dust. A paper mask is not enough for dusty demolition work. Keep children, pets, clients and other trades outside the work zone until cleaning is complete.
Before cutting or drilling, confirm the location of services. This matters most in bathrooms, kitchens and renovations where pipes or electrical cabling may be concealed near walls, islands or thresholds. Do not assume a floor is clear simply because the marble installation looks straightforward.
How to remove marble floor safely, step by step
The removal method should be controlled, methodical and adjusted as the floor reveals what is underneath. Start at an exposed edge, doorway or already damaged tile rather than attacking the centre of the room.
1. Create a controlled starting point
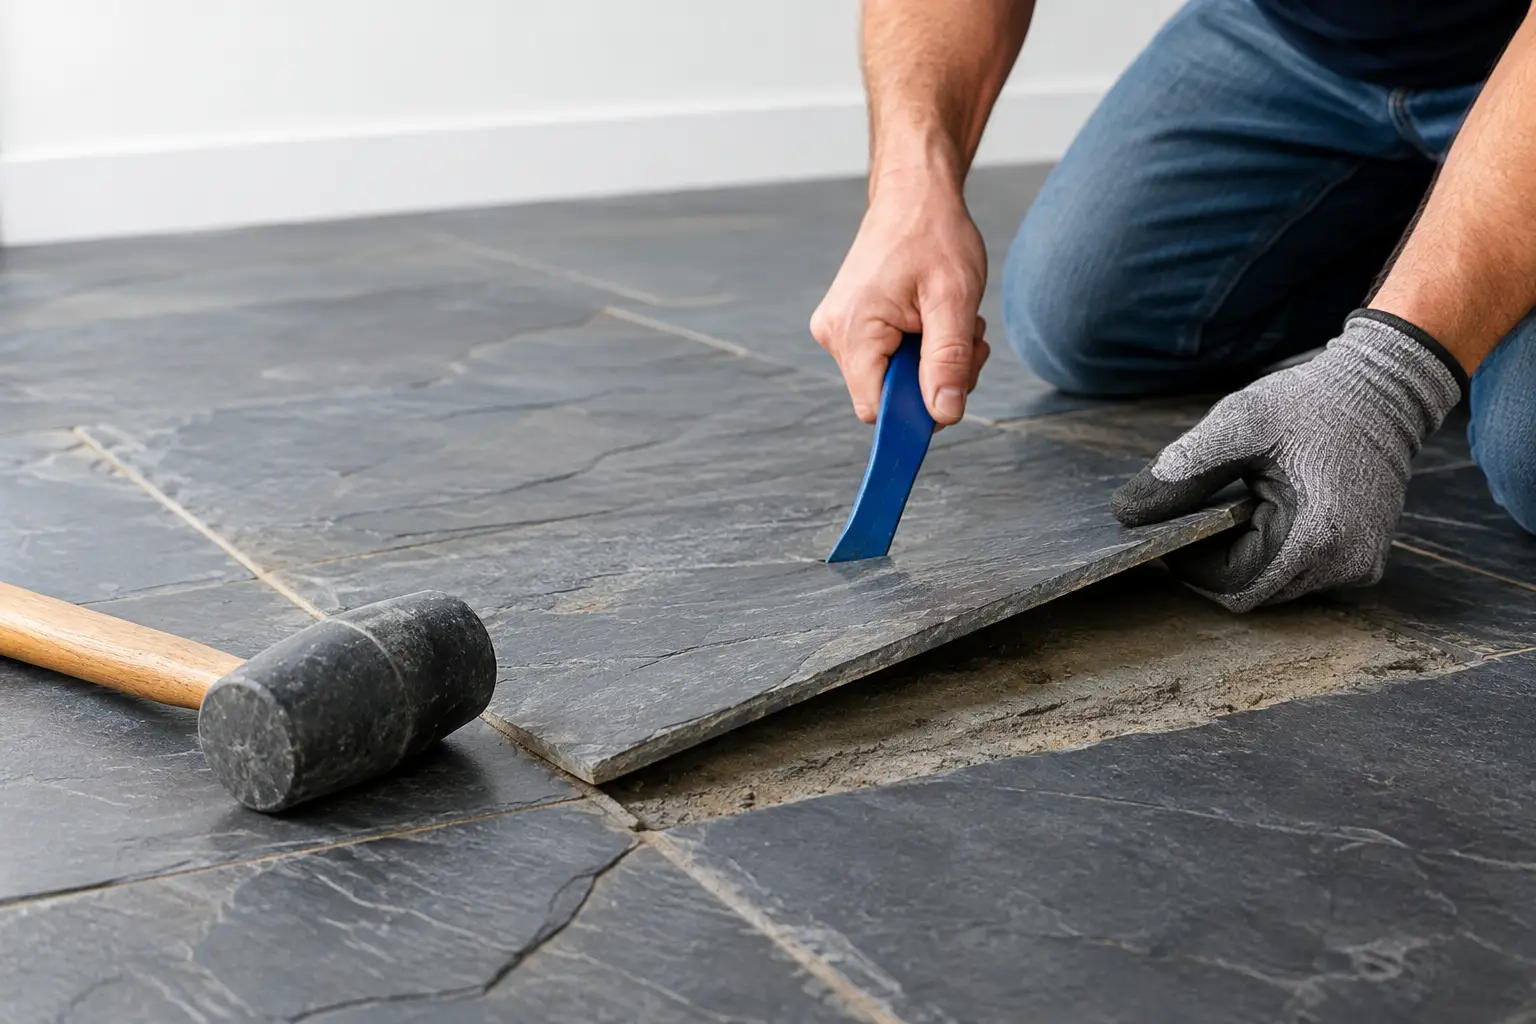
Remove skirting or trims only where necessary and with care. At the edge of the marble, use a small chisel or scraper to open a gap beneath the tile. The purpose is to understand the bond and create access for lifting tools, not to force a large section up immediately.
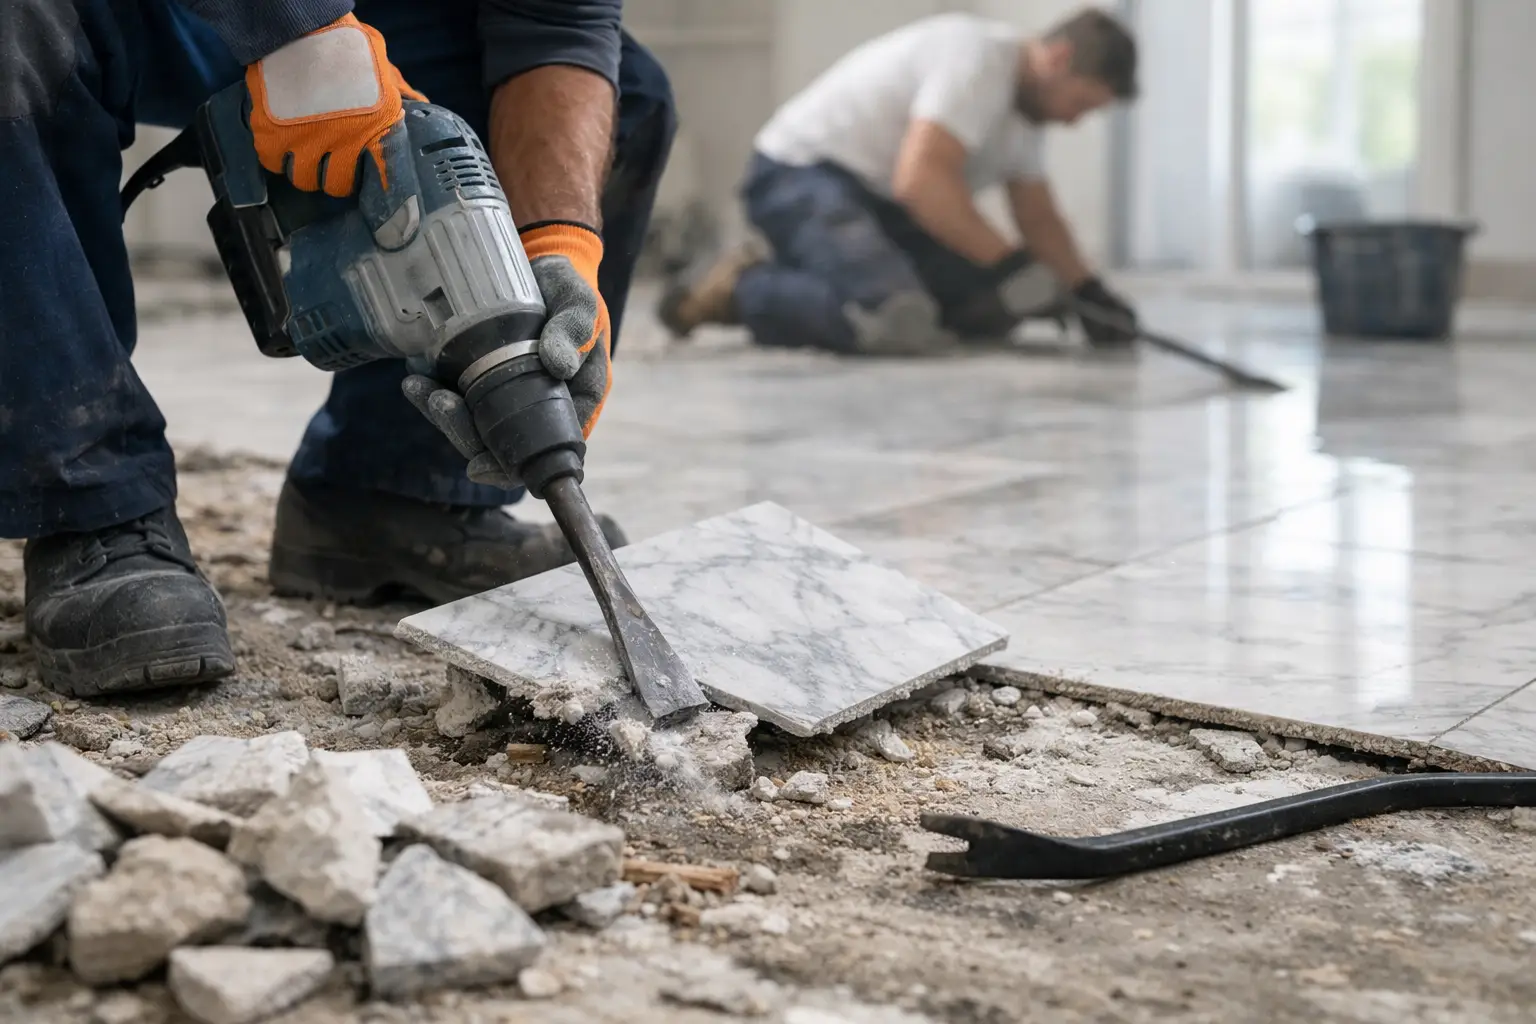
For tightly bonded marble, a demolition hammer fitted with a broad tile-lifting chisel may be required. Hold the tool at a low angle to the floor so it shears beneath the tile rather than drives directly down into the slab. A steep angle is one of the fastest ways to gouge concrete or punch through fragile sheet substrates.
2. Work in small sections
Lift marble progressively in manageable areas. Large slabs and thick fragments can be awkward and heavy, so avoid trying to lever out a whole section at once. Broken pieces should be placed directly into suitable bins or rubble containers, rather than piled up where they become a trip hazard.
Keep the work area clear as you go. Good housekeeping is not just about appearance. It gives operators stable footing, reduces the chance of sharp fragments being carried through the property and makes it easier to see any damage or services exposed below.
3. Control dust at the source
Dry cutting and uncontrolled grinding are not acceptable shortcuts. Use on-tool dust extraction with an appropriate industrial vacuum, or wet methods where the site conditions and equipment allow. Water can reduce airborne dust, but it also creates slurry that must be contained and cleaned correctly. It should never be washed into drains or allowed to spread through the property.
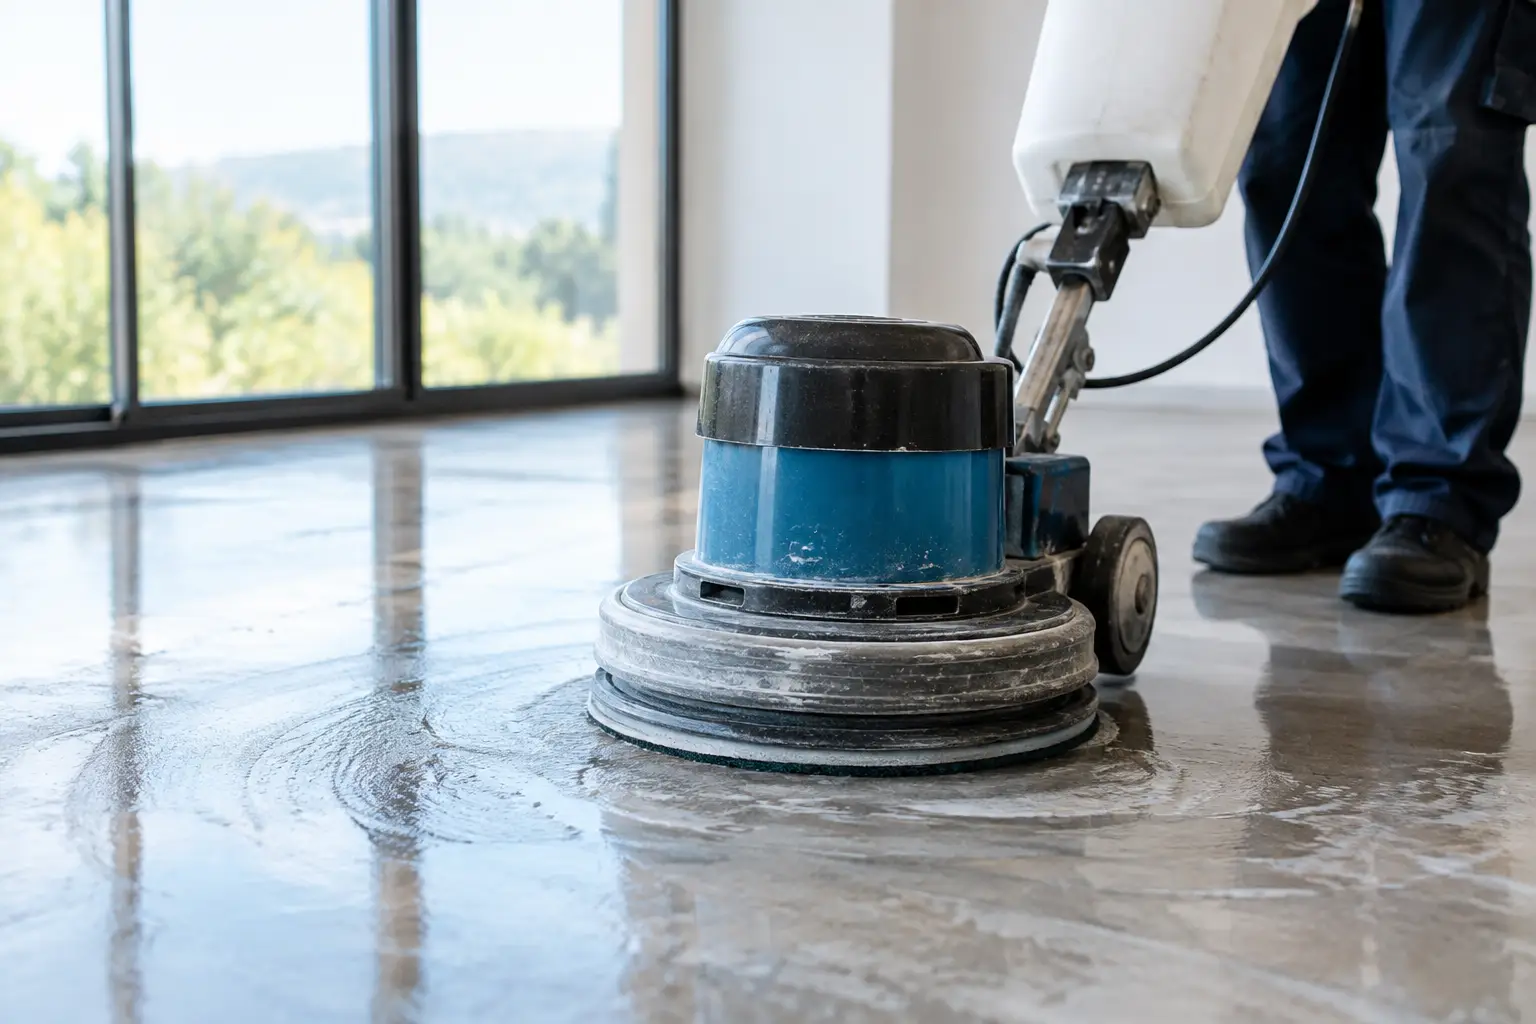
Dust control needs to continue during adhesive and bedding removal. The visible tiles may be gone, but grinding down mortar ridges without extraction can create the highest dust load of the job. This is where specialist surface-preparation equipment earns its place.
4. Remove adhesive and bedding without overworking the slab
Once the marble is lifted, assess the remaining surface before choosing the next tool. Thin adhesive residue may be removed with scrapers, chisel attachments or controlled grinding. A thick sand-cement bed may need heavier mechanical stripping before the slab can be brought back to an acceptable level.
The goal is not always a perfectly polished concrete surface. It is a clean, stable and suitably level substrate for the flooring system that follows. For new tiles, minor texture may be acceptable. For vinyl, timber, hybrid flooring or coatings, the floor usually needs more precise grinding and preparation. The requirements of the new finish should guide the final stage of removal.
Watch for the problems that change the job
Some conditions require the work to stop and be reassessed. Crumbling concrete, extensive slab cracks, moisture damage, soft underlay, loose sheeting or signs of failed waterproofing can all affect the next steps. Removing more material without a plan may worsen the issue.
Bathrooms deserve particular caution. If the waterproofing membrane is meant to stay in place, marble removal must be extremely controlled, and even then there is no guarantee it will remain intact. In many full bathroom renovations, replacing the waterproofing is the sensible route after demolition. It depends on the scope of work, the age of the wet area and the requirements of the renovation.
Apartment and commercial projects also need a disposal and access plan. Marble, mortar and adhesive are heavy. Lifts, stairwells, loading zones, noise restrictions and body corporate requirements can determine how the work is staged. Fast removal only counts if the site is left clean, safe and ready for the next trade.
Leave the floor ready, not merely stripped
A proper marble removal job finishes with detailed clean-up, not a room full of rubble and dust. Vacuum the area with suitable equipment, remove loose material from edges and corners, and inspect the substrate under good lighting. Check for adhesive high spots, deep gouges, cracks and changes in level at doorways.
If the next stage is new flooring, arrange for the substrate to be assessed against that product’s installation requirements. This avoids a common renovation delay: the old marble is gone, but the installer cannot start because the slab is still uneven or contaminated.
For homeowners, builders and property managers across Northern NSW, the Gold Coast, Brisbane and the Sunshine Coast, Rapid Stripped handles marble removal with the equipment and site discipline needed to protect surrounding areas and prepare the surface properly. The right result is a clean handover point where the renovation can move forward without unnecessary patching, dust problems or delays.