

A bathroom strip-out looks simple until the first tile comes off in sharp pieces, the bedding stays stuck hard, and dust starts moving through the house. If you’re working out how to strip bathroom tiles, the real job is not just getting tiles off the wall or floor. It is removing them without damaging what needs to stay, keeping the site controlled, and leaving the surface ready for the next trade.
That is where many DIY jobs slow down. Bathroom tiles are often fixed over cement sheeting, render, screed or concrete, and each surface responds differently once demolition starts. Some tiles pop cleanly. Others take the substrate with them. The right approach depends on what is behind the tile, how well it was laid, and whether you are doing a cosmetic update or a full renovation.
Before you strip bathroom tiles, check what sits underneath
Start by working out exactly what you are removing. Floor tiles and wall tiles behave differently, and older bathrooms can hide more than one layer of material. It is common to find tile over tile, thick adhesive beds, cracked screed, or patch repairs from previous renovations.
If the bathroom is being fully demolished, you have more room to move. If the vanity, shower screen, bath or waterproofed sections are staying, the job becomes far more delicate. In those cases, one wrong hit with a jackhammer or chisel can crack a tray, split a pipe, or break adjacent finishes.
Turn off water and power to the area where needed, remove loose fittings, and protect anything staying in place. Cover nearby doorways to contain dust and clear the path for rubble removal. Bathrooms create heavy waste quickly, so access matters more than people expect.
If the property was built or renovated decades ago, be cautious around older sheeting, adhesives and compounds. Not every bathroom is a straightforward strip-out, and sometimes the safest move is to stop and have suspect materials assessed before disturbing them further.
Tools that make tile stripping faster and cleaner
The method matters as much as the muscle. For small areas, a hammer and bolster can get you started, but most full bathroom tile removal jobs move faster with mechanical tools. Rotary hammers, demolition hammers, floor scrapers and dust-control equipment all help keep the work efficient and controlled.
A basic DIY setup often includes a hammer drill with a chisel attachment, pry bars, heavy-duty scrapers, buckets, tarps, PPE and a shop vacuum. For tougher jobs, especially floor tiles on concrete, more force is needed. The problem is that extra force can also gouge the slab or tear up the substrate if you are not careful.
Dust control is not optional. Tile stripping creates fine dust, broken shards and adhesive debris that spread fast through occupied homes and units. Eye protection, gloves, long sleeves, hearing protection and a proper respirator are standard. If you are trying to keep disruption down, controlled removal and regular clean-up make a big difference.
How to strip bathroom wall tiles
Wall tiles usually come off best when you start at a weak point. That could be a cracked tile, an exposed edge, or a section around plumbing penetrations. Use a chisel to get under the first tile and see how strongly the tile and adhesive are bonded.
Once the first tile is out, the rest of the wall becomes easier to read. Some walls release in sheets. Others need to come off tile by tile. Work from top to bottom where practical, and avoid hitting too deep into the wall lining. If tiles are fixed to cement sheet and the sheet is already compromised, it can be more efficient to remove the whole wall lining instead of fighting every tile individually.
That is one of the biggest trade-offs in bathroom demolition. Trying to save a substrate can make sense if it is sound and the renovation scope is limited. But if the sheeting is crumbling, water damaged or coming apart with the tiles, spending hours preserving it often costs more time than replacing it.
Watch corners, niches and areas around tapware carefully. These spots are common failure points, and they are also where hidden pipes and fittings sit closest to the surface.
How to strip bathroom floor tiles without ruining the slab
Floor tiles tend to be tougher because they are laid to handle traffic and moisture. Many are fixed over a mortar bed or heavy adhesive on concrete, and some bathrooms have falls to wastes that need to be preserved or rebuilt accurately.
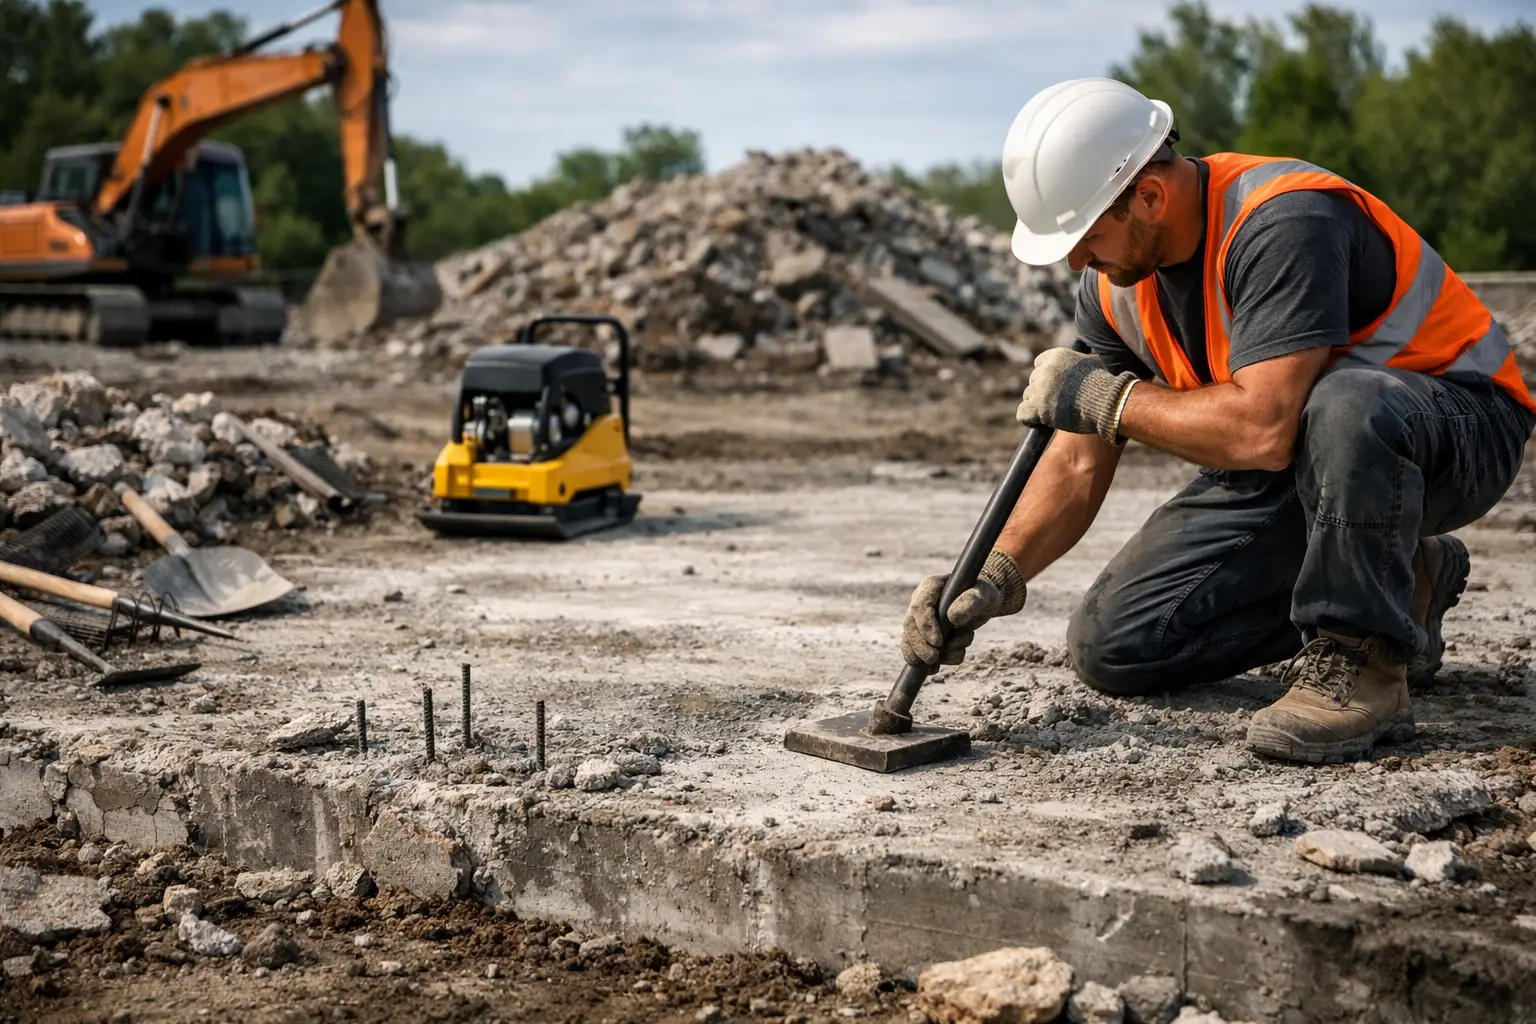
To strip floor tiles, start near a doorway, floor waste or broken section where you can get under an edge. A demolition hammer with a floor chisel usually works best, but angle and pressure matter. Too flat and you waste time. Too steep and you dig into the slab or screed.
As tiles come up, check what remains underneath. Sometimes the tile lifts clean and leaves a workable surface. More often, the adhesive or bedding stays behind and needs separate removal. This is where many people think the job is nearly done, only to realise the floor is still not ready for waterproofing or new tile.
If the slab needs to remain level and sound for the next stage, aggressive removal is a risk. Gouges, loose patches and high spots all create rework later. A clean strip-out is not just about removing visible tile. It is about leaving the substrate suitable for preparation.
Adhesive, bedding and surface preparation
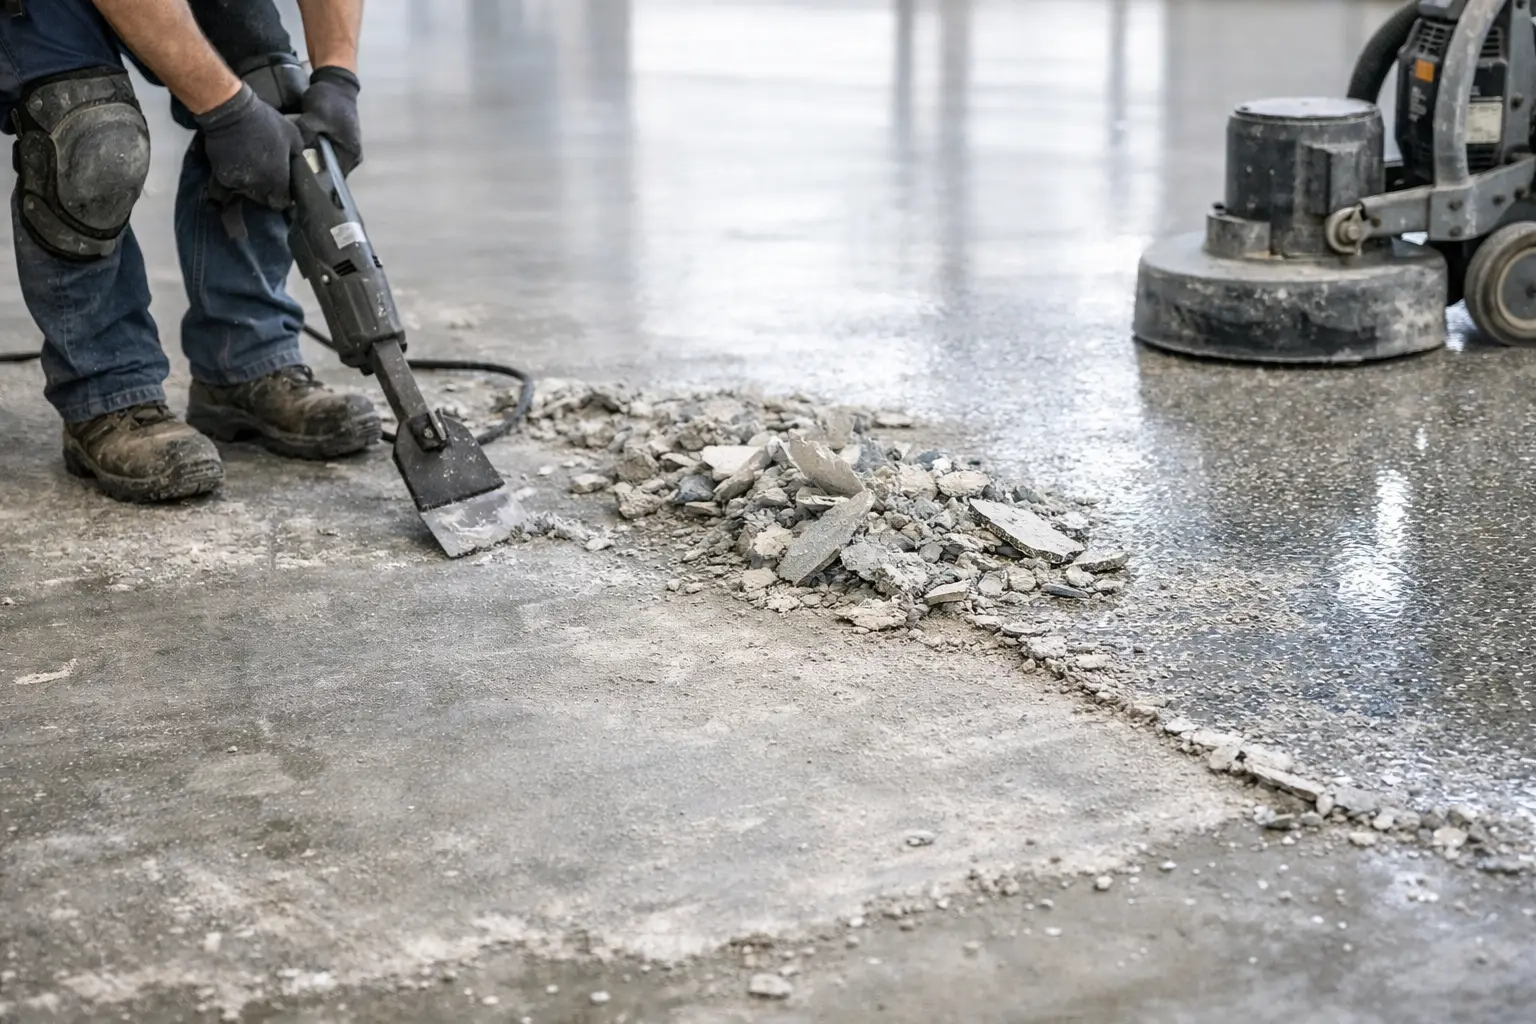
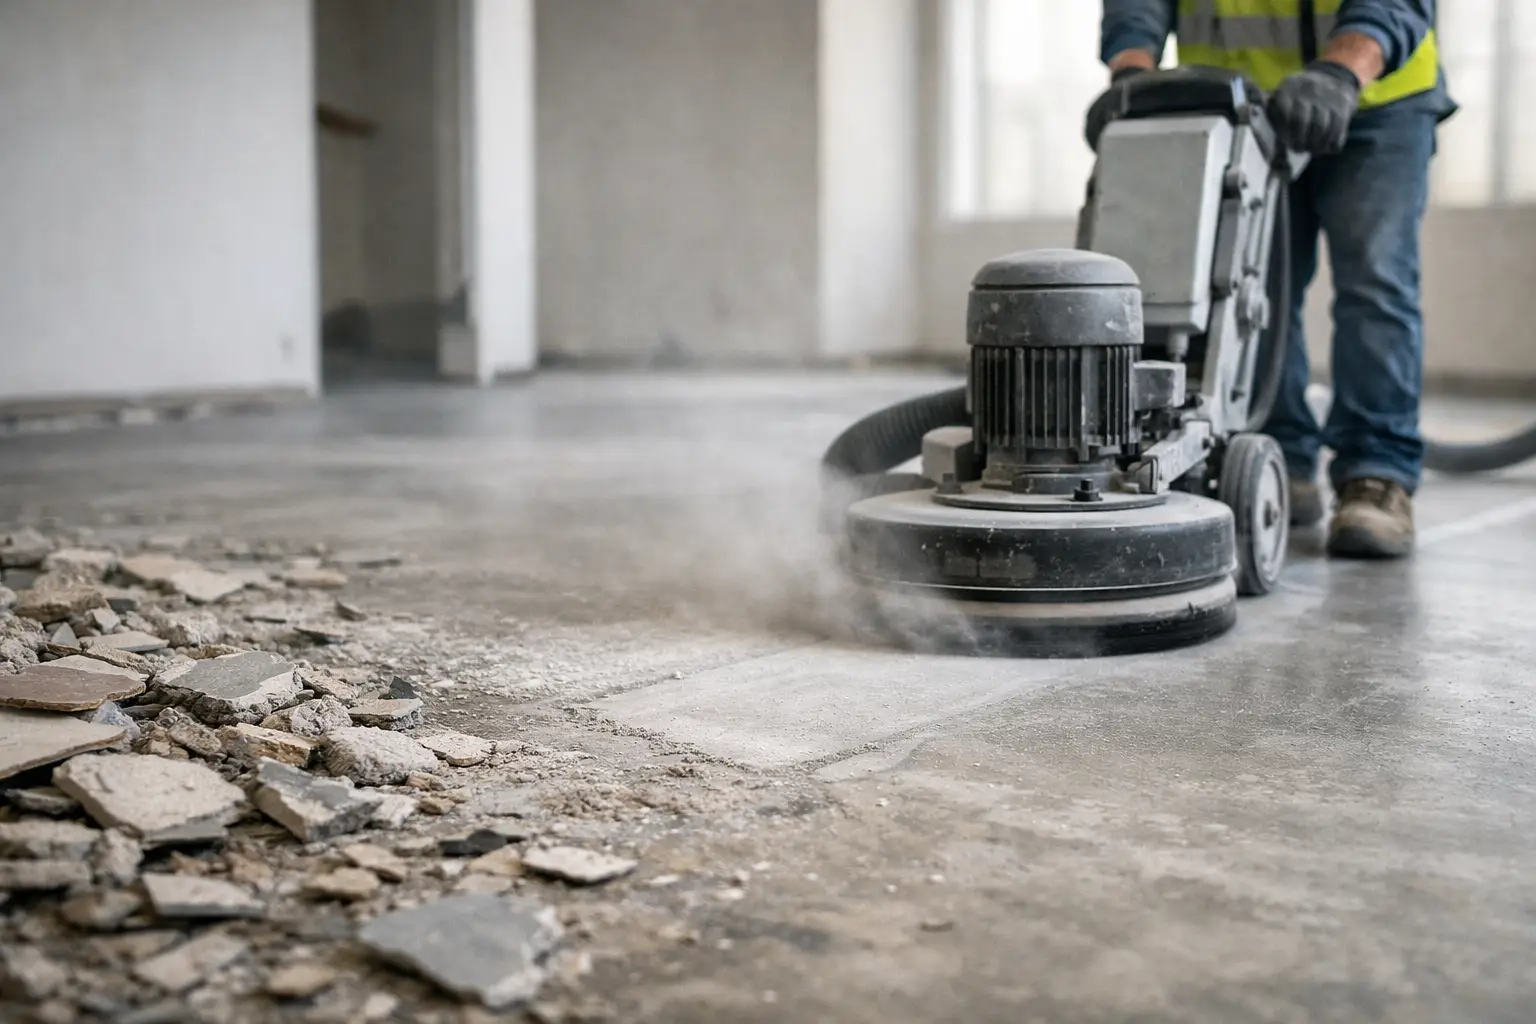
Removing the tile is often the easy part. The harder part is getting rid of the adhesive, screed or tile bed without leaving a rough, contaminated surface. Thin residual glue might scrape off. Thick-set bedding usually needs mechanical removal.
On concrete, slab grinding is often the cleanest way to bring the surface back to a usable condition. It removes stubborn adhesive, levels minor irregularities and exposes any cracking or moisture issues that need attention before reinstalling finishes. If you skip this step, new flooring systems can fail before the renovation is properly finished.
On walls, damaged render or sheeting may need patching or replacement rather than spot grinding. There is no single answer here. It depends on the substrate condition and what is being installed next. Waterproofing, large-format tiles and stone finishes all demand better prep than a surface that merely looks clean from a distance.
Common problems during bathroom tile removal
Bathrooms rarely strip out exactly as planned. Hidden water damage is common, especially around showers, wastes and corners. Once tiles are removed, you may find swollen wall linings, loose screed, rusted trims or failed waterproofing.
Another common issue is tile removal taking part of the substrate with it. That is not always poor workmanship from the original install. Sometimes the bond is simply stronger than the surface beneath. In practical terms, it means your removal scope just changed.
Noise, dust and access can also become bigger problems in occupied properties, units and commercial sites. Tight stair access, shared hallways and limited waste staging all slow the job down. In those settings, fast and controlled removal is worth more than brute force.
When DIY makes sense and when it usually does not
If you are removing a small number of loose tiles in a bathroom already marked for full renovation, DIY can be manageable. The risk is lower, and minor surface damage may not matter if wall linings and screeds are being replaced anyway.
If you need to protect plumbing, preserve part of the room, control dust in a lived-in home, or remove hard-set tile and adhesive from concrete without wrecking the substrate, it is usually specialist work. The same applies when time matters. Builders, renovators and property owners often do not lose time on the tile removal itself. They lose it on the mess, the clean-up and the extra prep needed after rough demolition.
That is why professional strip-outs are focused on more than speed. The goal is to hand over a site that is clean, safe and ready for the next stage. At Rapid Stripped, that is the standard on bathroom removal jobs across homes and commercial sites where delays create knock-on problems for everyone else.
How to strip bathroom tiles with the end result in mind
The best way to approach bathroom tile removal is to think past demolition. Ask what needs to stay intact, what surface is required for the next trade, and how much disruption the property can handle. Those answers shape the method.
A rough strip-out can remove tiles quickly but leave damaged sheeting, scarred slabs and hours of extra prep. A controlled strip-out takes more judgement, but it protects the job timeline and usually produces a better result overall. In renovation work, that difference matters.
If you are tackling the job yourself, go slowly, protect the area properly and reassess once the first few tiles are off. Bathrooms have a habit of revealing the real work only after demolition starts. If you need the site turned around fast and cleaned up properly, get the removal done once and done right.