
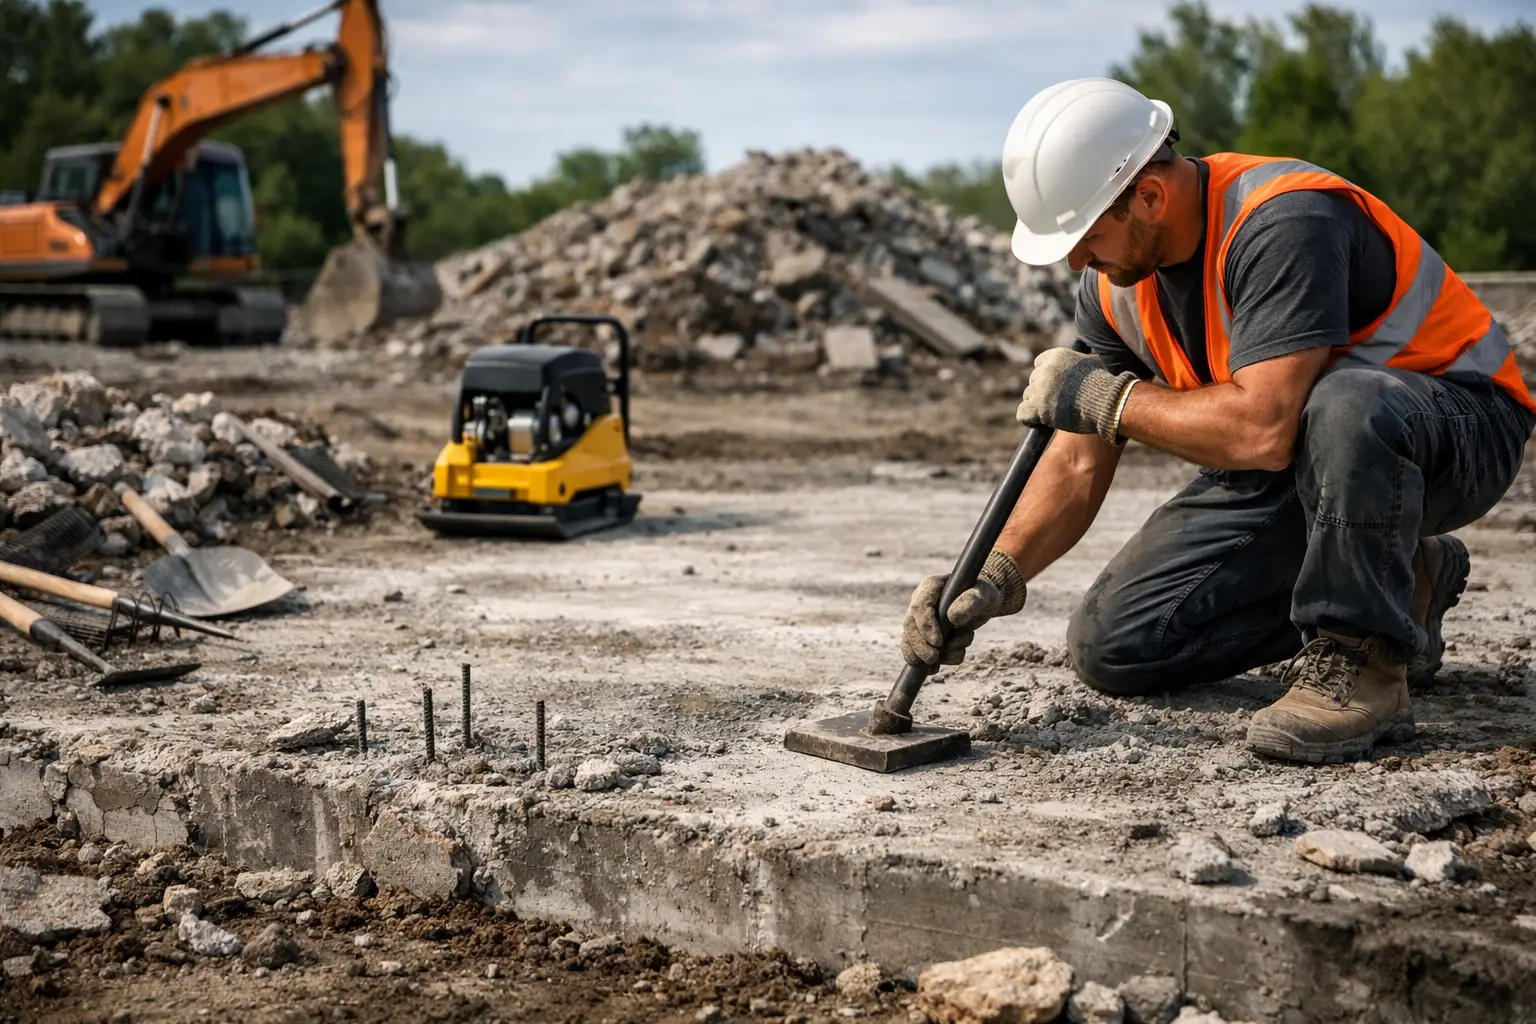
A demolition job is not finished when the old tiles, timber or kitchen cabinets are gone. The concrete slab underneath is now the foundation for every trade that follows. Knowing how to prepare slab after demolition properly prevents failed floor finishes, uneven rooms, moisture issues and costly delays once the renovation is underway.
A slab can look reasonably clean from the doorway and still have adhesive, tile bedding, paint, contaminants or high spots that will compromise the next installation. The goal is simple: leave a clean, sound, level surface that is suitable for the specified finish, whether that is new tile, hybrid flooring, carpet, epoxy, polished concrete or a waterproofed bathroom.
Start with a proper slab inspection
Before grinding or patching anything, inspect the exposed slab in good light. This is where the real condition of the floor becomes clear. Walk the whole area, not just the middle, and check along walls, doorways, wet areas and where removed partitions or cabinetry once sat.
Look for loose material, cracks, hollow-sounding sections, old adhesive, thick tile bedding, paint, levelling compounds and damage caused during removal. Mark anything that needs attention directly on the slab. A builder, tiler or flooring installer should be able to see the work required at a glance.
Not every crack is a structural concern. Fine shrinkage cracks are common in concrete and may only need treatment appropriate to the new floor system. Wider, moving or stepped cracks are different. They should be assessed before they are covered, especially if the planned finish is tile, stone, epoxy or polished concrete. Covering a problem does not fix it.
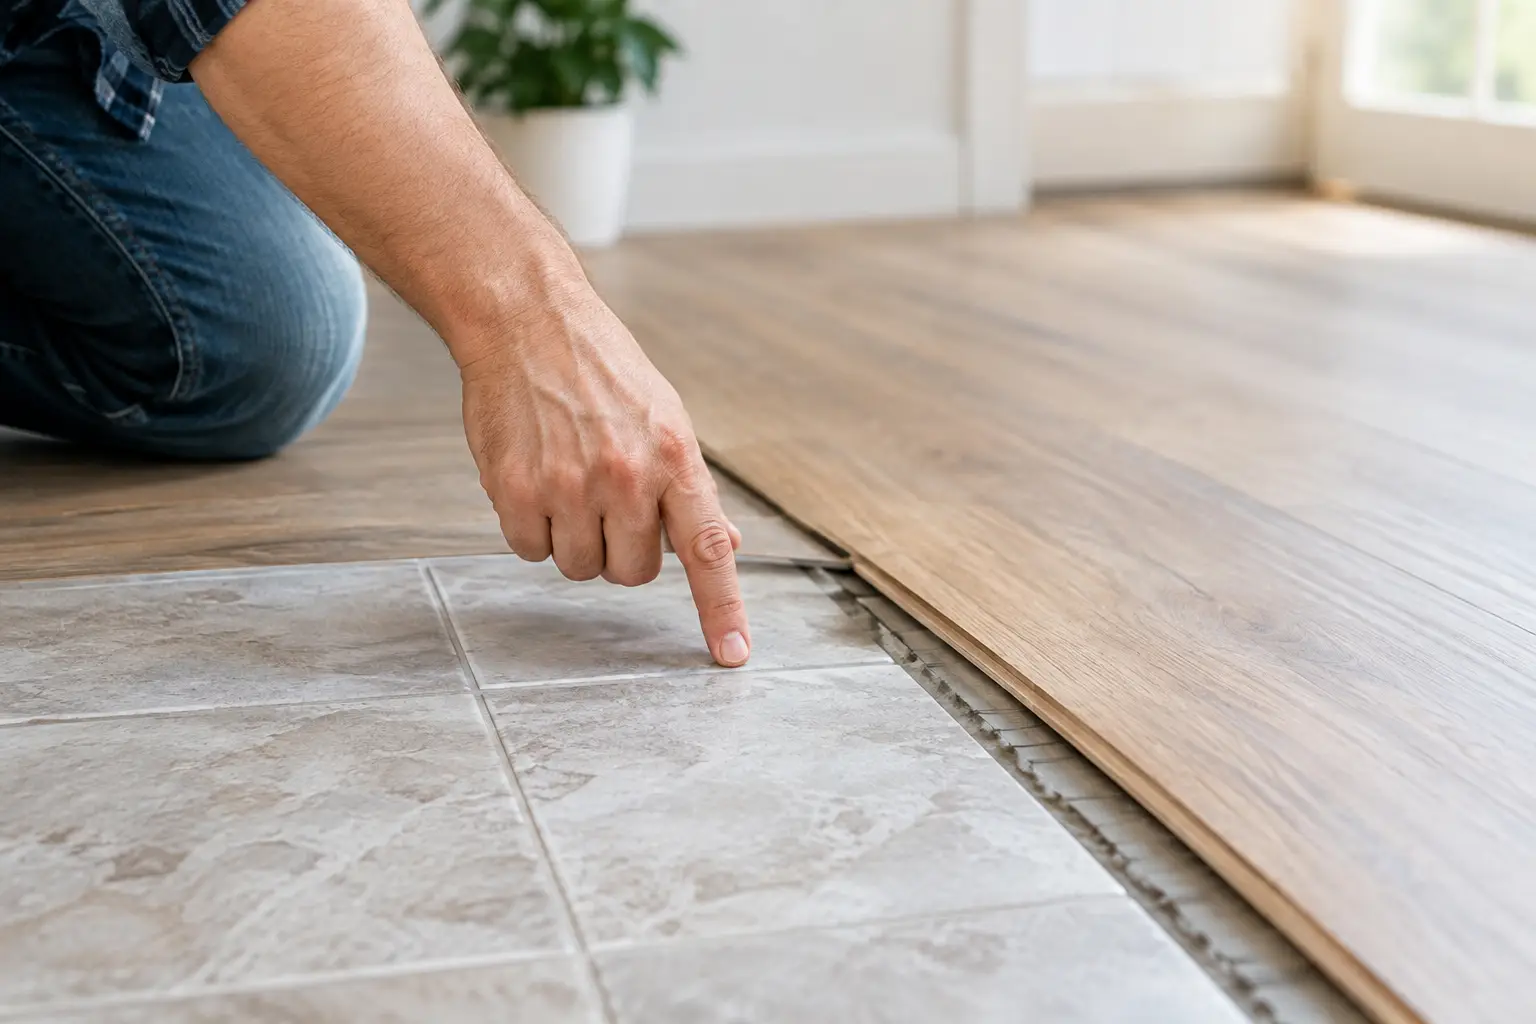
Also establish the required finished floor height. This matters where the new flooring meets existing rooms, external doors, stairs, cabinetry and bathroom thresholds. Removing old floor coverings can reveal unexpected height changes. It is far easier to plan for these now than to discover a door will not clear the new floor later.
How to prepare slab after demolition: remove every bond breaker
The next floor finish can only perform as well as the surface it bonds to. Any material left on the slab that is loose, weak, contaminated or incompatible becomes a bond breaker.
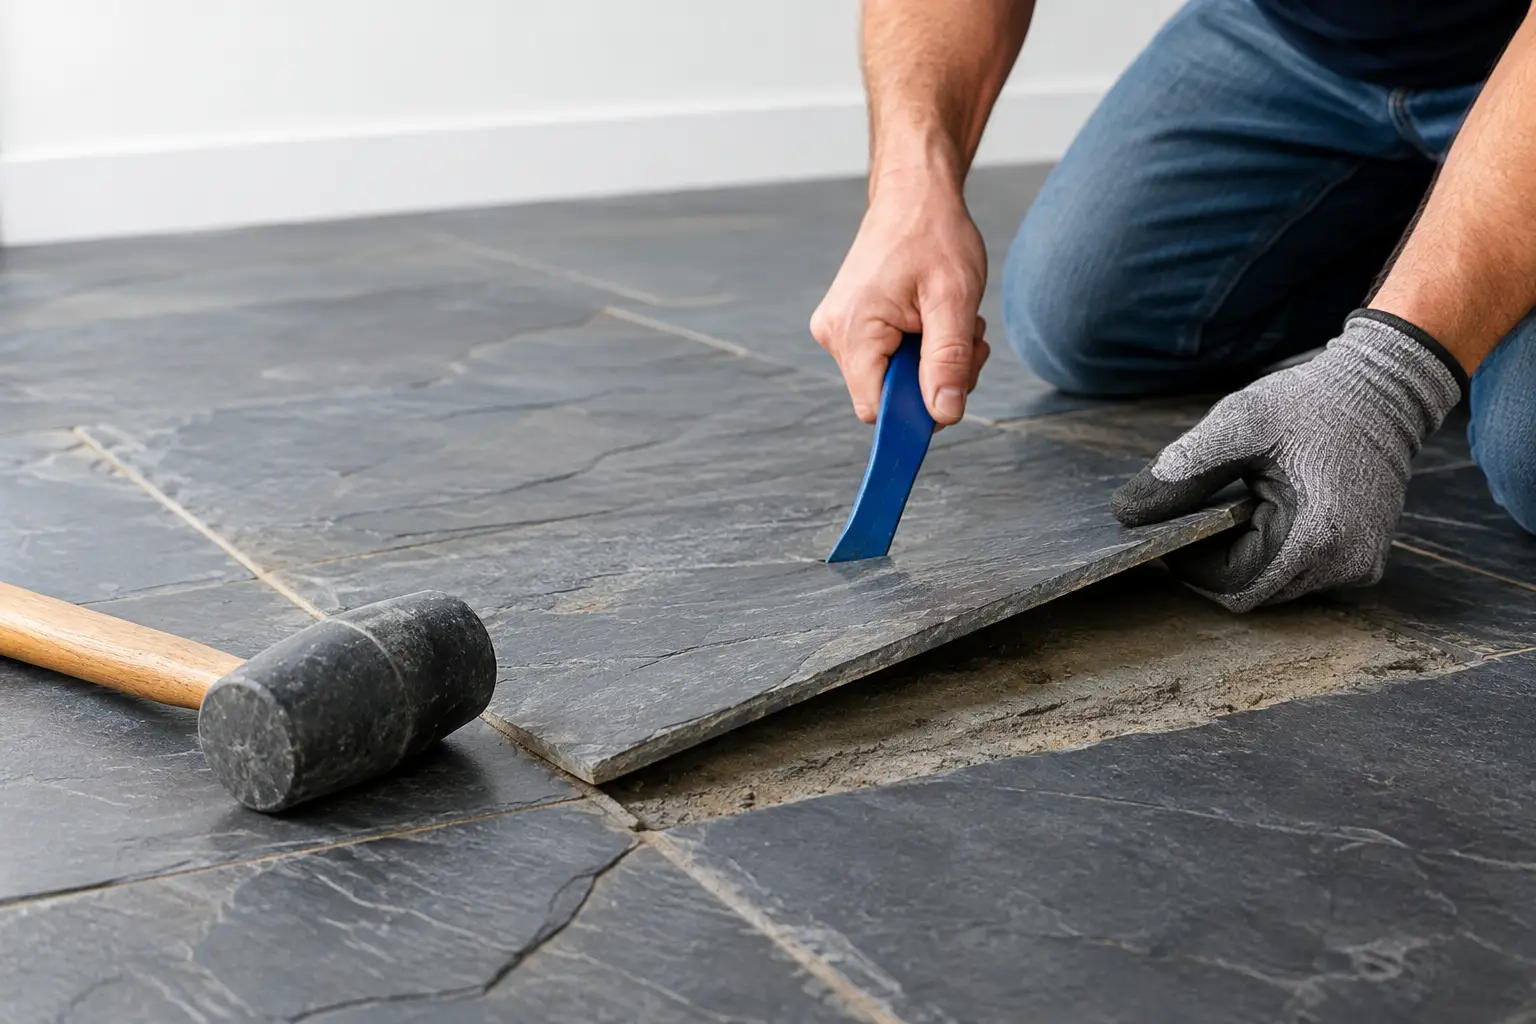
Tile glue, carpet adhesive, vinyl backing, timber mastic, paint overspray and old levelling products need to be removed to the standard required for the next trade. For a floating floor, the slab may only need to be flat, clean and dry. For direct-stick timber, tiles, waterproofing membranes or epoxy coatings, surface preparation is much more critical because the new system relies on adhesion.
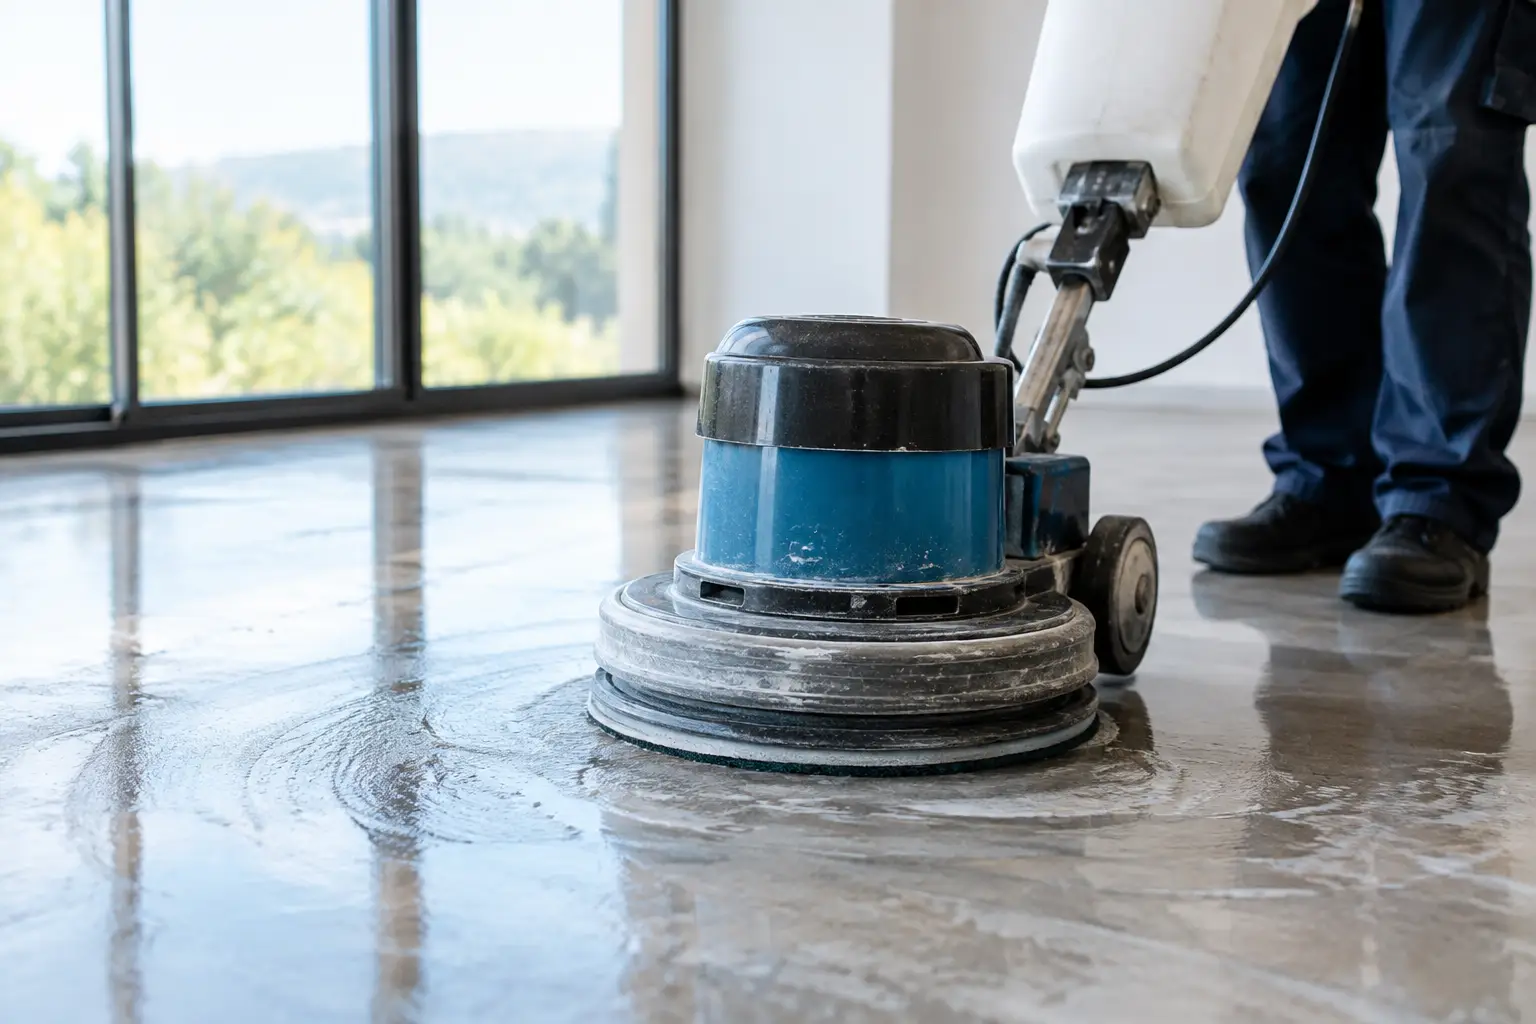
Mechanical removal is usually the reliable option for stubborn residue. Depending on the material and the slab condition, this can involve floor scrapers, jackhammers, floor grinders, PCD tooling or diamond grinding. The right method removes the unwanted layer without unnecessarily damaging the concrete below.
Chemical stripping is not a shortcut in many renovation settings. Residue from chemical products can create a new contamination issue and may interfere with adhesives, coatings or membranes. Where a floor needs dependable adhesion, mechanical preparation and thorough dust removal are generally the safer path.
The aim is not always to make the slab look perfectly polished. The aim is to expose a sound, consistent substrate that suits the installation system. A rough slab may be acceptable for some builds; a coating or polished-concrete finish will demand a higher standard of grinding and refinement.
Grind high spots and control the floor level
Demolition often exposes high spots around removed tile beds, old walls, glued-down timber and previous patch repairs. These areas can cause problems with flooring transitions, tile lipping, cabinetry and drainage falls in wet areas.
Use a long straightedge or laser level to identify the slab’s highs and lows. Do not rely on eyesight alone. A floor can appear flat while still having enough variation to cause issues with large-format tiles, hybrid planks or direct-stick finishes.
High spots should be ground down rather than buried under excessive levelling compound. Grinding creates room for the new system and helps keep build-up under control. Low areas can then be repaired or levelled with a compatible product after the slab has been properly cleaned and primed where required.
Bathrooms, laundries and commercial wet areas need extra attention. These spaces must maintain correct falls to drains while allowing for waterproofing, tile adhesive and tile thickness. Grinding without a plan can affect drainage, while indiscriminate patching can create ponding. Check the intended floor build-up before any levelling work begins.
Repair cracks, holes and damaged concrete
Once residue and weak material have been removed, repair work can be done on a sound base. Small holes from fixings, removed wall tracks, tack strips and cabinetry are common. So are chipped edges at doorways and damage where heavy demolition tools have been used.
Use repair products suited to the slab and the finish being installed. The repair needs to be stable, fully cured and compatible with primers, waterproofing systems, adhesives or coatings that will follow. A quick patch that remains soft or poorly bonded can fail under traffic or pull away when flooring is installed.
Cracks need a decision, not guesswork. If they are stable hairline cracks, the appropriate primer, membrane or crack treatment may be enough. If there is movement, moisture ingress or evidence of slab displacement, pause and investigate. Rushing ahead can lead to cracked tiles, split coatings or visible defects in the finished floor.
Where a slab has been cut for plumbing or electrical work, make sure reinstatement is properly compacted and repaired before any floor preparation continues. The repair should sit flush with the surrounding slab and not create a weak point beneath the new finish.
Check moisture before installing new flooring
A slab may feel dry and still hold moisture that affects adhesives, timber products, vinyl and coatings. This is particularly relevant after water damage, bathroom demolition, leaks, recent concrete work or when a property has been closed up with limited ventilation.
Moisture testing should match the flooring manufacturer’s requirements. The acceptable level depends on the product being installed and the adhesive or moisture barrier system being used. There is no single reading that suits every floor.
If moisture is above the acceptable limit, the answer is not to hope it improves once the floor is down. Identify the source first. It may be residual moisture, a plumbing issue, inadequate drainage, rising damp or a slab without an effective moisture barrier. The correct treatment might involve drying time, a moisture mitigation system or further investigation before installation.
This step is especially valuable for property investors and commercial operators working to a tight programme. Replacing a failed floor after handover causes far more disruption than addressing moisture before the next trade arrives.
Clean the slab for the next trade
Grinding creates fine dust that settles into pores, corners, wall edges and expansion joints. Sweeping alone is not enough. The slab should be vacuumed with appropriate dust-control equipment, including around perimeter edges and any penetrations.
Dust control matters for more than site cleanliness. Fine concrete dust can reduce adhesive bond, interfere with primers and travel through occupied areas of a home, office or tenancy. Containing dust during removal and grinding keeps the job safer and reduces the clean-up burden for everyone else on site.
After vacuuming, inspect again. The slab should be free of loose debris, nails, screws, rubbish, powdery residue and standing water. If a primer or membrane is specified, follow the product requirements exactly. Some systems need a particular concrete profile, while others require the slab to be dry, clean and free from contaminants.
Do not wash a prepared slab unless the next system allows for it and there is enough time for the slab to dry completely. Introducing water at the final stage can delay installation and complicate moisture readings.
Coordinate the handover clearly
A prepared slab is only useful if the next trade knows its condition. Before handover, confirm the planned finish, required flatness, moisture status and any repaired areas. If tiles are going down, the tiler needs a different substrate than an epoxy applicator. If hybrid flooring is planned, flatness tolerances may be more important than a highly profiled surface.
Take clear photos of the completed slab, particularly any crack repairs, levelling work, plumbing penetrations and areas where levels transition. This creates a useful record and makes coordination easier if another contractor is attending later.
For renovations across the Gold Coast, Brisbane, Northern NSW and the Sunshine Coast, fast turnarounds are often essential, but speed should not mean leaving hidden problems for the next trade. Rapid Stripped approaches floor removal and slab grinding with that handover in mind: remove the old materials thoroughly, control the dust and leave a substrate ready for the work ahead.
The best time to fix a slab issue is when the floor is bare. Get the surface clean, sound, flat and verified before the new finish arrives, and the rest of the renovation has a far better chance of running to plan.