
A painted floor can look like the easy part of a renovation until it starts lifting in strips, clogs sanding discs or leaves a patchy surface that nothing wants to stick to. Knowing how to strip floor paint properly comes down to identifying what is on the floor, what is underneath it and how clean the substrate needs to be for the next trade.
The goal is not simply to make the paint disappear. It is to leave concrete, timber or another substrate sound, clean and ready for its new finish without damaging the surface, filling the property with dust or creating a bigger repair job.
Start by identifying the paint and the floor below
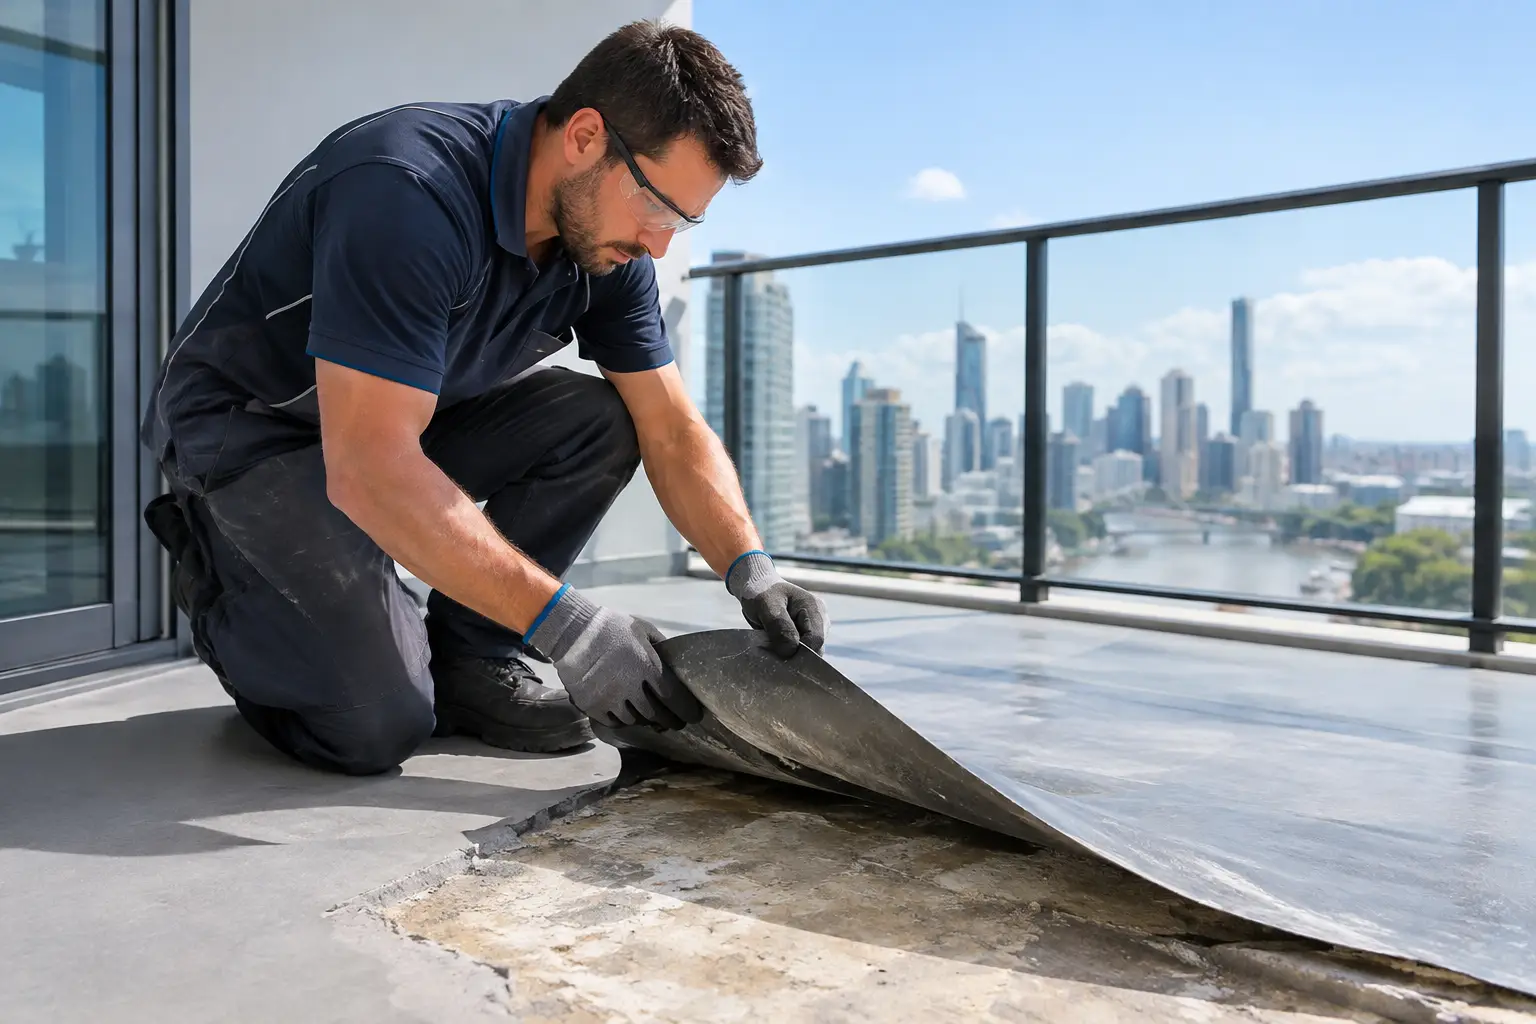
Floor paint behaves differently depending on its age, thickness and chemistry. A thin acrylic coating on a garage slab may soften with a suitable stripper or come off quickly with grinding. A two-pack epoxy, industrial coating or multiple layers of old paint can be far more stubborn. If the coating is glossy, very hard and resistant to common solvents, treat it as a heavy-duty system until proven otherwise.
The substrate matters just as much. Concrete can generally handle mechanical preparation, but aggressive grinding can expose aggregate, create low spots or leave swirl marks if the machine and diamond tooling are wrong. Timber needs more care. Chemical stripper can stain grain, excessive moisture can cause movement, and heavy sanding can quickly remove too much material from boards, parquet or engineered timber.
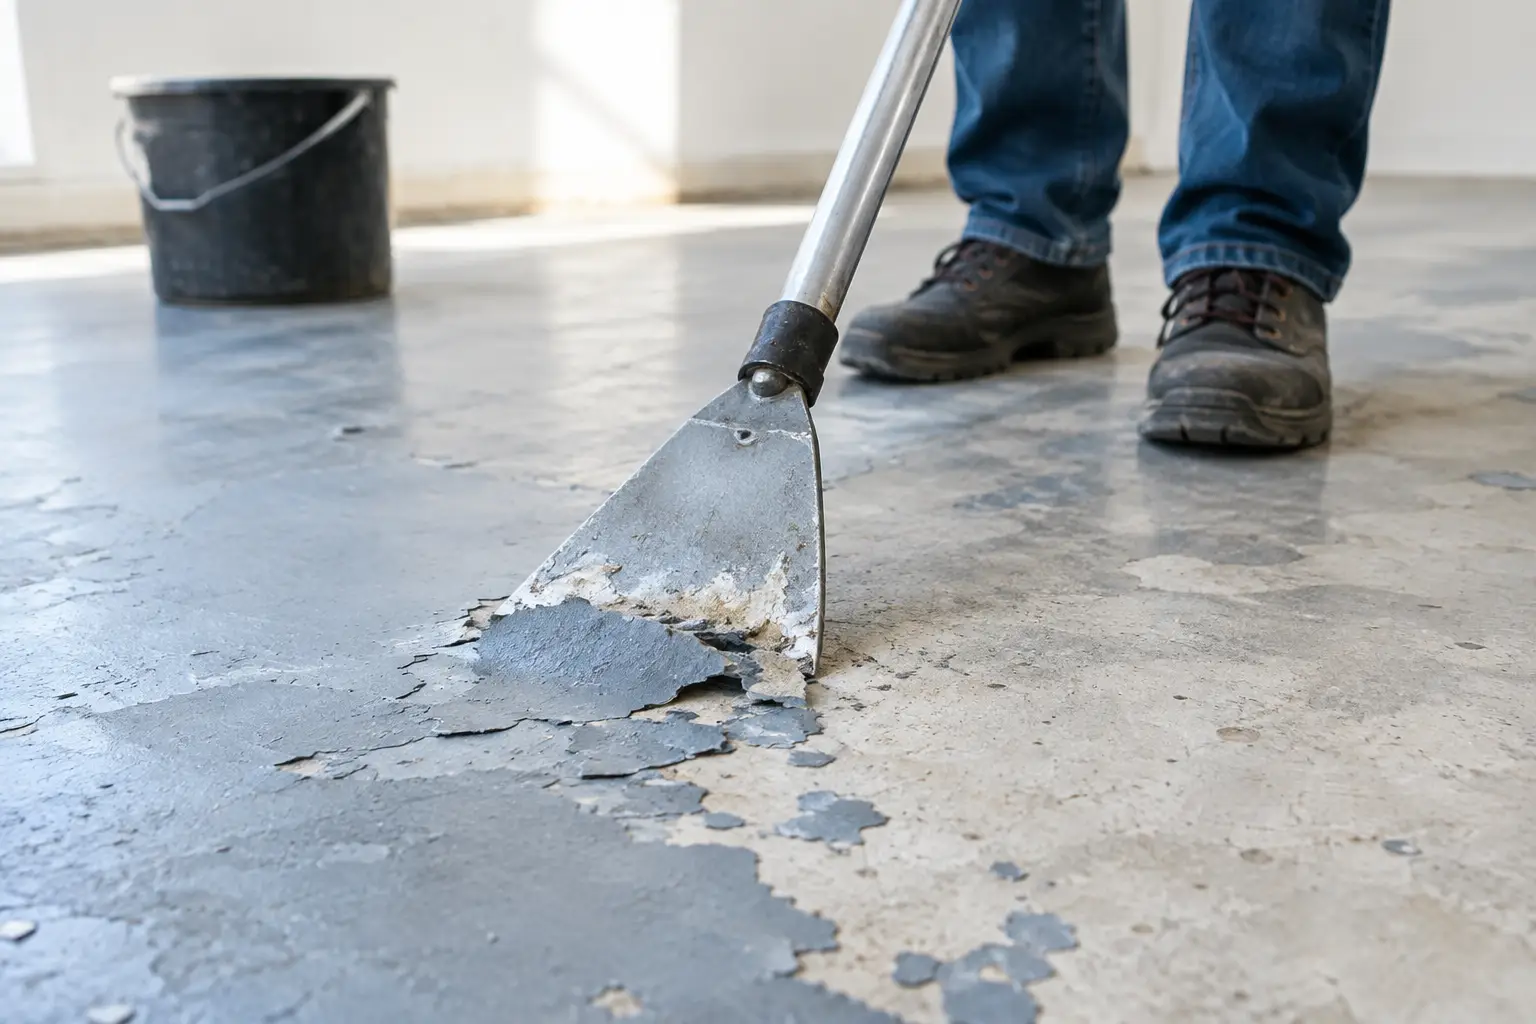
Check a small area first, preferably in a cupboard, corner or behind where skirting will sit. Scrape a section with a sharp paint scraper, then test your proposed method on a patch large enough to judge the result. This tells you whether the paint is releasing cleanly or whether it is smearing, softening into the pores, or taking part of the substrate with it.
If the building is older and the floor has several generations of paint, arrange appropriate testing before dry sanding or grinding. Older coatings may contain lead, and some commercial or industrial floors may have coatings or contaminants that need specialised controls. Never assume ordinary PPE and an open door are enough for hazardous dust.
How to strip floor paint with the right method
There is no single removal method that suits every floor. The best option is the one that removes the coating efficiently while protecting the substrate and the surrounding property.
Chemical stripping for detailed or sensitive areas
A quality paint stripper is often useful where access is tight, on stairs, around door jambs, beside walls or on timber that cannot tolerate aggressive mechanical work. Choose a product suited to the coating and substrate, then follow the manufacturer’s instructions on coverage, dwell time, ventilation and clean-up.
Apply the stripper evenly and give it enough time to work. Rushing this stage is a common mistake. When the paint wrinkles or softens, lift it with a scraper and collect the residue as you go. Avoid spreading softened paint across the floor, as this pushes it into concrete pores and makes final cleaning harder.
Chemical stripping has trade-offs. It is slower across large open areas, produces messy waste and may require more than one application for epoxy or thick built-up coatings. Concrete may also need washing or neutralising as directed by the product, followed by proper drying time before any levelling compound, adhesive, sealer or new coating is applied. On timber, use the least aggressive approach possible and avoid flooding the surface.
Mechanical removal for concrete floors
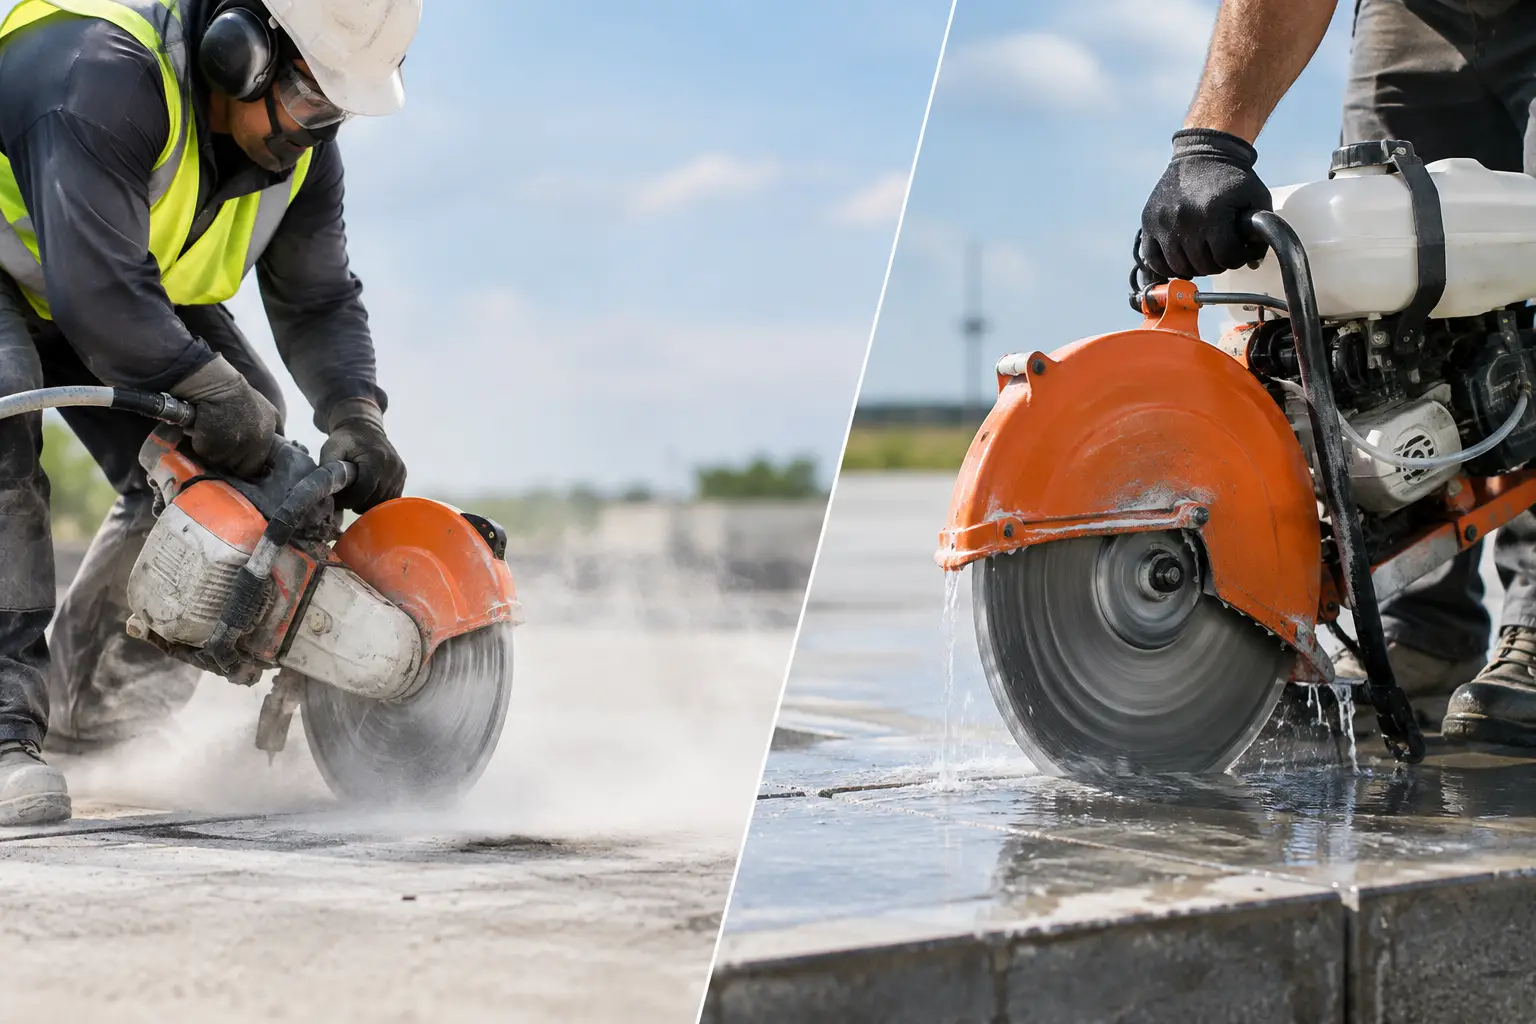
For most painted concrete floors, professional mechanical removal is the fastest and most consistent option. Floor grinders fitted with the correct diamond tooling can remove paint while also preparing the slab for tiles, vinyl, epoxy, polished concrete, carpet or another floor finish.
The word to focus on is correct. Too little cutting power leaves paint behind and wastes time. Too much can scar the slab, reveal aggregate or create a finish that requires extra patching. Coatings also vary across the same room. A garage may have a thin paint layer in the centre but thick tyre-marked residue or old repairs around the perimeter.
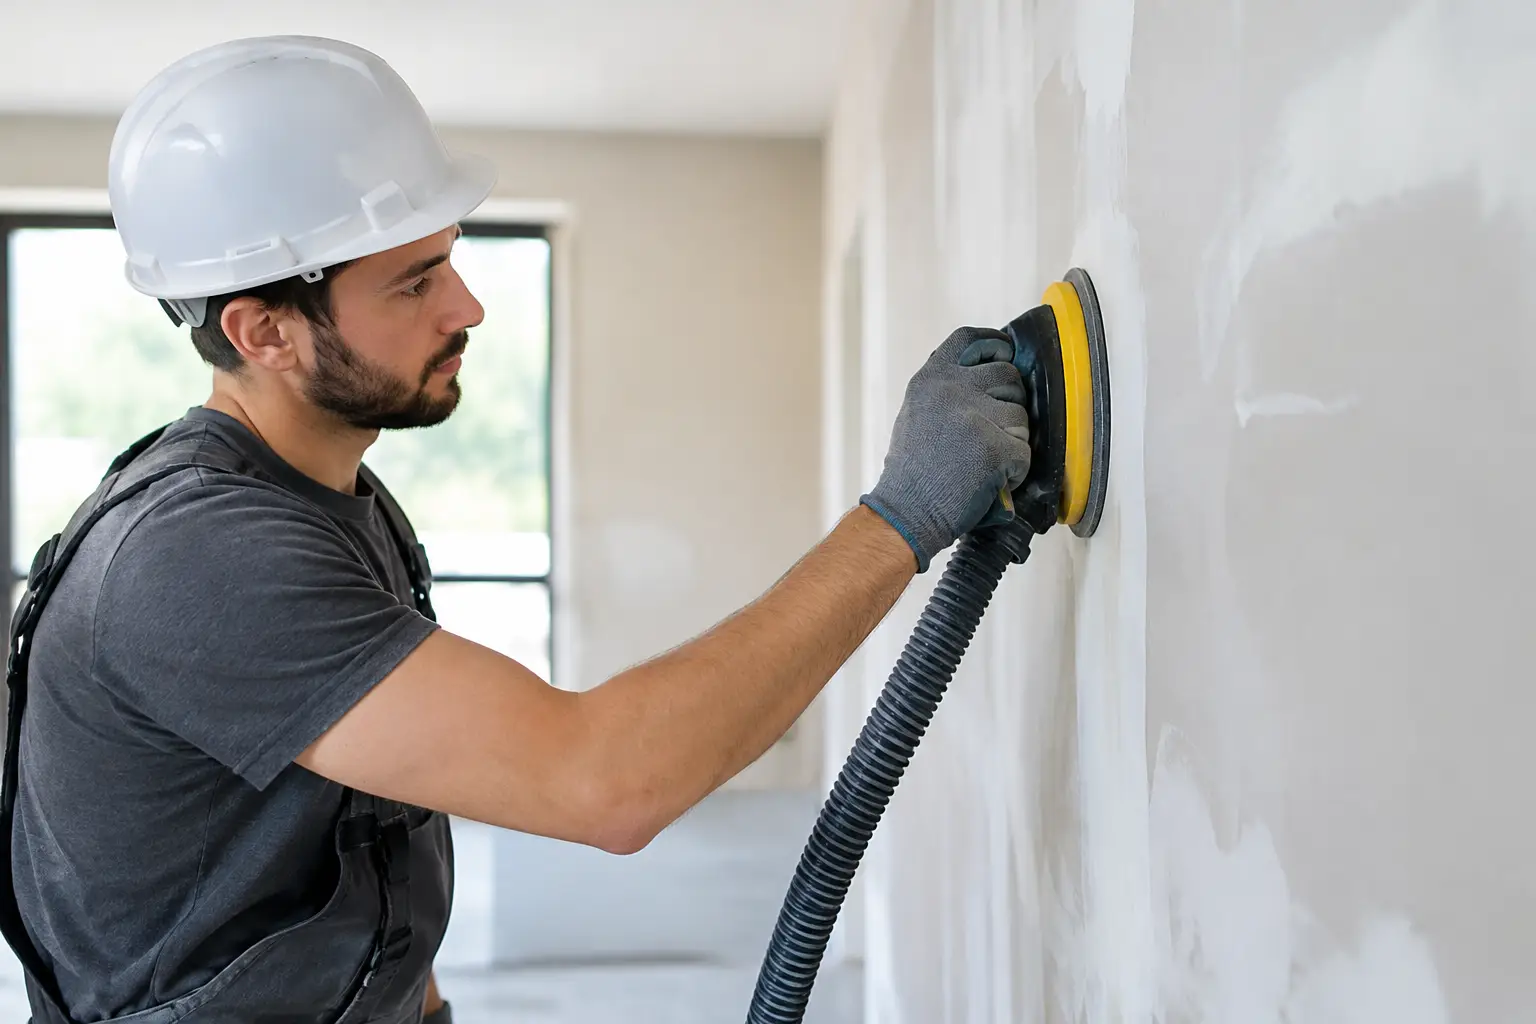
Use equipment connected to proper dust extraction. Grinding paint without effective extraction creates fine airborne dust that travels through rooms, settles on joinery and adds unnecessary clean-up to the project. The work area should be isolated where practical, with nearby surfaces protected and dust managed at the source rather than chased after the job.
Edges need separate attention. Large grinders cannot reach right to the wall, under fixed cabinetry or into tight corners. An edge grinder or hand-held preparation tool is normally needed to produce an even result across the whole floor. Skipping these areas can leave a weak border that affects new coatings, adhesives and floor finishes.
Sanding timber floors with restraint
Painted timber floors can sometimes be restored, but the condition of the boards decides whether stripping is worthwhile. Start by checking for protruding nails, loose boards, cupping, deep stains and past repairs. Set fasteners below the surface before sanding, and repair movement before investing time in paint removal.
A scraper and appropriate stripper may help remove thick paint from edges or detailed boards before sanding. For the main floor, use a controlled sanding sequence rather than trying to cut through everything with a coarse abrasive in one pass. Keep the machine moving and work with the grain where the floor layout allows it.
Be cautious with thin timber overlays and engineered boards. Their wear layer may not allow enough sanding to remove old paint safely. In that situation, replacement or a different floor preparation plan can be the more reliable call.
Prepare the site before removal starts
Good floor stripping is as much about containment and preparation as it is about the removal method. Clear the room completely where possible. Furniture, appliances, loose fittings and stored materials slow the job down and provide places for dust or stripper residue to hide.
Protect adjacent finished surfaces, especially skirting, cabinetry, glazing and door frames. If the property is occupied, isolate the work zone and plan a clear access path for waste removal. In commercial settings, coordinate the work around deliveries, customers, staff and other trades so the floor can be handed back without disrupting the next stage.
Wear PPE suited to the task. That may include gloves, eye protection, hearing protection, suitable respiratory protection and protective clothing. Chemical-resistant gloves are not the same as work gloves, and a disposable dust mask is not a substitute for proper respiratory protection during prolonged grinding or hazardous coating removal.
Keep ignition sources away from flammable stripping products, ventilate the space according to the product requirements and collect waste in suitable containers. Paint sludge, stripped coating and contaminated wash water should not be swept into garden beds, stormwater drains or onto the footpath.
Do not stop when the visible paint is gone
The floor is not ready just because it looks paint-free. Run your hand across the slab once it is clean and dry. You are checking for remaining high spots, adhesive-like residue, loose material, soft patches and paint trapped in pores. A new coating or adhesive will only perform as well as the surface below it.
On concrete, inspect for cracks, spalling, old patch repairs and moisture issues. Some patches need grinding flush, while cracks may need repair before a new finish is installed. If flooring adhesive or a coating is planned, the surface profile must suit that system. A smooth painted slab, a heavily ground slab and a chemically stripped slab can all require different preparation before installation.
On timber, vacuum thoroughly between sanding stages and inspect in good light. Remaining paint along board edges, nail holes and low areas can show through clear coatings or affect stain absorption. Do not apply a finish until the floor is clean, dry and evenly prepared.
When professional floor stripping is the smarter option
DIY removal can suit a small, well-ventilated area with a simple coating and a forgiving substrate. It becomes less practical when the floor is large, the coating is epoxy, the slab needs grinding for a new installation, or dust and downtime need to be tightly controlled.
Professional removal is also worth considering where access is difficult, the property is occupied, the job involves old or potentially hazardous coatings, or the result needs to meet a builder’s or flooring installer’s specification. The right machinery, edge tools and dust-control setup make a major difference to both speed and final surface quality.
For homeowners, builders and commercial operators across Northern NSW, the Gold Coast, Brisbane and the Sunshine Coast, Rapid Stripped handles difficult coating removal and slab preparation with the aim of leaving the site clean and ready for the next trade.
The best time to make decisions about paint removal is before the new floor, adhesive or coating is booked. Give the substrate the attention it needs early, and the rest of the renovation has a far better surface to build on.