
A new floor, waterproofing system or coating is only as reliable as the surface beneath it. Surface preparation is the work that turns a stripped-out room into a sound, clean and workable base for the next trade. Skip it, rush it or treat it as an afterthought, and problems tend to show up later as loose tiles, uneven flooring, failed adhesives, moisture issues or costly delays.
For homeowners and builders, the goal is straightforward: remove what no longer belongs, identify what the substrate needs, and leave the site ready for installation. That sounds simple until old tile bedding, stubborn black adhesive, epoxy coatings, damaged screed or an uneven concrete slab enter the picture. This is where specialist equipment, proper dust control and experienced operators make a real difference.
What surface preparation actually involves
Surface preparation is not just sweeping a floor after demolition. It is a controlled process of exposing and conditioning the substrate so it can accept its next finish. Depending on the project, that may involve lifting floor coverings, removing adhesive residues, grinding high spots, repairing damaged areas, or stripping old coatings that would prevent a new product from bonding correctly.
The required finish depends on what is being installed next. A floor receiving large-format tiles needs a different level of flatness from one receiving carpet. A slab being coated with epoxy has different cleanliness and profile requirements from a slab receiving hybrid flooring. Waterproofing in a bathroom also depends on a stable, clean surface without loose material or contamination.
The best approach is never one-size-fits-all. The existing material, condition of the slab, access, occupied status of the property and programme for following trades all affect the method used.
Removal comes before preparation
Most preparation work starts with removal. Tiles, timber, vinyl, cork, terracotta, slate, marble, carpet and old epoxy systems can all leave behind residue that needs more than basic scraping. In many older properties, the visible floor covering is only the first layer of the job.
Tile removal can expose thick bedding or patches of failed screed. Vinyl may leave adhesive across the entire slab. Timber flooring can leave staples, nails, levelling compounds or glue. Old carpet can conceal paint overspray, moisture staining and crumbling underlay. Each material needs to be removed without causing unnecessary damage to the surface below.
The aim is not to leave a floor that merely looks stripped. It is to leave one that is genuinely ready for the next stage.
Why clean, sound substrates matter
Adhesives and coatings need direct contact with a suitable substrate. Dust, waxes, paint, old glue, weak concrete and loose residues create a barrier between the product and the slab. A new finish may appear fine at handover, then fail once foot traffic, thermal movement or moisture pressure starts working on it.
Flatness matters just as much. Small ridges from tile bedding or uneven grinding may not seem significant, but they can telegraph through vinyl planks, create hollow spots beneath tiles or make floating floors feel soft underfoot. Large-format tiles are particularly unforgiving because slight variations across the slab can cause lipping and make installation slower.
There is also the practical issue of trade sequencing. A tiler, floor layer, waterproofer or painter should not arrive to find rubbish, adhesive patches and uneven slab repairs still waiting to be dealt with. Proper preparation protects the schedule by handing over a site that is ready, not almost ready.
Assess the floor before choosing a method
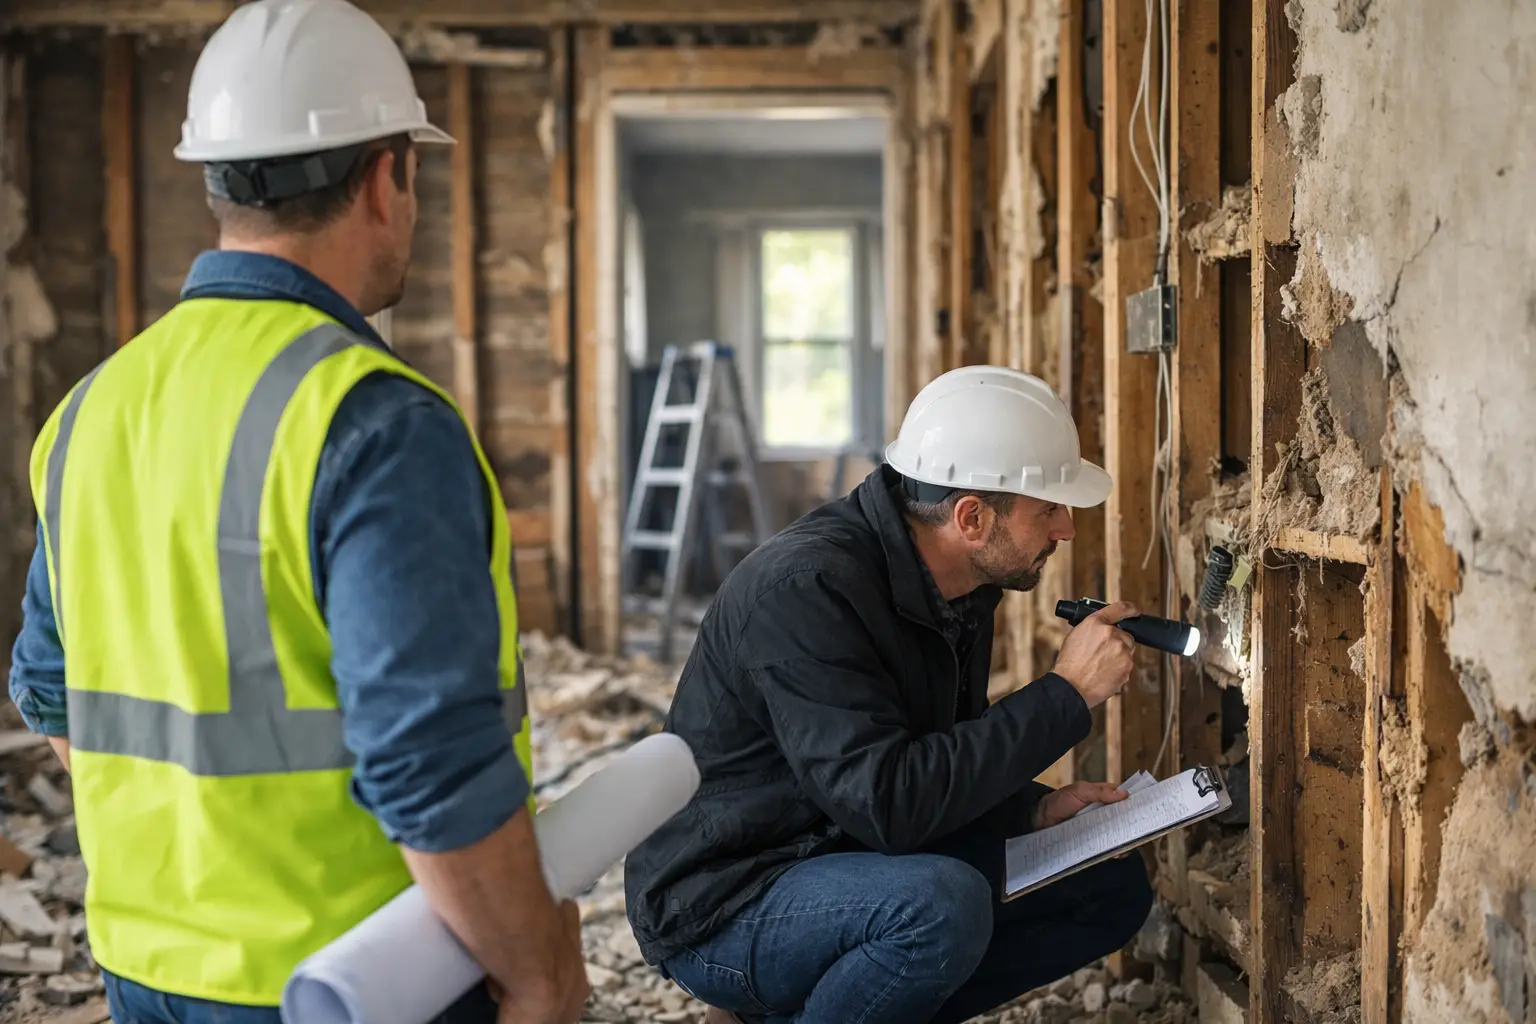
A professional assessment should happen before machines are switched on. The right removal and preparation method comes from understanding what is there, not assuming every concrete slab is the same.
Key checks include the existing floor covering, adhesive type, slab condition, previous coatings, floor levels, access constraints and the finish planned for the room. In occupied homes, dust containment, furniture protection and safe movement through adjoining areas are also part of the planning.
Older buildings require extra care. If materials are suspected to contain asbestos or other hazardous substances, they must be assessed and managed correctly before disturbance. Guesswork has no place in demolition or floor removal.
Moisture should also be considered where relevant. Grinding can expose a clean slab, but it cannot solve an underlying moisture issue on its own. If a floor has signs of dampness, salts, staining or previous coating failure, the installer needs that information before selecting the next system.
Grinding versus scraping
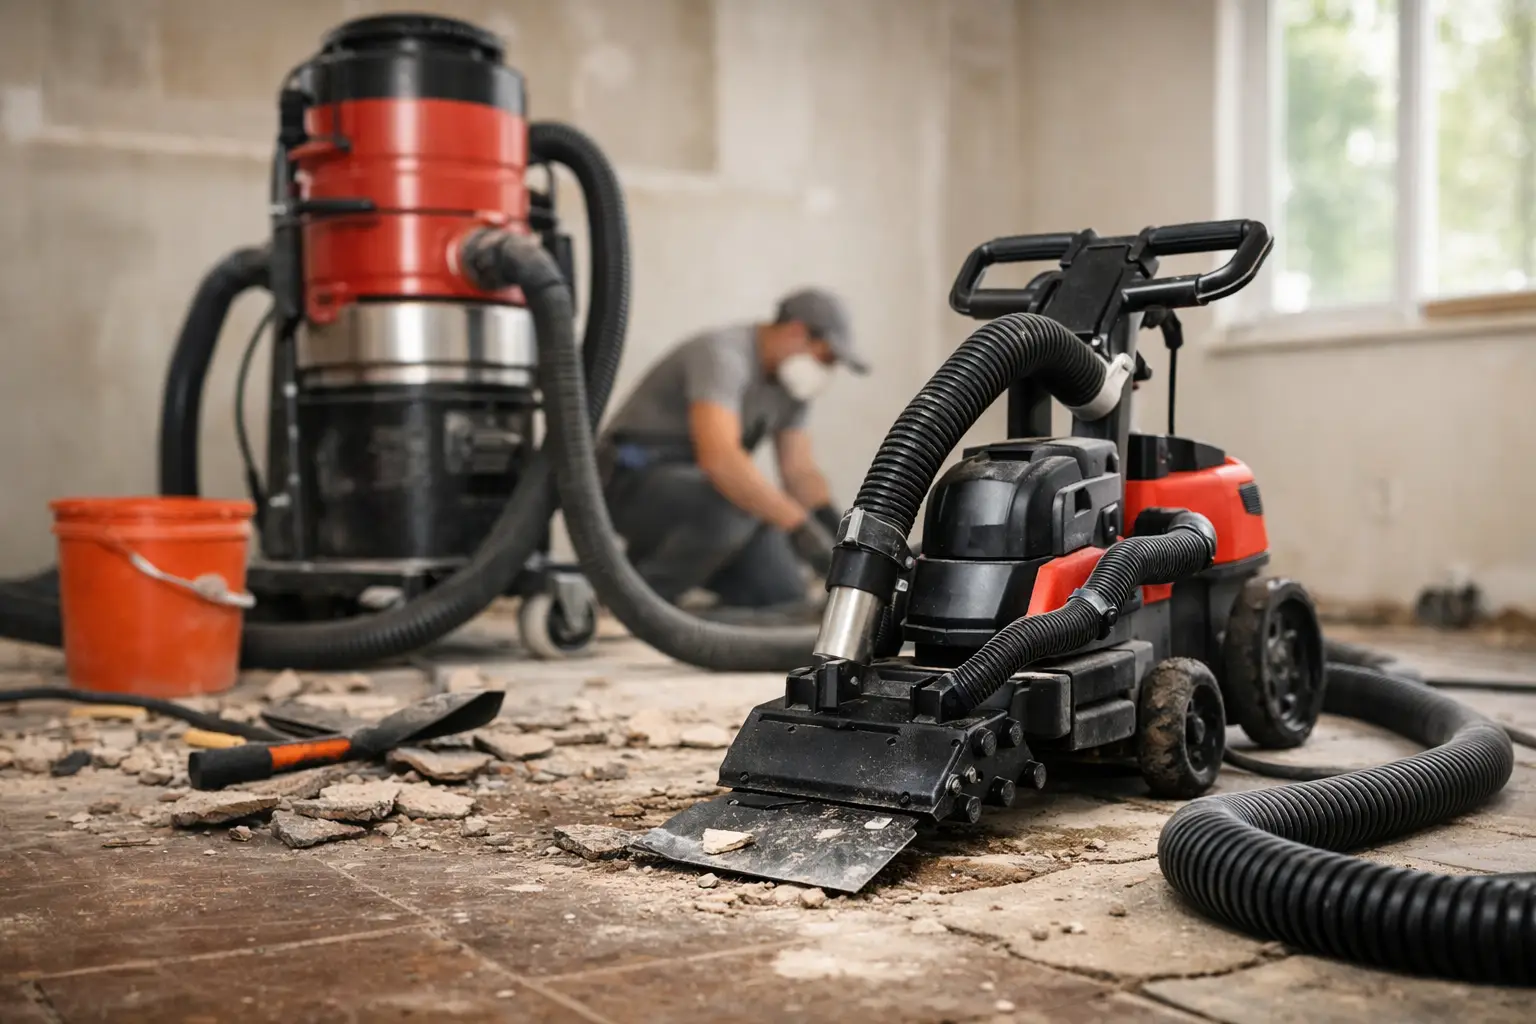
Scraping is useful for lifting loose residues and reducing bulk material. It is often the first step after carpet, vinyl or tile removal. But scraping alone may leave adhesive films, high spots and contaminated areas that compromise the next finish.
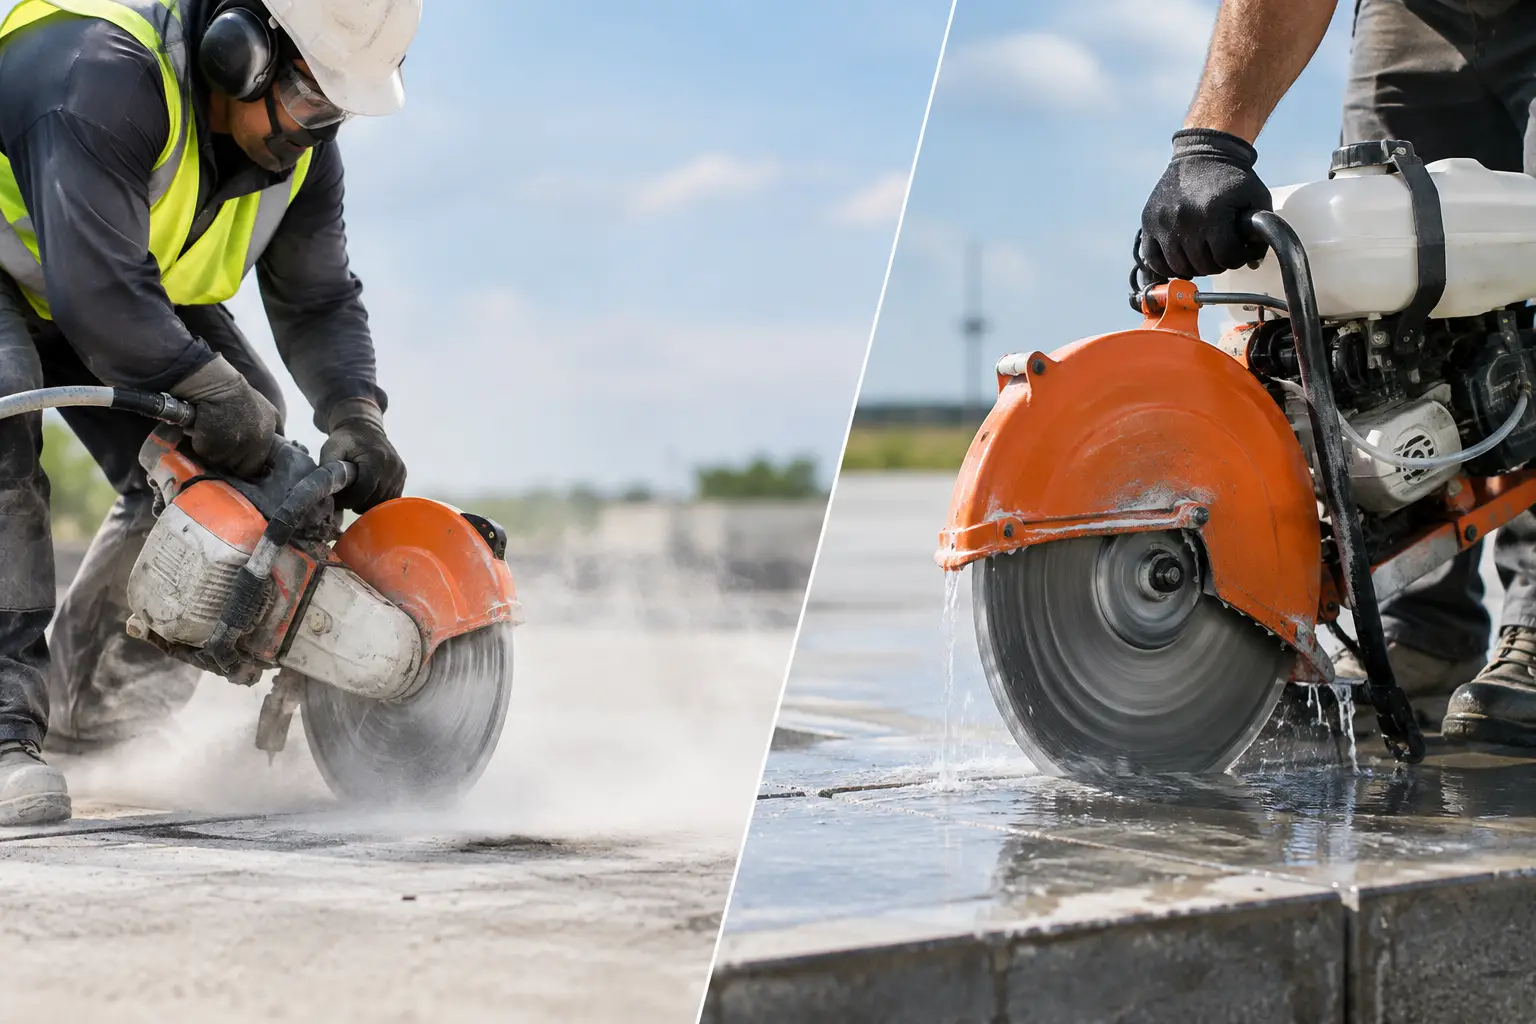
Concrete grinding is used to remove stubborn residues, smooth uneven sections, open the surface and create the required profile for adhesives or coatings. The correct diamond tooling matters. Aggressive tooling can remove material quickly, but it may also leave a rougher finish than the following trade needs. Finer grinding can produce a smoother result, although it takes more time and may not be appropriate where a stronger surface profile is required.
This is why the next finish should be known before preparation begins. A floor prepared for polished concrete is not prepared the same way as a slab for tiles or glue-down vinyl.
Dust control is part of the job, not an optional extra
Floor grinding and removal create dust. There is no honest way around that. The difference is how it is controlled.
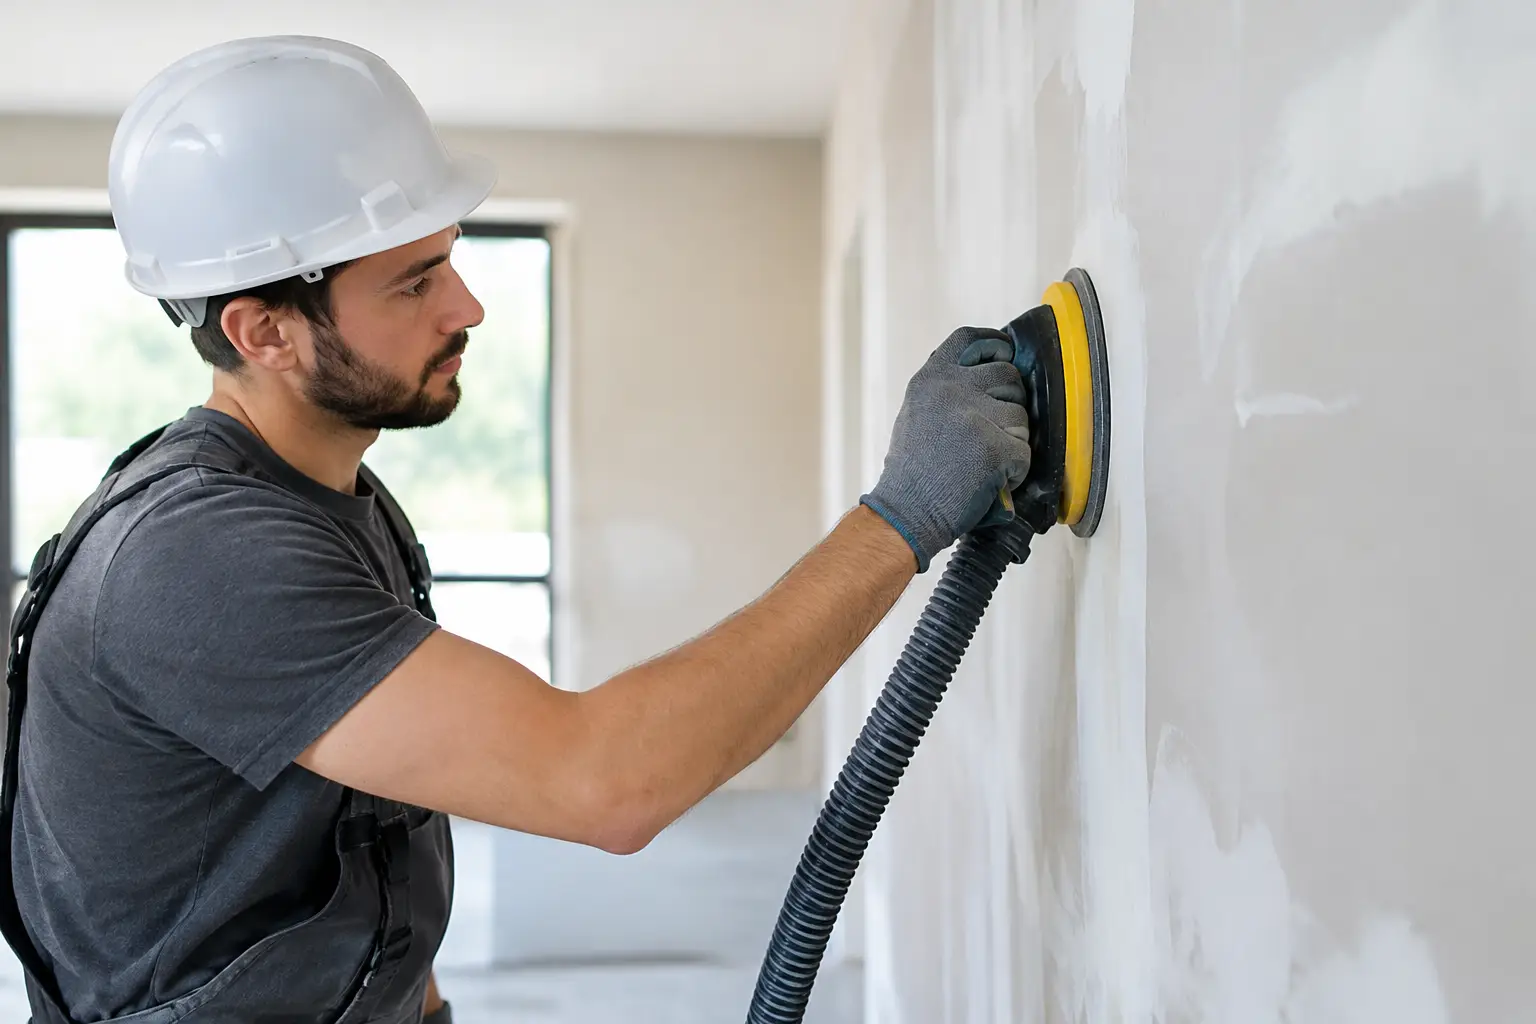
Professional dust extraction captures airborne particles at the source while grinding, rather than allowing fine concrete dust to drift through a home, office or retail space. Containment measures, careful work zones and regular clean-up further reduce disruption, especially when parts of the property remain in use.
Good dust control protects more than appearances. Fine dust can settle in cabinetry, air-conditioning systems and adjoining rooms, creating a clean-up problem long after the removal crew has left. It can also interfere with adhesion if it is allowed to settle back onto a prepared surface.
For commercial sites, this discipline helps keep work areas safer and makes staged projects easier to manage. For residential renovations, it means less mess travelling through the house and a cleaner handover to the next trade.
Common surface preparation problems
The hardest jobs are rarely hard because of one obvious issue. They are hard because multiple layers and defects have built up over time. A bathroom renovation may reveal old tiles over tiles, thick bedding, deteriorated waterproofing and a slab that needs levelling. An office strip-out may uncover carpet glue, patch repairs, painted concrete and service penetrations needing attention.
Adhesive residue is one of the most common hold-ups. Some adhesives soften or release with the right process; others need mechanical removal through grinding. Black adhesive, pressure-sensitive glue and old levelling products should not be covered blindly, particularly where the new flooring manufacturer specifies a clean, compatible substrate.
Damaged concrete is another frequent issue. Small chips and shallow marks may be acceptable depending on the finish, while cracks, loose sections or deeper hollows may need repair before installation. Preparation is about making informed decisions, not chasing a cosmetic result where it is unnecessary.
Planning surface preparation around the renovation schedule
Good preparation work keeps the whole project moving when it is booked at the right point. Removal should occur after services are isolated and before new cabinetry, fixtures or finished surfaces are installed. The area should be clear enough for equipment access, and the following trade should know what condition the floor will be handed over in.
On many jobs, experienced crews can complete removal, grinding and clean-up within a day. That depends on the size of the area, material layers, access and condition of the substrate. A small clear room with standard tiles is very different from a multi-room strip-out with thick adhesive and restricted access through an occupied building.
Clear communication prevents wasted time. Let the removal team know what finish is going down next, whether there are level requirements, and if the property has access restrictions or noise limits. Let the installer know if repairs, moisture testing or additional levelling may be needed after the floor is exposed.
Rapid Stripped handles the demanding removal and preparation work that can stall renovations, from difficult tile bedding and adhesives to slab grinding and commercial strip-outs. The focus is a clean, safe handover that gives the next trade a proper surface to work with.
The right result is a floor ready for the next trade
A prepared surface does not need to look polished to be ready. It needs to be clean, stable, appropriately flat and free from materials that could affect the new installation. In some projects, that means a smooth slab ready for vinyl. In others, it means a mechanically profiled surface ready for a coating, or a stripped bathroom floor ready for repairs and waterproofing.
That distinction matters. Chasing the wrong finish can waste time, while accepting poor preparation can cost far more once the new floor is installed. The practical answer is to prepare the substrate for its actual purpose, then confirm the next trade can start without backtracking.
When the old floor is gone and the slab is properly dealt with, the renovation stops being held up by what was there before. It becomes a clean, workable site where the next part of the job can begin with confidence.