
A strip-out sets the pace for every trade that follows. Get it right and the plumber, electrician, tiler or flooring installer walks onto a clean, accessible site with sound surfaces to work from. Get it wrong and hidden damage, adhesive residue, airborne dust and missed rubbish can quickly turn a straightforward renovation into a costly hold-up.
The best practices for renovation strip outs are not about tearing out materials as fast as possible. They are about removing the right materials, protecting what stays, controlling the mess and leaving the site genuinely ready for the next stage. Whether you are renovating a bathroom, kitchen, unit, office or full home, the work needs a clear plan before the first tile is lifted.
1. Define the strip-out boundary before work starts
A proper scope prevents accidental demolition. Mark exactly what is being removed and what remains: floor finishes, wall tiles, cabinetry, skirtings, fixtures, adhesives, screeds, partitions, ceiling linings or external surfaces. In an occupied property, also identify rooms, walkways and services that must remain operational and protected.
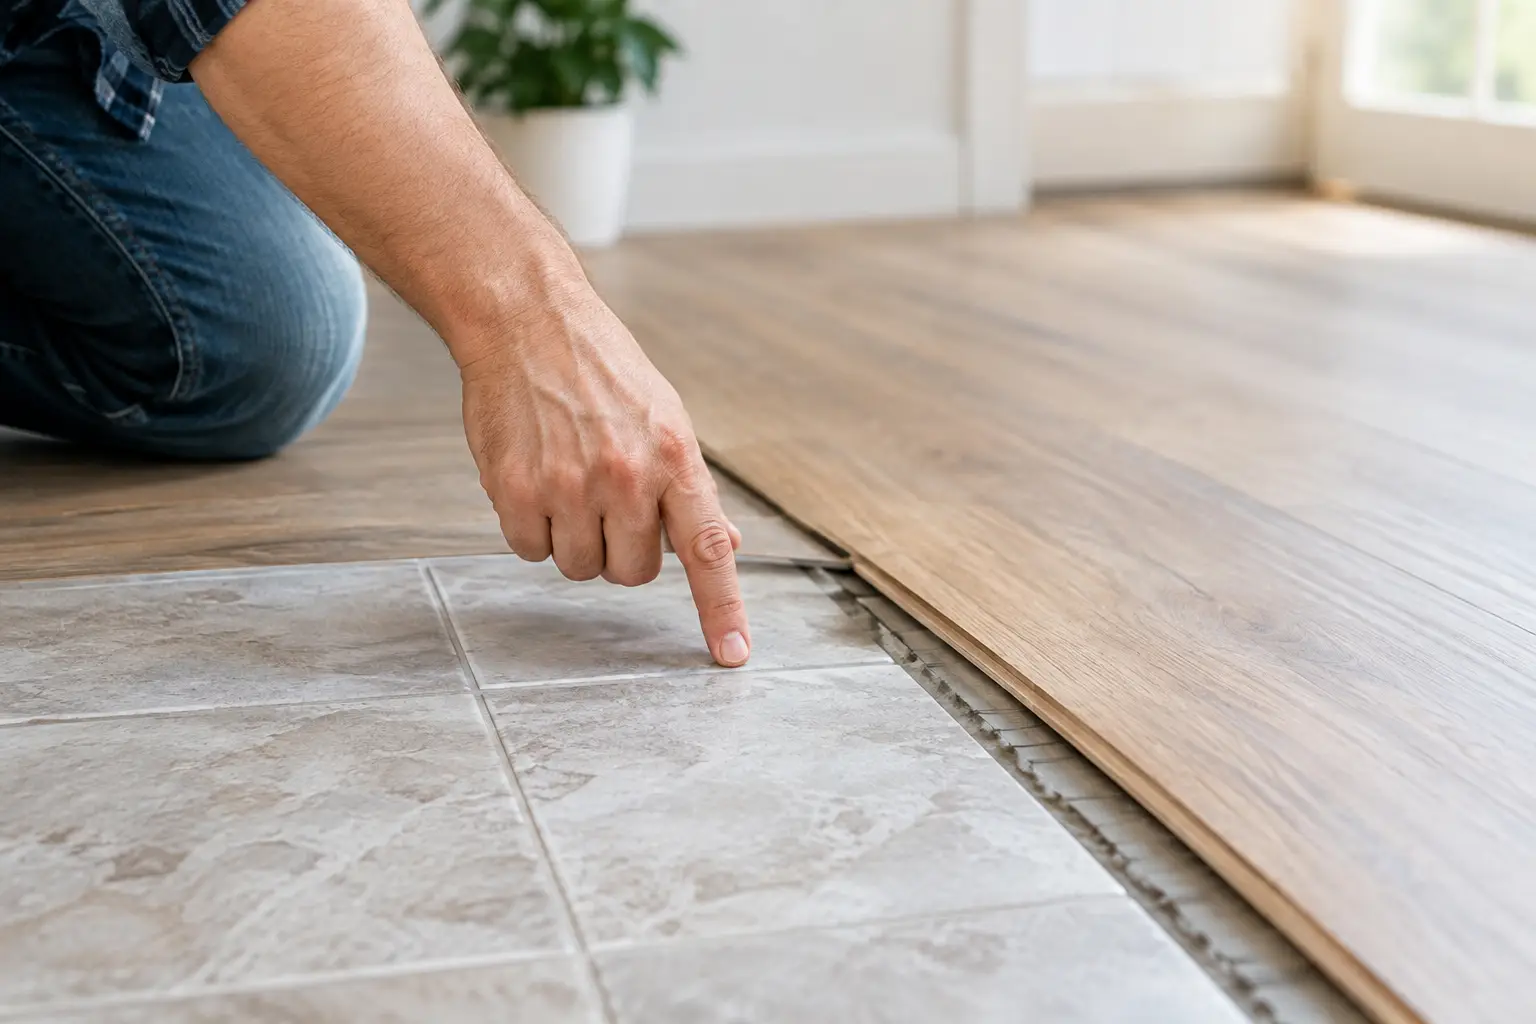
This sounds basic, but renovation drawings and site conditions do not always match. A wall that appears non-structural may contain electrical cabling, plumbing or data lines. Flooring that looks like a simple tile removal can conceal deep bedding, old levelling compounds, waterproofing membranes or multiple layers of previous finishes.
Walk through the job with the builder, owner or project manager before work begins. Confirm access points, rubbish routes, work hours and the required finish. The phrase “remove the floor” is not a finish specification. Clarify whether the next trade needs a bare slab, a smooth slab, adhesive-free concrete or a surface mechanically prepared for a new coating or floor covering.
2. Check for hazardous materials and live services
Safety starts before demolition tools arrive on site. Older homes and commercial buildings can contain asbestos-containing materials, lead-based coatings, silica-producing products and other hazards. Never assume a vinyl backing, fibre-cement sheet, old adhesive or textured coating is safe to disturb based on appearance alone.
If there is any doubt, arrange appropriate testing and follow the required removal process before strip-out work proceeds. Disturbing suspect material without confirmation can create serious health risks and stop the project entirely. The same discipline applies to mould, damaged insulation and animal waste in concealed areas.
Services must also be identified and isolated where necessary. Electrical circuits, gas, water, drainage, communications and fire services can run through floors, walls and ceilings in unexpected locations. Isolation should be confirmed by the relevant qualified trade, not guessed at on site. A fast strip-out is only useful when it does not create an electrical incident, a burst pipe or a damaged essential service.
3. Protect the parts of the property that stay
Renovations create dust, vibration and traffic. Without protection, a strip-out can damage finished floors in adjoining rooms, scratch door frames, mark lifts and common areas, or leave a fine layer of dust through an occupied property.
Plan protection around the full work path, not just the demolition zone. That includes entry points, hallways, stairs, lifts, loading areas and the route to the skip or rubbish vehicle. Use suitable floor protection, corner guards and temporary barriers, then check them as work progresses. Protection that shifts under heavy traffic is not doing its job.
Dust containment deserves the same attention. Tile, adhesive, concrete and screed removal can generate large volumes of fine dust, particularly when grinding is needed. Isolate the work area where practical, close or protect openings to occupied spaces, and use extraction equipment designed for the task. Dry sweeping simply moves dust around. Controlled removal and proper clean-down protect the property, neighbouring tenants and the people working on site.
4. Use the right removal method for the material and substrate
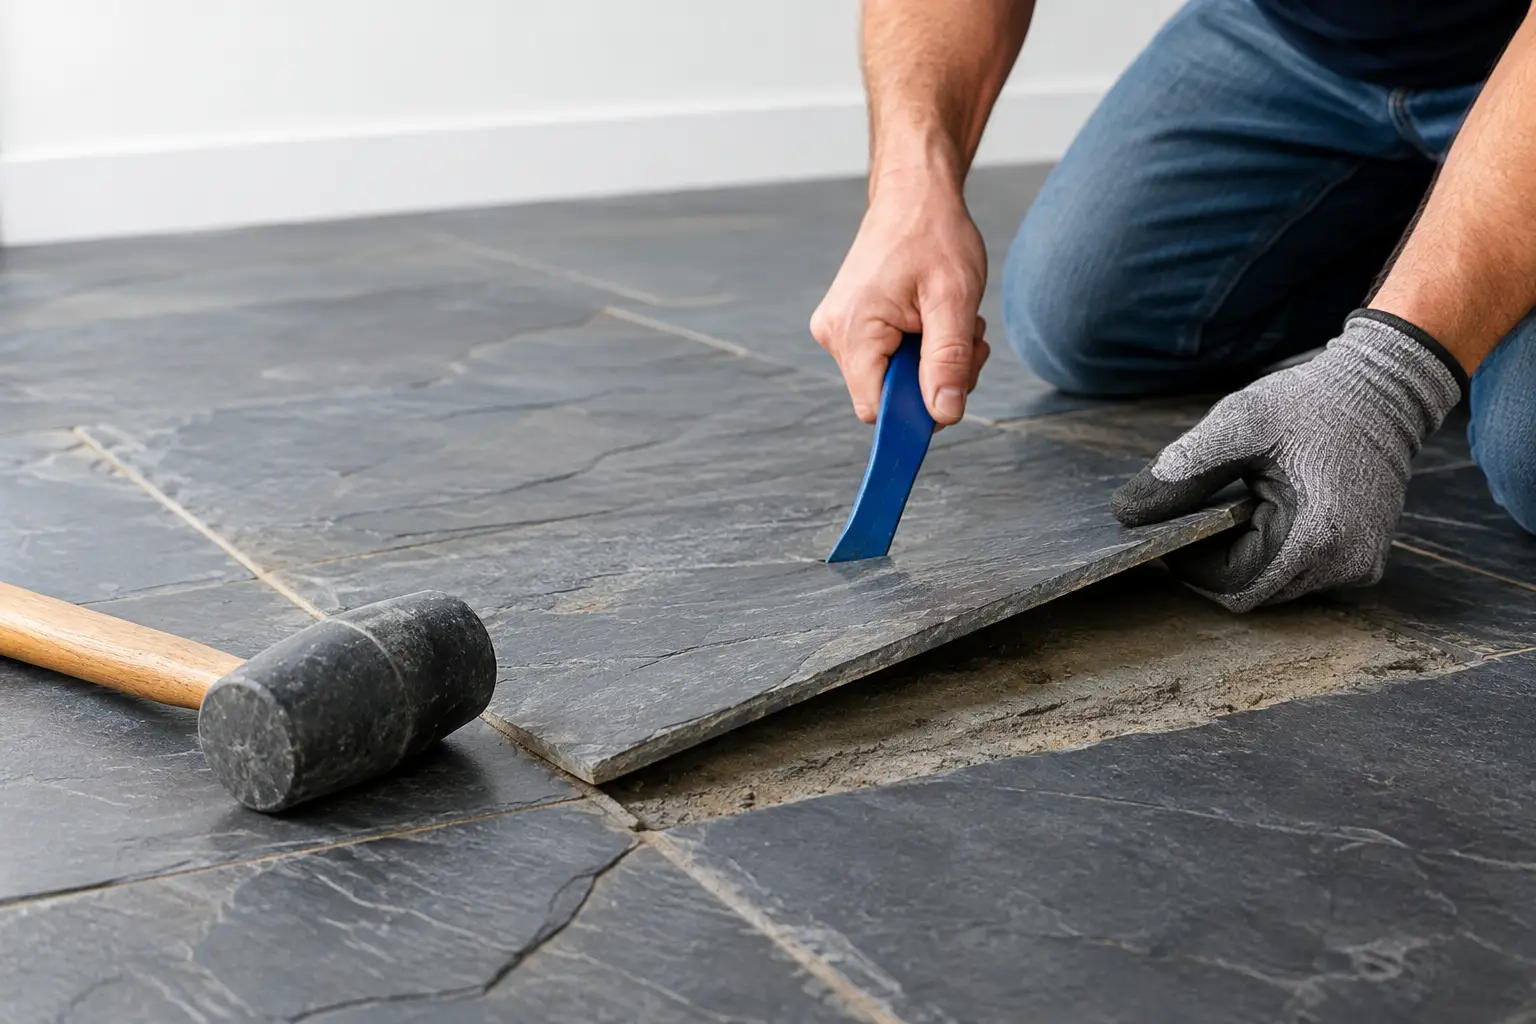
There is no single tool or technique that suits every strip-out. Timber flooring, ceramic tiles, carpet, sheet vinyl, epoxy, marble, slate and old glue each behave differently. The condition of the substrate matters just as much as the surface material.
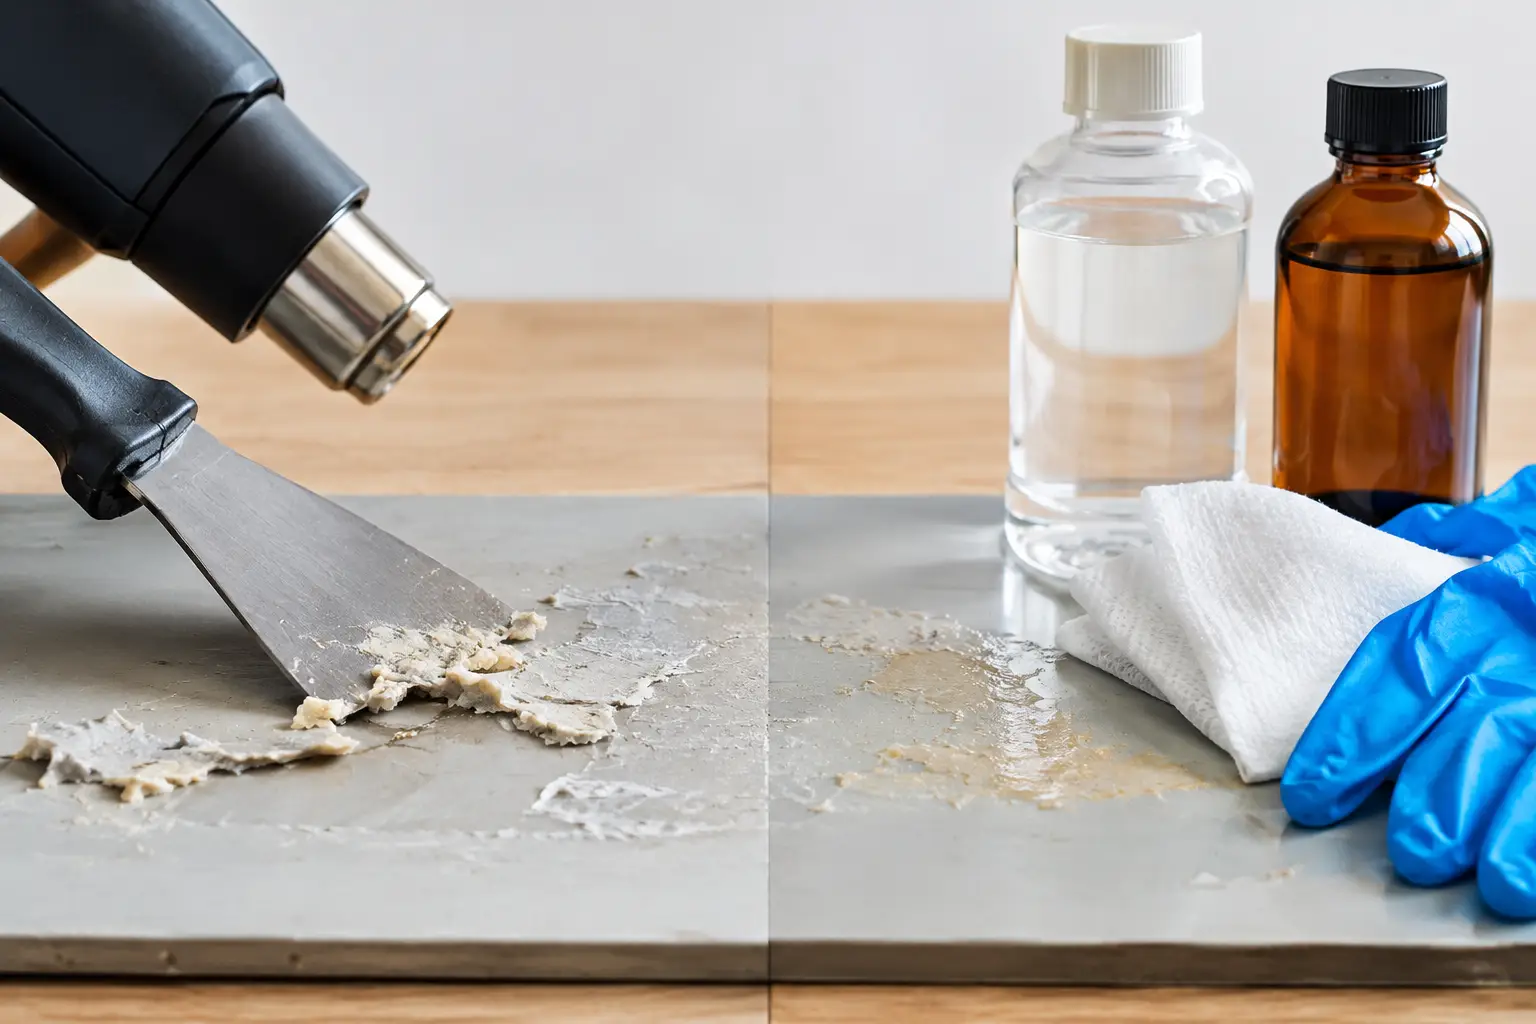
For example, tiles bonded directly to a concrete slab may need mechanical removal followed by grinding to take off bedding and adhesive. A timber floor may require careful lifting to avoid tearing up a subfloor that is being retained. Vinyl can leave adhesive that looks minor until a new floor finish is installed over it and fails to bond correctly.
The goal is controlled removal, not unnecessary force. Overly aggressive methods can gouge slabs, fracture adjoining tiles, damage waterproofing or create more repair work for the next trade. On the other hand, underpowered equipment can turn a one-day job into days of slow, disruptive labour.
Experienced operators assess the material, bond strength and substrate before selecting equipment. That may involve stripping machines, tile lifters, demolition tools, grinders and dust extraction, used in the right sequence. The best approach depends on the condition of the site and the finish required afterwards.
5. Treat adhesive and slab preparation as part of the job
A floor is not ready just because the old covering has been removed. Adhesive, tile bedding, paint overspray, patches of levelling compound and high spots can all affect the next installation. This is where many renovation schedules lose time – the new flooring contractor arrives, finds an unsuitable base and cannot proceed.
Be specific about what “ready” means. Carpet and floating floors may tolerate different substrate conditions from glued vinyl, polished concrete, epoxy coatings or large-format tiles. Some finishes need a clean, profiled surface for adhesion. Others need a flat surface within tight tolerances. Waterproofed bathroom areas require particular care so the substrate work does not compromise the next stage of waterproofing.
Slab grinding is often the practical answer for stubborn residue and uneven areas, but it should be targeted. The aim is to remove contaminants and create the required profile without causing avoidable damage to the slab. Once preparation is complete, inspect the surface under good lighting rather than relying on a quick visual check from the doorway.
6. Remove rubbish progressively and keep access clear
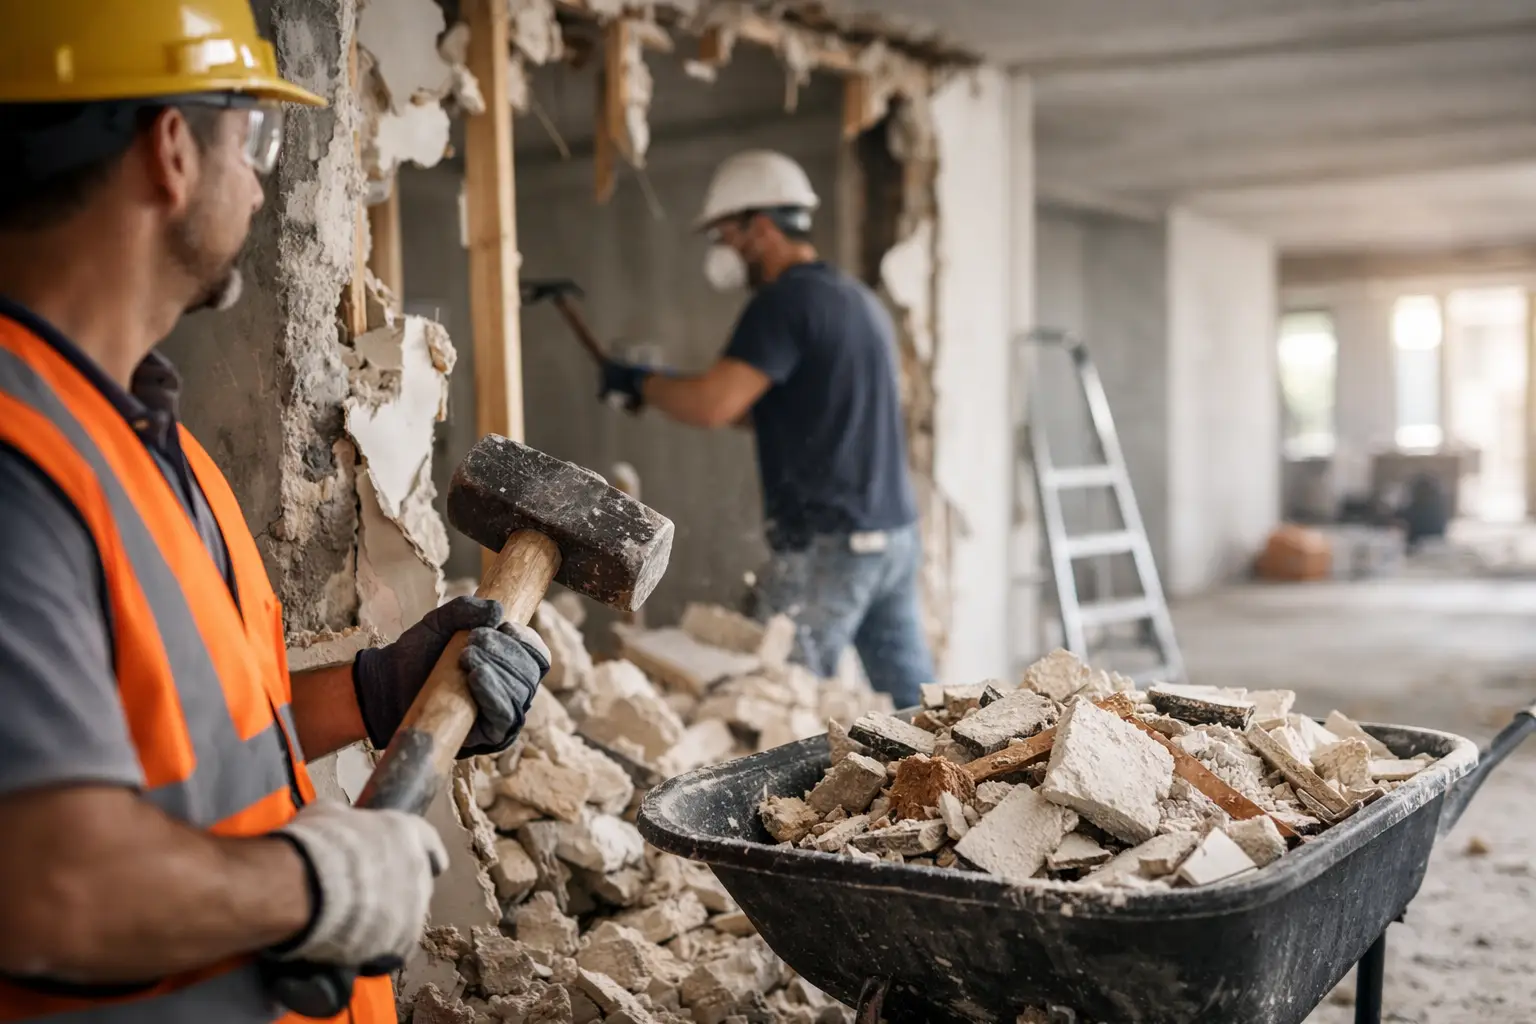
Rubbish management is not an end-of-job task. Piles of broken tiles, timber, cabinetry and packaging create trip hazards, block access and slow everyone down. They also make it harder to see whether the strip-out is complete.
Sort materials where practical and remove debris progressively. Heavy demolition waste needs a safe handling plan, especially in units, upper-level offices and sites with limited loading access. Consider the lift capacity, stair access, parking restrictions and any body corporate or building-management requirements before the job starts.
A clean work zone also makes quality control easier. When the rubbish is gone, you can identify damaged substrate, missed fixtures, exposed services and areas that still need grinding or patching. It is far better to find these items during the strip-out than after the next trade has been booked.
7. Finish with a handover inspection, not a quick exit
The last hour of a strip-out protects the days that follow. Inspect every area against the agreed scope: have all floor coverings, fixings, adhesives and unwanted fixtures been removed? Are surfaces at the required condition? Are access ways clean? Have retained areas stayed protected? Is there any loose material, sharp edge or exposed service that needs attention?
Take clear site photos and communicate any findings that may affect the renovation. Hidden slab cracks, moisture damage, deteriorated framing or previously concealed service lines are not necessarily strip-out failures, but they need to be raised promptly. Early visibility gives the builder or owner time to make a decision without bringing the project to a standstill.
For busy homes, retail spaces and commercial sites across Northern NSW, the Gold Coast, Brisbane and the Sunshine Coast, minimal disruption matters as much as removal speed. Rapid Stripped approaches strip-outs with that outcome in mind: controlled removal, dust-aware preparation and a clean site that is ready for the next trade.
A renovation moves faster when the demolition phase leaves no loose ends. Set the scope, protect the property, manage the risks and insist on a properly prepared handover – then the work that follows has a solid base to start from.