

The new flooring crew cannot start properly if they arrive to broken tile bedding, stubborn adhesive, loose debris and an uneven slab. A proper site ready floor preparation checklist prevents that costly handover gap. It defines what must be removed, what must be protected and what the next trade needs to see before installation begins.
For homeowners, builders and commercial property managers, floor preparation is where renovation schedules either hold together or start slipping. Removing a covering is only one part of the job. The substrate underneath needs to be clean, sound, accessible and suitable for the flooring system going back down.
Start With the New Floor, Not the Old One
The right preparation method depends on the finish being installed. Hybrid planks, engineered timber, carpet, polished concrete, epoxy, tiles and vinyl all have different tolerances for moisture, flatness, contamination and surface texture.
Before stripping starts, confirm the new floor type with the installer or builder. Ask whether they need a mechanically prepared concrete slab, a smooth skim coat, a specific moisture test, or a level within a stated tolerance. This avoids the common mistake of removing old material cleanly, only to find the surface has been prepared to the wrong standard.
For example, tile adhesive left on a slab may not matter if a thicker screed system is planned. It can be a major issue under glued vinyl or timber. Likewise, a slab that looks reasonably flat can still create problems with click-lock flooring, where high spots and hollows put stress on joins over time.
Confirm What Is Actually on the Floor
Never assume the visible layer tells the full story. Older homes, units and commercial premises often have several floor coverings installed over decades. Carpet can conceal vinyl, vinyl can conceal old adhesive, and tiles may sit over a thick mortar bed or another tiled surface.
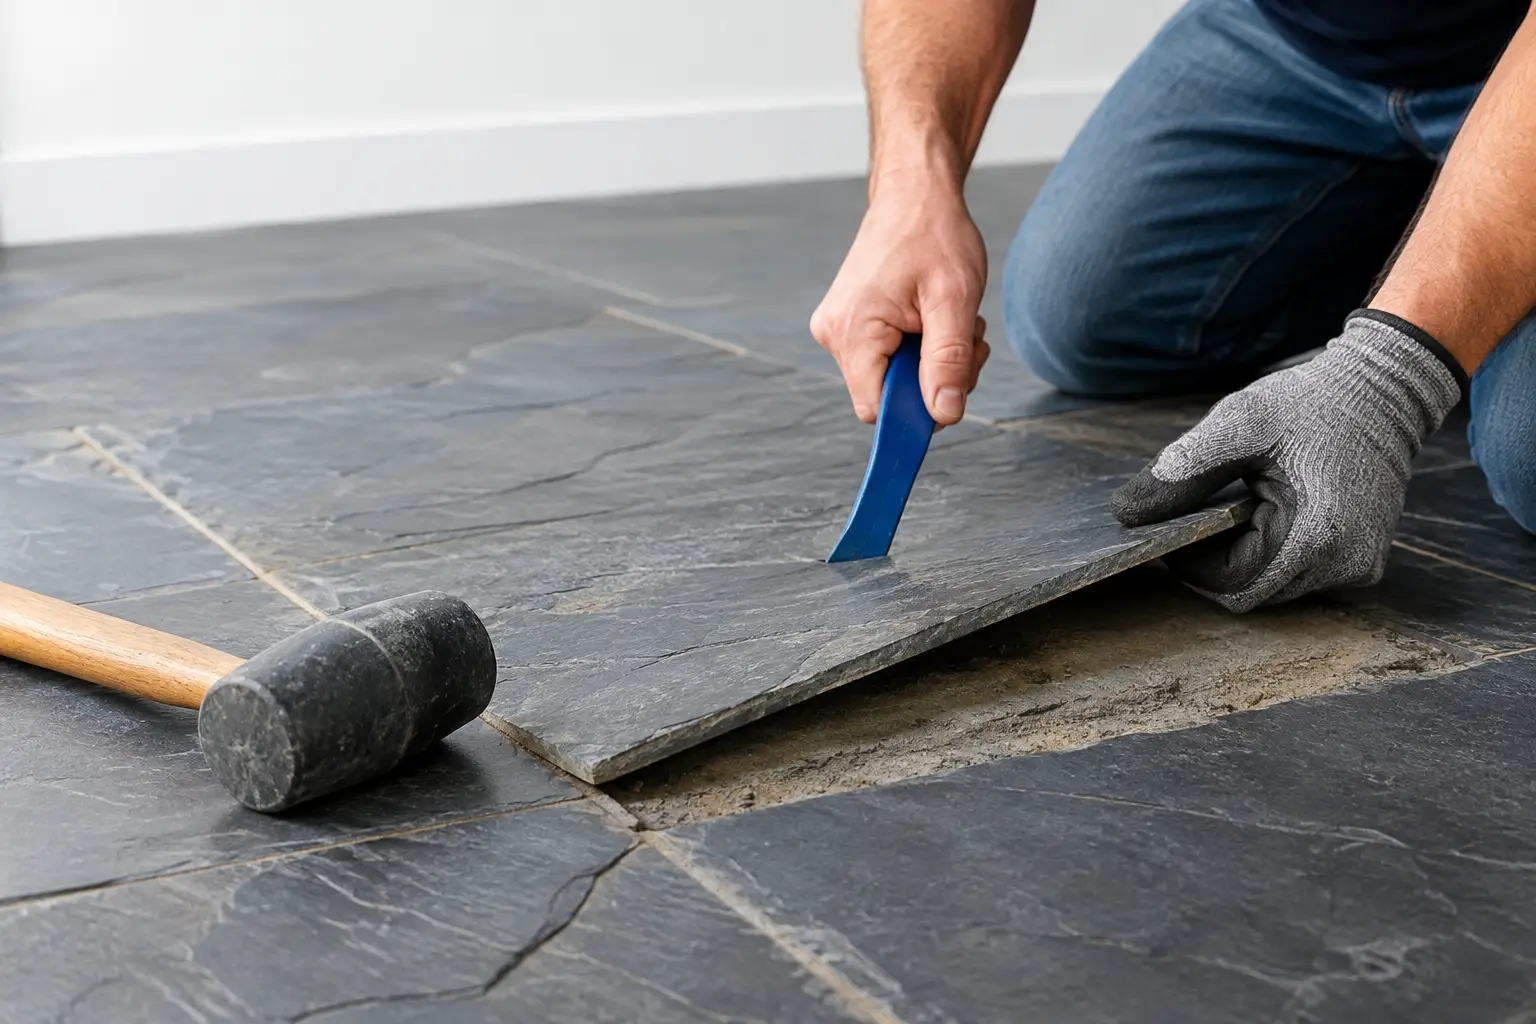
Inspect a small area first where practical. This gives a clearer picture of the removal method, waste volume and substrate condition. It also helps identify whether the job calls for floor scraping, jackhammer removal, concrete grinding, adhesive removal or a combination of methods.
Pay close attention to the following:
- The type and thickness of the existing covering, including tiles, timber, vinyl, cork, carpet, epoxy or stone.
- Adhesives, levelling compounds, mortar beds, waterproofing membranes and paint coatings beneath the finish.
- Cracks, drummy sections, loose screed, spalling concrete or damaged timber subfloors.
- Potential hazardous materials in older buildings, including suspected asbestos-containing vinyl tiles, backing or adhesives.
- Access limits such as stairs, lifts, occupied rooms, narrow hallways, body corporate requirements and restricted work hours.
If hazardous material is suspected, stop work in that area until it has been assessed and handled through the appropriate process. Fast work is never worth unsafe work.
Lock In Access, Services and Protection Before Work Begins
Good preparation starts before a machine touches the floor. Clear access lets the removal crew work efficiently and reduces the chance of damage to finished areas, walls, joinery and services.
Arrange a clear path from the work zone to the rubbish removal point. Move furniture, appliances, stock and loose items from affected rooms. In commercial sites, identify loading access, lift bookings, security procedures and any areas that must remain operational. A café, retail tenancy or office may need work staged after hours or contained room by room to limit disruption.
Services also need to be identified. Check for floor penetrations, drainage points, heating elements, data cabling, plumbing and electrical services around kitchen islands, bathrooms and commercial counters. Mark anything that must remain protected. If skirting, cabinetry or fixtures are staying in place, confirm where the removal line needs to stop.
Protection should suit the job, not just look tidy. Doorways may need dust barriers, adjacent flooring may need heavy-duty protection, and common property areas may require coverings during waste removal. This is particularly important in units, occupied homes and busy commercial buildings.
Control Dust From the First Breakout
Tile removal, adhesive grinding and concrete surface preparation can create a serious amount of dust when handled poorly. Fine silica dust is not simply a cleaning problem. It is a health and compliance issue, and it can travel far beyond the room where the work is being done.
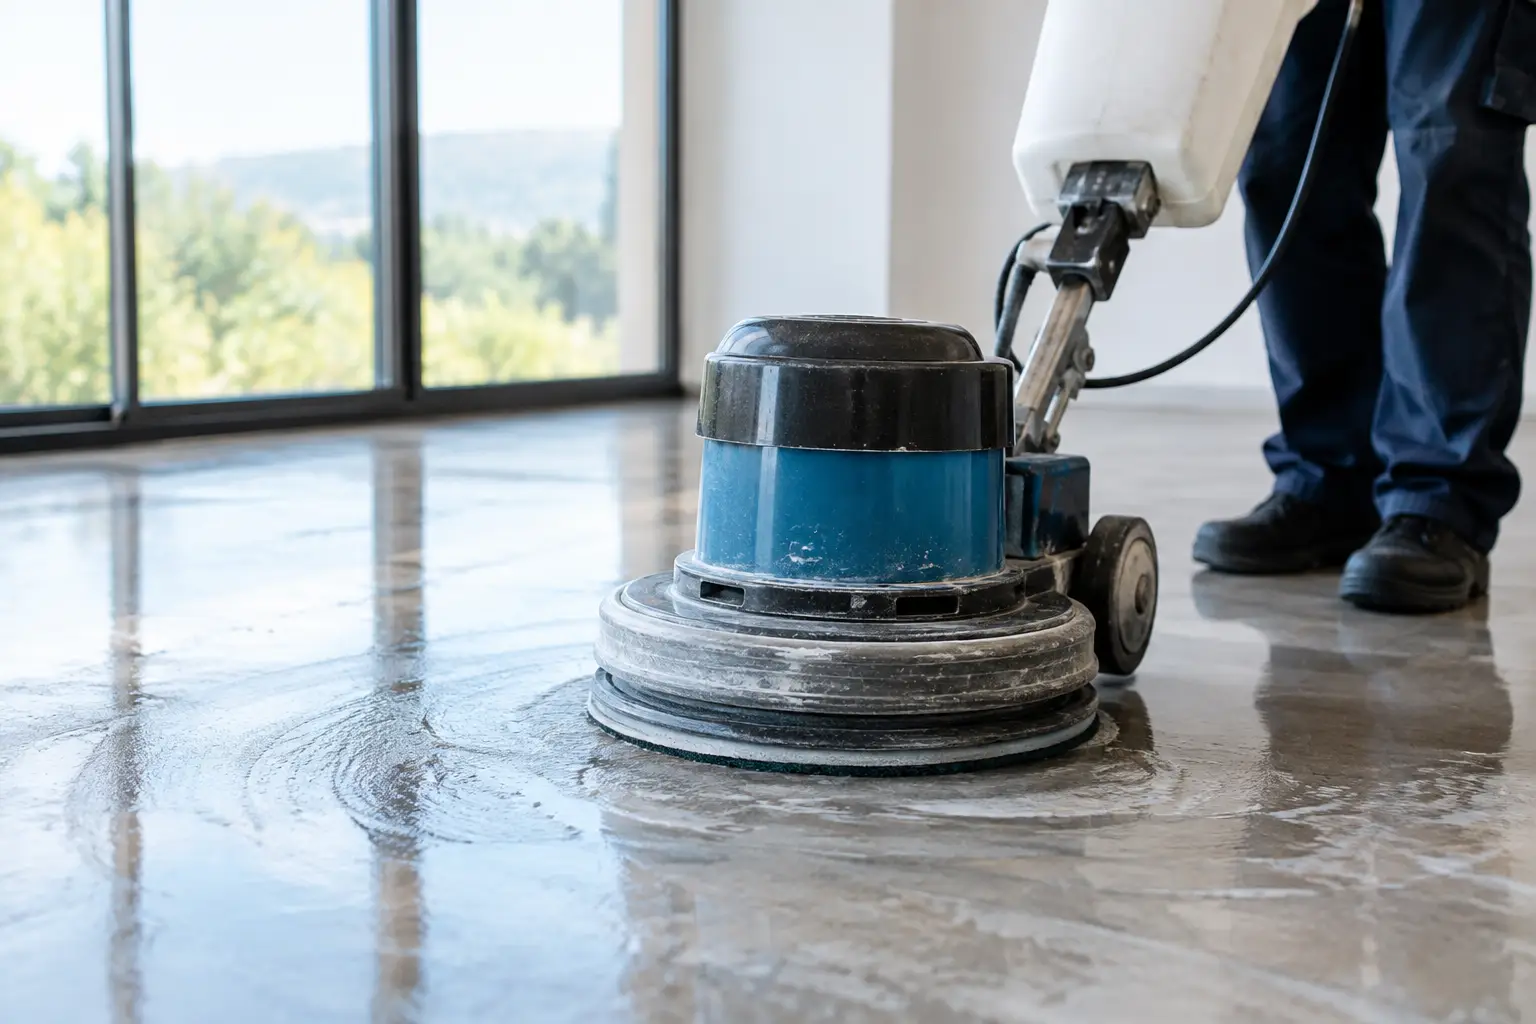
The best approach combines suitable equipment, dust extraction, containment and disciplined housekeeping. Grinding should be carried out with purpose-built extraction where the task allows. Work zones should be isolated from occupied areas, and debris should be removed progressively rather than left to build up across the site.
There is a trade-off here. Aggressive grinding may remove adhesive quickly, but it can also expose aggregate, create unnecessary surface damage or remove more concrete than the flooring specification requires. The goal is not to make the slab look new. The goal is to leave a clean, stable surface suitable for the next system.
Remove the Entire Failed Layer
A site is not ready just because the top covering has been lifted. Every loose, incompatible or failed layer needs to be dealt with.
That can include tile glue, carpet adhesive, foam underlay, vinyl backing, timber staples, tack strips, old levelling compound and drummy mortar. Leaving weak material in place creates a failure point under the new floor. New tiles can crack over unstable bedding. Vinyl can telegraph old ridges and trowel marks. Epoxy can lose bond where surface contamination remains.
Concrete grinding is often the right answer for hard adhesive, paint, residual tile glue and high spots. On timber subfloors, the work may involve removing fasteners, levelling joints and replacing damaged sheets rather than grinding. The method must match the substrate.
Do not confuse a clean-looking surface with a sound one. Walk the area, tap suspect sections and inspect edges, corners and doorways closely. These are the places where shortcuts tend to show up later.
Check the Slab for Flatness, Damage and Moisture
Once removal is complete, inspect the exposed surface before handing it to the next trade. This is where the site ready floor preparation checklist becomes a practical quality-control tool rather than paperwork.
Use a straightedge or laser level to identify high points and hollows. The acceptable tolerance depends on the floor finish, so follow the product and installer requirements. High spots may need grinding. Low areas may require patching or a compatible levelling compound. Cracks may need assessment and repair, particularly where movement is ongoing or where the crack has left an uneven edge.
Moisture deserves the same attention. A slab can appear dry but still carry enough moisture to affect adhesives, vinyl, timber or resin-based coatings. New slabs, ground-floor areas and spaces with a history of water ingress need proper testing as specified by the flooring manufacturer. If moisture is outside the allowable range, the solution may involve more drying time, moisture mitigation or a change to the flooring system.
For bathrooms, laundries and wet commercial areas, clarify who is responsible for waterproofing and when it occurs. Floor removal can expose old membrane damage, falls to drains or substrate issues that need attention before the next layer goes down.
Final Handover: What “Site Ready” Should Mean
Before the floor installer arrives, the work area should be clear, clean and ready to measure, repair or install without redoing removal work. That means all agreed coverings and residues are gone, loose material has been removed, access is available and rubbish is off site or contained as arranged.
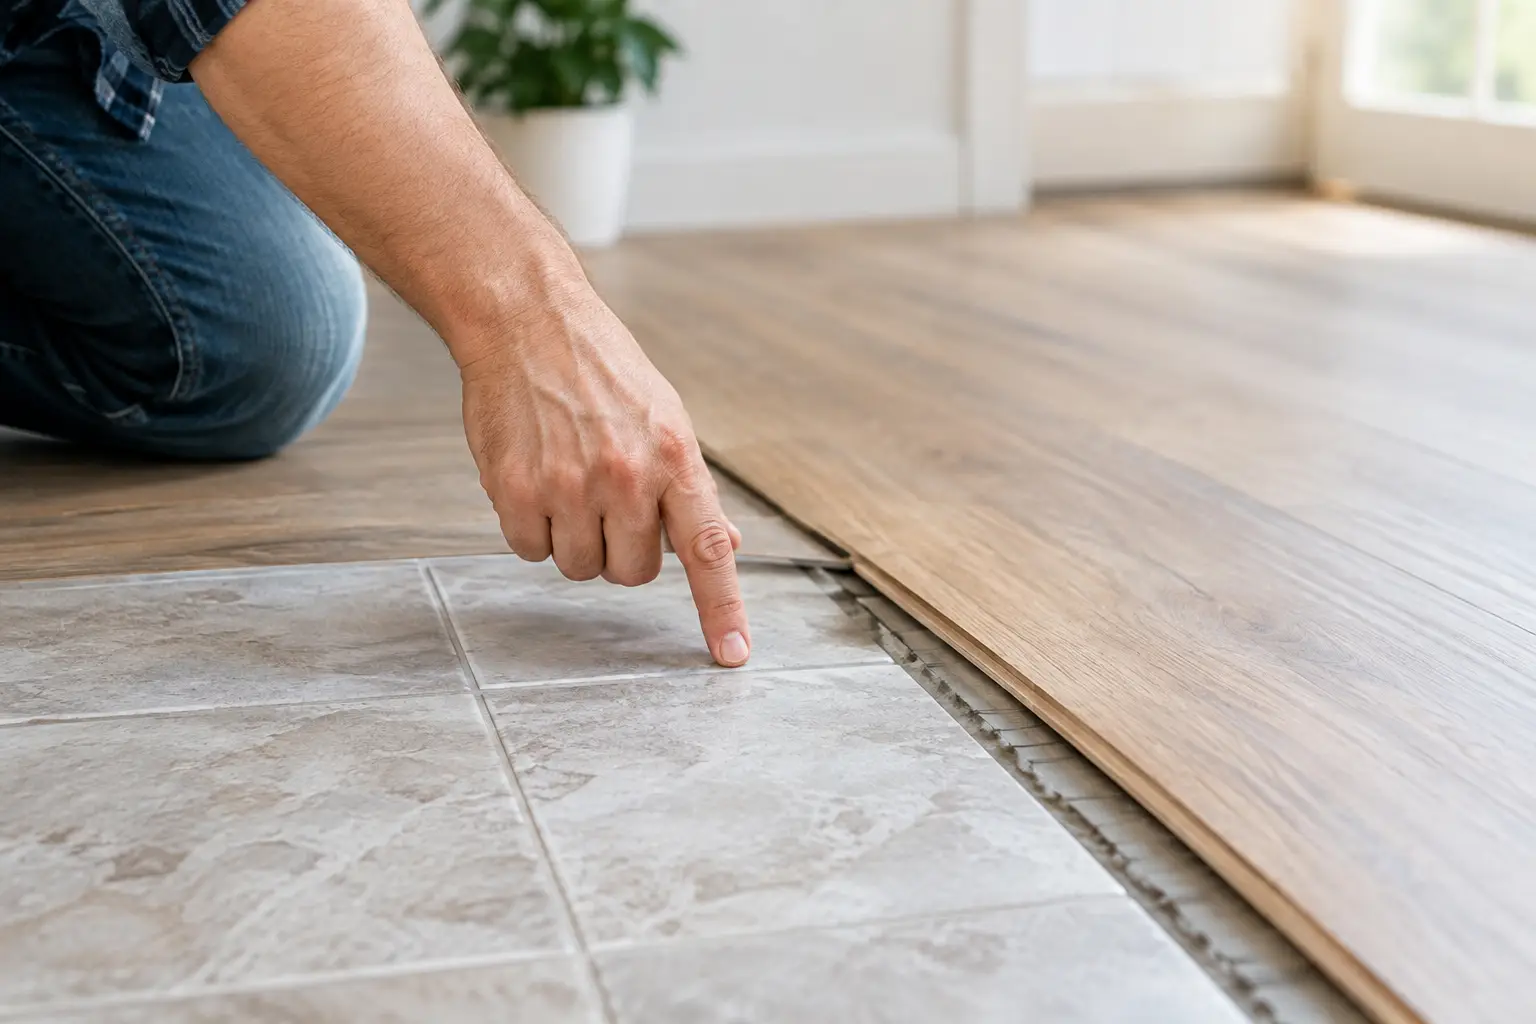
The prepared substrate should be visually checked for remaining adhesive, sharp protrusions, exposed fasteners, raised edges and loose sections. Door clearances, transitions to adjoining rooms and floor height changes should also be considered early. A beautiful new floor can still be a poor result if doors bind, thresholds create trip hazards or appliances no longer fit beneath benches.
A clear handover also means communicating what was found. If the slab has cracks, moisture concerns, damaged screed or areas requiring levelling, record it and raise it before installation. Problems are far easier to manage while the surface is exposed than after the new finish is installed.
For difficult floor removal, adhesive grinding and renovation strip-outs across Northern NSW, the Gold Coast, Brisbane and the Sunshine Coast, Rapid Stripped focuses on leaving the area clean, controlled and properly prepared for the next trade.
The best time to solve floor preparation problems is before the new materials arrive on site. Get the substrate right, keep the work area controlled and give the installer a surface they can stand behind.