
A renovation can lose days before the new work even starts. The usual cause is not the build itself – it is a poor renovation demolition sequence. Removing the wrong surface too early can expose finished areas to damage, create avoidable dust, block access for other trades or leave adhesive and uneven slabs holding up the next stage.
A proper strip-out is planned around what stays, what goes, where services run and what the site needs to look like when demolition is complete. The goal is not simply to make a mess disappear. It is to hand over a clean, safe and genuinely renovation-ready space.
Start with the finished plan, not the first tool
Before demolition begins, confirm the new layout and the scope of works. Builders, cabinetmakers, plumbers, electricians and flooring installers may all need access at different points. If walls are moving, services need rerouting or a new floor finish has a tight tolerance, those details affect the order of removal.
Walk through the property and mark what is being retained. That can include windows, door frames, benchtops, appliances, built-in joinery, skirting boards, light fittings or sections of flooring. It sounds basic, but a clear keep-and-remove plan prevents expensive assumptions once tools are running.
This is also the point to identify potential hazards. Older homes and commercial premises can contain asbestos-containing materials, lead-based paint, mould, damaged electrical wiring or unknown plumbing connections. Suspect materials must be assessed and managed by appropriately qualified people before general demolition starts. Fast work is only good work when it is controlled and safe.
For an occupied home, unit, office or retail site, plan access as well. Decide where the team will enter, where rubbish will be loaded, how common areas will be protected and which spaces need to remain operational. A well-organised route keeps dust and debris out of areas that are not part of the renovation.
Isolate services before removing fixtures
The first physical stage is making the work area safe. Electricity, water, gas, data and other live services must be identified and isolated where required. Never assume a redundant-looking cable or pipe is inactive. In renovations, services are often altered over decades, and the visible arrangement does not always tell the full story.
After isolation, remove loose contents and detachable items. Appliances, mirrors, shower screens, freestanding furniture, blinds and removable fittings should be taken out before major strip-out work begins. This clears working room and reduces the chance of damage to items that are being retained.
In bathrooms and kitchens, fixtures usually come out before tiles and floor coverings. Vanities, toilets, baths, taps, sinks and cabinetry can conceal tile edges, plumbing penetrations, fixings and substrate damage. Removing them first gives the demolition team clear access and makes it easier to inspect the condition underneath.
Set containment before the messy work starts
Dust control is not an optional extra, particularly when removing tiles, bedding, adhesives, epoxy coatings or timber floors. Fine dust travels through open doorways, air-conditioning systems and shared corridors quickly. It settles on finished surfaces and can disrupt trades working nearby.
Containment should be installed before stripping begins, not after the first round of demolition. Depending on the site, this may involve sealed doorways, temporary barriers, floor protection on access paths and dust-extraction equipment. The right setup depends on the material, the size of the area and whether the building is occupied.
Protection matters just as much as containment. Cover stairs, lift lobbies, hallways, retained flooring and finished joinery before carts, tools and demolition waste move through the property. In a unit renovation, protecting common areas is often essential. In a commercial fit-out, maintaining clear and safe access may be the difference between a staged project and an unnecessary shutdown.
Remove overhead and wall elements before the floor
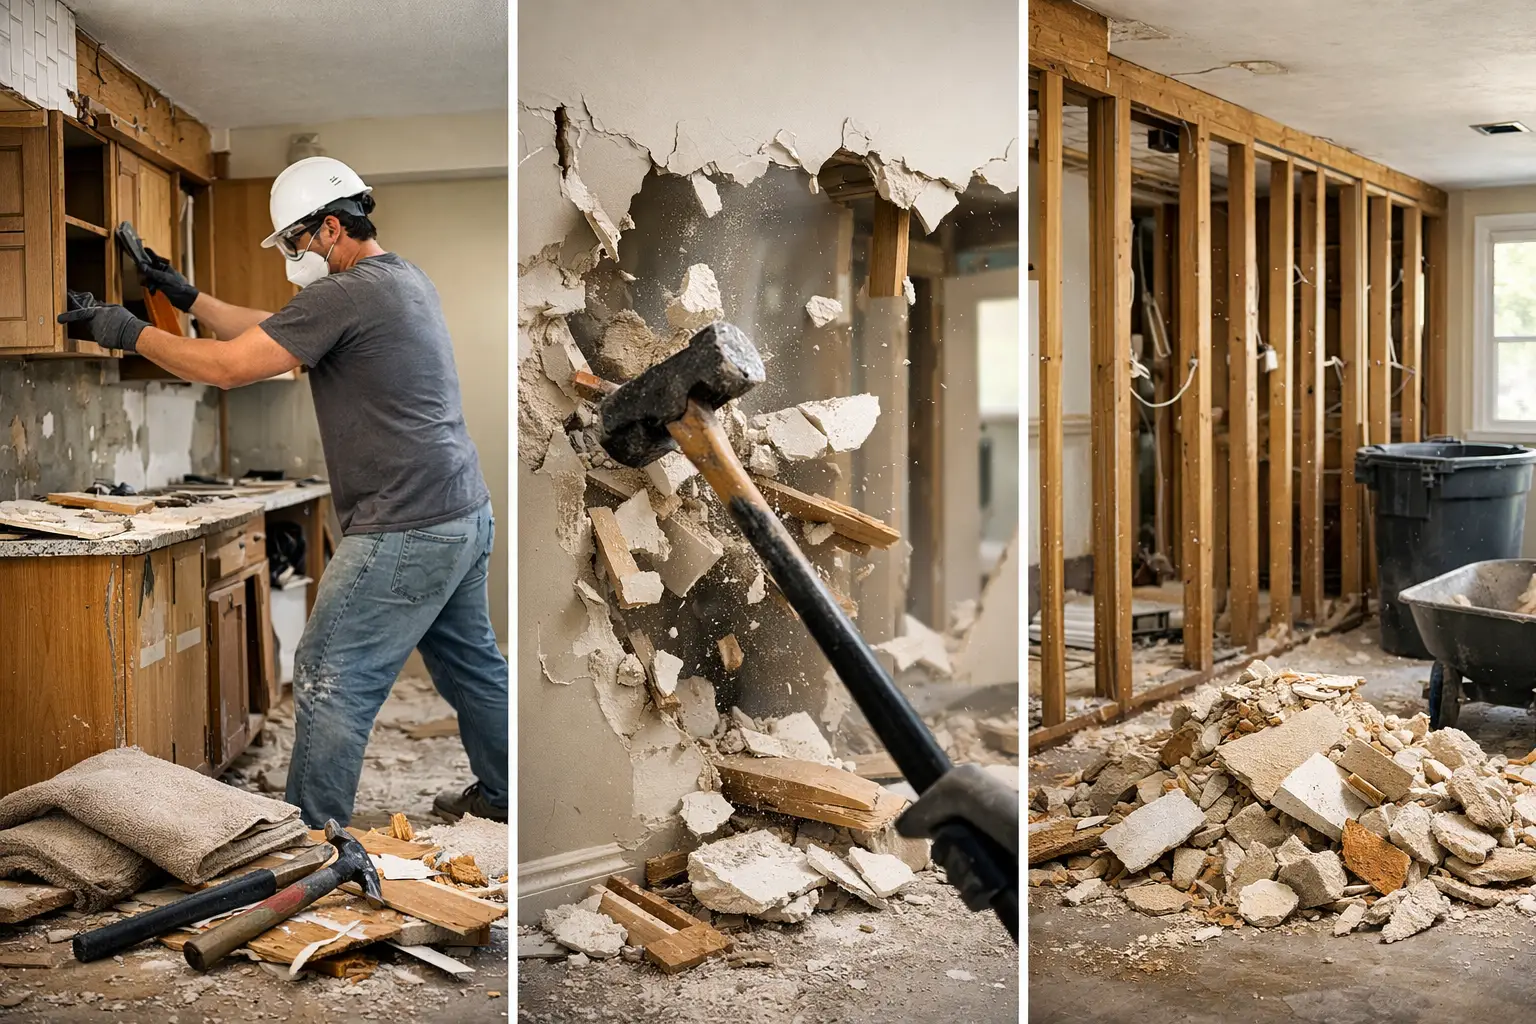
For a full strip-out, work from the top down where practical. Ceiling linings, overhead fixtures and upper wall elements are generally removed before the floor is stripped. This avoids dropping debris onto a newly prepared slab and prevents the team from walking demolition waste across a surface that is ready for installation.
Non-structural walls, wall linings, tiles and cabinetry can then be removed in a controlled order. The exact sequence depends on what is being kept and whether any wall is structural. Structural changes require proper engineering, approvals and a builder who understands the load path. Demolition should never proceed on the assumption that a wall is non-load-bearing simply because it looks light.
In a bathroom, a common order is to remove fittings and joinery, strip wall tiles, remove wall linings where required, then lift floor tiles and bedding. In a kitchen, cabinetry and appliances generally come out before splashback tiles, wall finishes and flooring. The aim is to avoid trapping materials behind elements that should have been removed first.
When floor removal belongs in the renovation demolition sequence
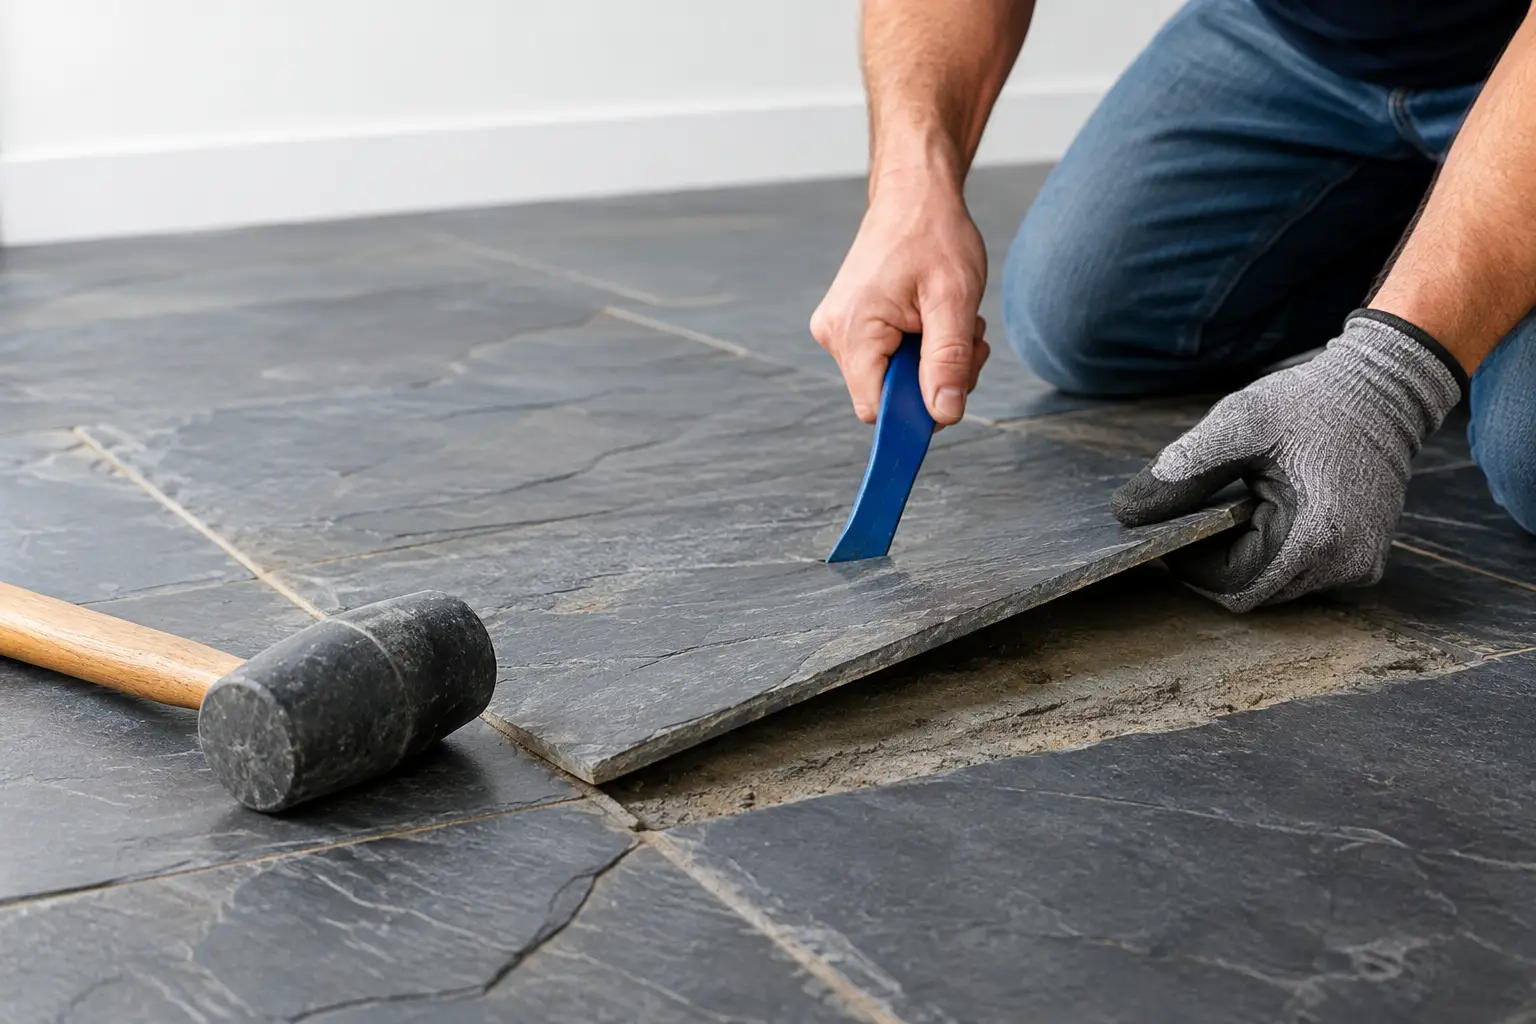
Floor removal is often the hardest and most physical part of a renovation demolition sequence. Tile, slate, terracotta, marble, vinyl, cork, timber, carpet, epoxy and old adhesive all behave differently. A surface may look straightforward until the first section reveals thick bedding, multiple layers of old flooring or stubborn adhesive bonded directly to the slab.
For most full-room renovations, floor removal comes after overhead and wall demolition. That keeps debris off the prepared subfloor and allows the team to work efficiently across the whole area. Once wall tiles, fixtures and cabinetry are gone, the floor can be removed right to the edges without leaving inaccessible strips behind.
There are exceptions. If an existing floor is being retained temporarily to protect the slab or provide a safe working surface, it may be removed later. Conversely, if a new layout requires early inspection of the slab, plumbing penetrations or moisture issues, the floor may need to come up sooner. The right answer depends on the next trade and the condition of the substrate.
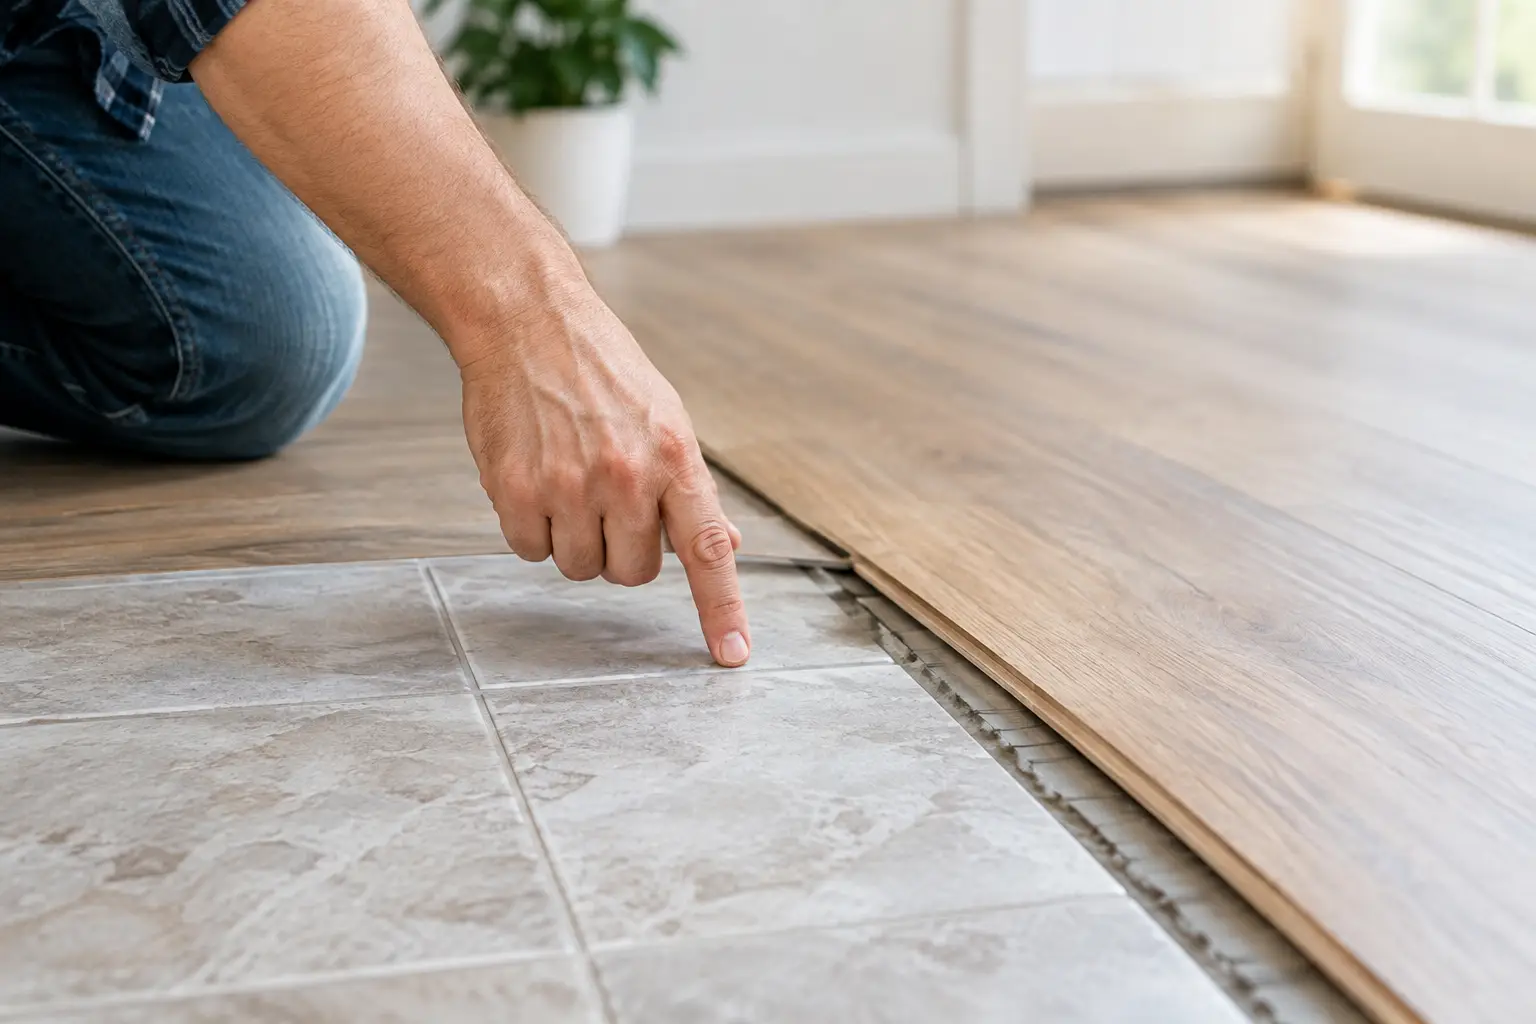
Avoid treating floor removal as a simple lifting job. The final floor finish determines how clean the slab needs to be. New tile can tolerate different conditions from polished concrete, hybrid flooring, vinyl planks or epoxy. Adhesive residue, tile bedding, high spots and uneven transitions can all cause problems later if they are not dealt with properly at the strip-out stage.
Grind, scrape and prepare the substrate
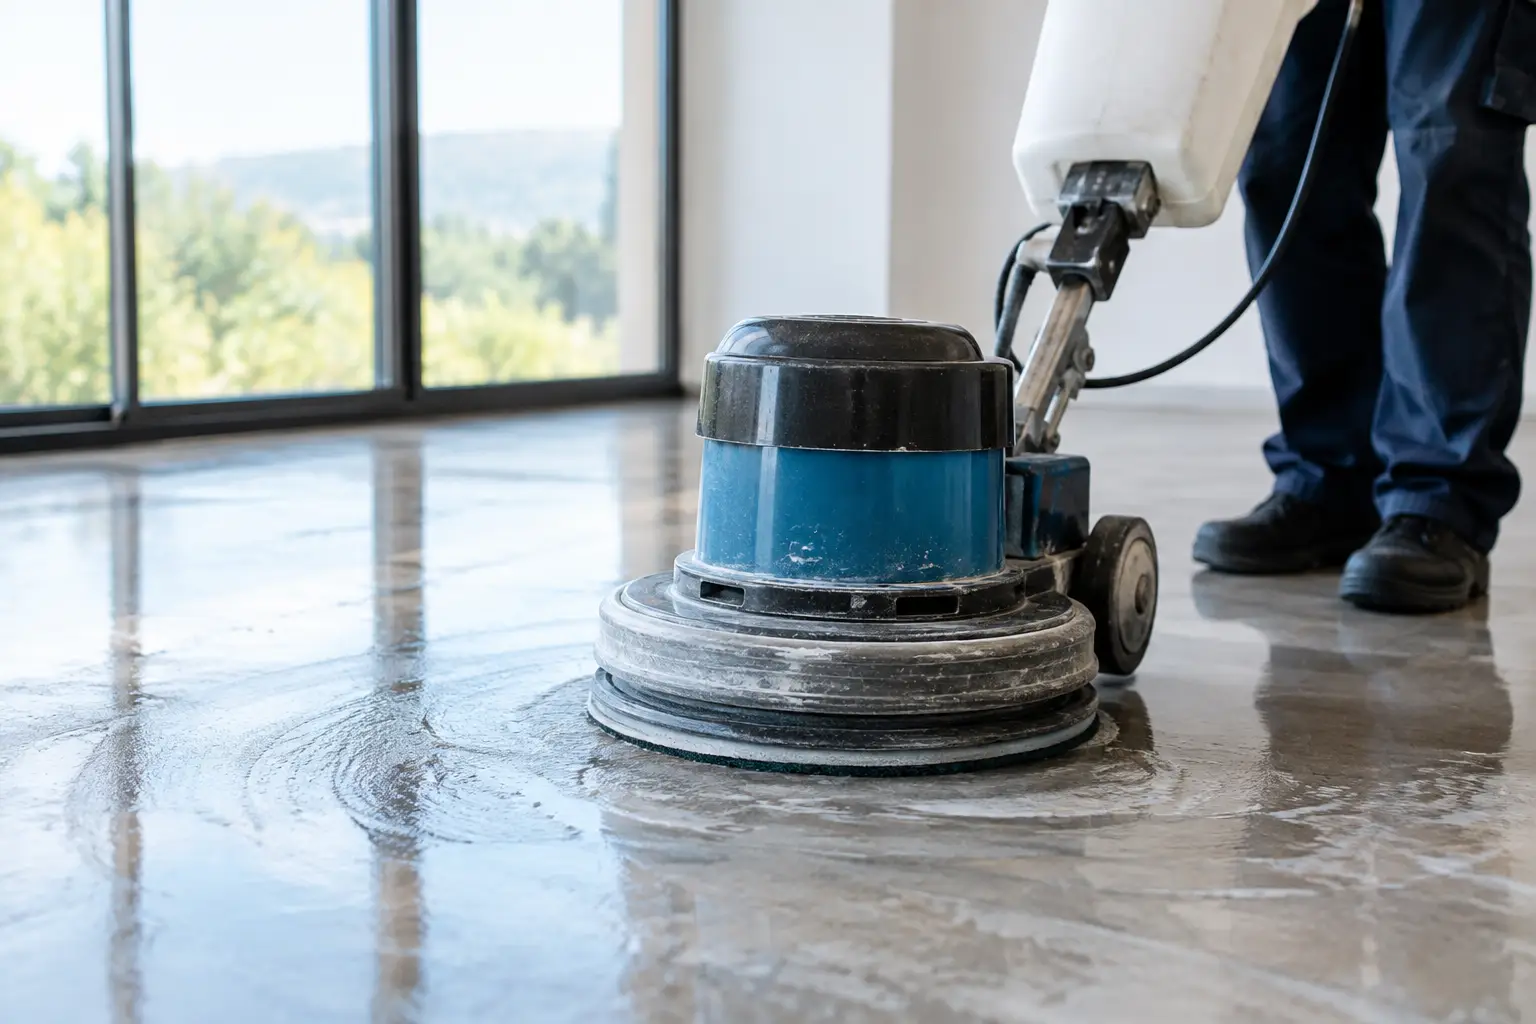
Once coverings are removed, inspect the substrate before calling the job done. This is where many renovations stall. The old floor may be gone, but the slab can still be covered in adhesive, mortar, paint, levelling compounds or rough tile bedding that makes it unsuitable for the new finish.
Mechanical removal and slab grinding create a cleaner, more consistent surface for the next phase. The required level of preparation depends on the flooring specification. Some installations need a flat surface, others need clean concrete for adhesion, and some require further repairs or levelling by the flooring contractor.
A professional strip-out team should be clear about the intended handover condition. “Floor removed” is not always the same as “ready for installation”. If the next trade expects a clean, exposed slab, make that part of the demolition scope from the start.
Remove waste progressively and complete a final check
Rubbish should move off site progressively rather than pile up in rooms, doorways and access areas. Stacked waste slows the crew, increases trip hazards and makes it harder to see whether the demolition work is complete. Separate handling may also be needed for recyclable materials, hazardous waste and general construction debris.
Before handover, inspect every room against the scope. Check that retained items are protected, unwanted fixings and protrusions are removed, accessible edges are stripped cleanly and the floor is prepared to the agreed level. Look for hidden adhesive under cabinets, tile fragments in corners, loose bedding at thresholds and exposed service points that need trade attention.
For projects across Northern NSW, the Gold Coast, Brisbane and the Sunshine Coast, Rapid Stripped approaches demolition with that end result in mind: a clean site that allows the next trade to get moving without spending their first day fixing the previous stage.
The best time to solve demolition problems is before the first tile is lifted. Set the sequence around the finished renovation, protect what stays, and make the handover standard clear. Your new work will start on a better surface and with far fewer surprises.